#HandCrafted
Text
https://joy-207.szhdyy.com.cn/mg/lXdiVnL
#yamaguchi tadashi#hilda#dubai#hugh dancy#sadgirl#hotd#handcrafted#indie games#mortal instruments#bullet journal#german
120 notes
·
View notes
Text
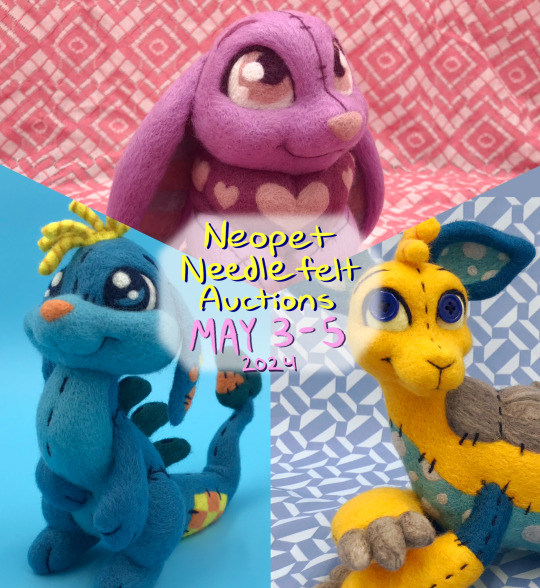


JOIN THE AUCTION DISCORD HERE
SHIPPING: Flat rate $25 CAD for Canada or the US, shipped via Canada Post (I’m sorry, I wish shipping was cheaper too). If shipping elsewhere, please DM me with your address so I can calculate it for you (and I apologize in advance for the fees).
That’s right folks! I’m finally rehoming these babies. They’re all packed and ready to go to the highest bidder.
The Discord server will be read-only until the auctions begin, at which point the appropriate channels will be opened up on the appropriate nights. 8 PM PST is a soft stop time - 10 more minutes will be added with each bid after that point. Please come ready to pay. I will hold the item for the winner for a maximum of 7 days. If the invoice is not paid in that time, the item will go to the next highest bidder. Please be respectful about the prices! Each of these (especially the Bori) took weeks of work.
Approx. dimensions of each in inches (LxWxH): Zafara (8.25x3x7.25), Cybunny (5.75x6x6.5), Bori (7.5x7.5x7.25)
A note about needle felts - These are not plush toys. They should be handled gently to keep the wool firmly packed.
ALLERGENS: These are hair magnets and are coming from a home with a cat. I cleaned them meticulously before packing them, but there is still a chance of stray cat hair packed somewhere inside.
Reblogs to spread the word are greatly appreciated! Hope to see you there next weekend!
17 notes
·
View notes
Text
Had a few folks interested in how I made the patches I posted for Solarpunk Aesthetic Week, so I thought I'd give y'all my step-by-step process for making hand-embroidered patches!

First, choose your fabric and draw on your design. You can use basically any fabric for this - for this project I'm using some felt I've had lying around in my stash for ages.

Next, choose your embroidery floss. For my patches I split my embroidery floss into two threads with 3 strands each, as pictured. You can use as many strands in your thread as you prefer, but for the main body of my patches I prefer 3 strands.
Next you're going to start filling your design using a back stitch.

First, put in a single stitch where you want your row to start.

Poke your needle up through the fabric 1 stitch-length away from your first stitch.

Poke your needle back down the same hole your last stitch went into so they line up end-to-end.
Repeat until you have a row of your desired length (usually the length of that colour section from one end to the other). Once you have your first row, you're going to do your next row slightly offset from your first row so that your stitches lay together in a brick pattern like this:

Make sure your rows of stitches are tight together, or you'll get gaps where the fabric shows through.
Rinse and repeat with rows of back stitch to fill in your patch design.

When you're almost to the end of your thread, poke your needle through to the back of the fabric and pull the thread under the back part of the stitching to tuck in the end. Don't worry if it looks messy - no one's gonna see the back anyway.
This next step is fully optional, but I think it makes the patch design really pop. Once your patch is filled in, you can use black embroidery floss to outline your design (or whatever colour you want to outline with - it's your patch, do what you want). I use the full thread (6 strands, not split) of embroidery floss to make a thicker outline.

I use the same back stitch I used to fill the piece to make an outline that adds some separation and detail. You could use most any 'outlining' stitch for this, but I just use back stitch because it's just easier for me to do.
Once you're finished embroidering your patch, it's time to cut it out!

Make sure to leave a little border around the edge to use for sewing your patch on your jacket/bag/blanket/whatever, and be careful not to accidentally cut through the stitches on the back of the patch.
If you have a sturdy enough fabric that isn't going to fray, you can just leave it like this. If not, I recommend using a whip stitch/satin stitch to seal in the exposed edges (I find that splitting your embroidery floss into 3-strand threads works best for this).

And then you're done! At this point you can put on iron-on backing if you want, or just sew it on whatever you wanna put it on. Making patches this way does take a long time, but I feel that the results are worth it.
Thanks for reading this tutorial! I hope it was helpful. If anyone makes patches using this method, I'd love to see them! 😁
#solarpunk aesthetic week#sewing#tutorial#sew on patch#punk diy#diy punk#punk aesthetic#handmade#solarpunk#handcrafted#embroidery#embroidered patch#how to#how to make a patch
17K notes
·
View notes
Text
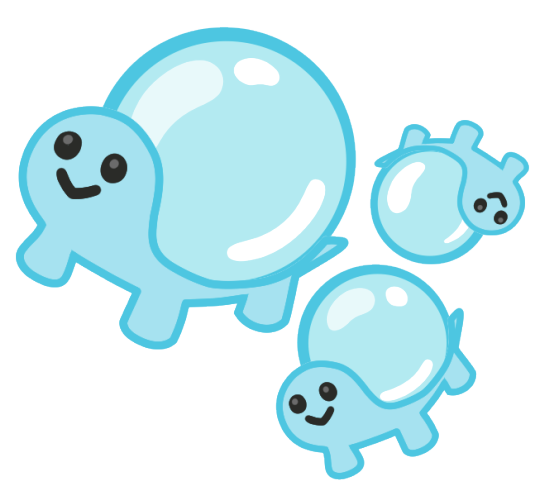
Day 875: 🐢 & 🫧
Ko-Fi | Patreon
7K notes
·
View notes
Text
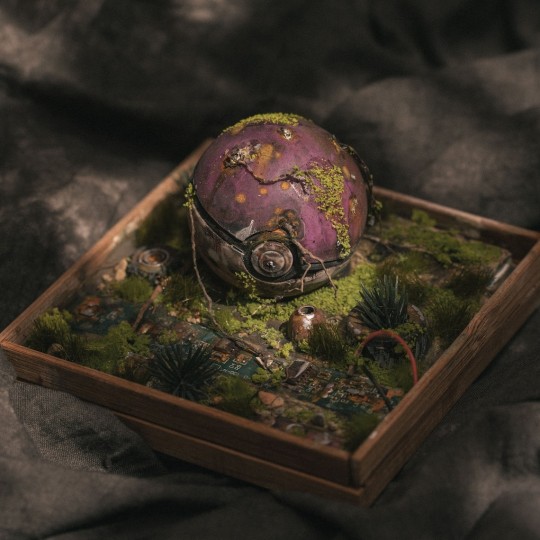

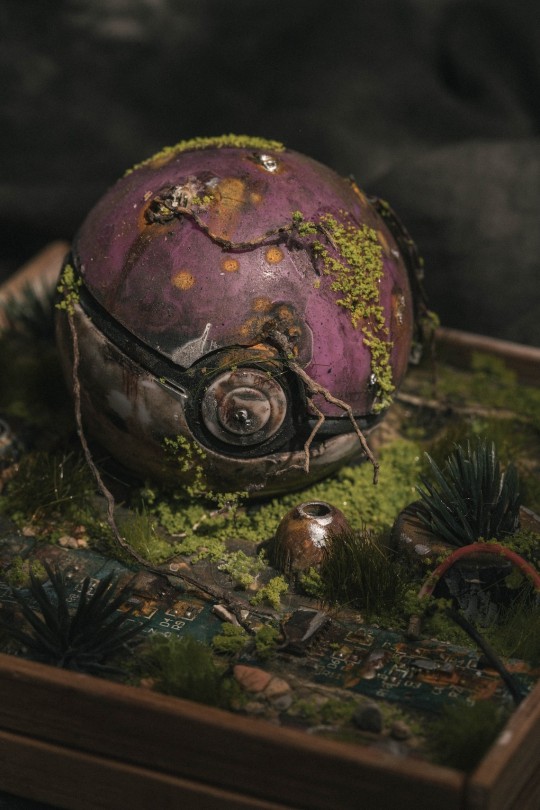
Pokeball Landscape Terrariums made by AndrewsCollections
#pokemon#nintendo#art#crafts#gaming#video games#anime#gameboy#pokeball#terrarium#retro#90s#gba#ds#3ds#switch#nintendo switch#artists#handmade#handcrafted#nostalgia#90's#nineties#retrogaming
4K notes
·
View notes
Text
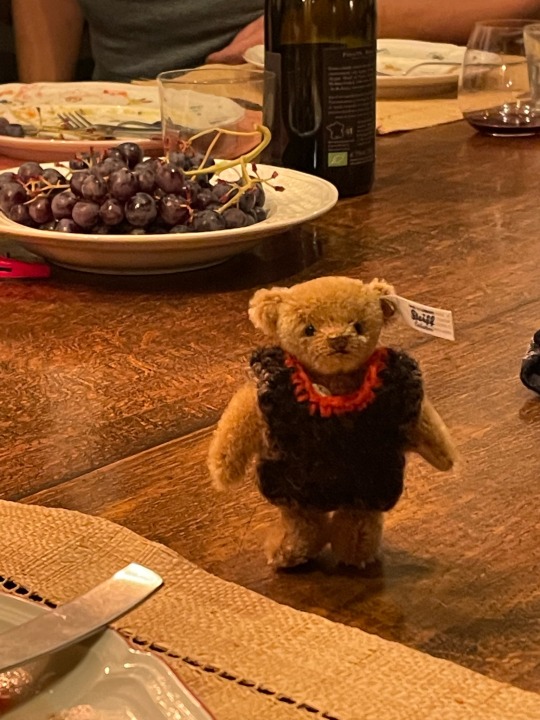
teeny tiny bear in a crocheted vest
11K notes
·
View notes
Text

Persian Carpet/ Lilian pattern/ Iran
#iran#carpet#art#luxury#luxury carpet#persian#persian carpet#persian rugs#rug#handcrafted#arak#winter#snow
784 notes
·
View notes
Text
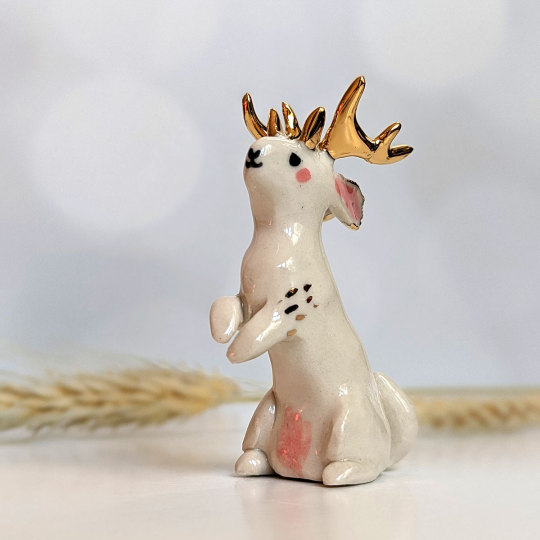
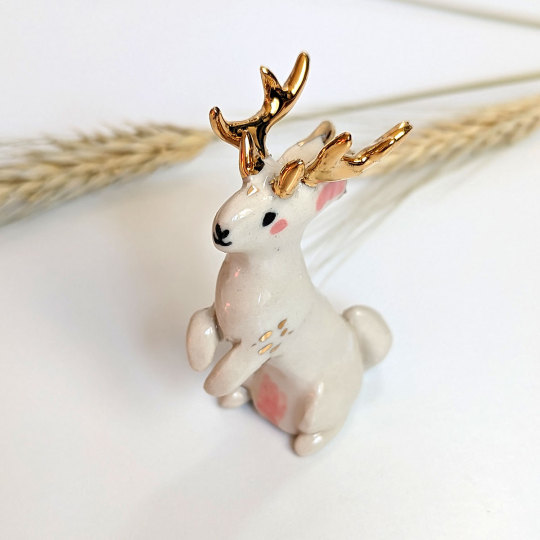


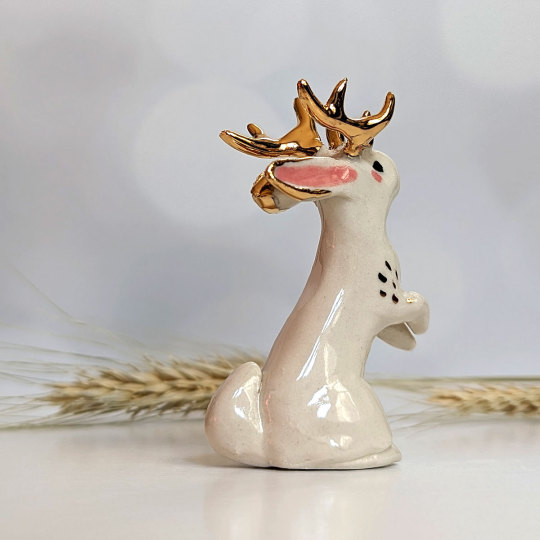
Tiny gold antlered jackalope 💖
#bunnybunny#ceramics#cute#artoftheday#handmade#art#porcelain#clay art#clay#clay sculpting#halloween#handmade pottery#handcrafted#jackalope#jackalopes#wolpertinger#rabbits#antlers#cryptid#kawaii#figure collecting#figurine
1K notes
·
View notes
Text
Making a raw silk quilt. 🤔
#pay attention#educate yourselves#educate yourself#reeducate yourself#knowledge is power#reeducate yourselves#think for yourselves#think about it#think for yourself#do your homework#do some research#do your own research#ask yourself questions#silk#handcrafted
989 notes
·
View notes
Text

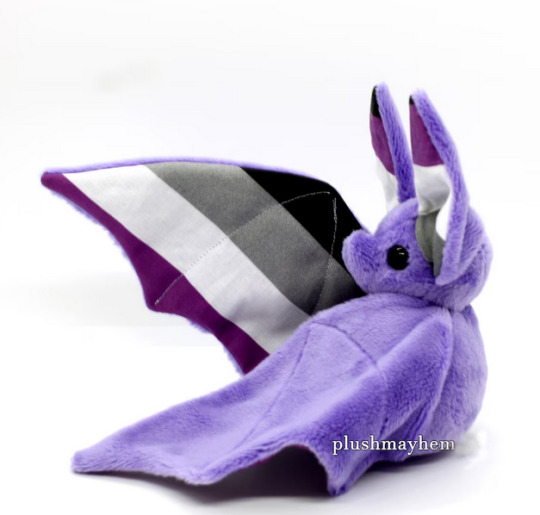
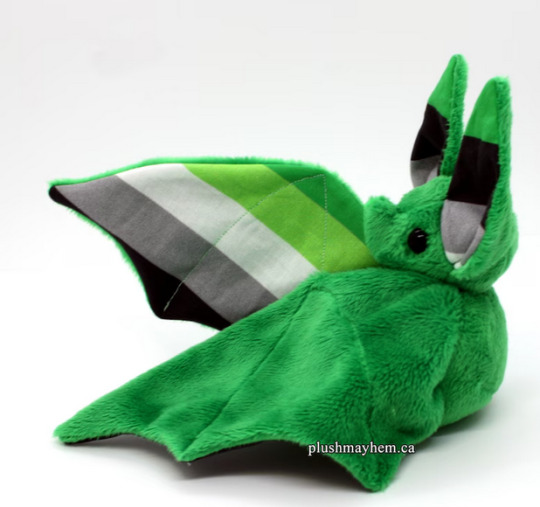
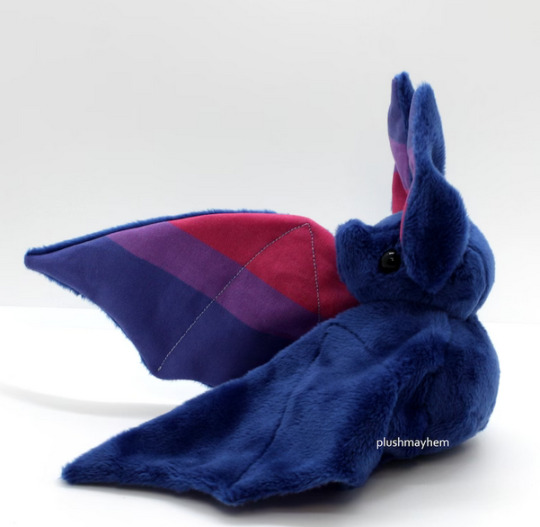
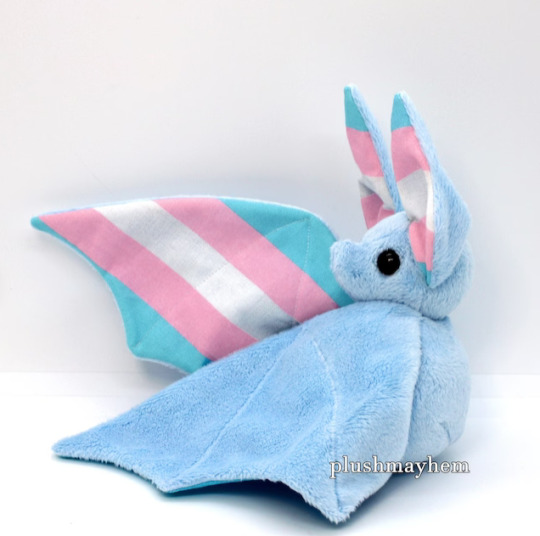
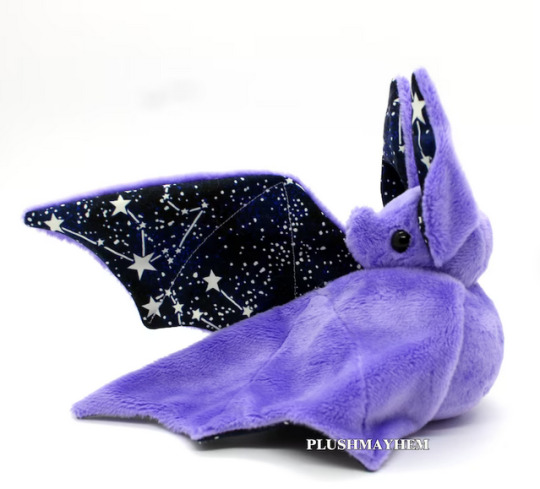
Want to do some early christmas shopping? Been holding out for a good sale?
Etsy has a site wide sale on until October the 11th 2023! All orders of 40$ USD before shipping qualify for 10$ off, which means all my bats qualify for this sale!
So go shop at your favorite artist's shops for some handmade gifts this year!
You can find mine here!
#plush#plushies#handmade#handcrafted#for sale#etsy#etsyseller#bats#bat plush#lgbtqia#queer#transgender#asexual#bisexual#and more!!!
663 notes
·
View notes
Text

Let trans youth bloom ♥️
#embroidery#embroidelicious#hand embroidery#handcrafted#handmade#transgender#ftm#lgbtqia#mtf#trans men#trans women#protect trans kids#let trans youth bloom#trans#transgender pride#pride#lgbt positivity#lgbt pride#lgbtq#lgbt#lgbt community
817 notes
·
View notes
Text

Artist/Designer: Emily Van Hoff
That's quilted! An art quilt wall decoration!
#handmade#handcrafted#art#artist#art quilt#quilt#sew#sewing#sewed#quilted#quilting#fiber art#fiber arts#textile art
555 notes
·
View notes
Text

Day 829: 🐢 & 🤌
Ko-Fi | Patreon
4K notes
·
View notes
Text
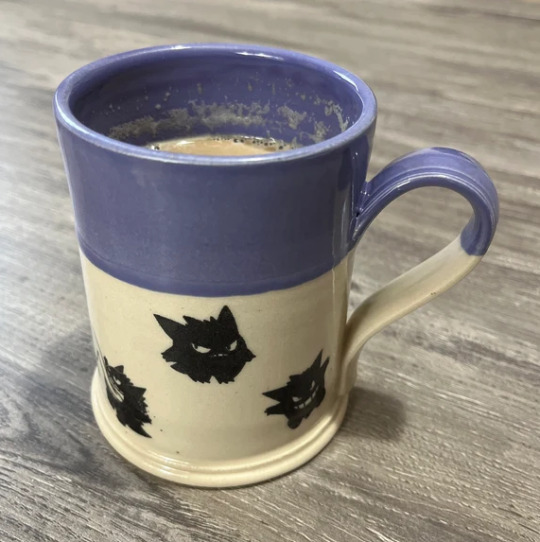

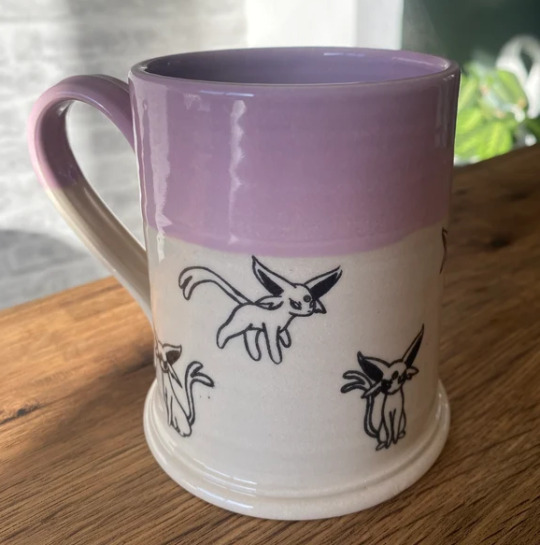

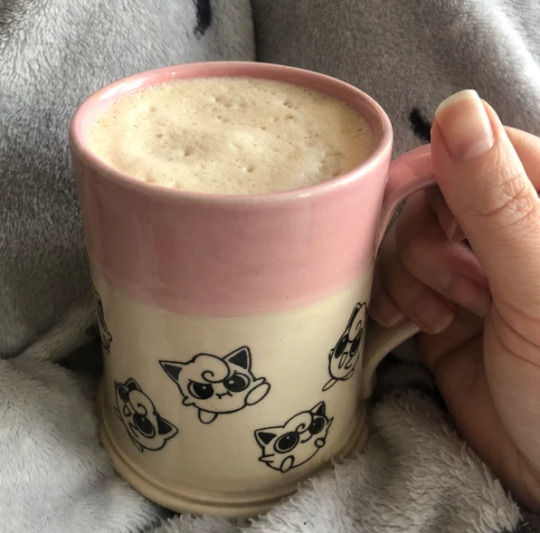
Handmade Pokemon Mugs made by Bespokemon
#pokemon#art#nintendo#crafts#artists#gaming#video games#anime#bulbasaur#starter pokemon#eeveelutions#umbreon#jigglypuff#cute#kawaii#mug#coffee#tea#gifts#merch#handmade#handcrafted#retro#gameboy#gba#ds#3ds#switch#nintendo switch#pokemon go
579 notes
·
View notes
Text
I love when people tell me I make clothing wrong. I love when they tell me “you have to knit sweaters from a yoke” and “you have to sew a back rip stitch for a garment zipper” because I don’t! I don’t!!! I can make clothing however I like! I knit sweaters from the bottom up in panels on straight needles! I sew my zippers on by hand with embroidery thread! And guess what?! The sweaters look like sweaters! The zippers work like zippers! The SNOZBERRIES taste like S N O Z B E R R I E S!!
#this has been a rant#coming at you from people on line getting mad that I make sweaters in 4 parts#and don't mind sewing#witchraft#witchblr#green witch#knitting#knit#knitted sweater#handcrafted#handmade#yarn#magic#kitchen witch#cottage vibes#cottagecore#gremlincore#goblincore
2K notes
·
View notes
Text


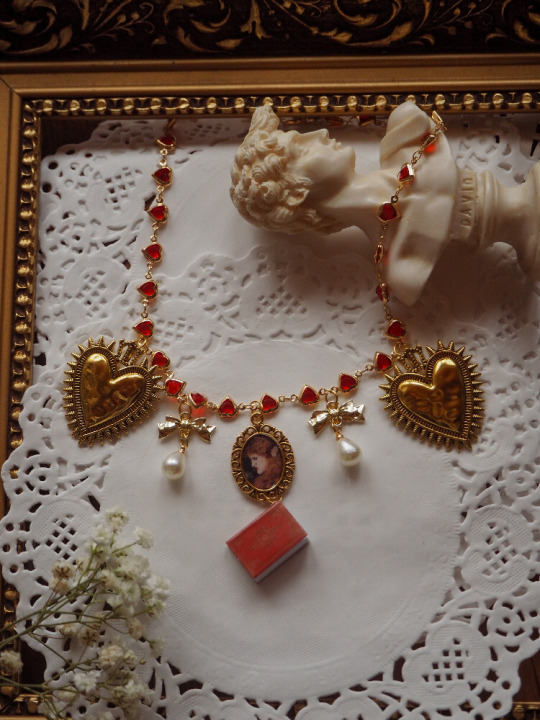
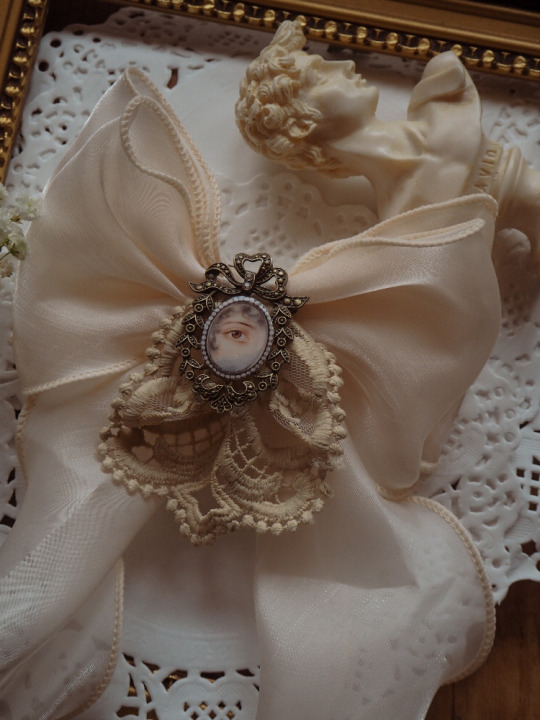
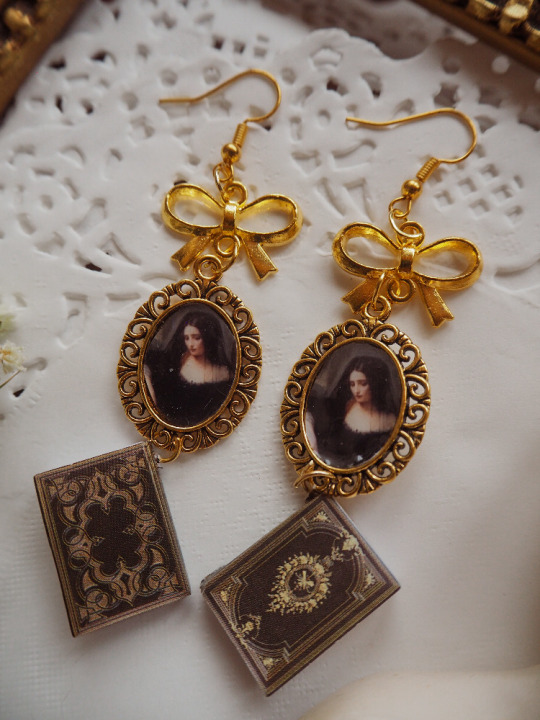


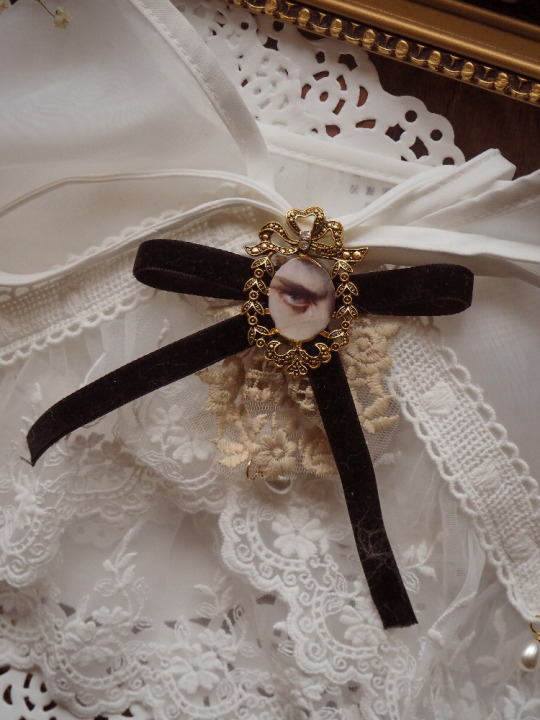
new victorian drop of my handmade items ♥ would mean the world to me if you victorian girlies check them out and maybe treat yourself? my tumblr frirends, use dainty10 to save. shop here // @everlinet
#vintage#cottagestyle#coquette#fairy#fairycore#autumn#cottage#Handmade#handmade jewelry#handmade earrings#handcrafted#small business owner#small business#small artist#dark acamedia#cottagecore#dark academia#dark aesthetic#light academism
395 notes
·
View notes
Last Seen Blogs