#fursuit partial
Text

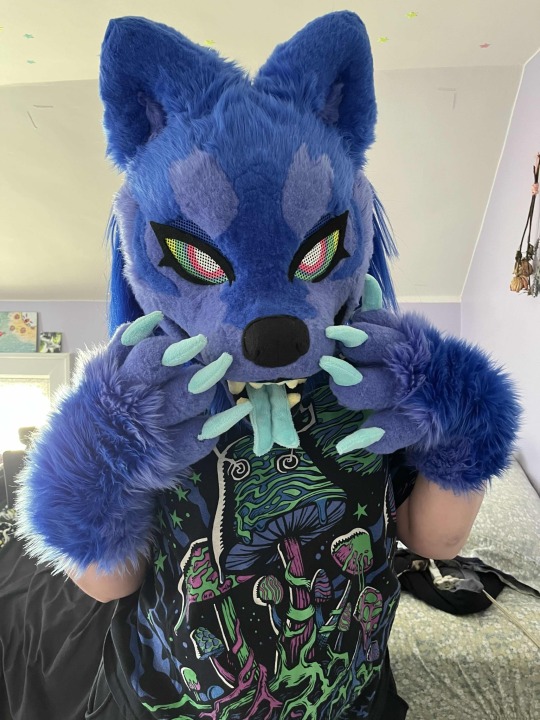
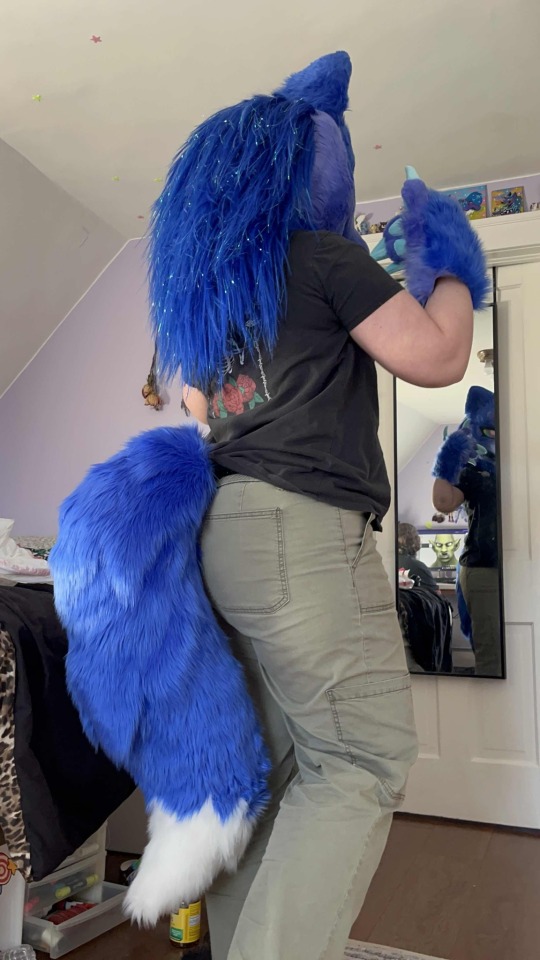
we're in business ⭐️ the rest of Kubo's partial came in the mail!
#fursuits#furry art#clean furry#clean fursona#fursona#anthro#fursuit#fursuiting#kemono fursuit#kemono#my fursuits#kubo#techwear#techware#fursuit partial
2K notes
·
View notes
Text
lets watch the sunset over the lake 🌅
#furry#furry video#fox furry#furry fox#gay furry#cute furry#furry character#sfw furry#furry oc#furry fandom#furries#furry community#furry pride#fursuit photography#fursuit partial#cute fursuit#fursuiters#fursuiter#fursonas#fursuiting#fursuits#fursona#fursuit#furry anthro#cassius fox#cassius#cassius kitsune#fallenfoxie
970 notes
·
View notes
Text


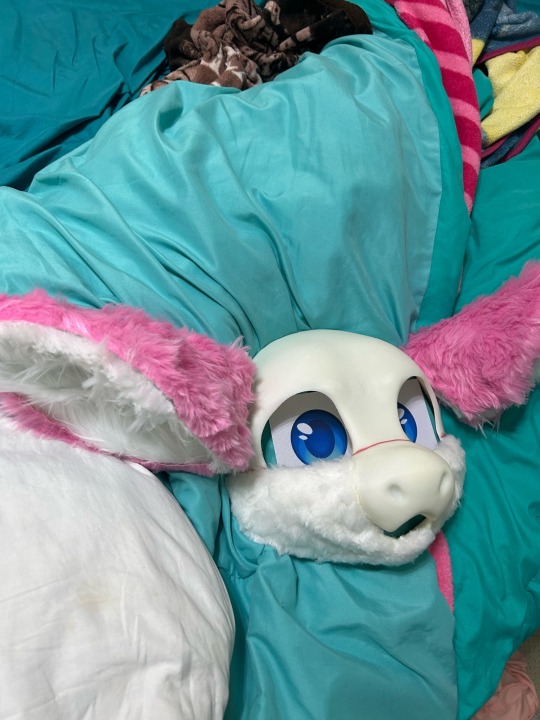
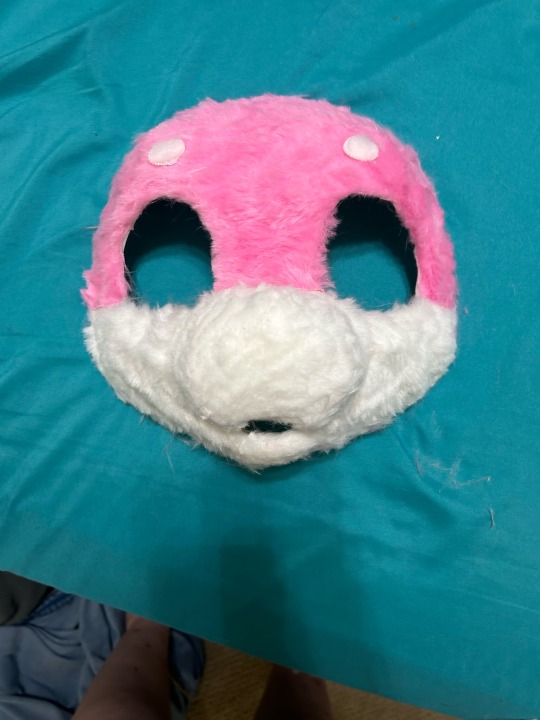
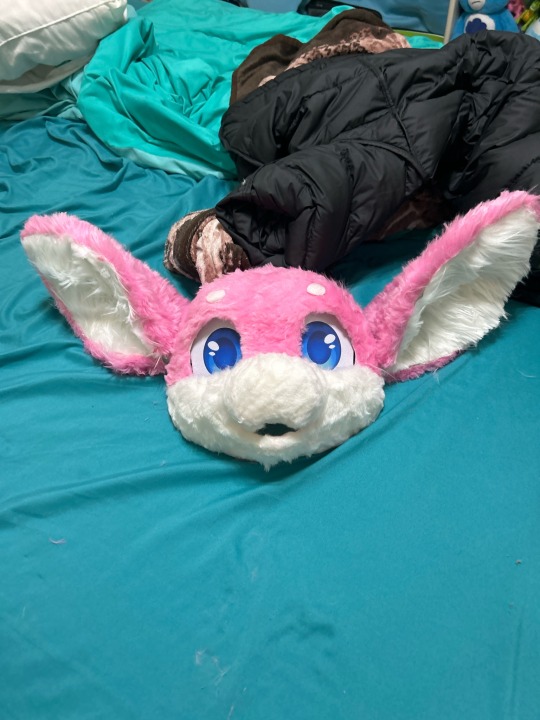
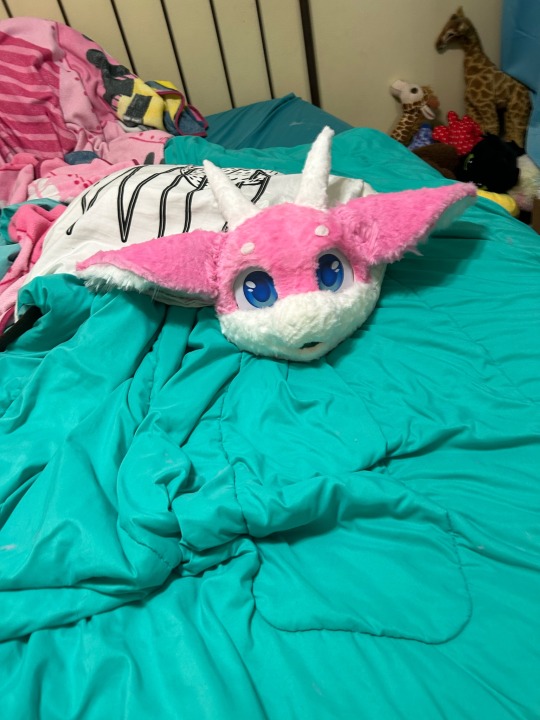
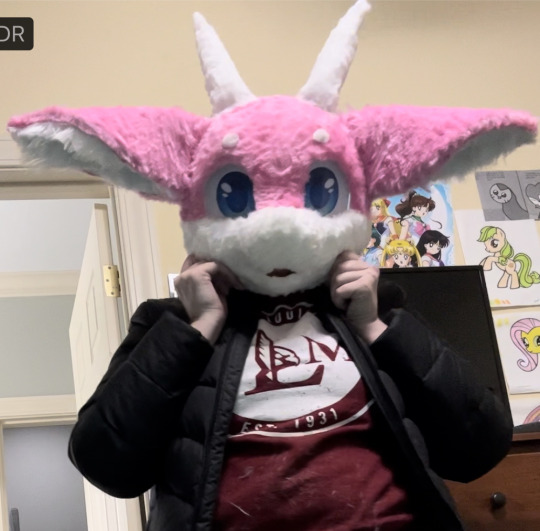
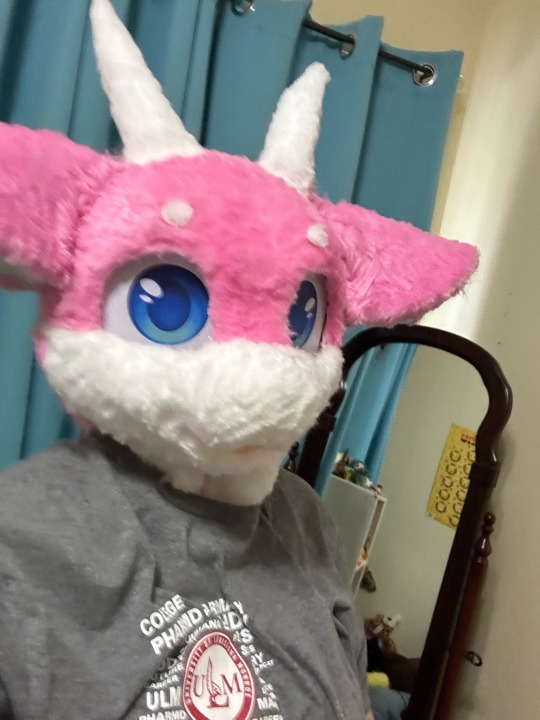
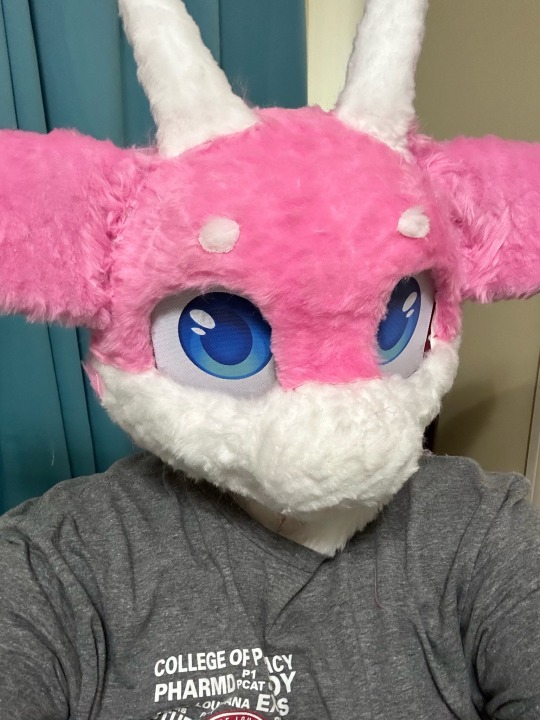
Finally got some pictures of me wearing peepy!! Still think she turned out pretty decent for my first ever partial
219 notes
·
View notes
Text
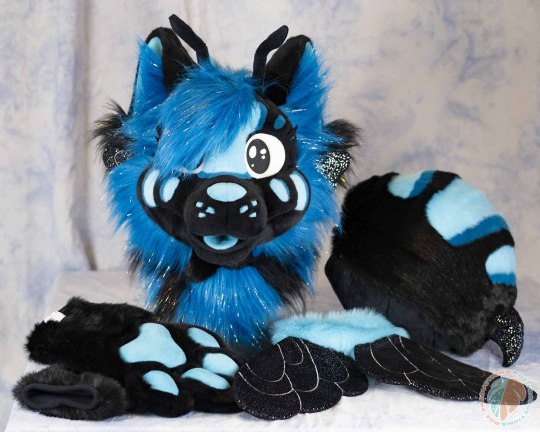
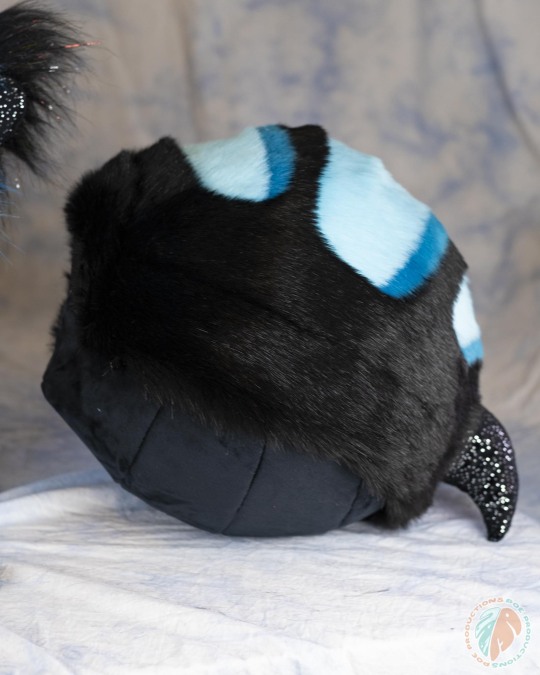

Bzz! Bzz! Spring has sprung, and this cuckoo bee cat is ready to fly into your heart! 🐝 This sweet fursuit partial has poseable antennae, magnetic hair, bee wings, a big ol' bee tail, and tons of detail all over. Also SPARKLE!✨
10% will be donated to the Toucan Rescue Ranch!
Email [email protected] with offers of $4600 and above. Offers will be accepted until April 7th 7PM Pacific Standard Time. If no offers are made, it will be available on our website for $4800 flat sale.
Measurements and details can be found here: https://docs.google.com/document/d/1S9t8R7-BhIhgajir15Gcd86XdRWC1WNVJuI_jtfFYzs/edit?usp=sharing
Sharing is SUPER appreciated!
#fursuit#fursuit for sale#fursuit maker#furry#furry art#furry fandom#fursuits#cuckoo bee#fursuit partial
152 notes
·
View notes
Text
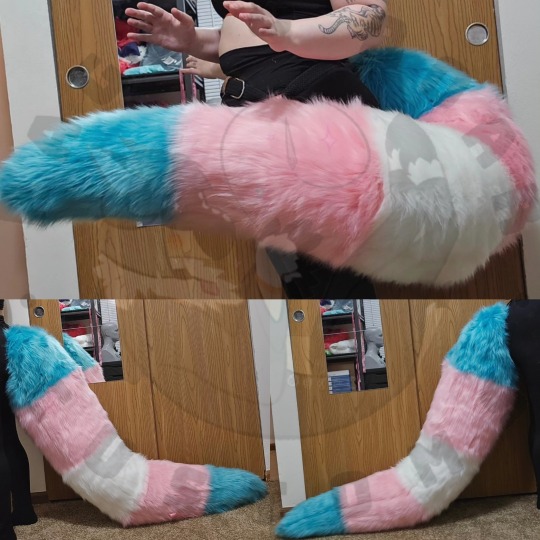
And last tail to post for now is this transflag inspired tail!
Thought this was the perfect tail to say Happy Pride Month with!! ^-^
And wanted to say I love and support all of you! And I hope you all have a safe and fun pride month!! ❤️💙💛🧡💚💙💜🩶🤍
#furry#fursuit#fursuiting#commission#commissioned#furries#fursuit partial#furry art#fursuits#furry anthro#fursuit tails#fursuit tail#tail#tails#transgender#trans#pride month
734 notes
·
View notes
Text


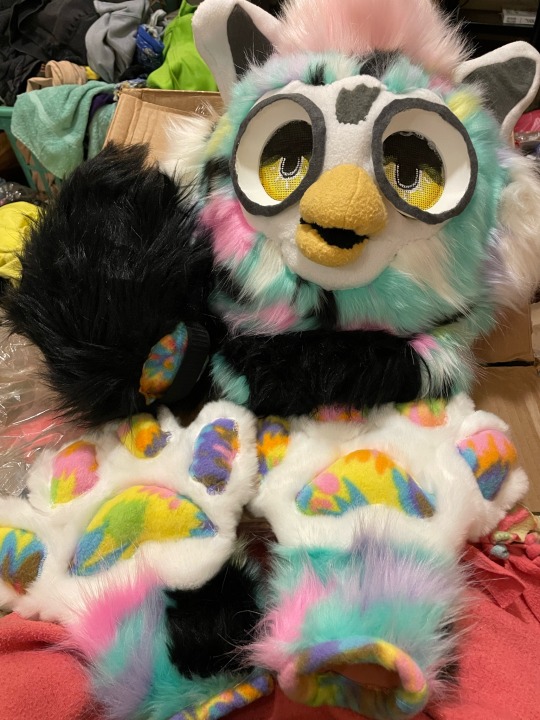
At the moment, this is the fastest job I've ever done. the furbsuit was made in 1 month and 18 days. Well, today I'm going to the fest in it!
#furby#furblr#all furby#furby love#safe furby#furby community#furby photography#furby fandom#furbsuit#fursuit#fursuit partial
193 notes
·
View notes
Note
Hi can I have a kidcore/punk aesthetics stimboard with bead jewelry and furry hand paws?


Kidcore/Punk + Kandi and Furry Hand Paws
for anon
🐾|🌈|🐾
🌈|🐾|🌈
🐾|🌈|🐾
#stimboard#stim board#autism#autistic#sensory#stim#stims#stimming#sensory board#actually autistic#furry#kandi#kandi stims#bead stims#furry stims#furry paws#furry hand paws#fursuit partial#furry art#kidcore#kidcore stims
149 notes
·
View notes
Text
:)
#crow.txt#furby#fursuit#furbsuit#furry#fursuit partial#still havent picked a name#my friend said it reminded him if a slishy#slushy*#so i might… do slushy…#undescribed
88 notes
·
View notes
Text
How to build your first fursuit head for ~$100 USD (2023)

What’s good furries? I’m sure a lot of you have a fursona and want to make your first fursuit. I recommend starting with a partial just in case you mess up or fall out of the hobby. It’s also less expensive!
This tutorial will only cover the head. I haven’t made any of the other stuff and I’m probably going to buy it online premade because I’m lazy.
1.) Have a reference sheet for your fursona.
If you are an artist, draw (the best you can) a reference sheet of your fursona from the front, side, and back. I made a little turnaround animation for mine, but this is not necessary.
Not an artist? Don’t want to draw? Commission someone to do it for you. I recommend Etsy, but you can find furry artists with open commissions all over the internet.
No money for commissions? You might be out of luck. Ask a friend or draw it the best you can. Alternatively, you can edit someone else’s fursona reference sheet to make it look like your fursona. Yeah, it’s stealing. Just don’t post it and act like it’s yours 👍
You can also go into the Roblox game, Catalogue Avatar Creator, and assemble something that looks kind of like your fursona. Take a screenshot of it from the front, side, and back, then go into a photo editor (I recommend IbisPaint or MediBang Paint, they are both free) and add in your special details.
I recommend not making your first fursuit super complicated or some kind of rare species. But you do you. It will just be really hard.
Also determine what style of fursuit you want. Toony? Kemono? Realistic? (I don’t recommend realistic for your first fursuit but you do you). This will be important later.
2.) Find Shit to Build It With
Once again, I recommend Etsy. You’ll need:
+ all the fur colors you need (try 2-3)
+ eye mesh
+ 3D printed mask
+ hot glue gun and hot glue sticks (dollar store)
+ needle and thread (dollar store or Walmart)
+ balaclava
+ styrofoam head
+ fabric scissors
+ extra foam pieces for ears or horns
Assemble all of that. It should be around $80-120 USD.
Your 3D printed mask is the most important thing. Another reason to get a relatively common species. Mine was a dragon. Remember the fursuit style you picked earlier? Search on etsy “3d printed [style] [species] furry mask” and you should be able to find one. You can also get pre-made foam heads. I don’t recommend trying to make your own head base, because A) it’s hard and B) those materials cost more money.
This shit will take a while to come in so don’t get too excited about it. My mask took like a month because it came from Germany.
3.) Mark the Color Spots on your Head Base
Basically just take a sharpie and outline the different color regions on your headbase. You can also use a pencil if you’re a pussy /j
4.) Uhhhh Eyeball That Fabric Pattern and Hot Glue the Pieces to Your Headbase
Some people use duct tape to make a pattern. That did not work for me! So I eyeballed it. Made some mistakes. That’s okay.
5.) Trim Down the Fur Length
Most people use clippers for this but I didn’t want to buy any and I didn’t know how to use them so I did it VERY CAREFULLY with scissors.
6.) Fill in the Cracks Between Your Hot Glue Seams With Loose Fur
Look at all this damn fur on the floor! If only there was something to do with it!
Put hot glue between the super visible seams where you hotglued different pieces of fabric next to each other, then pack in some of that loose fur. Cut it down if it’s too long. The seams will be less visible.
7.) Hot Glue the Eye Mesh Behind the Eye Holes
VERY CAREFULLY hot glue this so your character isn’t cross-eyed. You can try follow-me eyes but I didn’t do that with mine.
8.) Add Your Extra Details
You know like whiskers or plastic teeth or a tongue or anything else you want to put on there.
Now you’re done with the mask part.
9.) CAREFULLY Hot Glue Your Balaclava to the Inside of the Mask
The eye hole should be where your eye mesh is so that you can see out. Also make sure some of the balaclava is glued to the top of the mask.
10.) Weigh Down Your Styrofoam Head With a Heavy Rock
Or put it on a stand. Or hot glue it to the table. Whatever works.
11.) Put the Balaclava that you Glued to the Mask on the Styrofoam Head
Pretty simple. The reason we weighed down the styrofoam head is because the front of your mask will be heavy and make it fall over while you’re trying to work.
12.) ????? Put Fur On the Balaclava
You’ll also need to like add some fur connecting the sides of the mask to the balaclava. Hard to explain. You’ll probably figure it out?
13.) Trim that Fur and Put the Trimmings in the Seams Like Before
14.) Take it off of the Styrofoam Head
You may need to cut a slit in the back of the neck of your fursuit head. Not only will it help get the styrofoam head out, now your head can get in and out too!
15.) Put it on
Edit it if something is wrong. It might feel crooked but it’s probably not.
16.) Enjoy!
Hopefully this was helpful! This is how made mine.
#furry community#furry anthro#furry#furry fandom#fursuit head#fursuit#first fursuit#fursuit making#tutorial#fursuit tutorial#partial fursuit#fursuit partial#maximilliansblogstuff
90 notes
·
View notes
Text
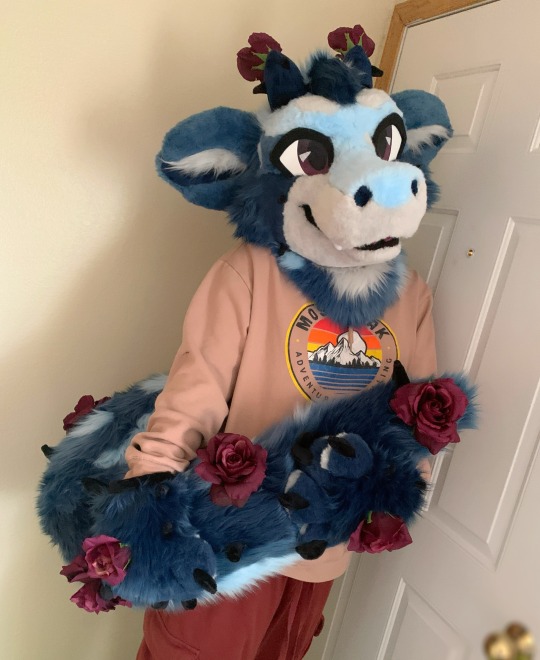


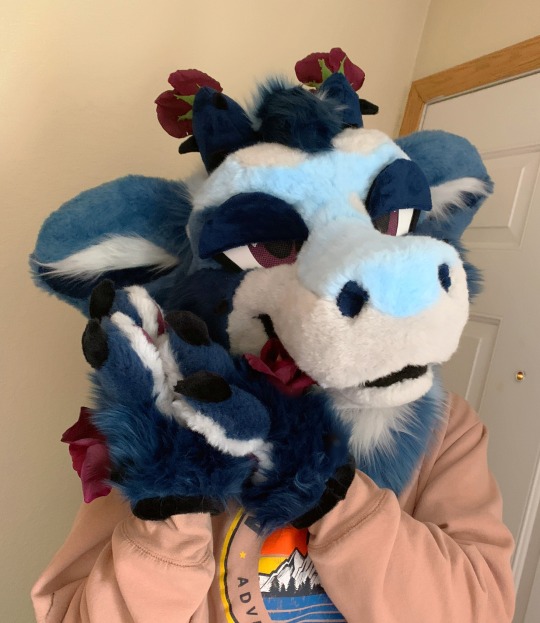
Say hi to rose ocean dragon! 🌹🌊
This was a premade I had at FWA 2023!
Suit features removable eyelids, and snap-on roses!
Head base by CCSMascots, everything else by me!
#furry#furries#fursona#furry art#furry fandom#rose#roses#rose ocean#dragon#fursuit#dragon fursuit#fursuit premade#premade#fursuiter#fursuiting#premade fursuit#fursuit partial
267 notes
·
View notes
Text


Finished commission for @werewolfautism !
So happy with how this dude turned out! I’ll be opening my commissions again tomorrow so be on the look out for another post with more info!🐾⭐️
#I meant to post this a bit ago but I just forgot to make a post ;-; but here it is!!!#my art#furry#fursuit#fursuit partial#fursuit maker#fursuit making#fursuit commission#furry art#furry community#furry commissions#furry fandom
291 notes
·
View notes
Text


Happy #FursuitFriday! 🐕
#kemono fursuit#kemono furry#fursuiting#fursuit#fursuit partial#fursuit paws#shiba fursuit#dog fursuit#canine furry#clean fursona#my fursona#my fursuits#kubo
464 notes
·
View notes
Text
swept a huge pile of leaves off the back deck & then got hit with a powerful urge to frolic in the mangree suit 🍂
#this suit is seriously so fun to see in motion. still images almost never do it justice#fursuit#furry#myst#myst iv#mangree#fursuit partial#autumn leaves
92 notes
·
View notes
Text
Maybe he cares about his furry top tufts too much…
Excuse the noisy stomach, the stethoscope always picks that up from that side of my heart.
58 notes
·
View notes
Text
Oh Opossum!!!
Check out our insta for more info on this suit!! Yes it’s for sale!
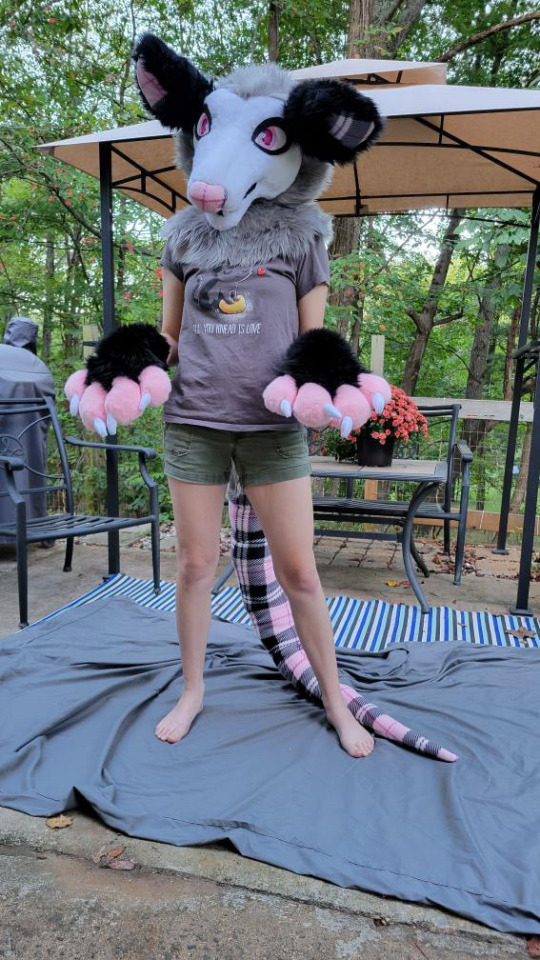
#furry anthro#furry#furries#Fursuit#fursuit partial#fursuit premade#fursuit head#fursuit for sale#fursuit maker#Fursuit opossum#opossum#opossum furry#sfw furry#furry community#furry art#furry artist#fursona#fursona for sale
87 notes
·
View notes
Text
Video of all the tails!
#furry#fursuit#fursuiting#commission#commissioned#furries#fursuit partial#furry art#fursuits#furry anthro#tail#tails
70 notes
·
View notes
Last Seen Blogs
tigersgolfteam
Untitled

misslisalot
My Shot

florestawpc
Floresta

miriamspeddy
K-Pop World♡

lilpeachyhazel
LilPeachyBee