
clubgif
CLUB GIF
by gifmakers for gifmakersTRACKING:
#clubgif #gif tutorial
475 posts
Don't wanna be here? Send us removal request.
Last Seen Blogs
transcendrp
you always said you'd drive me crazy

aftereffectsinutec
After Effects
lukehemmingsqueen
I’m moving along 🎤💗
afroblogs
Unfemininenly Feminine

yun-shuten
Grasp the thought. Firmly.
Photo

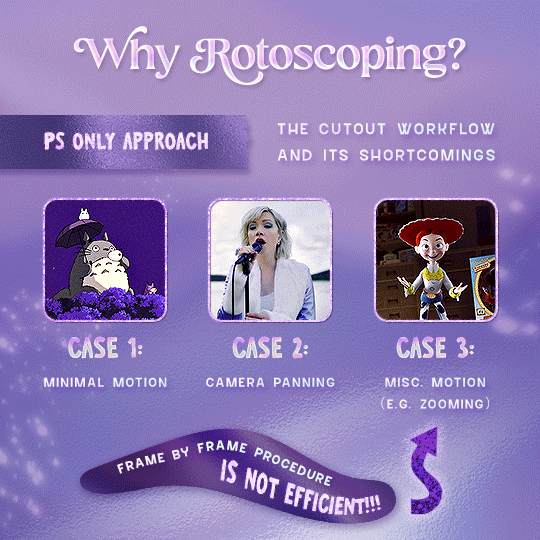

Rotoscoping Tutorial by @antoniosvivaldi
Hi everyone! I’m excited to announce my long-delayed Rotoscoping Tutorial - requested by a number of people over the past calendar year.
In this tutorial, I will show you how to create the cutout gifs like this (and seen in most of my gifsets under this tag) with Rotoscoping on After Effects. I’ll also provide additional examples and a number of things that I do to optimise my giffing / Rotoscoping workflow (e.g. useful shortcuts & other things to be aware of).
This is the structure of the tutorial:
Why Rotoscoping? Photoshop video timeline’s limitations
Photoshop workflow pt 1: Preparing your gif
After Effects workflow: Interface, shortcuts, and Rotoscoping tools
Photoshop workflow pt 2: Assembling your gif; with multiple examples
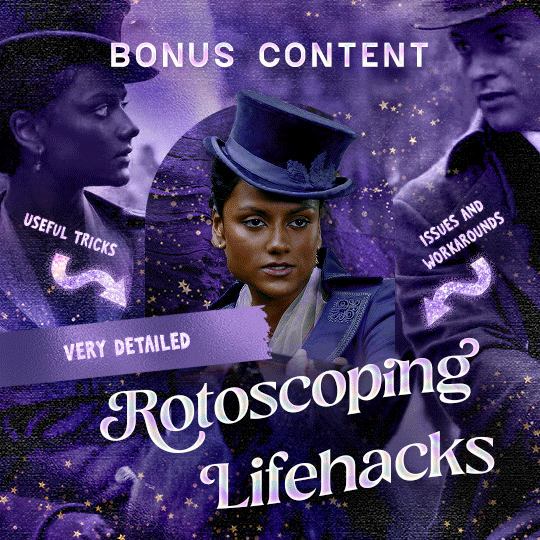
Bonus content: Rotoscoping tips* & workarounds to common issues
For quick reference, here are example gifsets (and where Rotoscoping is used in the posts) that I will mention in the tutorial:
Example 1: Cutout gif effect | panels 2 + 4
Example 2: Changing a gif’s background colour | all panels
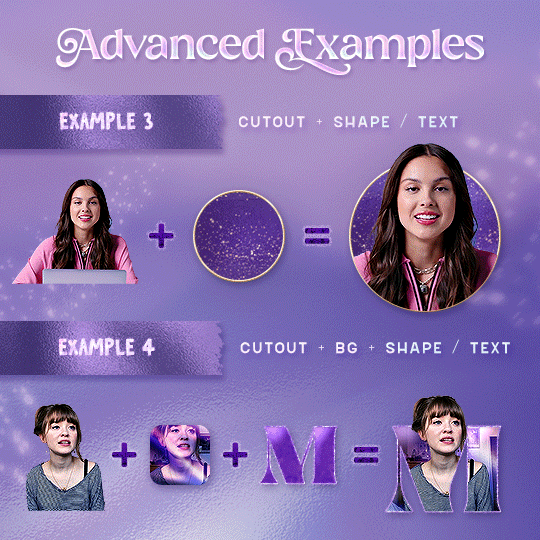
Example 3: Cutout gif effect in a shape | all panels
Example 4: Putting it all together | panels 1, 3, & 5
What you need & need to know:
Software: Photoshop & After Effects (After Effects 2021 or later for Rotobrush 2.0)*
Hardware: 16GB RAM required to run later versions of AE*
Difficulty: Advanced; Knowledge in making gifs, applying layer masks, and using video timeline interface assumed
Key concepts: Rotoscoping (AE) / Video Timeline (AE+ PS) / Layer Masks & Groups (PS)
Supplementary files: tutorial resources
*I’m currently running the latest version of PS & AE on an M2 Mac, but I’ve also used older versions (CC 2015 & 2020) on Intel-based Macs. I’ll outline some known compatibility & performance issues, and workarounds later in this tutorial that could help streamline your giffing workflow.
Tutorial under the cut. Like / Reblog this post if you find this tutorial helpful. Linking this post / the example gifsets in your post caption, will be greatly appreciated if you read this to create effects seen in Examples 3 + 4.
Keep reading
2K notes
·
View notes
Note
Wait, I'm confused, I have always thought that the maximum weight of the gifs was 3mb? have they uploaded it? please can you tell me what is the official weight and size for this year?
Don't believe Tumblr 😂 I think that's only their suggestion to make gifs load faster but you can upload gifs larger than 3mb, as long us they're under 10mb!
6 notes
·
View notes
Note
hi! any idea what font is used in this gifset?
https://kieumy-vu.tumblr.com/post/679822828841877504/friends-6x07-the-one-where-phoebe-runs
..or can you suggest any fonts that are rounded and good for gif subtitles. thanks you.
Hello! I normally don't answer questions about other people's posts anymore, but since most gifmakers use this, it's Arial Rounded Bold with faux bold and faux italic applied (if I'm not mistaken). I’ve explained faux bold and italic a bit in part [3] of this comprehensive subtitle guide :) Please ask OP next time, thank you!
I'll be making a separate post for subtitle fonts soon, thank you for the idea!!
9 notes
·
View notes
Note
do you by any chance have a tutorial for typing text on gifs because i could never find one and i have been curious on how to make such animation??
Hi! Here's one by lirrynouis and another by completeresources.
13 notes
·
View notes
Text
Animating Texts with Timeline Panel and Keyframes

Someone asked me for a tutorial on how I made this b99 gifset which involves text animation.
What you need: basic gif making skills, know your way around timeline panel and keyframes in photoshop, and a ton of patience.
TIPS: it’ll generally be easier… if you know or have idea how you would want your text to be animated. Have your basic gif beforehand
This tutorial will be image heavy and very long, therefore I divided to 4 categories:
1. Make wiggly texts using keyframes and warp text
2. Make texts appear using layer mask
3. Make moving texts using keyframes and transform properties
4. Animate an object/shape
Keep reading
299 notes
·
View notes
Note
Hey! Whenever I import several gifs into one canvas, I have the problem that all their originally cropped out edges show up again. (The crop tool is unhelpful because it only works with rasterized layers, but who am I telling this, you probably know that dsfsds).
Is there any way to import gifs sans edges without saving the finished gif, opening and turning it into video timeline format/smart object and dropping the gif file in the final canvas? (For me, this method always makes my gifs grainy which is why I'm looking for another solution.)
Are layer masks in the collage canvas the only option to deal with this?
Thank you in advance if you find the time to answer. And if not, then thank anyway, your blog is always tremendously helpful! :)
Hey anon! So sorry for the late reply!!
Crop tool:
I'm not sure what you mean about the crop tool, but I think what's happening is the 'Delete Cropped Pixels' hasn't been selected (highlighted in orange below).

Once you have that box ticked, the cropped out edges (cropped pixels) won't show when you import them into another canvas.
About the importing:
If you don't prefer importing them onto another canvas as a smart object from your video timeline, you can do the other method (Select All Frames -> Copy Frames -> Paste Frames... -> Paste Over Selection).
5 notes
·
View notes
Note
Hi! Is there a way to make people in a gif black and white with the rest of the gif coloured without colouring each individual frame with a brush by hand?
Hi! This answered ask has 3 different tutorials you could check out.
6 notes
·
View notes
Photo
Zoom In Gif Effect!
This tutorial assumes you already know how to make gifs
If not, you can see the way I make mine here
This tutorial will be in two parts: static zoom and moving zoom.
Keep reading
837 notes
·
View notes
Note
may i ask how you did the lettering ( ??? like how they moved ) on post/130337744739/you-were-r-e-d-and-you-liked-me-cause-i-was-b
Hi Menal! Apologies for the late reply & thank you so much for asking. I used Adobe After Effects to create the text layers for the gifs from this set.

In this tutorial, I’ll show you how I’ve integrated After Effects / Photoshop workflow to implement animated text in my gifs:
Prepare your gif
Animate your text layer
Add animated text to your gif
What you need & need to know:
Softwares: Photoshop and After Effects
Difficulty: Advanced; Knowledge in giffing & using video timeline interface features assumed.
Key concepts: Video timeline (PS & AE) / Keyframes (AE) / Animation Presets (AE)
Supplementary files: tutorial resources
Tutorial under the cut. Like/reblog if you find this useful.
Keep reading
271 notes
·
View notes
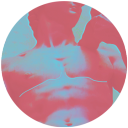
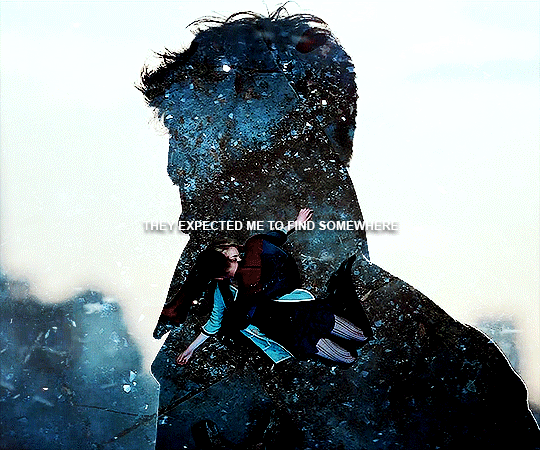
Photo
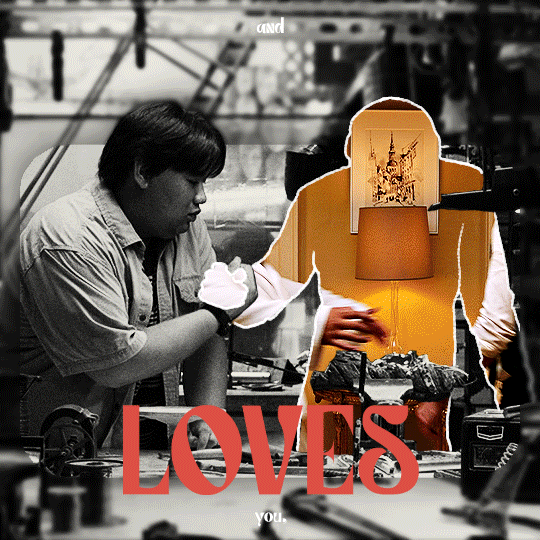
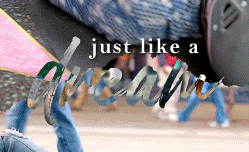
It’s okay. I’m gonna come and find you, and I’ll explain everything. I’ll make you remember me.
2K notes
·
View notes
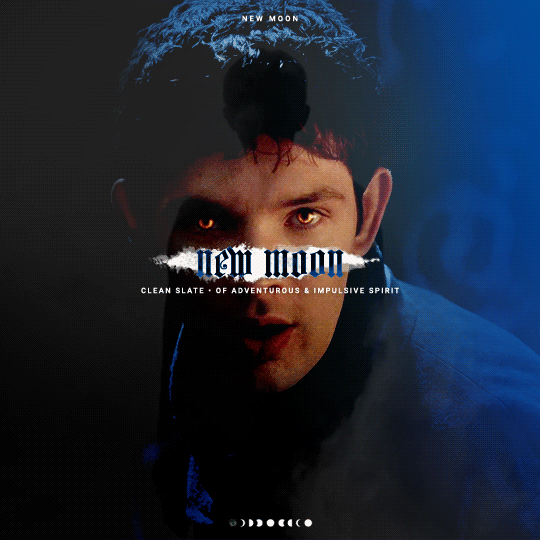
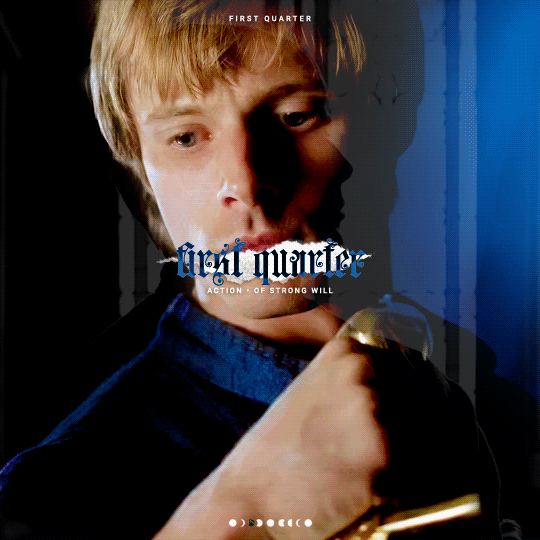
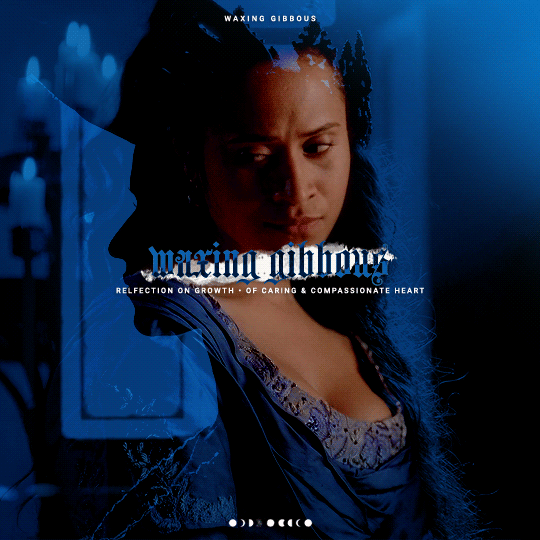

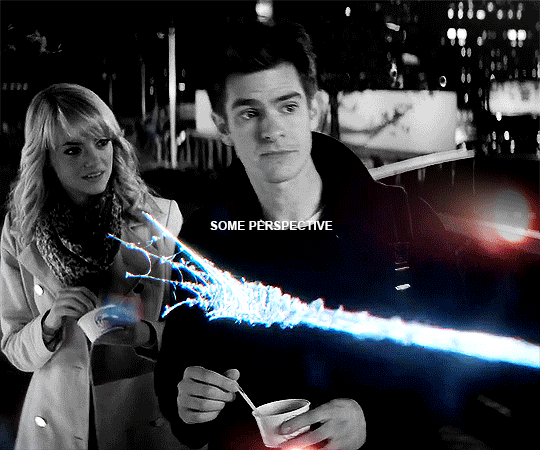
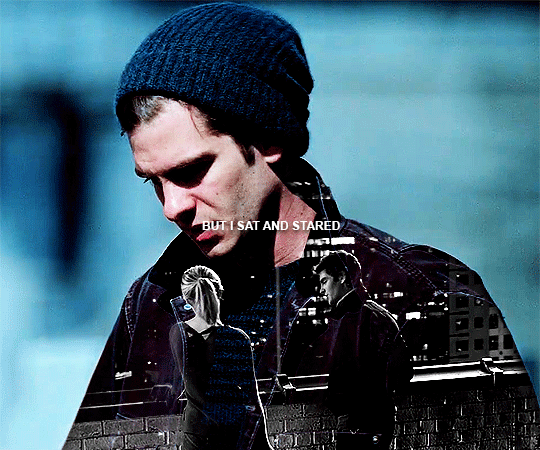
Photo
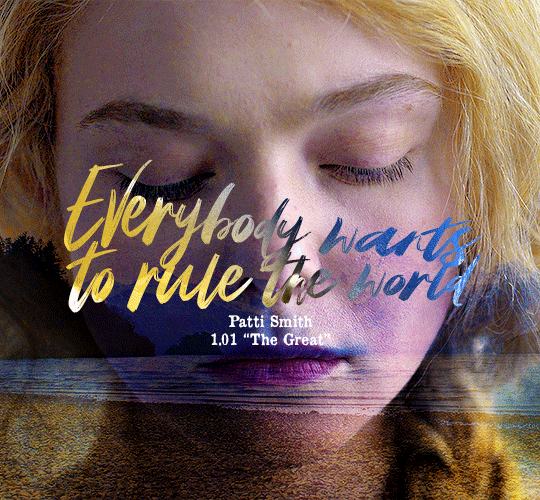
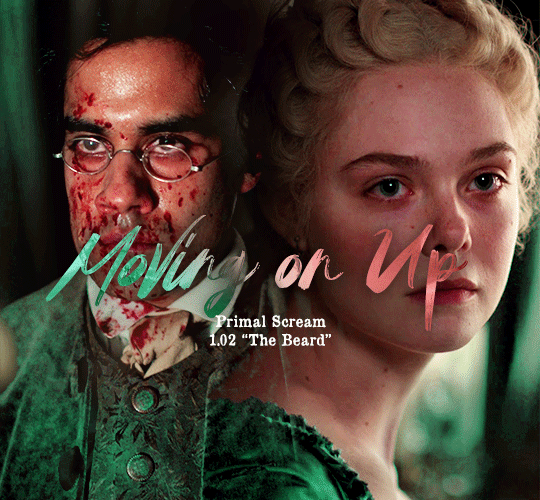

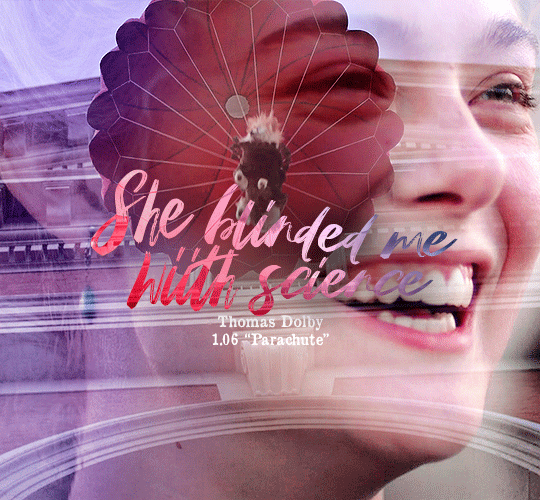
THE GREAT + favorite song choices in season one
484 notes
·
View notes
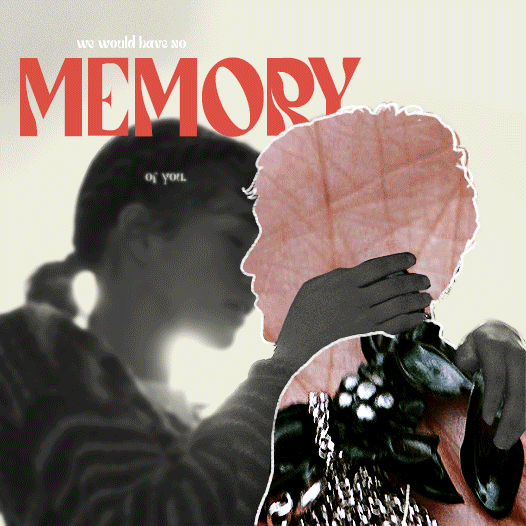
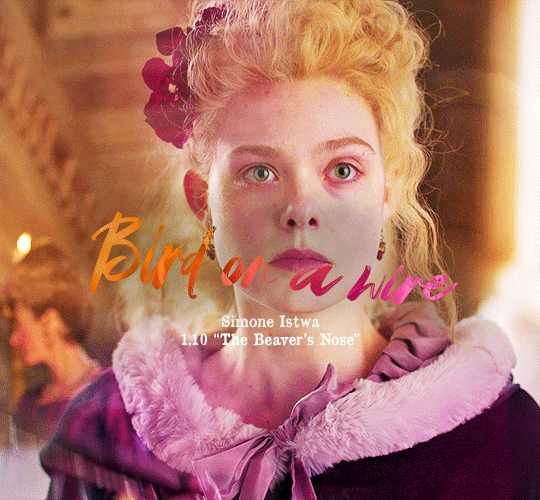
Photo
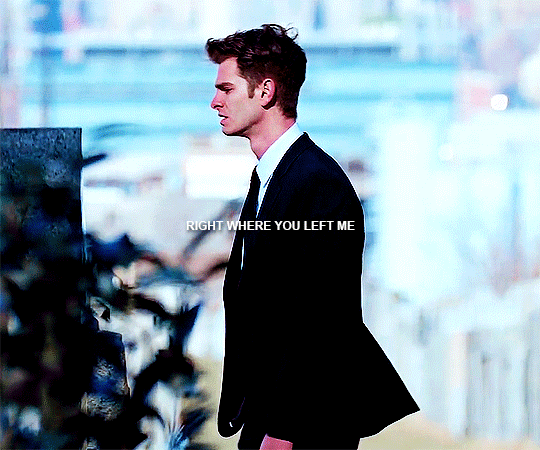
You left me no choice but to stay here forever
1K notes
·
View notes
Photo
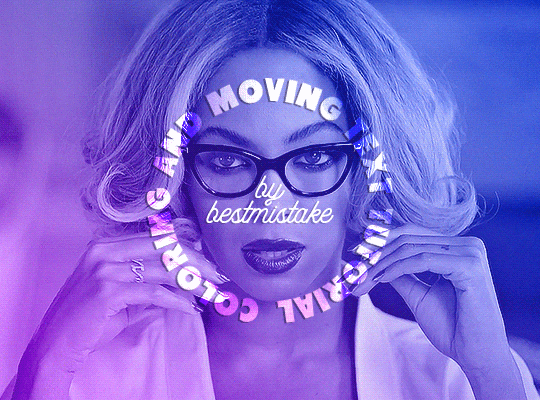
hi i was asked by this anon to show how i colored and did the animated text for this set, so here it goes!! 🖤
Keep reading
591 notes
·
View notes
Photo

a couple of people have asked how i colour shots that have an awful yellow tint, and it was requested by an anon that i make a tutorial today, so… here we are.
this tutorial will detail on how i remove the yellow tint and touch on my basic colouring, and i’ve tried to make it as concise as possible. it’s aimed towards heavily tinted shots, though you’re welcome to also follow along with shots that are more subtle (you might not find step 3 necessary though).
please keep in mind that the more in-depth explanations are only applicable to the example shot i used, and when colouring your own, the settings will be different.
tutorial under the cut, please reblog if you can!
Keep reading
2K notes
·
View notes
Note
https://savannahleemay.tumblr.com/post/644968947850084352/show-me-how-you-do-that-trick-the-one-that-makes
Sorry I just love this gifset you made and I was curious how you made the text those pretty metallic colours? Thank you!
Sure. I’ll walk you through how to make this. Including the pattern
Prerequisite for this is that you need a glitter pattern. If you already have one, skip ahead to where I add the text.
There are very talented people who sell photoshop patterns and layer styles on websites like creativemarket, designcuts, and etsy. It’s a decent option if you want something easy and also something to use in products that you’ll sell (because of legal and licensing reasons) but that’s not a necessity for tumblr. I don’t think you should have to spend money on something you make absolutely nothing off if. We can do it for free although it might look a little less good as the pros do it
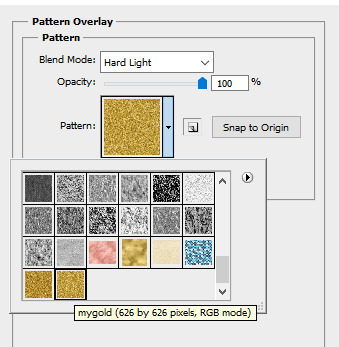
google something like “gold glitter seamless”, “glitter seamless”, “seamless glitter texture”. And then pick whichever pattern you like, just make sure that it’s 1) a square and 2) not watermarked or anything. You may want to also add “free” to your search terms. I’ll use this one from Freepik.com
Copy the image and paste it into a new photoshop document:
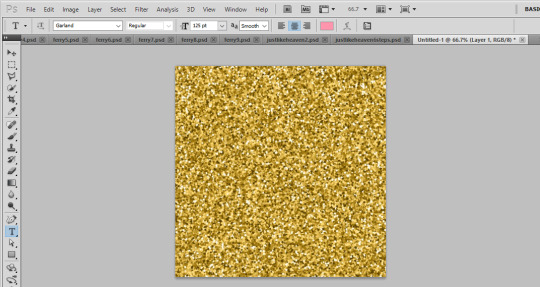
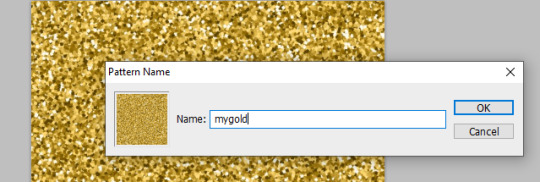
Go to Edit -> Define Pattern
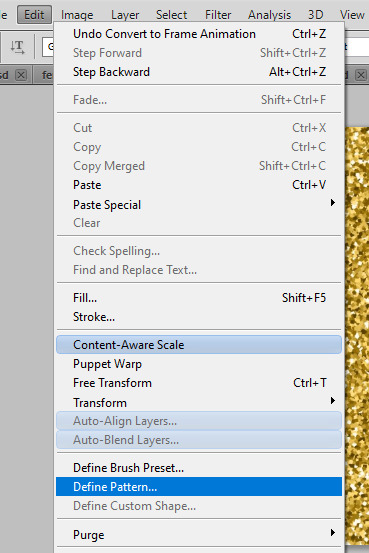
name your pattern
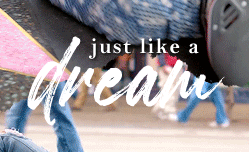
Now we can apply some effects. I start with plain white text:
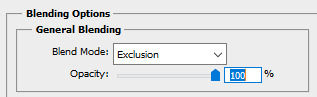
then go into the blending options, and make the general blending mode Exclusion:
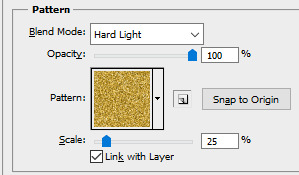
then add a pattern overlay style where you select the pattern you made earlier and set the blend mode to Hard Light
You may want to play with the scaling. For this pattern and text I thought it looked good at 25%

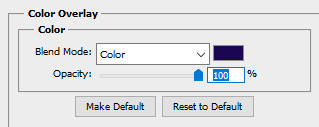
Then add a color overlay layer style with the desired color and set blend mode to Color
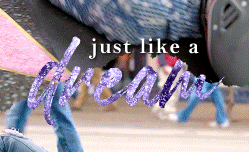
and then I just add some drop shadow to make it a bit more legible
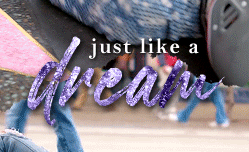
and then optionally sometimes once this is all done I tweak the color of the original text (this is what it looks like if it’s black instead of white:
which is what I ended up with for that specific gif in this set, but some of them I left the text white.
And that’s pretty much it!
129 notes
·
View notes
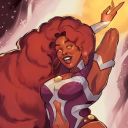
Photo
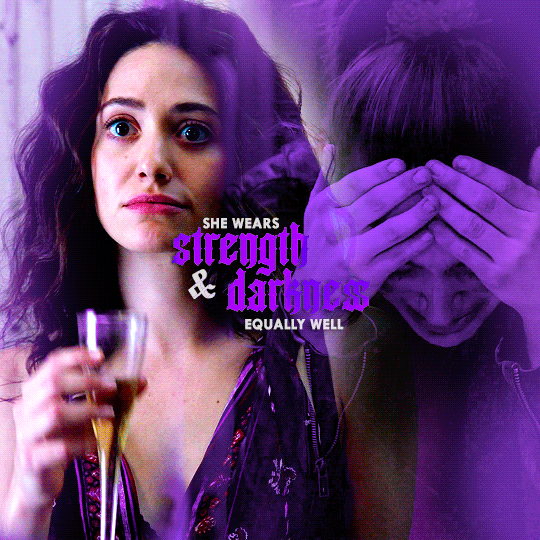
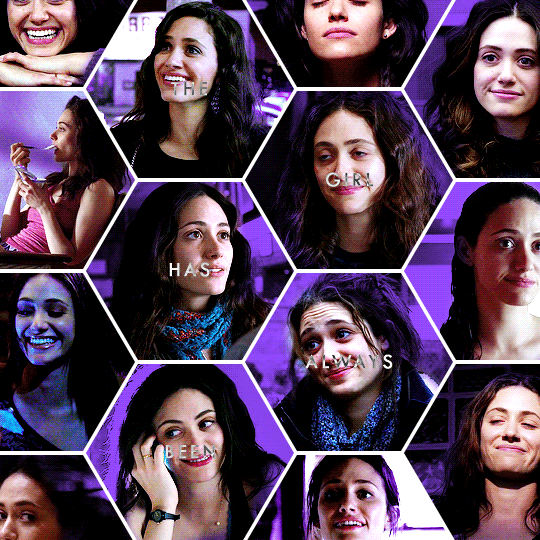
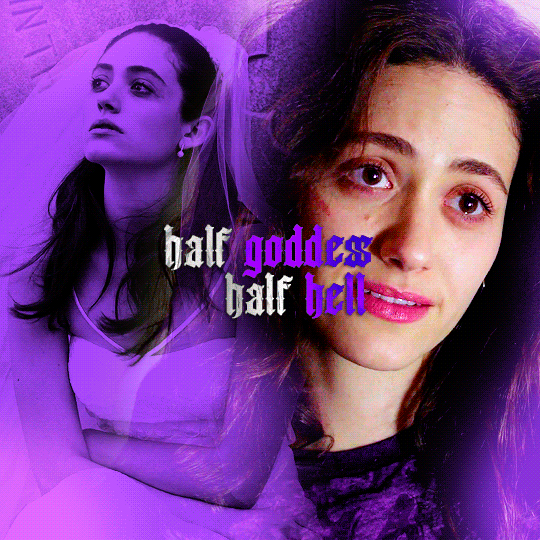
1K CELEBRATION ♡ gift for @torisvega
↳ She wears strength and darkness equally well, the girl has always been half goddess, half hell. —Nikita Gill (insp.)
415 notes
·
View notes