Last Seen Blogs
animezinglife
Animezing Life
untamedxiaowang
wanxian
nekirorgen
Nékir by Leukiel
arschbiene
The Bee's Knees
audreyholland-blog1
Tyler
Photo

Okay so this is my second texture pack and i really tried to make cute textures, although most of these are paper scans i made with some paper that i found and thought it would be nice to scan ヾ(●ω●)ノ
I hope you guys like them and find them useful but please consider liking or reblogging this post if you’re downloading them, because i did worked hard on these(・□・;)if you want to show me what you did with these i’ll be really happy too!!
do not claim as yours, upload to other sites or use these textures for your own pack, please!!!
other than that, enjoy!!!!
2K notes
·
View notes
Photo

02. TEXTURE PACK BY WASIRAUHLPSDS l DOWNLOAD
Like or reblog this post if you download.
This pack contains 119 textures
These are all found in Google and deviantArt
It took me hours to find them, so please don’t repost or claim as your own.
Enjoy it ♡
869 notes
·
View notes
Photo

Random pics pack by dashiconsxo. Contain 150 pictures for you to use. Like or reblog please and don’t copy. ♡ DOWNLOAD ♡
236 notes
·
View notes
Photo
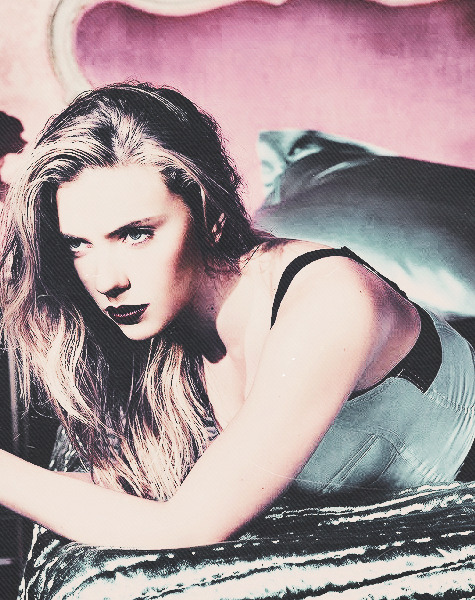

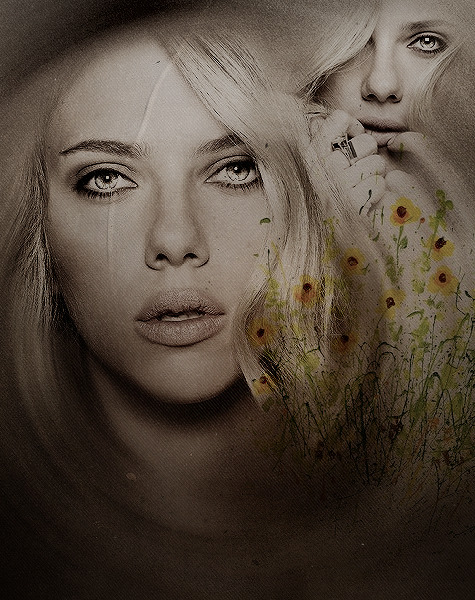
Scarlett Johansson → Simple Premades
click for full size
please like/reblog if using
#scarjoprmds#premades#scarlett johansson#prmds#smr#kayli#cryptic#sinful misfortune#sinful premades#edits#simple edits#simple premades
7 notes
·
View notes
Photo
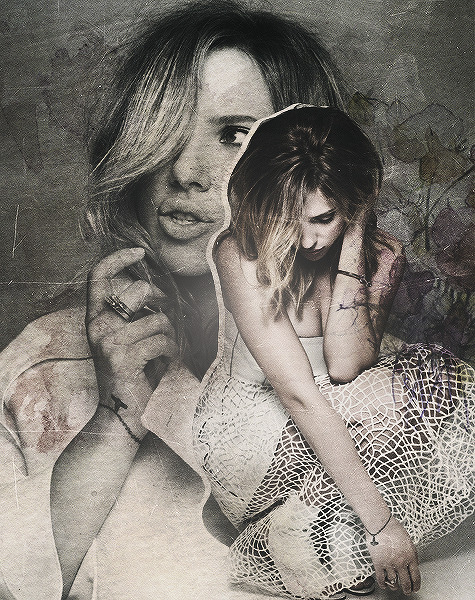
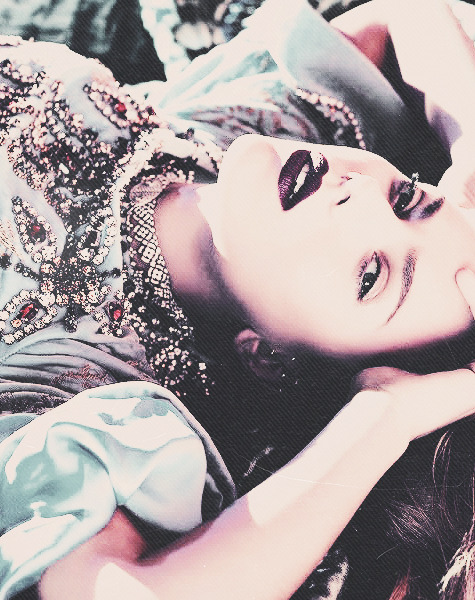
Scarlett Johansson → Extra Edits
click for full size
please like/reblog if using
#scarlett johansson#scarlett j#scarjoprmds#premades#kayli#cryptic#edits#sinfulmisfortune#photoshop#extra edits#graphics#smr
3 notes
·
View notes
Photo
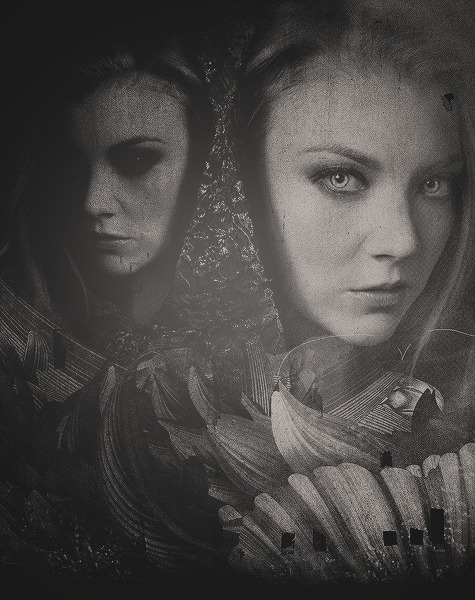
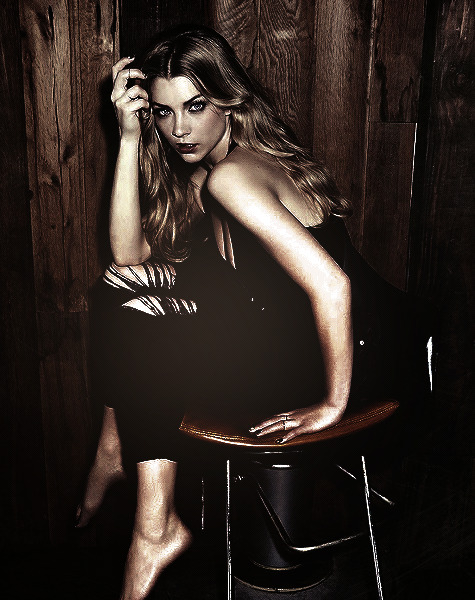
Natalie Dormer → Extra Edits
click for full size
please like/reblog if using
3 notes
·
View notes
Photo

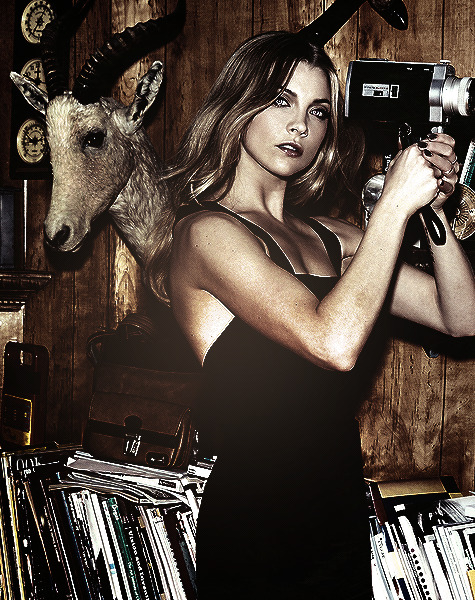
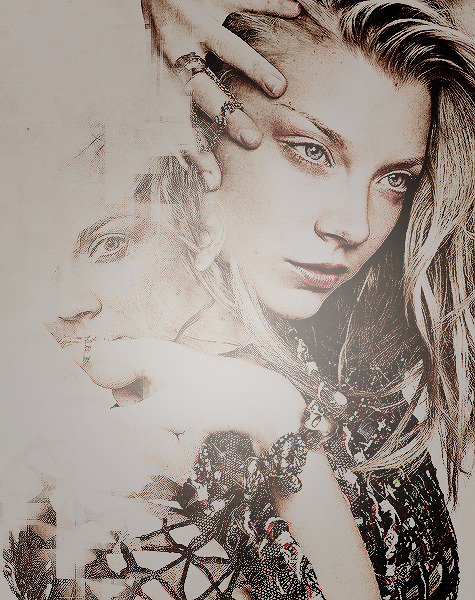
Natalie Dormer → Simple Premades
click for full size
please like/reblog if using
#nataliedormer#premades#natalie dormer#natalie dormer premades#natdprmds#cryptic#sinfulmisfortune#smr
0 notes
Text
Hair Color Change - Tutorial
This is actually a really simple technique for changing hair color. We're going from brunette to blonde, but this will work for just about any hair color change :3

First start out with an HQ image. It makes things a lot easier in the long-run.
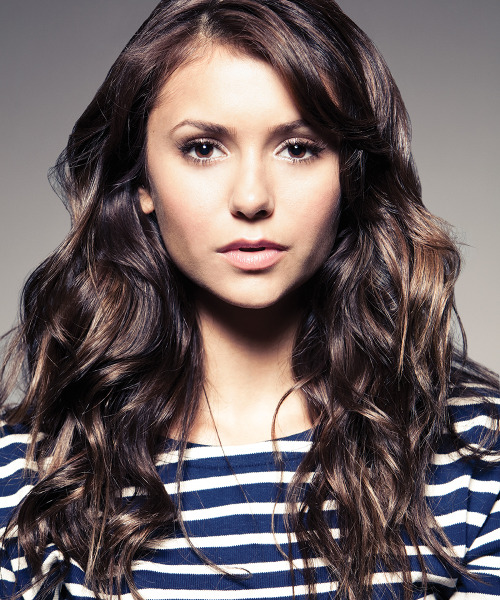
I'm using this one of Nina Dobrev. Now you're going to make a new layer and pick out a "blonde" color. I'm using #ece7bf. Just start tracing over the hair until you've got something like this. It doesn't have to be perfect yet.

Now set that layer you soft light and you should get something like this.

Go in and clean up the edges. If you want the hair to be BLONDER, you can always just duplicate the layer (:

Obviously not perfect, but still very blonde. If you want to go crazy making it perfect, by all means go for it. BUT, I'm just going to sharpen and put a PSD over and it'll look just as good.

TADA~ All done. xo.
44 notes
·
View notes
Text
Lightened Eyes
This is a tutorial on... well, basically how to do this effect.
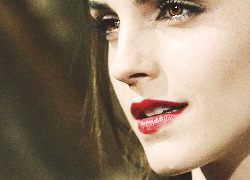
I'm not making this exact edit, because I made it too long ago to remember the exact psd I used and what not, but this is the basic technique on how to make eyes lighter and more defined.
Start out with any picture you'd like. I'm using Phoebe Tonkin because she's adorable. Keep in mind, this is a lot easier on celebrities with lighter eyes, but it can be done on anyone.

Okay, now find the DODGE TOOL. It looks like this and is in your tool bar.
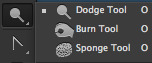
Select that and make the brush size about 8px, depending on the size of the iris. If it's bigger, go big. If not, go smaller. Sometimes you need it to be 2px, sometimes it needs to be 20. In my case, I'm going with 8px.

Make sure your brush is set to 0% hardness and that range is set to MIDTONES. Also, make sure your brush is on EXPOSURE: 100%.

Now, just ZOOM in a bunch, and color over the iris. The first couple times, you're going to want to make a new layer and test it out, because if you don't do this all the time, there's a good chance you'll be confused. So. Make sure you practice!

That's just one time, so you can see not much difference. I usually go over mine a couple times (unclick, and then click again to go over again) just to make the effect more drastic.

This time, I went over 3 times. With darker eyes, you might have to go over 4 or 5 times, but don't over do it, or your girl (or guy!) will look like this...

Which is honestly kinda scary. Anyways, now all you have to do is color and sharpen and or topaz, and you're all set~

34 notes
·
View notes
Photo


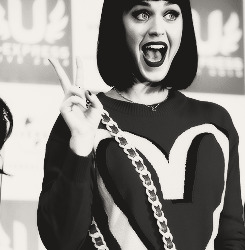
PSD379 → mf/box
-contains vibrance
- looks good on most red carpet pictures
24 notes
·
View notes
Photo
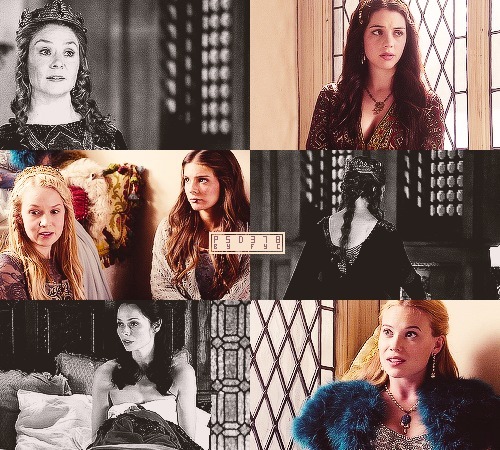
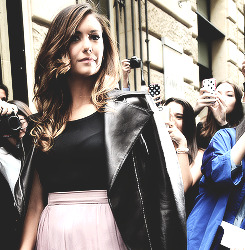
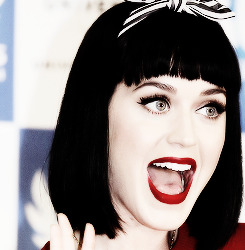
PSD378 → box/mf
- contains vibrance
- made for screencaps from reign
- will work on most screencaps
13 notes
·
View notes
Photo
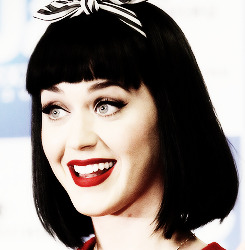
PSD377 → mf/box
- does not contain vibrance
- works best on lighter photos
33 notes
·
View notes
Photo

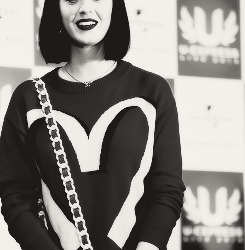
PSD376 → box/mf
- contains vibrance
- will work on most photos
47 notes
·
View notes
Text
sorry for my absence --
I've been focusing on other things lately, but I'll probably start updating here more frequently over the summer. Right now I'm just a bit frantic *_* <3 Thank you for your patience.
xo
2 notes
·
View notes
Note
You brought Sinful Misfortune back!?!! www(.)roleplayer(.)me/725475
I'd like to see anyone else mimic that perfection. (;
0 notes
Note
Do you have any topaz DL for Mac?
I don't, unfortunately!~
0 notes