Note
I really wouldn't mind you aiding me with some tutorials love
giffing tutorial/resources
hi anon! sorry it took me so long to answer. i figured this might be helpful for others out there who have asked me similar questions, so i’ve compiled a pretty comprehensive list of tutorials/resources. idk about others but when i was new to giffing, it took me a lot of painful effort to go around and look for resources, so i’m putting it all here to make it a little easier!
i download videos using 4k video downloader. it will download very good quality 1080p videos in .mp4 format. if you’re downloading a 4k video, make sure to change the setting option to .mkv so that you get 4k and not 1080p—for obvious reasons since you want the highest quality.
i rely on kpopexciting to get .ts files — which are basically raw, very high quality video files for live performances. they are much less grainy than .mp4 versions of live performances—which are the ones you’ll see uploaded to youtube. i’ve found that 4k videos (in .mkv) are just as good quality as .ts, but obviously you will rarely see live performances in 4k, so get .ts when you can!! you can also try to find .ts files on twitter, but you may have to do a lot of digging. i wish i could recommend you twitter accounts, but the ones i used to go to have been very inactive/taken down all their drives :( but this website is really nice and updated frequently so i would recommend it!
vapoursynth links + download. the reason you would use vapoursynth is to resize your gif, while maintaining the optimal quality of the gif. if you gif without vapoursynth (.ie only using photoshop), it will still be fine, but the image quality may be grainier. also, you will definitely need vapoursynth to gif .ts files —more will be explained in the tutorial i’ve linked below. i would recommend that you have a high processing/lots of ram/newer desktop or laptop to use vapoursynth so that 1, your computer isn’t fried and 2, your vapoursynth process will go a lot faster. i am using a 2017 macbook pro for all my work, and it runs pretty well, but my laptop still gets pretty hot so just make sure you’re not running a million things in the background while using adobe products and vapoursynth lol. i used a pretty old and beat up 2011 model macbook air back then, and i will say that yes vapoursynth worked and ran on it, but it took much longer, and basically fried the laptop’s battery (aka i had to get the battery changed twice and the laptop would die randomly) but issok it was a school borrowed laptop so i didn’t feel too bad lol. im just saying this as a precaution, to preserve the health of your electronic devices!! but don’t be afraid to use vapoursynth! you should still try it at least once.
thank you to @realstraykids for this super detailed, really nice tutorial! it includes how and where to download videos, how to gif using vapoursynth, using photoshop, comparisons, coloring, and pretty much all you need to know. 10/10 would recommend
thank you to @dreamcolouring for this lifesaver!!! the best and easiest way to blur out unwanted captions/objects in your gifs. i recommend doing this step after converting your frames to video timeline and before you do sharpening and coloring. another tip i’ll add is to feather the selection you’ve made right before you click on “add vector mask” —this will make sense once you’ve read through the tutorial. feathering it will make the blurred spot less noticeable and more subtle.
i use this generator to create gradient colored captions! copy and paste your text, then select the colors you want. generate the code, and copy it. change the settings of the text editor on your post to HTML. paste the code, preview, and voila! add elements <blockquote>,<b>,<i>, etc as needed. see more on colored captions in this tutorial by @kylos --i believe op mentioned a different and better color generator but for some reason it won’t work for me :( hopefully it works for u! basically same idea as the previous generator i mentioned.
my own mini tutorial/workflow process of making gifs. this includes working with a .ts file, vapoursynth, photoshop, coloring, watermarking, etc. and a few of my own tips below:
if you are working with an .mp4, you do not have to make any changes to the preprocessor/denoise filters/sharpening in the resizing part of vapoursynth—it doesn’t make that big of a difference if you do. but if you are working with a .ts file, definitely do make those changes,, that’s the whole reason you have vapoursynth. with an .mp4, i like to use vapoursynth to just resize, but i don’t add any additional settings. i use smart sharpen in photoshop to sharpen it, which is pretty good on it’s own (at least in photoshop 2020!).
my rule of thumb is to do add .02 seconds when i am setting frame delay. so if when you first import the frames, they are at 0.04 seconds, i usually change them to 0.06. of course, this is my personal taste—you can make all your gifs faster or slower depending on how you want em to look.
if you are on a mac, you can screen record by pressing Command+Shift+5 (it’s a shortcut to quicktime screen recording). I only screen record for things like the beyond live concert or other live streamed events. the image quality of the screen recording, in my experience, is actually pretty good. when you gif the screen recording however, you may notice that it adds extra frames that you don’t need. by that i mean duplicate frames. you could keep the duplicate frames but that just means the size of your gif is going to be much bigger (keep in mind the limit is 8mb). in order to remove those duplicates, my only solution has been to remove them manually (by holding Command while selecting), or when you are importing the video to frames, select the option to “limit to every 2 frames”—but this method will be less precise and still not as good as manually removing frames. if you remove the duplicate frames, this means you will need to set the frame delay even slower, to make up for lost frames. in my experience, fps(frames per second) and frame delay work in conjunction. so for example, if i delete every other frame because they are duplicates, but the starting frame delay is 0.02, i am now going to change it to something like 0.05 (so i added 0.03 seconds rather than my usual 0.02). if the duration length and the image dimensions of the gif are short/small, feel free to keep the duplicate frames in—i only delete duplicate frames in order to keep my gif under the 8mb limit. then, if you keep the duplicate frames in, continue with your standard frame delay preferences. now that i’m writing this im realizing this might not make a lot of sense lol.. but don’t worry about it for now and if you run into trouble w screen recorded gifs then you can come back to this for reference. again, this is only my experience recording on a mac—it may be a lot different if you use a screen recording program or are on a pc.
i don’t really use .psd templates because i like to give every gif/gifset it’s own unique coloring—so i remake the coloring every time, but if you get into a rhythm it’s pretty easy. there are a lot of nice coloring tutorials out there, too! my personal coloring adjustments in order: levels, exposure, color balance, selective color (if needed), vibrance, photo filter (if needed), color lookup (i use 2strip most often and i put it on ‘color’ blending mode). don’t forget to adjust the opacities and fills of the ‘color lookup’ adjustment layer in case it’s too strong. go back to correct each adjustment layer as needed. then, when you’re done and satisfied, group all those layers, copy the group (you can do an easy command+c), and paste it onto the next gif you’re working on for easy workflow.
if for some reason you can’t see the frames when you import your layers/video, it’s likely because your ‘timeline’ window isn’t showing up. just go to the window menu on photoshop, go to the bottom and you’ll see ‘timeline.’ make sure it has a check next to it.
i recommend watermarking your gifs because a lot of people like to repost tings these days 😠 - so make sure u got your brand on it! i keep my watermark saved to my ‘libraries’ in photoshop so it’s ready when i need it. i use the blending mode ‘overlay’ and adjust the opacity, but if you don’t want to do that you can also add a stroke/shadow to your watermark/do all sorts.
tag #nctinc for your nct creations and #jenonet for your jeno creations!!
here’s my own mini tutorial (well not much of a tutorial ig more like a work process vid?): took about ten minutes including the time to search and download the video (but i didn’t record that part i trust yall know how to do that), vapoursynth, and exporting. i hope this helps somewhat! feel free to ask more questions whenever :)
youtube
keep in mind that giffing takes a lot of patience, energy, and experience—so don’t worry if it takes you a bit to figure things out or if your gifs don’t turn out the way you want them to the first time around. we all start at the same place and all run into problems. i know giffing can sound intimidating and seem like a lot of work, but i promise, once you get into a routine, giffing is going to happen in minutes—and you’ll get beautiful gifs. have fun! 😊
117 notes
·
View notes
Text
welcome to the vklibrary!
the vklibrary was established to recommend taekook (kim taehyung/jeon jungkook of bts) fanfiction from ao3 (archive of our own)
→ i will be creating a masterlist that is sorted out by genre (enemies to lovers, fantasy etc), for it to be easier for you find a fanfiction based on your preference.
→ ask recs & submissions are welcomed. my ask box is currently OPEN. if you are having trouble finding a fic, do not hesitate to ask me and i will gladly assist you and try my best to find it.
i am looking forward to share my fic recommendations to everyone ♡
35 notes
·
View notes
Text
BTS Content Creator: GIF Making All-In-One
I got an ask for gif-making, but as I don’t have my ask box open to anonymous/private messaging open to public, I figured I’d answer all questions in one go. Sources, DL links, and sharpenings too. There aren’t that many secrets to gif/content creating, I hope this will be a good resource!
Keep reading
863 notes
·
View notes
Text
literally most things that people write off as just ‘textures’ to use in graphics are stolen & unsourced material created by artists or photographers NOT meant to be used as elements in projects without royalty payments. you can say ‘it’s just random tumblr posts they don’t care’ but you wouldn’t want someone to take your work and edit into their work so they can be praised for their beautiful style and creativity even if they just post it on social media w/o profit, would you?? so maybe if you browse pinterest or google images for pictures without finding the original source, you’re using images that you’re not allowed to use without realizing it.
you see it on here a lot especially in (i won’t link anything but i’m sure you know what i mean) those album track ‘aesthetics’ posts, au ‘aesthetic’ posts (you see these less in kpop, but where people use non-royalty free images to kinda craft a visual au), and even just rather typical graphics that have a lot of ‘texture’ elements. and texture packs too!! that’s often where the problem starts; people just collect images (often literal art), compile them in a folder w/o sources, then insist no one can repost those images w/o crediting the person who compiled them. what???
SO may i suggest some of my fave places you can get FREE, ROYALTY-FREE elements that are totally legal to use
creativemarket has 6 free high-quality resources (textures, brushes, fonts, etc), different every week! wow awesome i check it every week
search ‘freebie’ on behance. awesome stuff!!! lots of v nice templates textures and fonts
mockup zone freebies
unsplash: tons of very nice free photographs, not shitty stock photos
pexels: same idea. + they have an adobe plugin so you can get photos without closing your editor damn nice
pixelsquid is a super cool free program (again w a ps plugin that i love) with lottts of super cool hq 3d elements!
as to not make this too long: spoongraphics, lostandtaken (textures galore), pixeden, freebiesbug.
132K notes
·
View notes
Photo
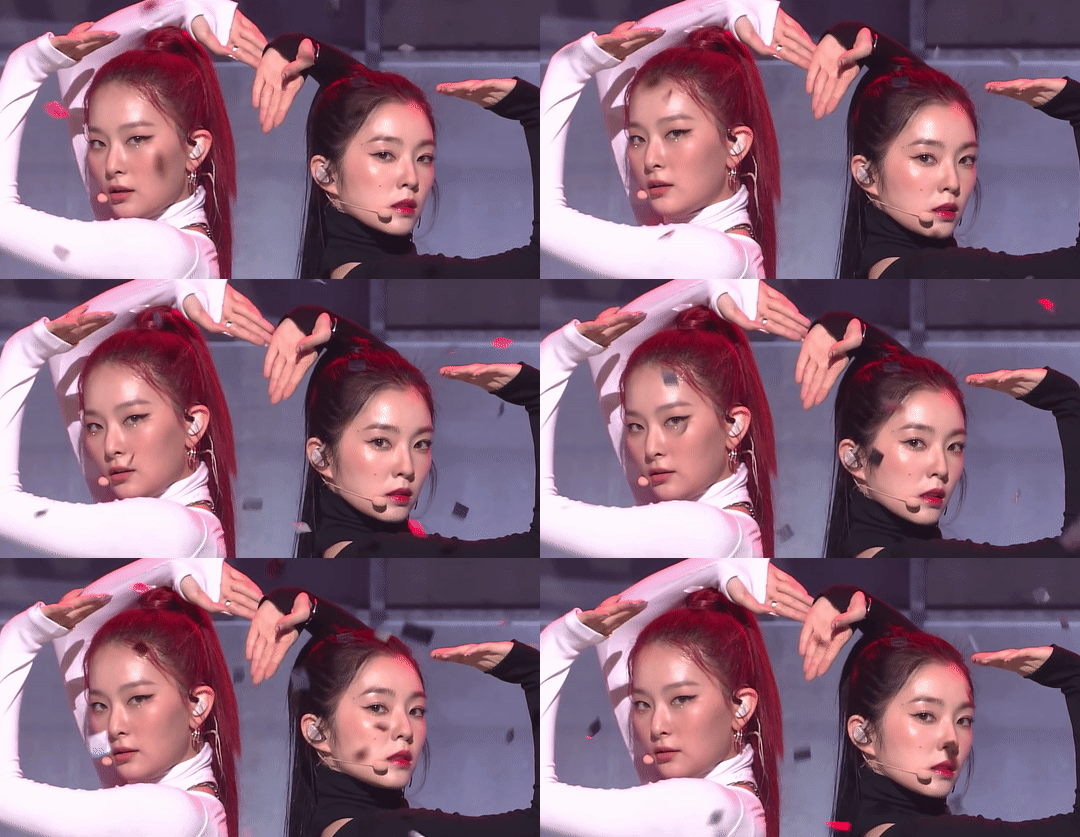
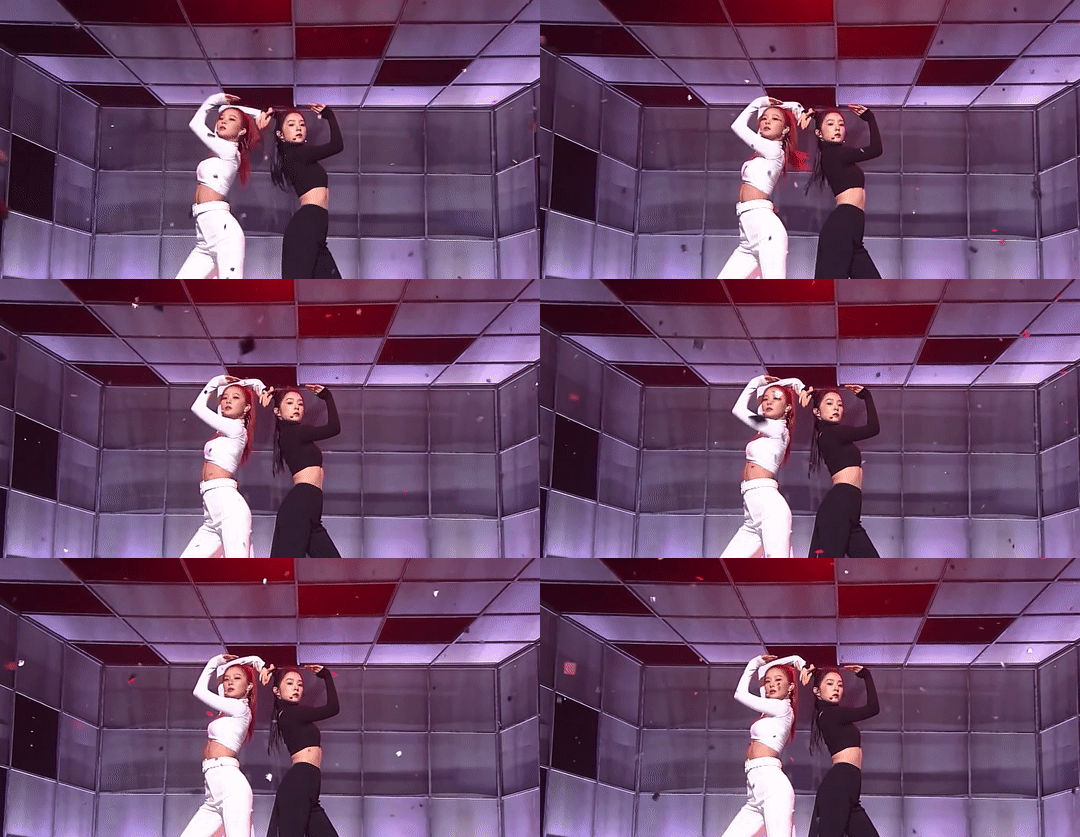
200726 INKIGAYO: NAUGHTY
#red velvet#jeontro#mine#seulrene#red velvet gif#seulgi gif#irene gif#naughty#gif#bae joohyun#kang seulgi#200726
55 notes
·
View notes
Text
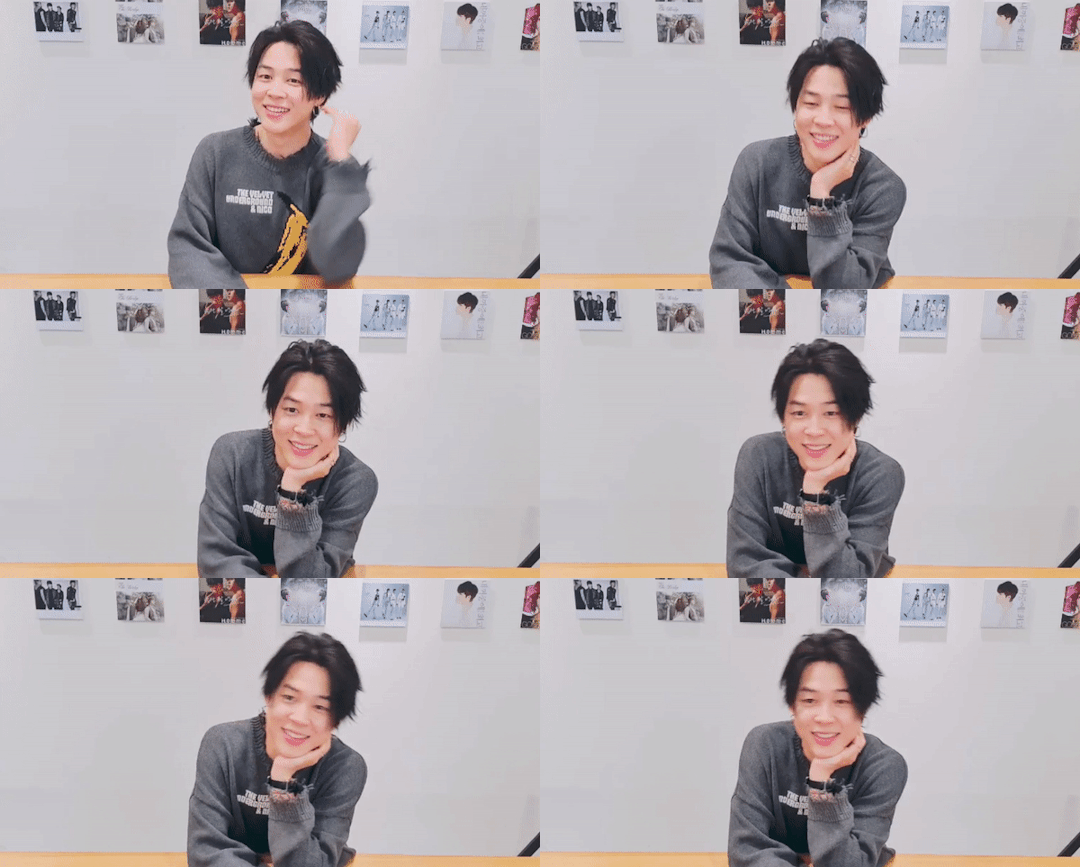
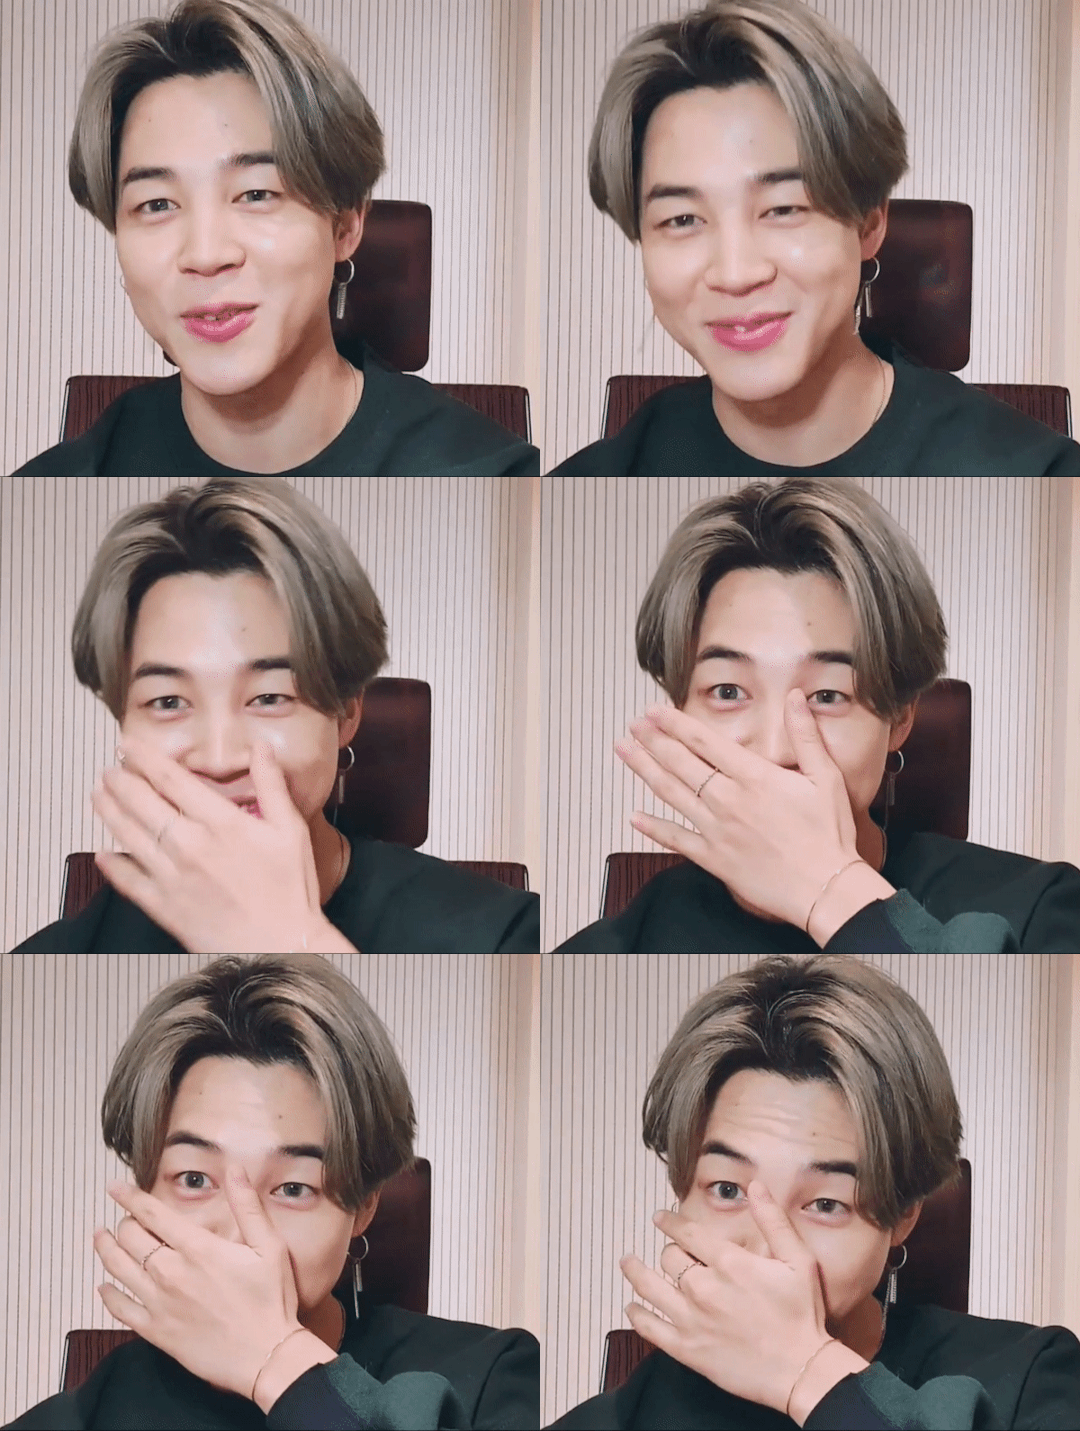
jimin is on vlive right now!!
29 notes
·
View notes
Text

BABY IS BACK
1 note
·
View note
Text


45 notes
·
View notes
Text
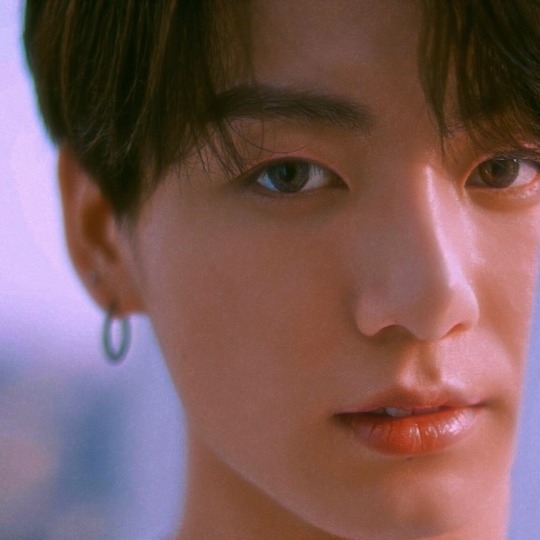
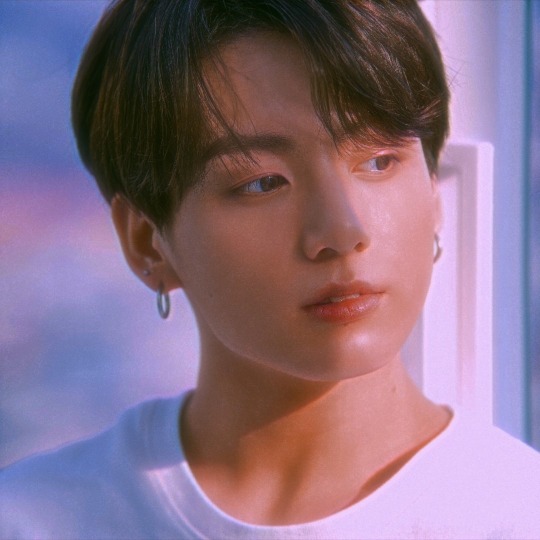
dreamy
#jeon jeongguk#jeon jungkook#jeongguk#jungkook#jeon#bts#bangtan sonyeondan#edit#icon#mine#jeontro#jungkook pics#jungkook icons
99 notes
·
View notes
Photo

25 notes
·
View notes
Text

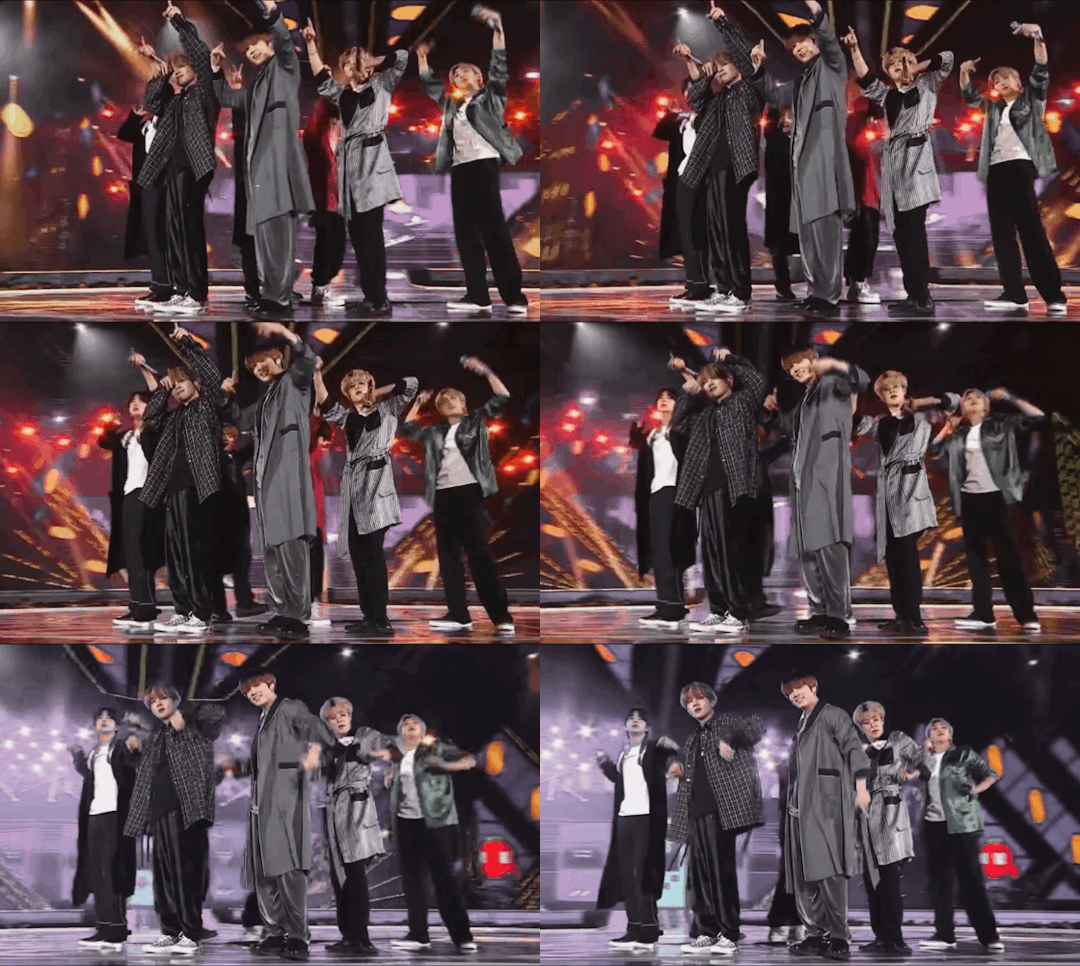

191227 KBS SONG FESTIVAL: GO GO
#bangtan sonyeondan#191227#bts#kim namjoon#kim seokjin#min yoongi#jung hoseok#park jimin#kim taehyung#jeon jungkook#jeontro#mine#gif#bts gif#kbs song festival#home#bangtan boys
2 notes
·
View notes
Text
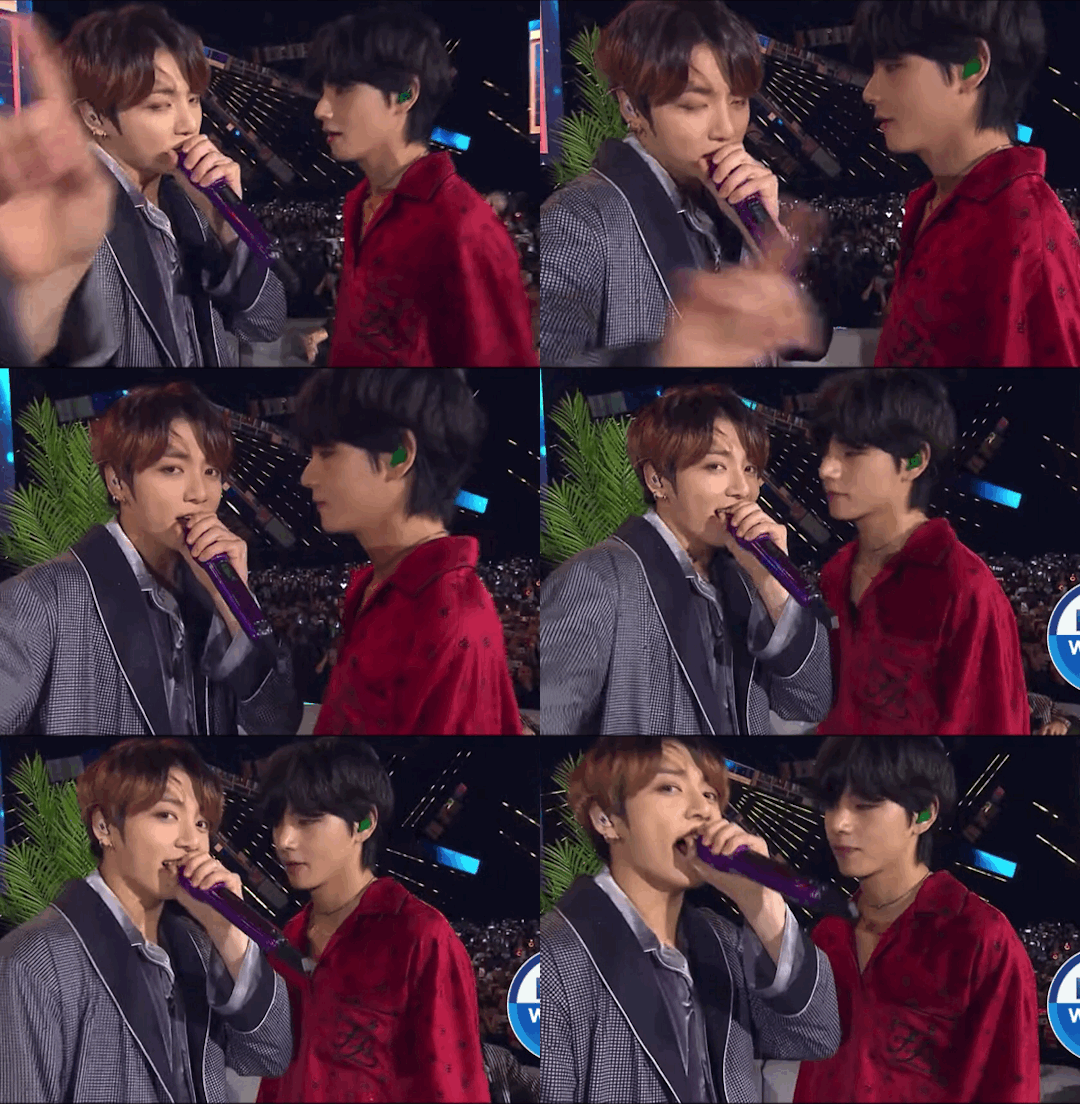
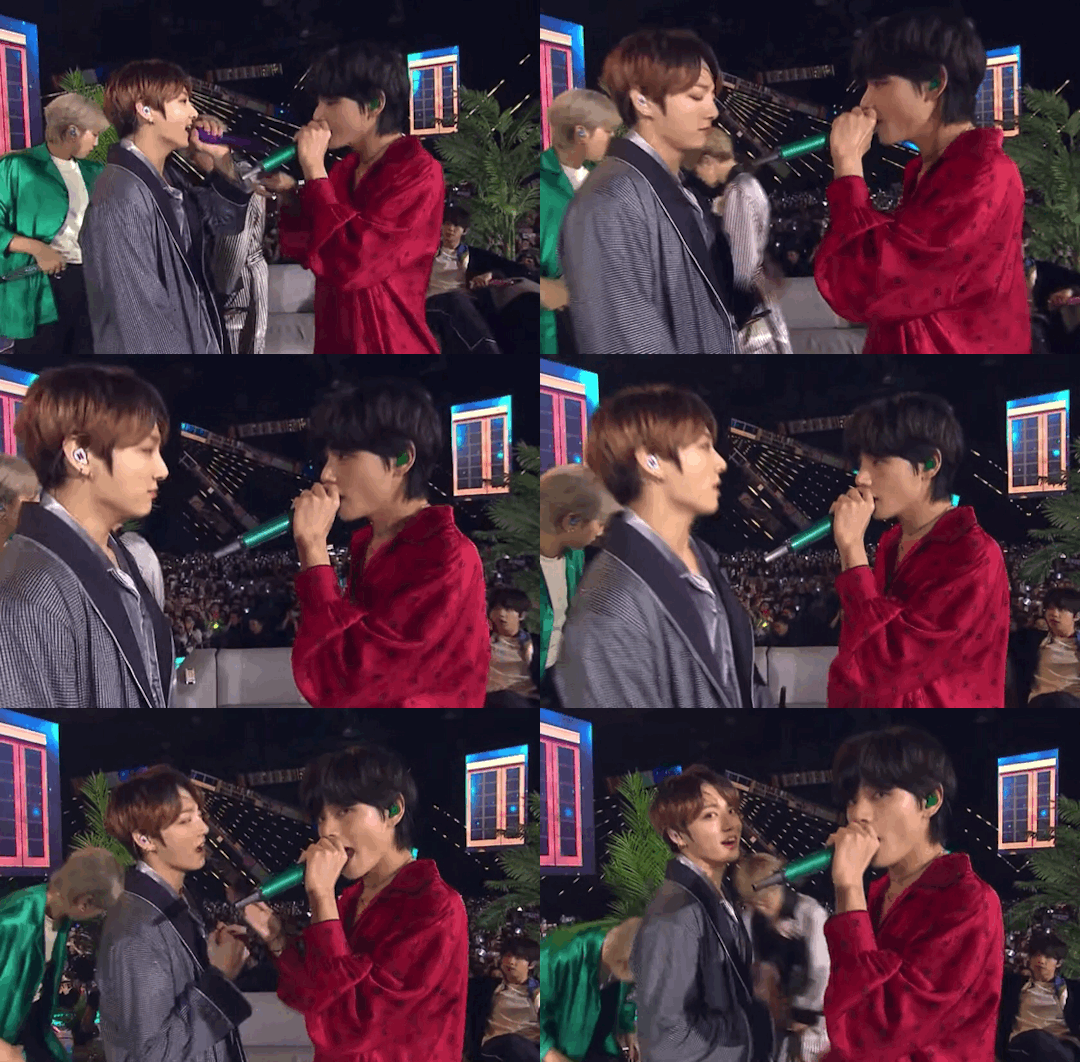
191227 KBS SONG FESTIVAL: HOME
taekook nation how we feeling tonight
#bangtan sonyeondan#191227#bts#taekook#taekook gif#kbs song festival#home#kim namjoon#kim seokjin#min yoongi#jung hoseok#park jimin#kim taehyung#jeon jungkook#i screamed#bangtan boys#taeguk#jeontro#mine
12 notes
·
View notes
Text
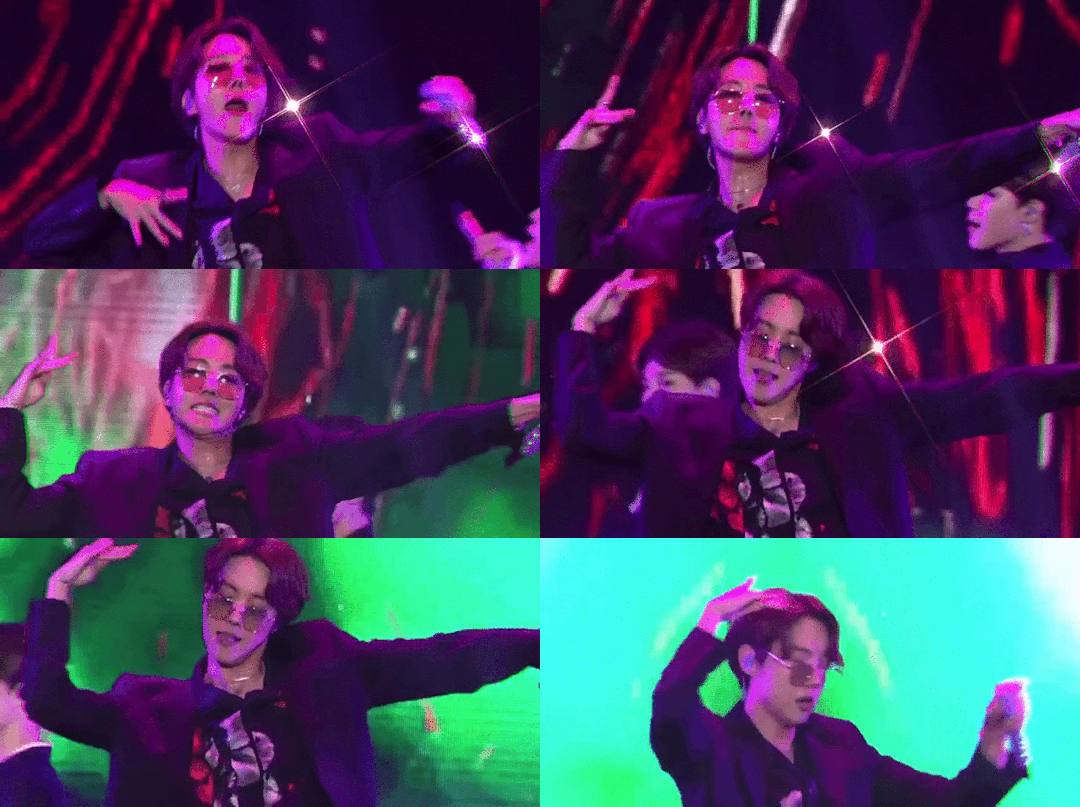

190811 LOTTE FAMILY CONCERT: HOSEOK
9 notes
·
View notes
Text
i made a 12 second fancam of THE kim taehyung, walking. that’s all. thank you.
21 notes
·
View notes
Photo
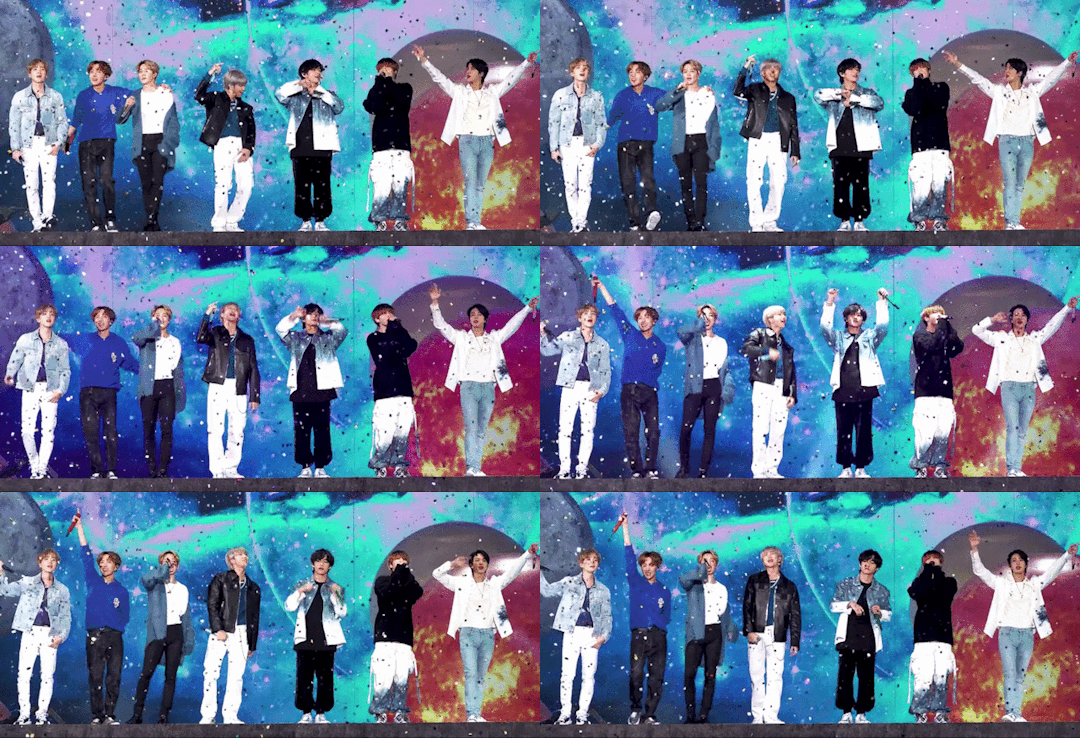
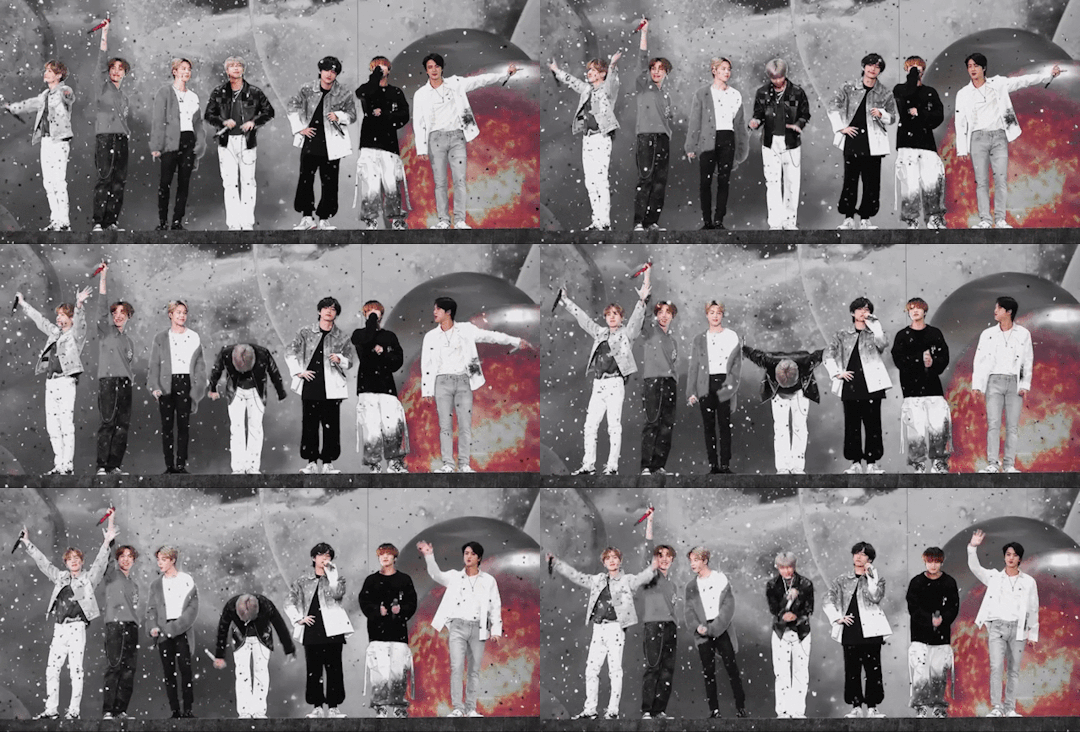
191225 KBS GAYO DAEJUN: MIKROKOSMOS
#bts#bangtan sonyeondan#kim namjoon#kim seokjin#min yoongi#jung hoseok#park jimin#kim taehyung#jeon jungkook#bts gif#gif#191225#mikrokosmos#jeontro#mine
10 notes
·
View notes
Text
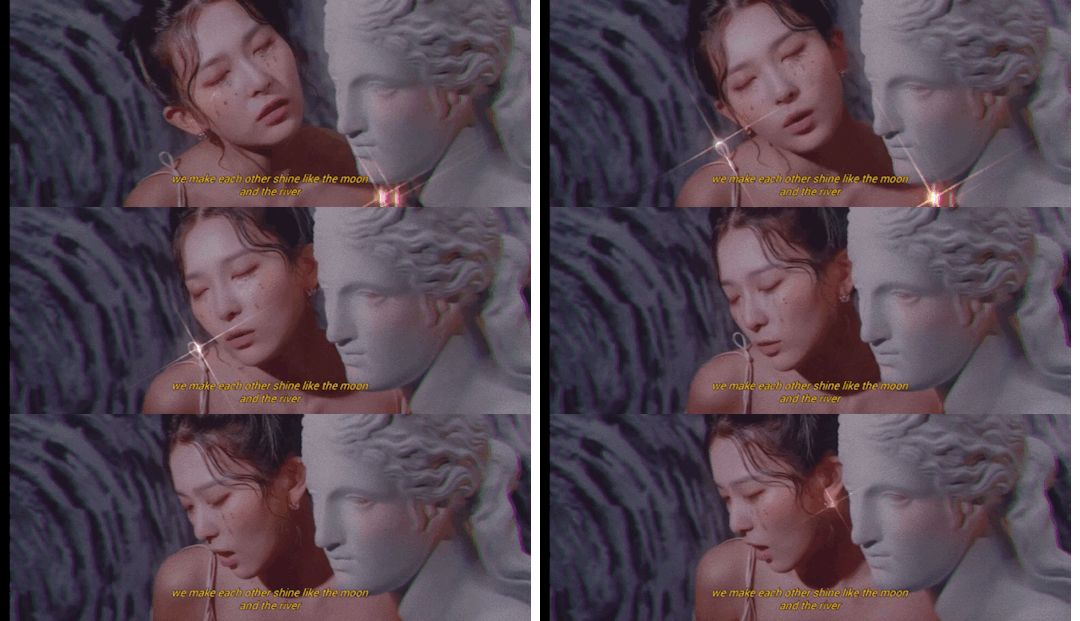
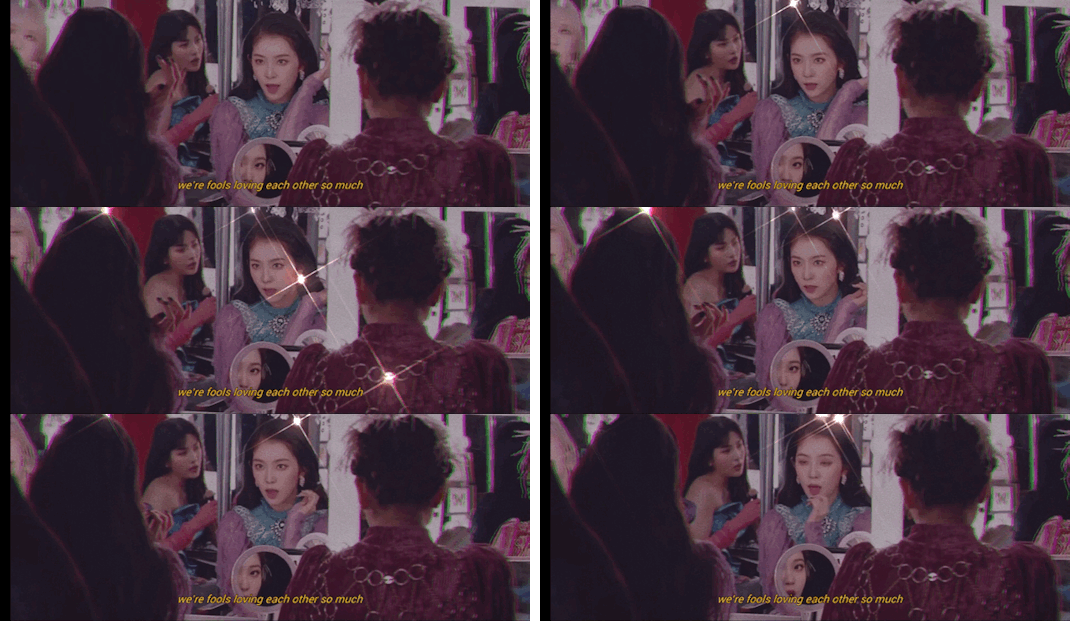

STREAM PSYCHO
new account hello 👋
#red velvet#yeri#kim yerim#irene#bae joohyun#seulgi#kang seulgi#joy#park sooyoung#wendy#son seungwan#gif#aesthetic#psycho#reve festival#i love this mv so much#new account#jeontro#mine
101 notes
·
View notes