Last Seen Blogs

toprealtorsnj-blog
Top Realtors NJ

rinnnyxr
Untitled
multi-fandom-imagine
Multi-Fandom ● Imagine & Things ●

thelightinthedark
One who is perceived to be overly obsessed

one-mothman-blog
One Mothman
Photo

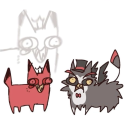
Eart-chan cosplay
28 notes
·
View notes
Photo
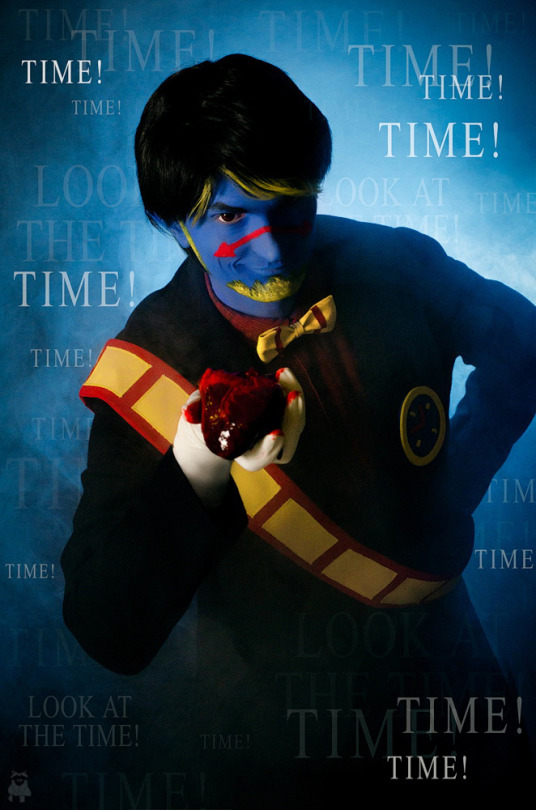
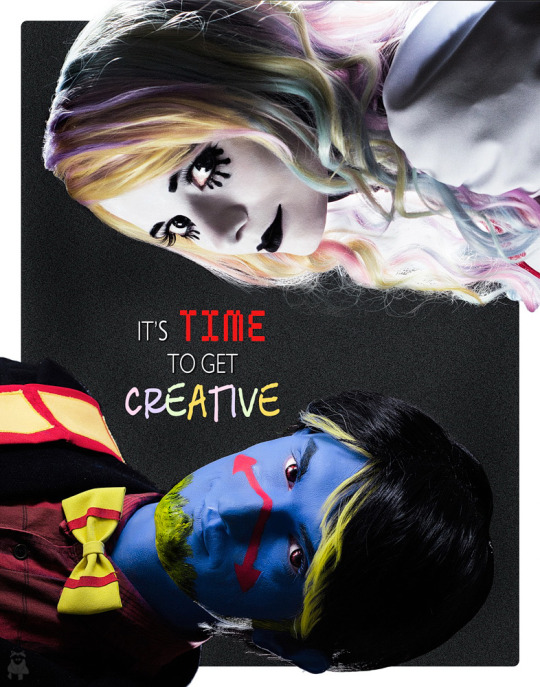

#dhmis#dhmis 2#dhmis cosplay#don't hug me i'm scared#paige#Tony#paigetony#notebook#notepad#padlock#time#tony the talking clock#cosplay#paige the notepad#dhmis fandom#clock#tony the clock
948 notes
·
View notes
Photo

36 notes
·
View notes
Photo
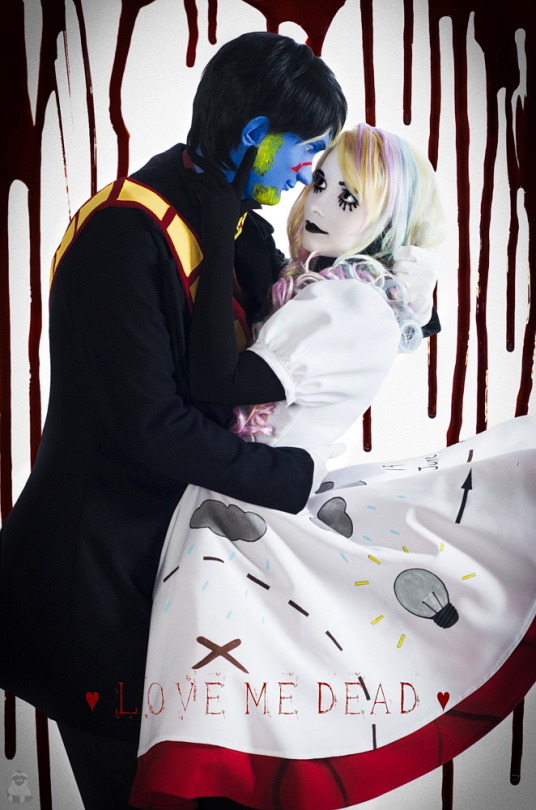
#cosplay#dhmis#dhmis 2#don't hug me i'm scared#Paige#Tony#Notedook#padlock#paigetony#tony the talking clock
1K notes
·
View notes
Photo
14 notes
·
View notes

Photo


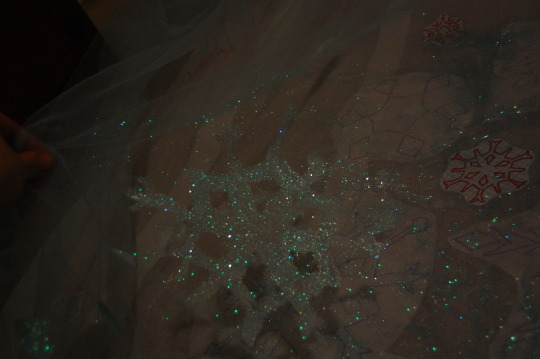

Heres a photo tutorial of Elsa’s train.
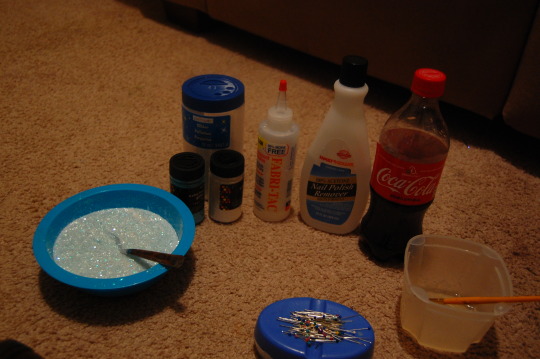
1. Heres the material used! regular glitter(white), extra fine glitter (white and blue), acetone(to thin the fabritac), Fabri-tac, pins to pin the fabric to the wax paper, and the bowl of mixed glue. All good projects have some sort of drink to keep you going!
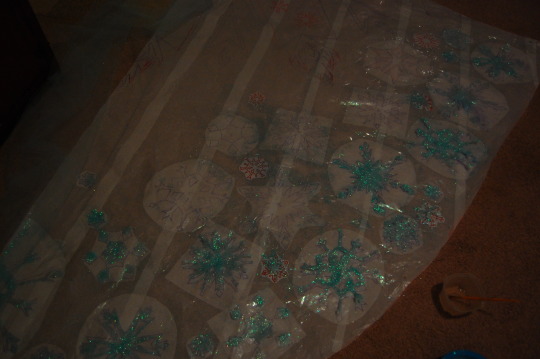
2. Here is the tulle on the wax paper design of Elsa’s train. I just pinned everything in place to get started.
3. I went ahead and painted the fabric with the glue over the snowflake design. Be careful to make sure you have a fresh brush! I used a brush that was used for painting before and the acetone pulled the color out. The glue will also destroy the brush you use as a warning.
4. Sprinkle the glitter mixture on the painted area of the tulle. Lightly push the glitter around to cover all painted areas.
5. Carefully peel up the fabric from the wax paper and the excess glitter should all fall off with a few shakes.
6. You may have missed a few spots(like me). Just set the fabric back down, reapply glue and glitter, and repeat as needed!
7. Heres my repeat!
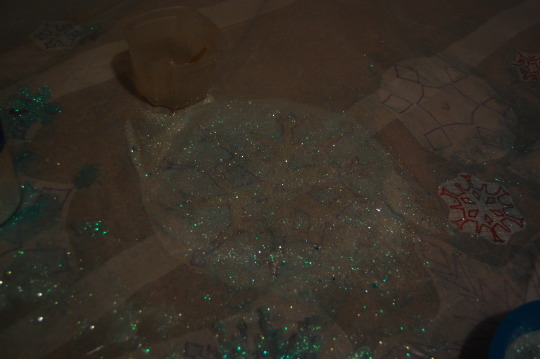
8. Heres the train with some new additions. All the flakes will end up being the lighter white/blue color. I sadly ran out of glue and the craft stores are all closed. I’ll have to pick up where I left off tomorrow!
I hope this helped anyone who was curious as to the process! Please feel free to shoot me asks or anything of the sort of you need help or are running into some issues with your project!
8K notes
·
View notes
Photo
2 notes
·
View notes
Photo

FRIDAY!!!
42 notes
·
View notes
Note
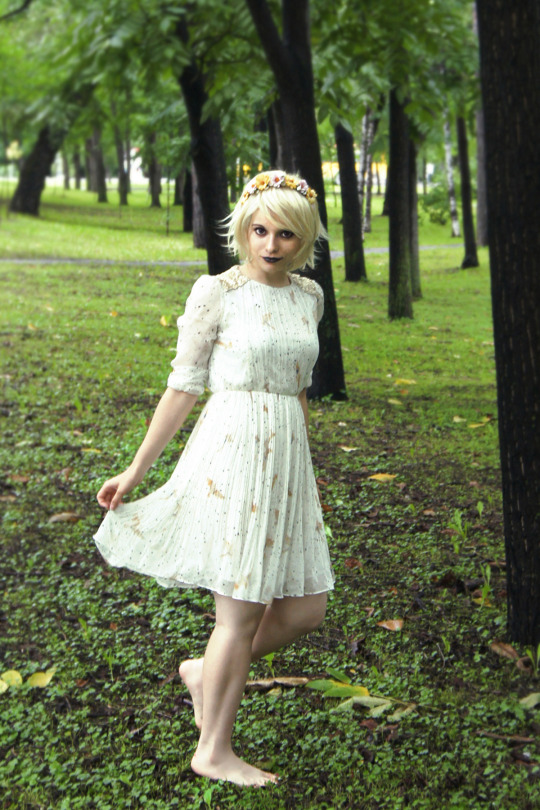
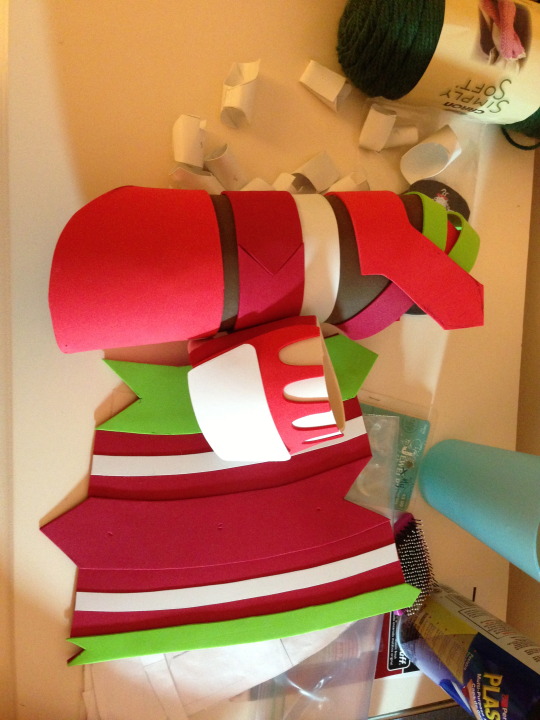
Hey ; v ; Um, not to be a bother but I plan to cosplay fancy dreamer Roxy and I was wondering what exactly the colours are and what areas are beaded/laced. Also, is the crown on a purple headband with a bow? And is the skirt mid thigh length? Is there a purple petti underneath? Sorry for the bombardment, I just don't want to ruin your gorgeous designs! Thank you in advance
Hmmm okay I hope this isn’t too terribly scatterbrained and that it addresses your questions, but to clarify some things:
1. I’ve labeled what areas are beaded, pretty much if it isn’t labeled as beading it’s lace or some other kind of fabric trim.
2. For the crown, yeah, a headband with a bow would probably work best and provide the most support.
3. The skirt is a little higher than mid-thigh.
4. You could use a petticoat as a separate piece but I’ve drawn the different layers and included tulle as a part of the skirt! (I’m nothing of a seamstress so I hope this is all feasible haha)
(full-size)
Someone else asked for a “breakdown” like the ones I did for Equius and Dave, but her dress is all one piece with the only separate pieces being the stockings and shoes.
137 notes
·
View notes
Photo

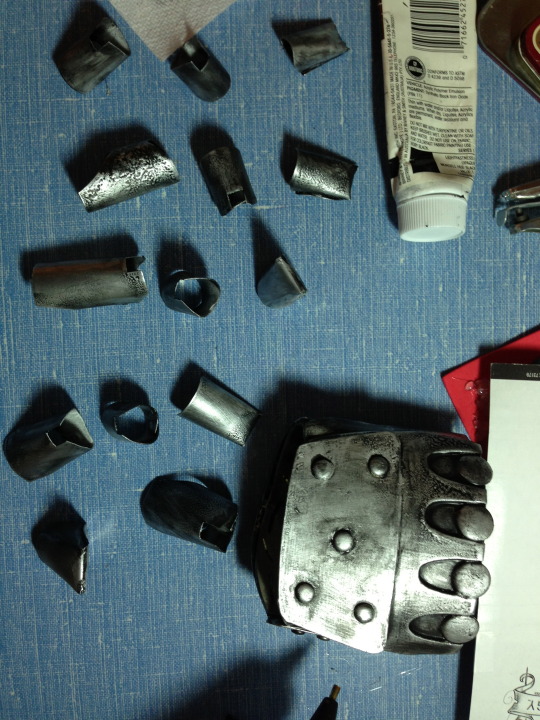
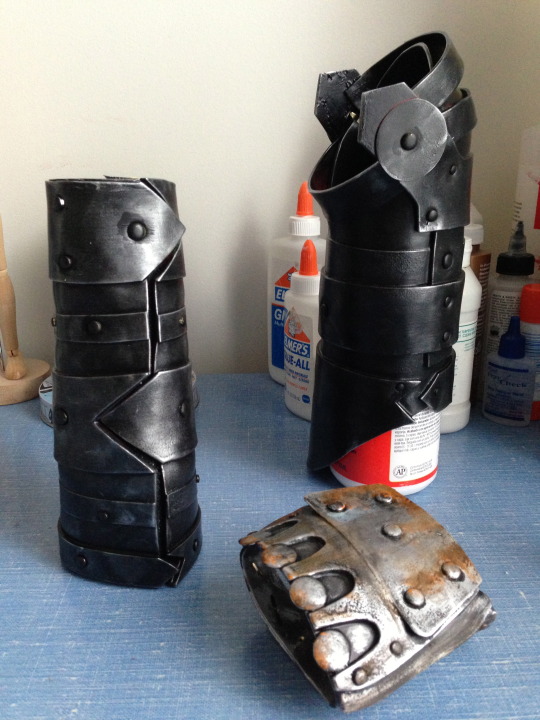
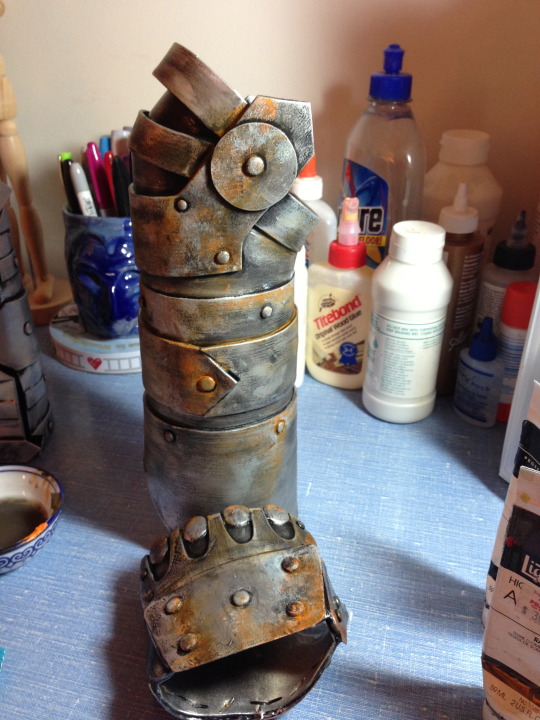
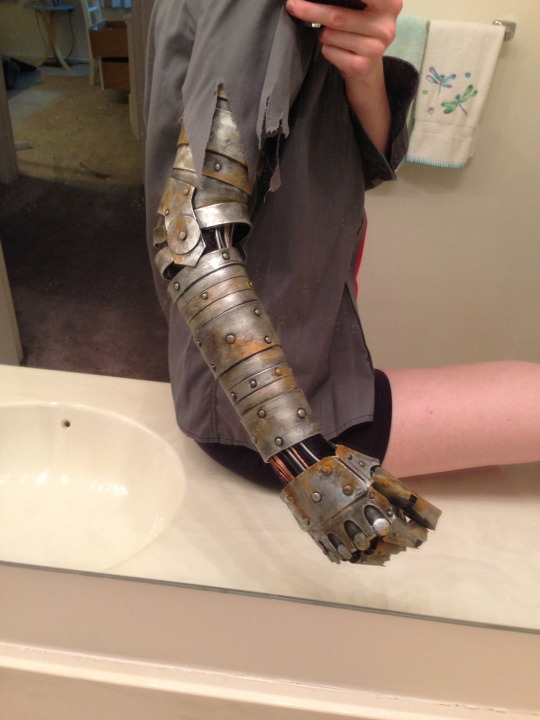
Okay!
I’ve received so many questions about how I made this arm. I got the idea from this lovely robo arm and as it turned out, she also used the same base pattern that I had planned to (Edward Elric’s automail arm).
Basically what I did was take the pattern and heavily alter the arm pieces while keeping the hand mostly the same. I used mostly craft foam combined with leftover styrene I had from a different prop project, and three different size brads (from the scrap-booking section of Michaels). I glued everything together with high temp hot glue, but I sealed the finger pieces with e6000 at the seams to ensure that they wouldn’t pop open in hot weather. Once I had all my parts glued together, I coated them in about seven layers of Mod Podge cut by half with water. Once this was done, I coated all pieces in Plasti-Dip spray (it’s a rubber coating that you can get at Home Depot near where the spray paint is). Since I wanted the arm to ultimately look used and abused, I made sure my spray wasn’t perfectly even - just don’t overspray or you’ll lose some of your detail. When this was dry, I added the brads and painted over them with black acrylic paint.
I covered each piece first with silver Rub n Buff - again, acquired at Michael’s. Then I did washes and dry brush layers of black, brown, and orange with some additional green Rub n Buff antiquing wax. I started with the idea of making the rust look natural but got lazy halfway through.
The forearm closes with velcro, hot glued in place. The upper arm doesn’t open, it just slides on and stays. I accidentally made the arm smaller than I’d wanted to so it’s a tight enough fit that the pieces don’t slide around. The wiring between the joints is held in with duct tape, and only attached at one end, so it moves in and out as I flex my arm and wrist. The hand piece slides on. I wore a full-arm length glove under the arm to improve the aesthetic and for comfort.
I hope I covered everything. Let me know if there are any questions and good luck!
21K notes
·
View notes
Photo


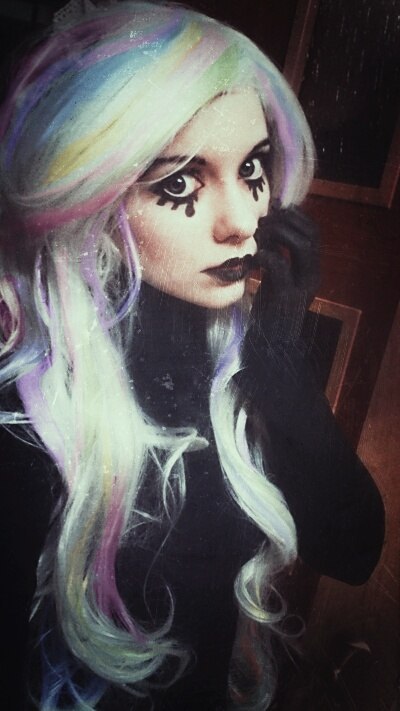
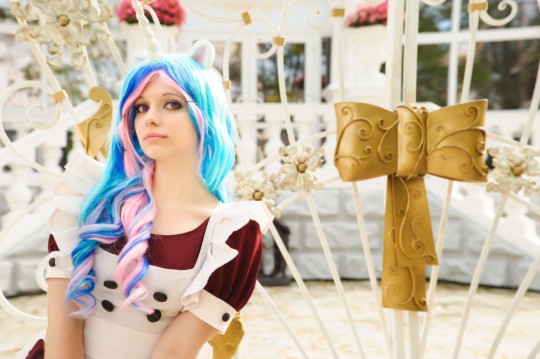
I'm Princess Celestia xD
55 notes
·
View notes