
oldschoolvpq
The Nest
Taking Tamagotchi nerdery to new depths.
This is a side blog. Ask box is open!
(36, she/her)
611 posts
Don't wanna be here? Send us removal request.
Last Seen Blogs

dukechoijiwoo
Jiwoo

1anonyymous1
Anon
taskmaster-peryite
Welcome to the Pits

themarineking
Themarineking
Text
Zachi/Vader Appreciation Post
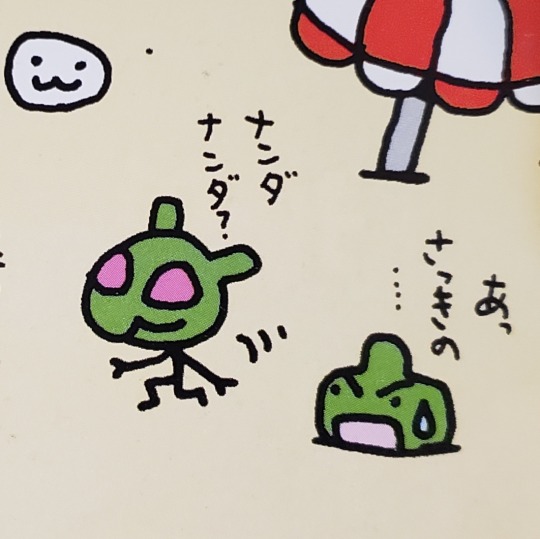
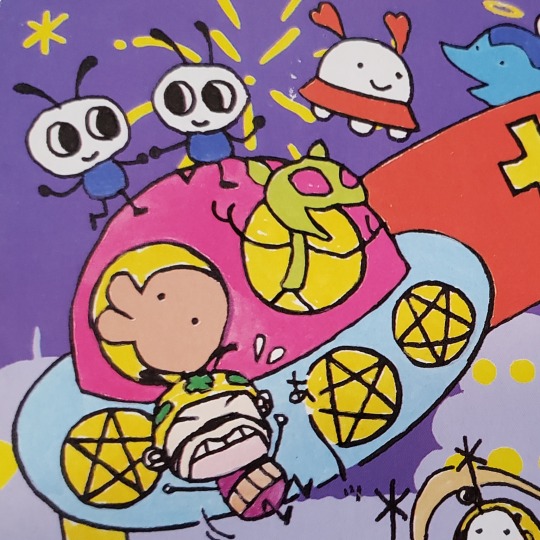
A lot of Tamagotchi books were released in early/mid-1997 before the release of the International P2 that features exclusive mystery creature Zachi/Vader-chan. While Japan saw a lot of reverse-import International P1s that saw Sam/Bill integrated into most Tamagotchi visual media post-May 1997, the International P2 was much more niche. As a result, there's nearly no art of Zachi/Vader, and no profiles in Japanese guidebooks and comics! He also wasn't included in any of the videogames. Per request, I was able to dig through my library and find some weird little dudes hanging around.
Bask in the alien glory of the most mysterious hidden character!

Proto-Vader-chan from August 1997's "Tamagotchi Research Report" (Tokuma Shoten's Roman Album line) as the International P2 wasn't released overseas until a month or so later. The tokusatsu alien/robot vibes are strong here.
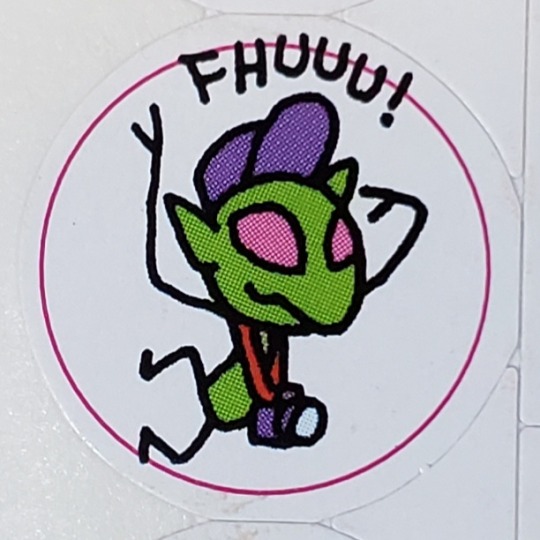
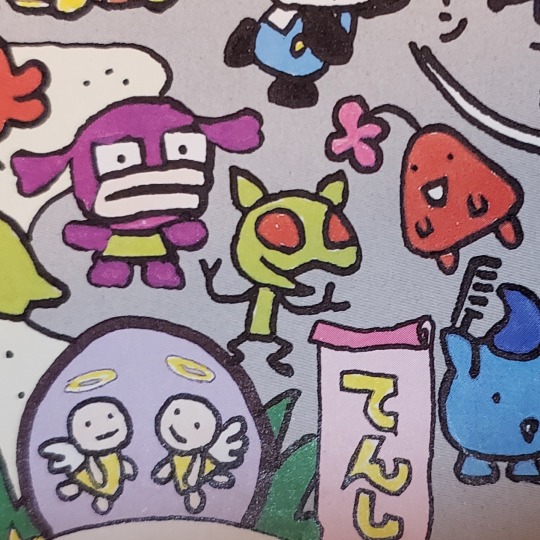
Here are two Vaders from the harder-to-find second volume of Tamagotchi Research Report. The first is a sticker, while the second is from a gathering on the beach.
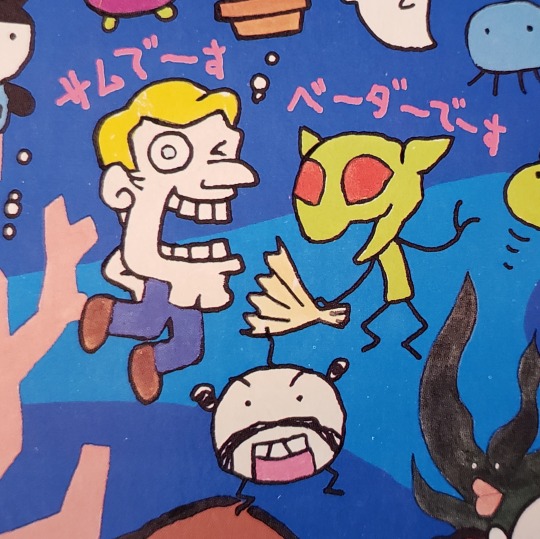
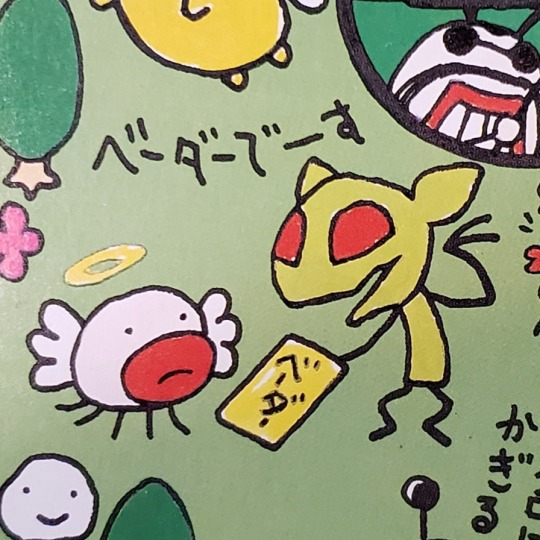

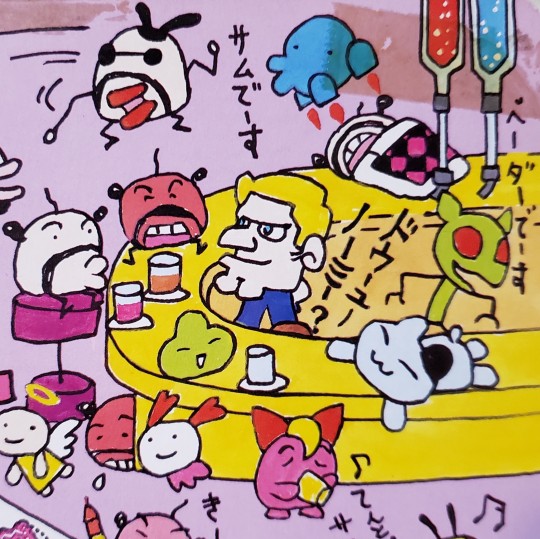
Tokuma Shoten went to town in their kids activity book "Doko² Tamagotchi". Look at him go! He spends a lot of time either introducing himself (ベーダーでーす "Iiii'm Vader") , hanging with Sam/Bill, or just living it up!!
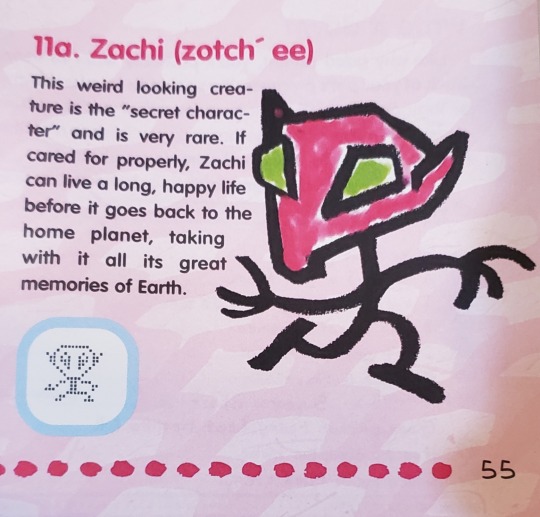
Finally, obligatory English profile from the English "The Official Tamagotchi Care Guide and Record Book" by Doris Betz
And...that's it.
Justice for Zachi, he needs more media!!
30 notes
·
View notes
Text
Well that's fun!
Mametchi & Kuchipatchi Sanrio Puroland Appearance This August to Celebrate Collaboration
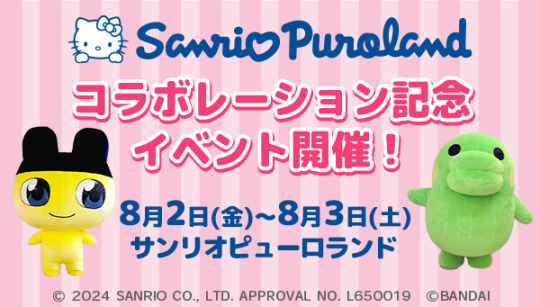
It’s going to be an awesome summer with the new Hello Kitty Tamagotchi and Tamagotchi Uni Sanrio Characters launch. To help celebrate, both Mametchi and Kuchipatchi will be making appearances at Sanrio Puroland in Tokyo, Japan. Festivites start on Friday, August 2nd through Saturday, August 3rd, 2024.
17 notes
·
View notes

Text
Okay but that's a moderately simple mod to execute. Funny.
Bandai Namco US Pulls Tamagotchi Connection April Fools Prank
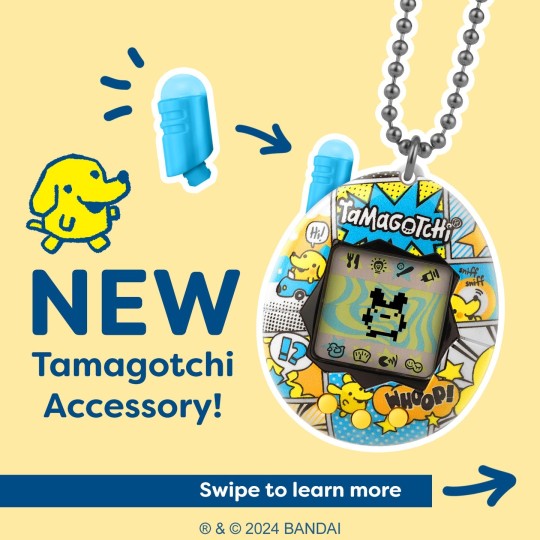
Now this was a good one! Bandai Namco US just posted a picture on their Instagram profile that tricks followers into believing that they were selling the Tamagotchi Connection antenna as an add-on accessory for the Tamagotchi Original therefore making its appearance more Connection like. It was revealed as a prank on the second image in the post.
84 notes
·
View notes
Text
I wasn't content with just the mini charm.
112 notes
·
View notes
Text
Yoooooooo
10 notes
·
View notes
Note
Do u use any particular sites to purchase older tamagotchi on the cheaper end for parts? I want to replace button my gen 2 and am wondering if anywhere sells specific parts like buttons or screen backgrounds, thanks :)
Great question!
I live in Japan so I have access to a ton of Tamas. I primarily use flea market site Mercari to scope out good deals, and a few years back (pre-25th anniversary revival) I got some cheap lots on Yahoo! Auctions. Prices have gone up on both sites recently...but sometimes you get lucky.
When I'm doing customs I'm pulling from stock accumulated over 26 years of collecting. I'm the one friends gave their Tamagotchis to when they no longer wanted them...so...I'm rolling in eggs.
I've seen some individual fans who make their own buttons, but I've not seen anyone selling individual wallpapers. (I'm trying to figure out a good way to make them myself, though! Just waiting on a supply delivery)
3 notes
·
View notes
Text
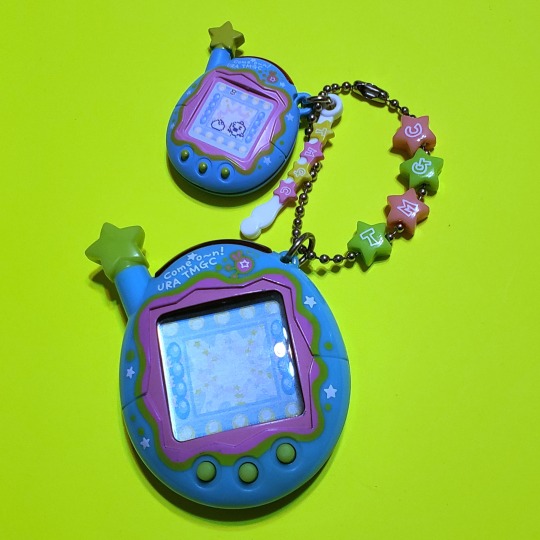
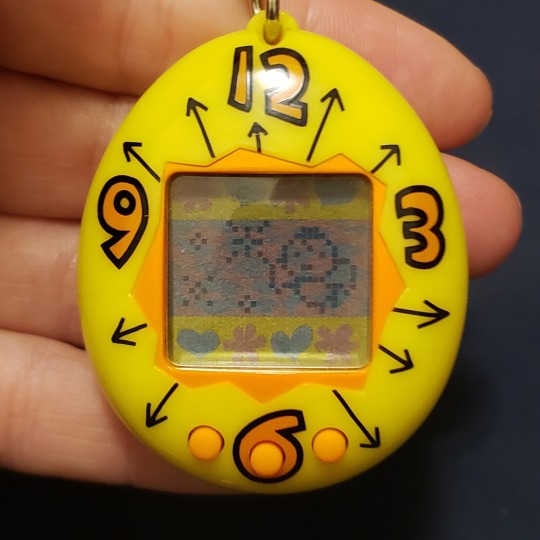
Magical Multicolor Morino
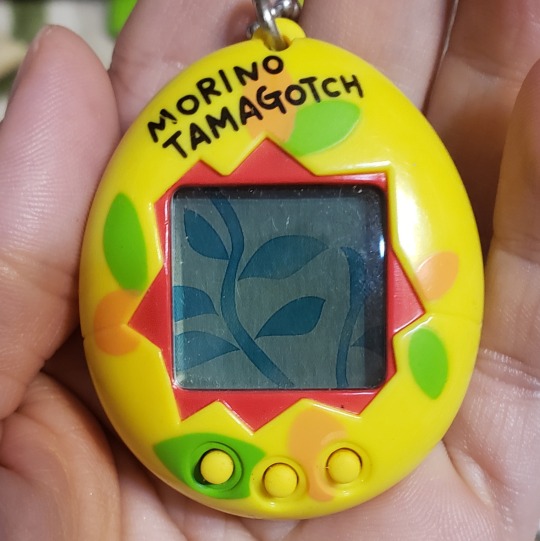
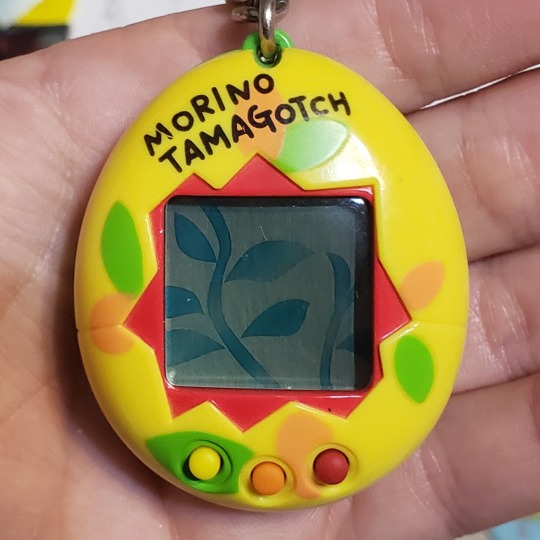
Can you spot the difference? Well, 3 spots, actually...I decided to mix and match the buttons! This is a very easy mod so long as you're comfortable disassembling your precious pets. (I claim no responsibility for any damage that happens to your Tama - or to you - by using the techniques shown!)
First, a look at the inside of the front half of the unit:
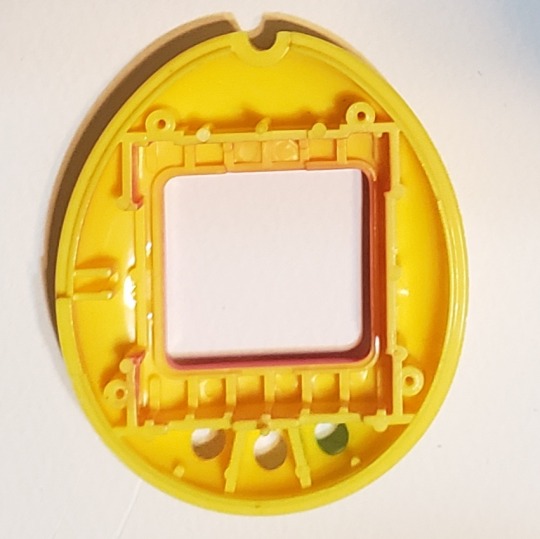
You'll notice there's support bridges filling the empty space between the button holes. These help to hold the buttons steady so you have the proper pressure to actually input commands. Tamagotchi buttons are one color because it's faster and cheaper to manufacture and install a single connected piece with all 3 buttons instead of triple that. Understandable, but we're customizing here!


Cut your buttons along the lines where the support bridges would fall. Cut them smaller and you risk the button falling through and getting stuck inside the unit; too big and your Tama won't close, or it will but won't work right due to uneven pressure being applied to the screen. That said, it doesn't need to be super exact. I will note you'll want to use sharp scissors and cut decisively - rubber stretches, and if you're not assertive you'll end up with weird shapes at the bottom.
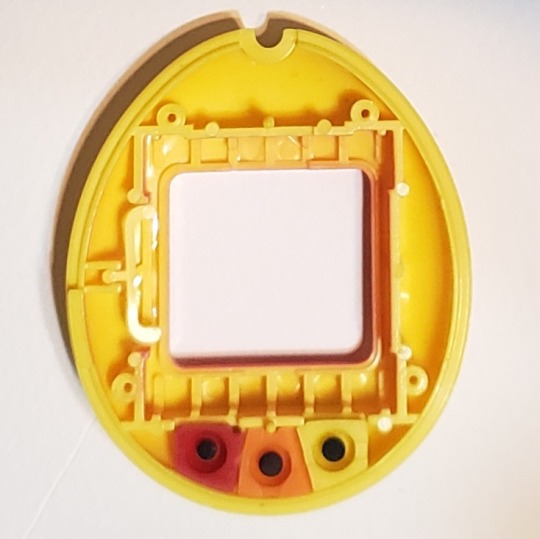
Do the same with your other buttons, then install as shown. Since you're installing from the back, put the buttons in reverse order that you'd actually like them to be: in my Tama, the A button is yellow while the C button is red.
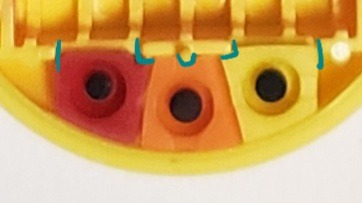
Zooming in, you'll notice each button has certain indentations that match the shell's frame. Very convenient, and they're the same on both classic and modern Tamas.
Modern Tama buttons from the Originals have a slightly thinner base that makes them very bouncy to press - highly recommended for the A button! They can be installed in a classic Tama without any additional modifications, but you'll need to mod the modern body a bit to fit old buttons in a new shell. Ask me how I know.
Anyway! Once the buttons are in, reassemble and you're done!
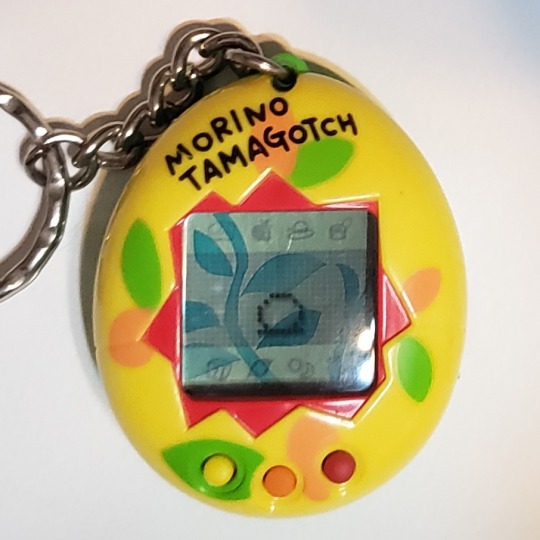
I added a neon green international P1 back to mine so I could make use of that keyring.
One of these days maybe I'll have time to play with this cute little bug!
39 notes
·
View notes
Text
My goodness! Three discipline calls in one day on an original Japanese P1?! Take it easy, man!
12 notes
·
View notes
Text
Finally a Use for the Camo P2!
Since the 90s, I have always thought the Camo P2 was the ugliest shell on the market.
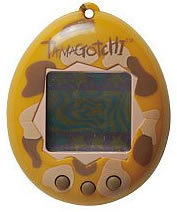
The plastic color itself is somewhere between split-pea soup and bile, and no amount of cool pattern designs could ever save it in my opinion.
BUT!
The buttons are a very unique dark khaki not found on any other Tamagotchi, classic or modern.

And they look darn good in Starry Shower!
I've been picking parts off of the camo P2 (that somehow found its way into my possession...I would never buy it) for other customs as well. The screen went to my yellow custom, and I've been using screws as replacements for the ones I inevitably bust.
So glad it's finally good for something...!
#You do have to modify the Starry Shower shell a bit to fit the classic buttons#tamagotchi#classic tamagotchi#p2#custom tamagotchi
11 notes
·
View notes
Text

Masktchi I loooove you ♥️ 👀❤️👀❤️
24 notes
·
View notes
Text
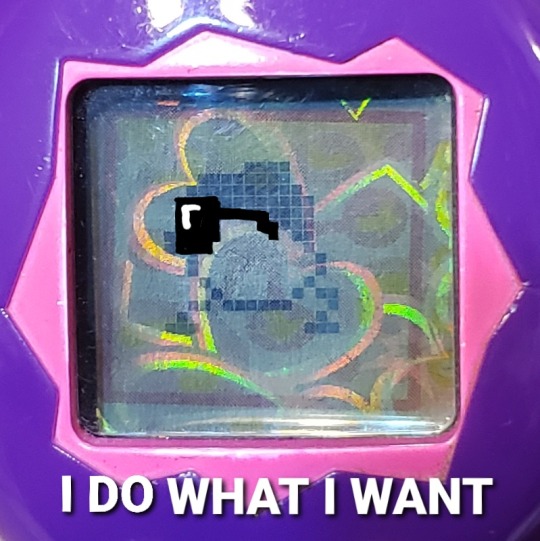
In Memoriam

He was bread
Now he dead
Well, it was fun while it lasted.
64 notes
·
View notes
Text

He was alive when I went to dinner! Never take your eyes off Nyorotchi.
13 notes
·
View notes