#Studentsandlattes
Text

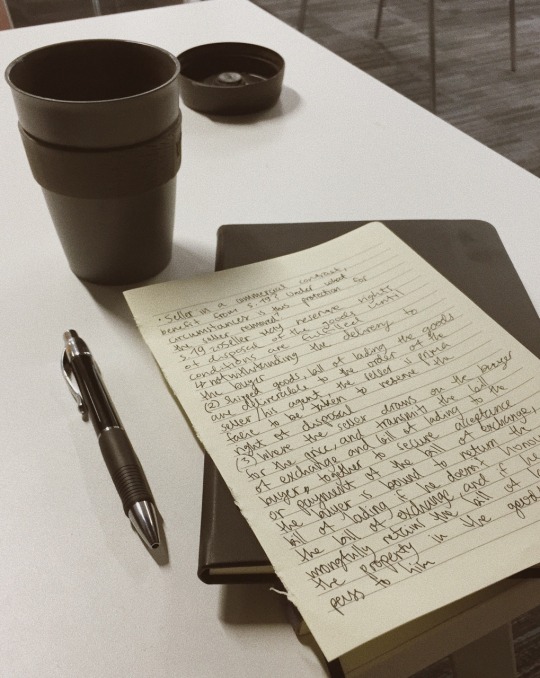
15/09/2019: today’s mood: grey sky that makes you wonder if it’s going to rain. you hope it will. head buried in commercial law statutes. confusion over what is meant by each word.
#mine#studyblr#studying#law student#law school#einstetic#imstudyingmeow#studentsandlattes#lawandcoffee#academia#dark academia#acadmia#andriana-studies#studypool#studyplant#studypetals#studywphe#dr a level#stillstudies#procrastilate#polvgot
3K notes
·
View notes
Photo
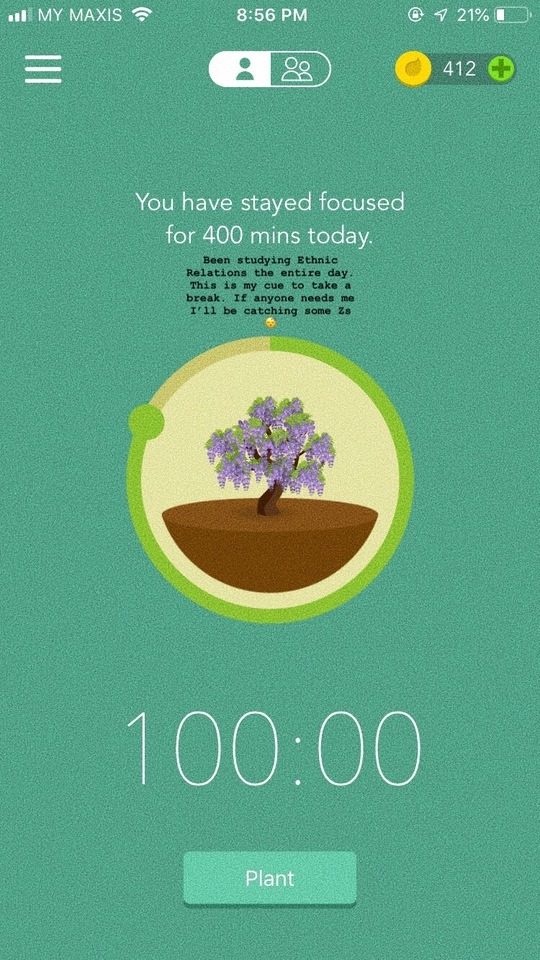
Been preppin’ for the ‘Ethnic Relations’ finals the entire day. And, this is my cue to take a break. If anyone needs me, I’ll be catching some Zs. Tomorrow’s going to be another productive day. I’ve got to revise for ‘Islamic & Asia Civilisation’ finals before the exam on Thursday & Friday.
#university#college#study#student#studentsandlattes#studying#studyign#studyblr#studyblrsofcolour#studygram#studyspo#studyspiration#studysthetics#studyscience#studyspace#studybuzz#elkstudies#academla#intellectus#ethnic#ethnic relations#civilisation#revision#productive#forestapp
16 notes
·
View notes
Photo

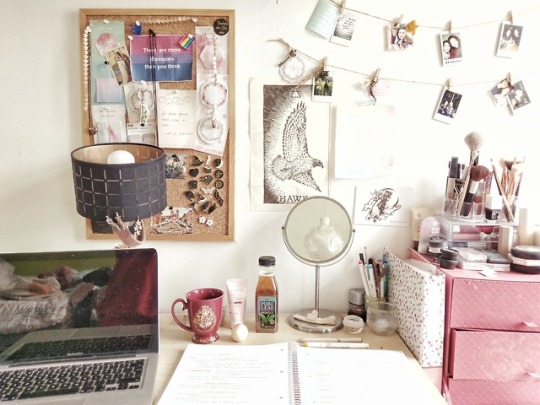
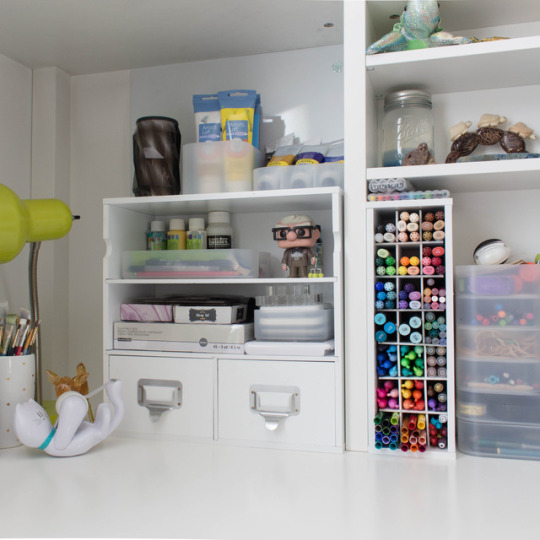
june 4, 2018. a glimpse into my messy af study space. happy pride month! 🏳️🌈
#studyblr#pride month#bi pride#studyspo#studying#study spaces#studyquill#emmastudies#studylustre#academiix#academla#eintsein#einstetic#studytherin#studythetics#studypetals#studentsandlattes#thecoffeedesk#kaisdesk#studyplants#educatier#jiyeonstudies#rhubarbstudies#journalsanctuary#hobifulstudies#stvdytea#lgbt studyblr#bookmrk#intellectys#stillstudies
4K notes
·
View notes
Text
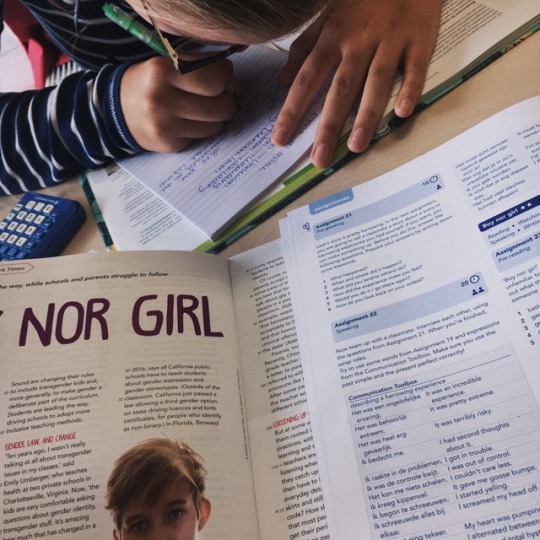
spent some time studying with my friend in our free period 🌙📚✏️
#studyblr#studispiration#studivation#school#study inspiration#study motivation#studying#study notes#study#new studyblr#new studyblog#janniestudies#mine#original#studysthetics#peepstudies#studysleep#emmastudies#pridebulletjournal#studentsandlattes#studyquill#studywithkimberly#xiutingzainali#alinaetude#jellybeanstudies
52 notes
·
View notes
Photo

I went to my fave Christmas market yesterday and I just want to go back 😂 it was such a lovely day being able to get presents and the things I’d wanted to get myself for ages but stopped myself for a solid 2 months so I could enjoy this shopping trip! I went to muji and got some stationery of course so stay tuned for a haul post soon!
#jadeoriginals#studying#studyblr#studyquill#emmstudying#heysareena#archistudy#artemistudying#timeless studies#strawberriesandstudying#studyandcoffee#studentsandlattes#lattetudes#khloestudies#lookamelia#bunnynichole#cjm-otstudies
6K notes
·
View notes
Photo

6.26.18 // 4:00pm // camera gear is expensive
part 2 in my photo series! now you know what all the buttons/settings do (ok, all the important ones), let's talk about the gear itself. if you missed the last guide, find it here. as a beginner myself, here's a little bit about different kinds of gear, what you might want to buy camera-wise, and maybe some useful accessories. under the cut! xoxo, m
a bit on cameras: you can honestly take great pictures on a phone (technology is kinda amazing), but if you want to upgrade a little...
1. mirrorless cameras (or CSC): these include models like sony, panasonic etc. maybe not the super big names when you think of cameras. unlike more traditional DSLRs, these don't have mirrors that reflect the light coming in. the light goes straight onto the camera sensor, which produces the image. Most mirrorless cameras have electronic view finders (EVFs), which basically simulate what you would see on your LCD screen (on the back of the camera), but in the view finder. This shows you exactly what you will get (ex: when you change the ISO, the view in the EVF changes accordingly). Mirrorless cameras are also a fair bit smaller than DSLRs, though they usually tend to have less battery life (in part due to the EVF). There are fewer accessories and lens selections native to mirrorless bodies, though you can get adapters to put Canon or Nikon lenses onto your mirrorless.
2. DSLR: the traditional camera with mirrors. bulkier than the mirrorless counterparts, but with better battery life and accessory variety. they are also supposed to be faster at autofocus, though some sources say the new mirrorless are catching up. (i don't have any personal experience with this so idk) DSLRs have optical viewfinders (OVFs) that show you the image the mirror is reflecting onto the sensor. this means you're not seeing a "processed" version of the image. as such, you won't get live exposure adjustments when you change ISO etc. when you first start out, it's probably a good idea to check the LCD screen to make sure you're exposing properly (i totally forgot to do this and had the ISO way up for low-light, then had decent lighting and took some super blown out photos). eventually, you'll get a better feel of what settings to use. i think the viewfinder should also have a light meter (tho i'm not 100% on this). you can also use live view on your LCD while you take shots to get a more accurate representation of the exposure.
3. crop sensors: basically your sensor is smaller. if you have a crop sensor (or APS-"some letter", for example i have an APS-C), make sure to look up the crop factor for your model. the main thing this will affect is the effective focal length you're shooting at. if you're shooting at 50mm on a sony APS-C (which has a 1.5 crop factor), you will get images that look like they were taken at 75mm on a full frame camera (more on focal length later). generally, when people refer to focal length, they'll be talking about the full frame equivalent. all lenses will be labelled with their full frame focal length. for example, a lot of people refer to the "nifty fifty" or 50mm prime lens as a pretty versatile option. if you're shooting on an APS-C, you'd want to get a 35mm lens for that same versatility. you also don’t get the same depth of field as you would on a full frame at the same aperture? (i feel like this is super disputed on the interwebs but i think its true...) at f/1.8 on a crop, your dof won’t be as shallow as on full frame.
4. full frame sensors: a 35mm lens will be a 35mm lens. the sensor is just larger. also said to have better low light performance (less noise). full frame cameras are more expensive, but i (and most of the photography community) think beginners should be just fine with a crop sensor. also, you can only use full frame lenses on full frame cameras, while you can use both full frame and crop lenses on crop sensors. crop lenses use less glass since there is less sensor to reflect onto, so if you use a crop lens on a full frame, you'll get black parts on the edges of your image since the lens didn't reflect enough light. this makes full frame lenses a little heavier/more cumbersome.
a bit on lenses:
1. focal length: a longer focal length is going to crop in your field of view. basically, i'd use a 16mm (a relatively short focal length) to take a wide landscape and i'd use a 200mm (relatively long focal length) to zoom in on my little sister dancing onstage while i shoot from the audience.
2. fstop/aperture: i talked about this in my previous post but here's a quick summary. low fstop = more light = shallow depth of field. high fstop = less light = deeper depth of field.
3. prime lens: these lenses have a fixed focal length (no zoom) and generally come in wider apertures. the wider the max aperture, the more expensive your lens is going to be. they also generally produce sharper images with less noise and force you to really think through your shots, since you have to move to change the framing. however, keep in mind you don't always necessarily have to frame your shot in camera!
4. variable aperture lens: these are zoom lenses (you can change the focal length) where the maximum aperture width changes with the focal length. for example, the lens might say 16-50mm, f3.5-5.6 (this is the sony a6000 kit lens). this means that at 16mm, the max fstop is f3.5, but it is only f5.6 when at a 50mm focal length. the zoom is helpful when you want to frame shots exactly how you might like, especially when you can't move around.
5. constant aperture lens: zoom lenses with a constant maximum aperture width. more expensive and less readily available/compatible, but you won't have to worry about the max aperture being narrower as you zoom in.
some accessories:
1. a tripod: helpful for self-portraits, long exposures or just general stabilization. as mentioned, i'd prefer to manually focus on a tripod. i have one, though i've lost the mounting plate (which is pretty cheap to replace) tho i've currently misplaced the entire tripod since i haven't used it in years.
2. microfiber cloth: your lens is going to get dirty. you'll want to clean it or you'll get spots in your images which may or not be removable in post.
3. rocket blower: again, dirt will happen. this is good to blow off big particles so you don't scratch anything while cleaning. *do not* just blow on your lens/sensor with your mouth. you might accidentally spit on it which is a nightmare. believe me, i've been there.
4. sensor cleaning kit: this generally comes with cleaning solution and swabs. super helpful for removing crap off your sensor. the cleaning solution is also great for lenses. i just put a bit on my microfiber cloth and gently rub. (you could use swabs on your lens but those are kinda expensive and single use so)
5. remote/wi-fi app: a lot of cameras now are wi-fi enabled. most camera manufacturers have apps that can allow you to use your phone as a remote. they'll also allow you to see what the camera is seeing (it might be a bit laggy) and adjust some basic settings. super helpful for self portraits or long exposures where you don't want to touch the camera. you could also buy a remote, but the apps are usually free.
6. camera strap: the ones that come with cameras are super uncomfortable. you can get slightly better ones for pretty cheap, or much nicer ones if you're so inclined.
7. camera bag: protect your camera when you travel. i actually just use a super old camera bag, but it has a little padding. just make sure your camera and/or lenses don't move around a bunch or knock around. some lenses (cough a6000 kit lens) are pretty fragile. you don't want to spend hours trying to repair one or, even worse, have to buy a new one because you didn't take proper care.
again, a fair bit of info. cameras are expensive, so definitely make sure you do your research before you shell out for one! buying used is also a good option. hope this is helpful!
#pennyfynotes#pfynguides#masterpost#tips#photography#photos#beginner photography#camera#camera gear#stvdybuddies#heyjul#heysareena#lattetudes#studentsandlattes#studyblr#student#university#college#hobby#studyfeather#intellectys#rhubarbstudies#focusign
70 notes
·
View notes
Text
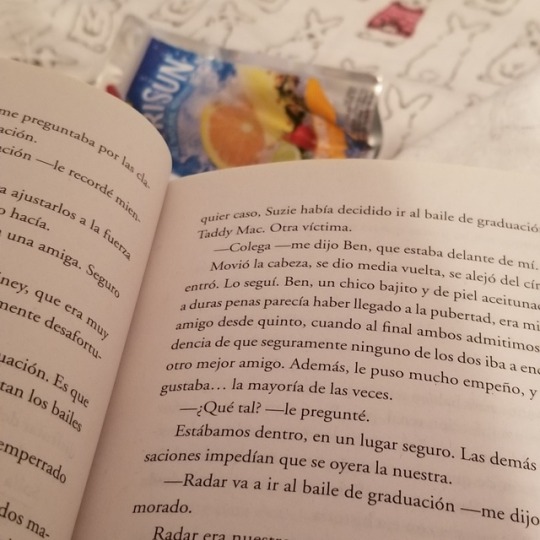
Caprisun and John Green
#studyblr#natlookhere#studypetals#studyquill#studentsandlattes#hermionegoals#focusign#studybuzz#mine#heysareena#acadehmic#studyign#heylookadele#spanish
1 note
·
View note
Text
Korean A1/Beginner - Lesson #2 - March 7th 2018
Disclaimer: Everything that will be posted here is taken form my Korean Beginner’s class. If you see any mistakes, please let me know. Enjoy!
Vowels - 모음
야 - ya
여 - yeo
요 - yo
유 - yu
의 - eui
Consonants - 자음
ㅂ - b
ㅈ - j
ㄷ - d
ㄱ - g/k
ㅅ - s/sh
Bottom Position - 받침 (bat-chim)
받침 is the bottom position in a syllable and it has some rules:
Different sound - consonants in 받침 have a more subtle sound. It is as if you were about to pronounce that consonant but then stop.
Carry over the sound - if the first sound in a syllable after 받침 is a vowel, you carry over the last consonant’s sound from the last syllable.
Vocabulary
바보 - idiot
이야기 - story
여우 - fox
우유 - milk
비 - rain
이유 - reason
모자 - hat
구두- formal shoe
바다 - sea
다리 - leg; bridge
여자 - woman
의자 - chair
의사 - doctor
주머니 - pockets
아버지 - father
요리 - dish (as in meal)
유리 - glass
사람 - people; human
곰 - bear
문 - door
물 - water
공 - ball
눈 - eyes; snow
손 - hand
밤 - night; chestnut
- cat
강 - river
고기 - meat
영어 - english (language)
자전거 - bike
거기 - over there
강아지 - puppy
달 - moon
일본 - Japan
양 - sheep
돈 - money
별 - star
사랑 - love
산 - mountain
서울 - Seoul
누구 - who
점심 - lunch
일본어 - japanese (language)
엄마 - mom (informal)
Thank you and see you soon!
#anatriesposts#studylustre#xiutingzainali#heysareena#heysprouht#heyyume#morningkou#noodledesk#kaisdesk#studyplants#studypool#heyaly#heyjul#sootudying#studyblr#studyspo#studyinspo#birdkostudies#studentsandlattes#rhubarbstudies#moonshinestudies#mildlineurs#eveincollege#ohlookyan#heytheretay#langblr#korean#korean vocabulary#korean language#learn korean
209 notes
·
View notes
Photo
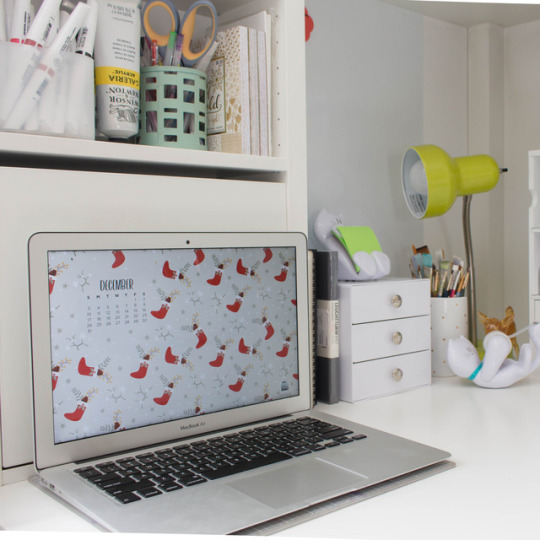
december 1st, 2017 - cleaned up around my desk today, what a miracle! I wish winter here looked and felt more festive, but it's still as hot and humid as ever :( at least my wallpaper helps me feel more festive (from @emmastudies )
#original#studyblr#bullet journal#bujo#emmastudies#studyquill#potterstudy#rhubarbstudies#heyodutchbro#pinestudies#junebugstudies#lattetudes#heyaly#nihaonicole#studejing#thecoffeedesk#smhstudying#studentsandlattes#bookmrk#gigi
2K notes
·
View notes
Photo

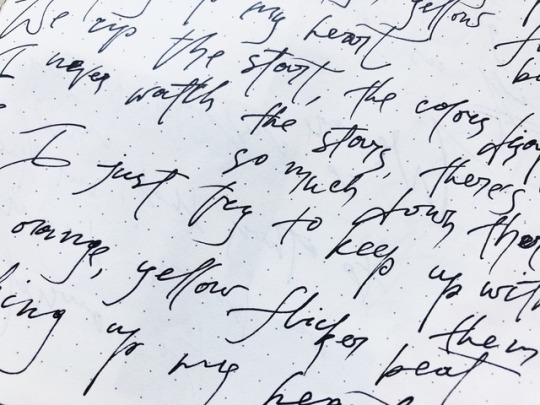
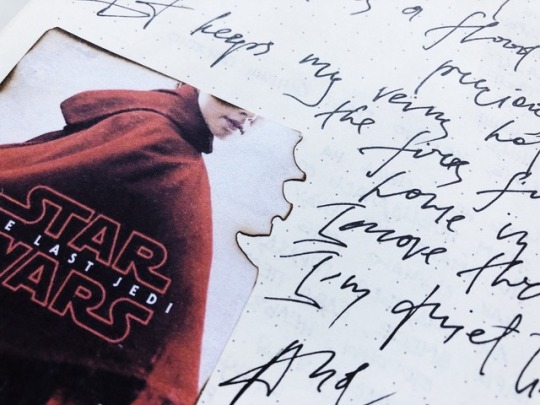

— ‘star wars: the last jedi’ + ‘yellow flicker beat’ by lorde
#star wars#rey#kylo ren#lorde#lyrics#handwriting#calligraphy#hellohana#stillstudies#xiutingzainali#einstetic#hachikostudies#bullet journal#studyblr#etudier#thecoffeedesk#studentsandlattes#nocturnaldaria#bujo#art journal
57 notes
·
View notes
Photo
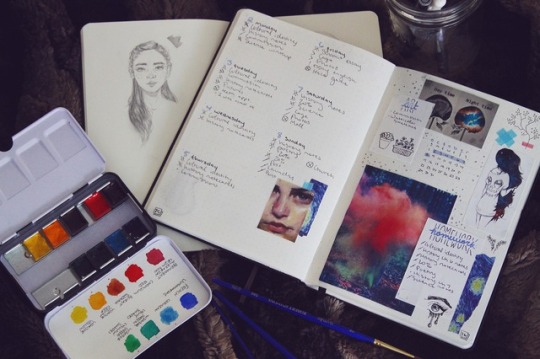
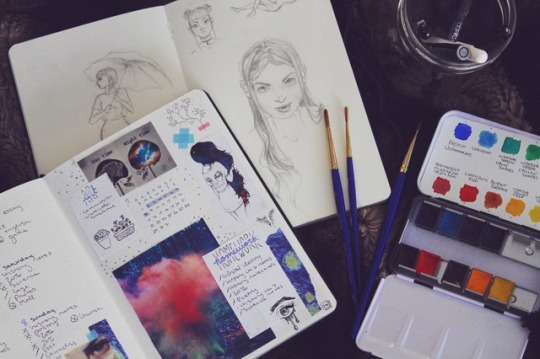
An art themed spread ft my sketchbook
#art#bujo#bullet journal#studyspo#studyblr#study motivation#studyspiration#study#art supplies#weekly spread#my bujo#weekly#studylustre#studypetals#artstdy#studyrose#studyquill#studentsandlattes#elrood#small studyblr network
2K notes
·
View notes
Text

02/11/2019: shaky hands from drinking too many cups of coffee. unorganised notes all over your desk. piles and piles of academic books, yet none of them prove the point that you know to be true. the fast tapping of keys as you finally find a way of putting your thoughts into words.
#aka I'm writing an essay#mine#studyblr#studying#einstetic#imstudyingmeow#studentsandlattes#lawandcoffee#academia#dark academia#dark academic#acadmia#academla#andriana-studies#dr-a-level#studypool#studyplant#studypetals#studywphe#stillstudies#procrastilate#polvgot#huacademic#noodledesk#cappucinonotes
839 notes
·
View notes
Photo
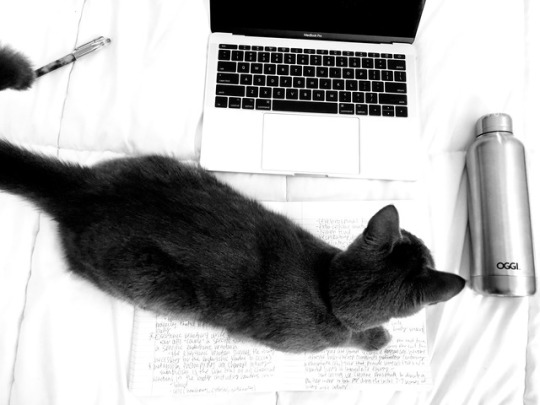
ive been procrastinating like crazy and i have no idea why, but ive spent the past two mornings getting myself together so im prepared for my biology final. buuut this is oliver. our cat. and he loves sitting on top of my notebook because he’s a goof.
#jordans-studyblr#studyblr#study#study inspo#study inspiration#bioblr#biology#study motivation#tiny studyblr#emmastudies#studyquill#studylustre#studentsandlattes#my posts
616 notes
·
View notes
Photo


june 5, 2018. the colour tangerine is such a mood for june, it looks very refreshing 🍊
#studying#studyblr#studyspo#nsfr#studyquill#studythetics#studyplants#emmastudies#studylustre#academiix#academla#eintsein#einstetic#studytherin#studypetals#studentsandlattes#thecoffeedesk#kaisdesk#the-girlygeek#educatier#jiyeonstudies#rhubarbstudies#journalsanctuary#hobifulstudies#stvdytea#bookmrk#intellectys#stillstudies#mochistudies#study motivation
1K notes
·
View notes
Photo


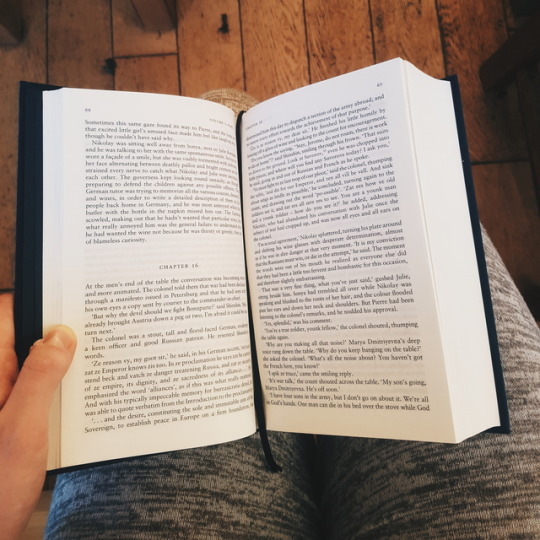
[10/12/2017]
yes I’m pretentious but its freezing outside and it’s a very good book
click pictures for higher quality
#studyblr#studyspiration#studyspo#books#bookblr#reading#war and peace#bookworm#study inspiration#iactuallystudyalot#legallychic#obsidianstudy#studentsandlattes#heyaly#calligr4phy#studyruels#mine
398 notes
·
View notes
Photo
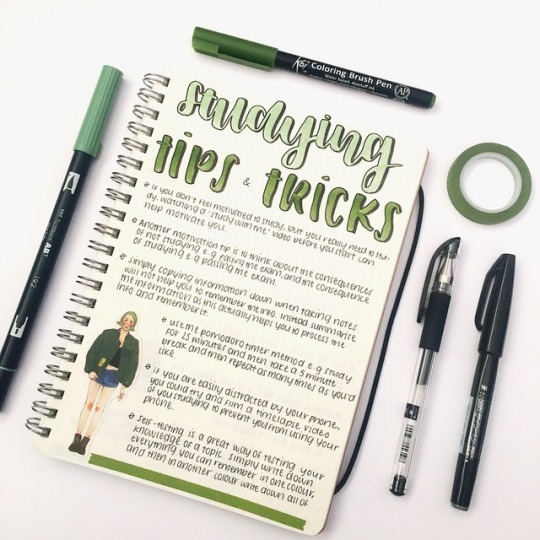
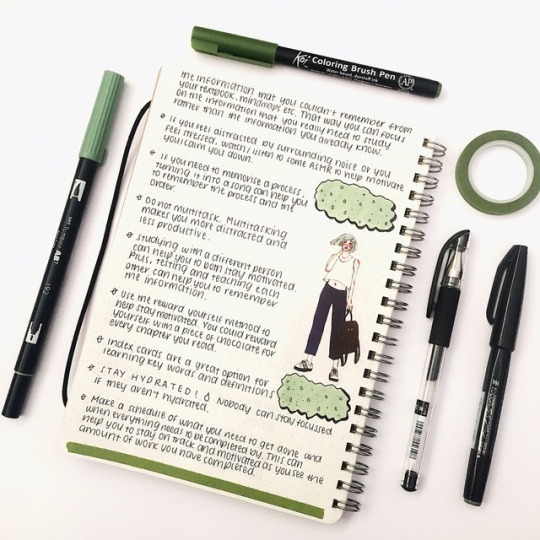
STUDYING TIPS & TRICKS
I used the Tombow ABT dual brush pen in 192 asparagus, the Sakura koi brush pen in sap green, pentel fude touch brush pen in black, Uni ball signo dx 0.38 in black, moss green washi tape from Etsy and some stickers from Etsy.
#jadeoriginals#studygram#studytips#stationery#bullet journal#bujo#studyquill#heysareena#architstudy#lookamelia#khloestudies#studyandcoffee#studentsandlattes#lattetudes#strawberriesandstudying#timeless studies#bunnynichole
2K notes
·
View notes
Last Seen Blogs

tiger-moran
Tyger Tyger

submissive-sf
submissive in San Francisco

tessandscottforever18
Shawn & Camila,Tessa & Scott & things in between
kanemmusic
Kanem X

heliopixels
it's a free play, buddy. Clock's all zeroes