#and all the overflow posts that I can’t queue now are going into my drafts
Text
#showyourprocess
From planning to posting, share your process for making creative content!
To continue supporting content makers, this tag game is meant to show the entire process of making creative content: this can be for any creation.
RULES — When your work is tagged, show the process of its creation from planning to posting, then tag 5 people with a specific link to one of their creative works you’d like to see the process of. Use the tag #showyourprocess so we can find yours!
Big thank you to @fengqing for tagging me and I’ll do my best to explain how I made this set for Jiang Yanli!
1. Planning
The beginning idea for this set actually stemmed from my Yanli birthday set for the @mdzsnet event, wherein I was working with this palette:

The one thing I had to learn with using palettes, and is my biggest help to others, is SCENE CHOICE. It can make a difference between tearing your hair out and being happy with your final result, though there’s definitely some trial and error to it.
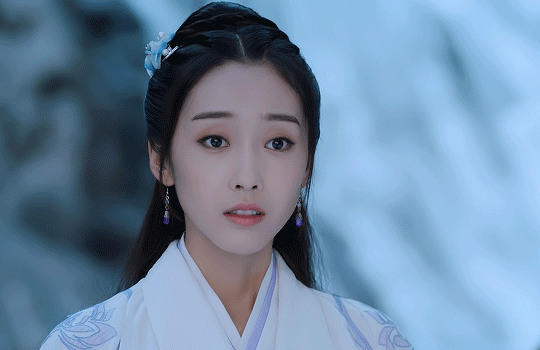
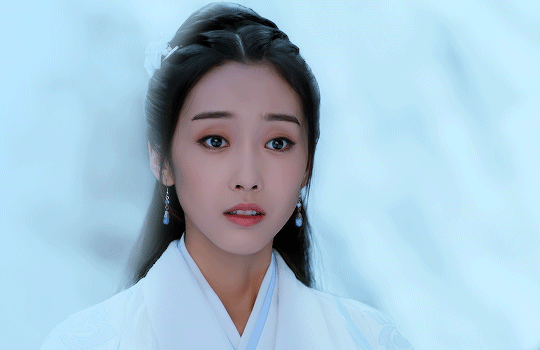
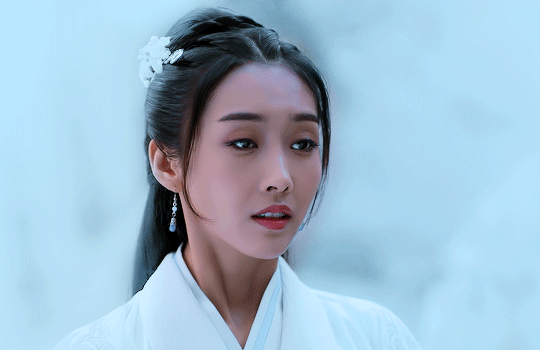
So I knew I wanted to make a gifset using each of the colours, and, for the light blue, immediately my mind went to the Gusu Lectures period of time, due to Cloud Recesses having a much more blue and light palette than many of the other settings in the show. The lightness of the blue made me lean towards outdoor scenes, and I immediately recalled the interaction between Jiang Yanli and Jin Zixuan where she slips and he catches her (episode 6). Thus off hunting I went until I found it. The final set actually came about because I had more footage than the original gif needed and I didn’t want a colouring I was quite proud of to be a one-and-done kind of thing. I also found the scene featuring the second gif, which had a similar palette in the episode, and decided to work it in as well (because I have weird moments of fussiness where two gifs isn't enough lol).
2. Creating
I have all the episodes saved on my hard drive, so it’s a matter of finding the right scenes in the episodes and going from there. With my scenes found, I wrote down the timestamps in order to put it through Vapoursynth, which I use to crop, resize, sharpen, and denoise my gifs before importing them into Photoshop (I use a portable version). I trim them down to a relatively similar length (bc I like those sets to be similar), adjust the timing and, with all that done, we’re left with our base gifs like so!
Now onto the fun part! Colouring! I’m going to pop the rest under a read more because it’s image heavy!
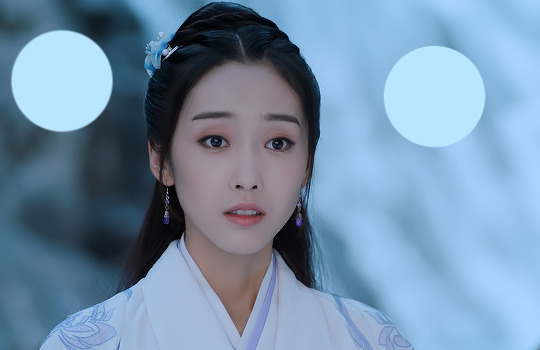
I already had a pretty set colouring since this was overflow from another set, but I’ll break that down a bit as well. My first step is always to plop a couple of spots of the desired colour onto the very top layer of the canvas, because it makes judging if its in the right realm or not much easier, like so:
My go-to’s for base colouring is curves (which does a lot of heavy lifting on colour correcting for me) and a vibrance layer (to see what colours we’re working with).
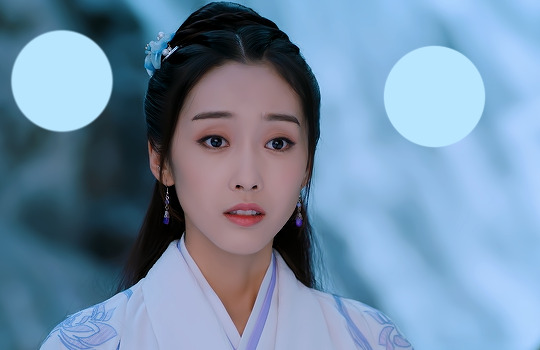
Then it’s about manipulating those colours into something closer to my desired one. Thankfully here my scene choice made life much easier as it’s already a light setting but it’s also already got a lot of cyan to work with. Threw on a few selective colour layers (focusing on lightening the cyan;
making the blues stand out more by removing the warmer tones;
correcting that green-ish tinge back to blue and making the cyan lighter again;
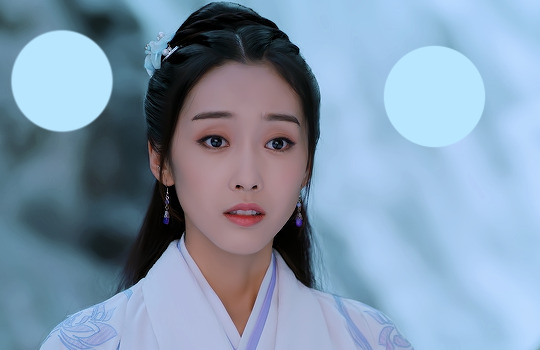
Now here is a little something I tend to do thats negligible but it makes me feel better about the colouring and thats a gradient map set to soft light, low opacity (20% here) using the pale blue and black. It just helps making the image a little more cool in tone in my opinion, and I put that UNDER my original curves layer;
And this is where we break out the brush! Obviously the darker colour on the left needed to be lightened up, so I went in with the palette colour on soft light at 100%;
and lighten at 50%;
Then I added another selective colour layer to lighten up the cyans and get closer to the palette colour;
Back to our brush! A layer on the right with soft light to give a bit more uniform colour across that expanse;
And lastly, I pulled a gradient of just the blue across the left to smooth out the colour on the edge of the frame, like it is on the opposite side (bc I’m obsessed like that);
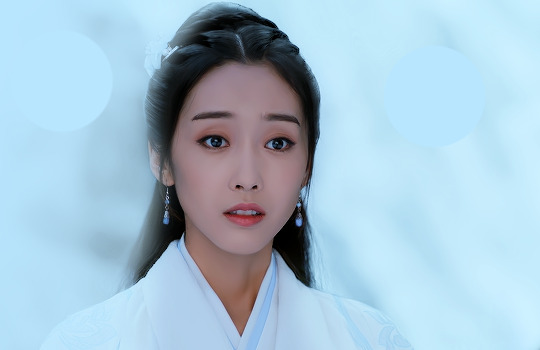
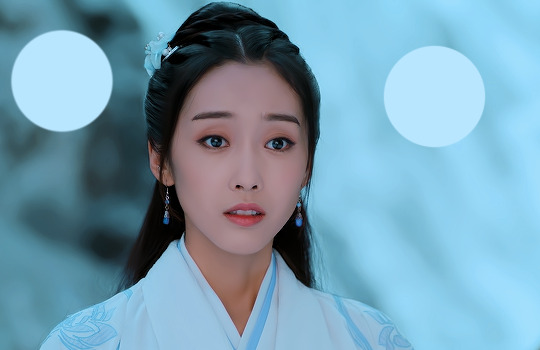
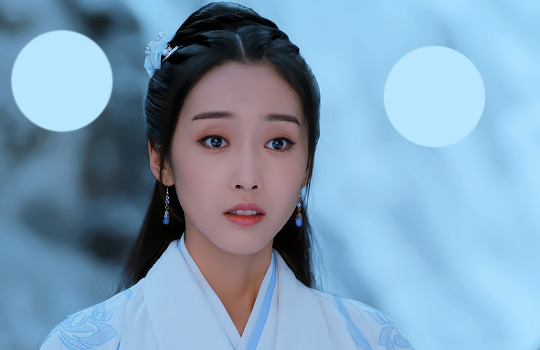
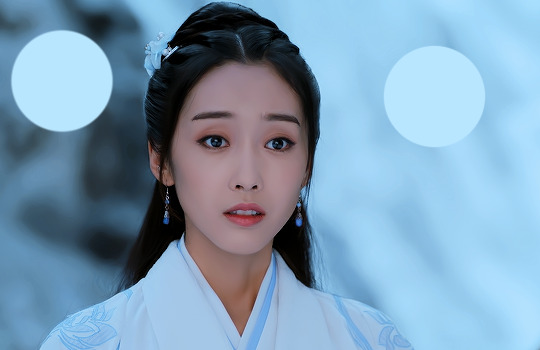
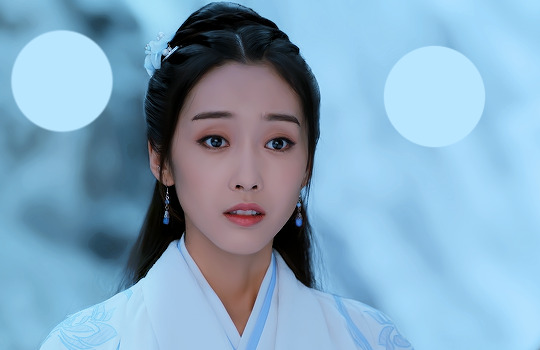
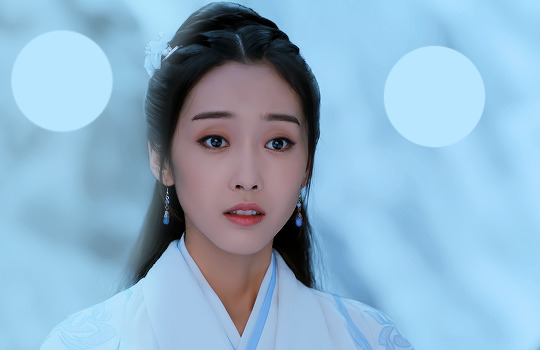
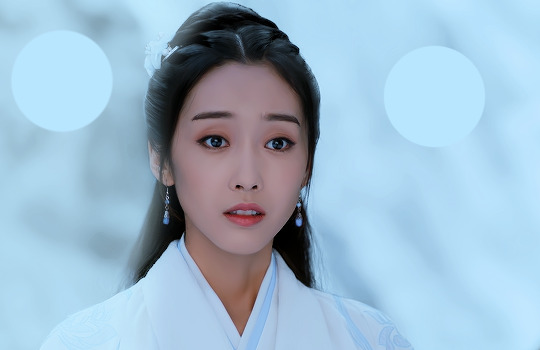
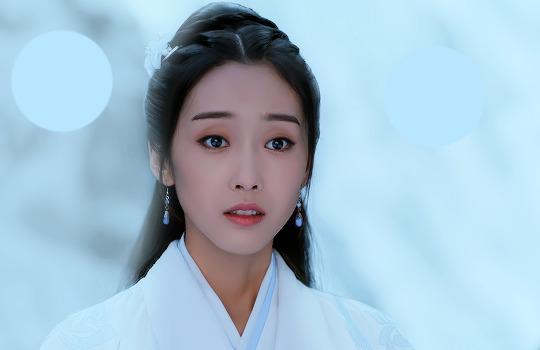
Amidst all of this, I was using masks on the brush layers to account for Yanli’s movement and keep it from overlapping her skin, until finally I was happy (you’ll notice above the two circles are barely visible now) and we have this result!
My process was basically the same for the other two gifs in the set, with the second requiring a few more brush layers and gradients until we had all three looking spick and span!


Isn’t she pretty?
3. Posting
This here is where we pray Tumblr doesn’t destroy our hard work.
I mean, ahem. I don’t tend to save stuff to drafts unless I can’t finish it then and there, or I’ll pop it into the queue if it’s for a deadline. The gradient text is one of my favourite ways to caption on sets and I use a palette generator from an image website (google adobe colour palette from image) to pull out colours to use (I fiddle sometimes to get a gradient that looks good), before popping them into Cuvou's text fader (I’d link but Tumblr don’t like that but if you google it should come up). I then switch the text editor here over to HTML to pop in the code generated by the fader, add any other text styles I want (bold, small font or header size font, etc), preview the HTML, preview it on my blog a couple times and then once I’m happy, usually that’s it! It gets posted or queued and out into the aether it goes!
In this case, this was the final result of the gradient text in the caption;

Phew so that was... a lot for what amounted to a colouring and I’m sorry if y’all didn’t want a tutorial but here it basically is xD For the tagging I’m going to go outside the fandom just a bit and tag, but if you’ve already been tagged, don’t stress it!
@offtodef with this set
@sugarbabywenkexing with this set
@gusucloud with this set
@wanyinxichen with this set
@sarawatsaraleo with this set
#showyourprocess#tag game#things i'm tagged in#this is very long#for what amounts to a colouring#i'm so sorry xD#hope you enjoyed!
15 notes
·
View notes
Last Seen Blogs

usop2504-blog
Untitled

vargaa
'NOT-CHO' MAN

gatetire1
바카라사이트
granspies
H. Meerman
lavenderregrets-blog
Lavender Pearl