#and definitely a bad cover paper glue job- it's been a while since I botched it that bad
Text
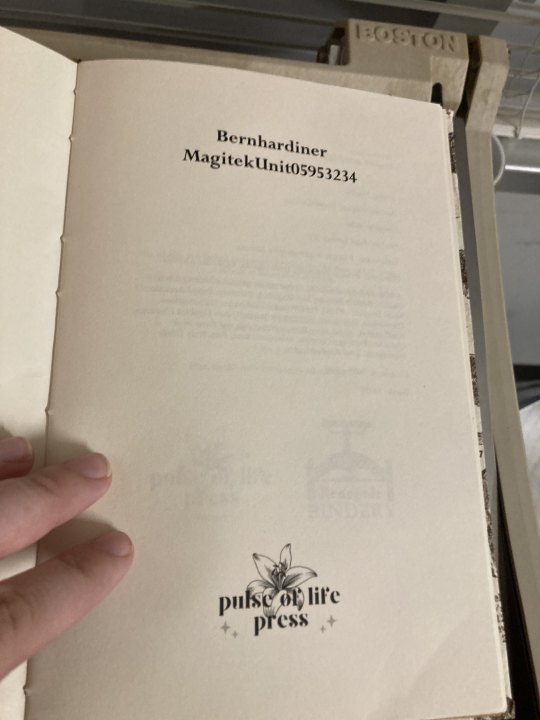
Pulse of Life Press 1st Anniversary - and an experiment!
It's been a whole year since I started this crazy artform! I can't believe it myself. The amount of books I've made in the past year has long since hit the double digits, and each and every one of them is incredibly important to me, flaws and all.
However, there was one book - my first book - that had more issues than the others, some that outright interfered with reading. Luckily I've been learning book repair at the same time as binding, but when I tried to fix some of the problems for Bernhardiner, it went...well... about as badly as it could.
What to do, then, with a ruined book? I didn't have enough decorative paper to completely redo the cover, with all the little dogs. But then I thought - why not leave the cover? I know how books work - I could pretty easily detach the whole case from the ruined textblock, make a new textblock, and just reuse the old case. It seemed like a sound experiment. Now, for the press's first anniversary, I have compiled most of the process under the cut, complete with pictures.
Please come along with me on this journey!

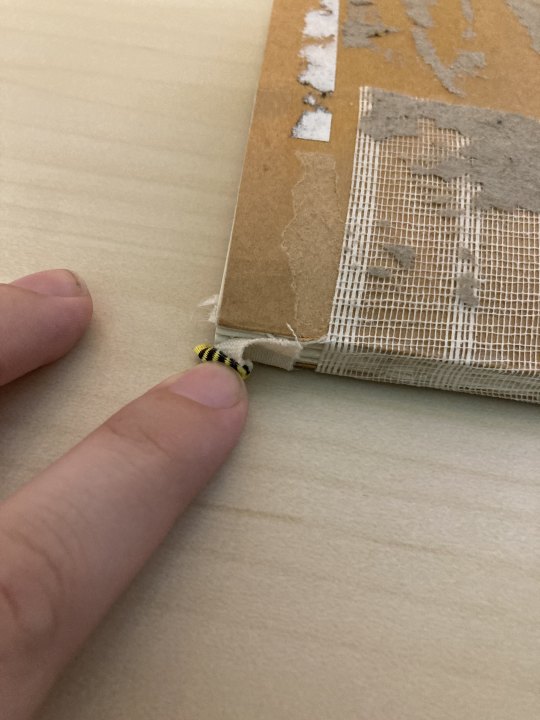
This was the beginning of the process, after having slooowly and carefully detached the endpapers of the textblock (right) from the case itself (left). You might remember this from my recent shitpost! To loosen the adhesive and separate the two parts without ruining either one, I initially slid a bonefolder into the hinge area of the case, and then switched to a thin little boi called a microspatula to slip through the glue not unlike a letter opener.


This did lead to some wear and tear on the boards of course, but it could have gone a lot worse. Most binders that I've learned from use a homemade wheat paste to attach case to textblock, but so far I have not been able to make it without the ingredients turning into an Oobleck-esque gelatin. Thus I use PVA glue, which is far stronger, and can lead to things like this. Still, not too bad. The case was successfully salvaged!
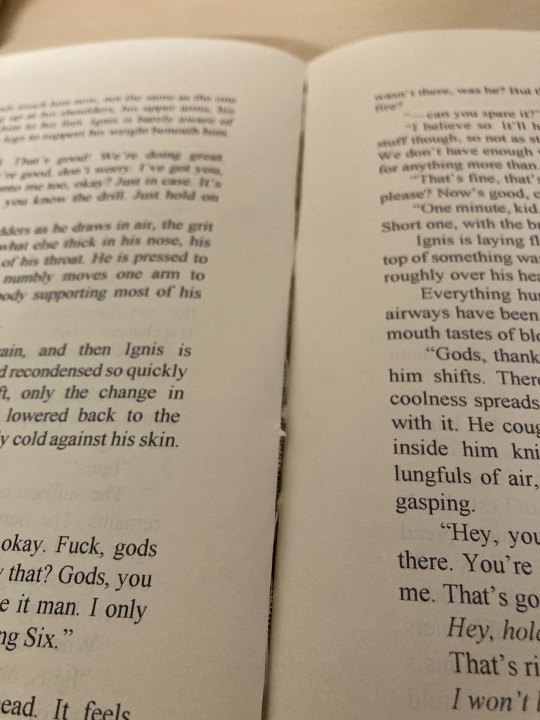

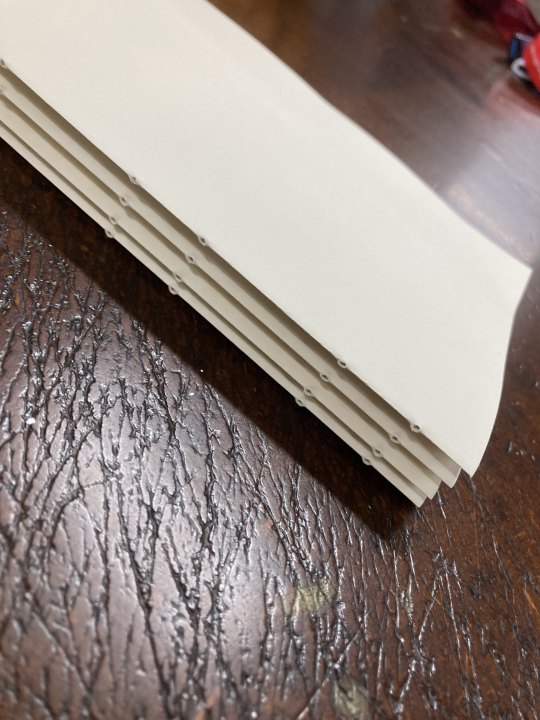
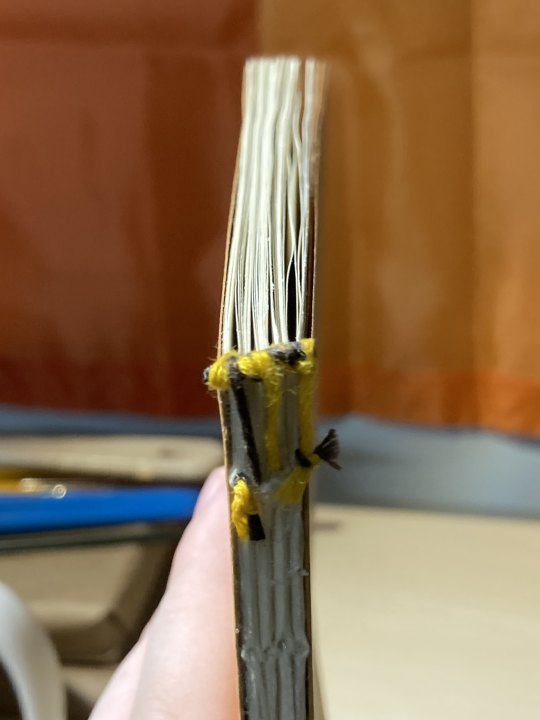
Before I describe and show off the redux, I just wanna share a couple of the errors and mistakes I made on the first textblock here, as I usually try and photograph my books with the least amount of flaws visible. Here we can see, firstly, that the glue job on the spine was shoddy at best; none of it really got quite between the individual signatures of the book, leading to weird gaps like that which compromise the stability of the book and show off the spine liner/mull, to my dismay.
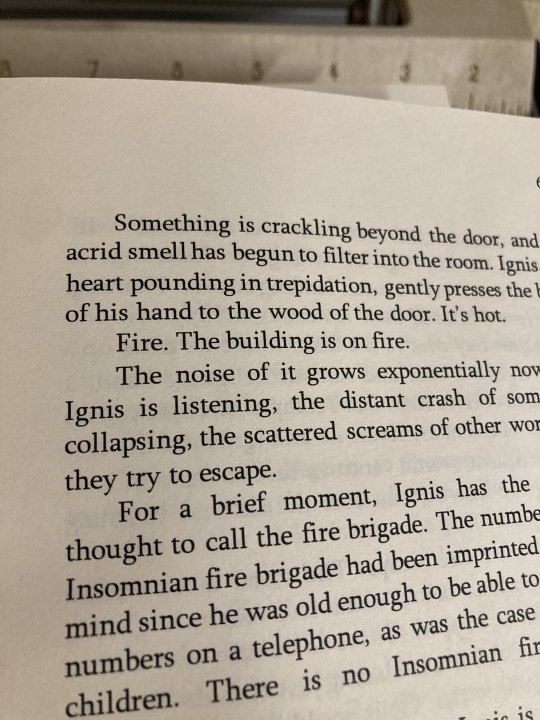
In the other two pics you can see page numbers where they're definitely not supposed to be. Ah, MS Word, you son of a bitch and your terrible, terrible pagination settings. Took me months and months to learn how to paginate my books correctly, up until about my FINAGLC bind.
Not enough glue here on the pre-made endbands, either. It would sometimes fold under while reading, which wasn't super fun to see.

Finally, the botched repair that started this whole journey - I had attempted to fix one of the gaps between signatures (seen earlier) with some Japanese repair tissue, but ended up sticking these pages awkwardly together and fucked up that little top part there. A nightmare!
For all the above reasons, I actually decided to go back to my original typeset and revamp it. I've gotten some... teasing in my binding groups for the fact that my first few books were set in Times New Roman (which I actually find satisfying to read, thank you very much), which apparently gives off a sort of amateurish vibe. I've been experimenting with body fonts since, and the two I reliably use at the moment are usually Sylfaen (for shorter, smaller books) and Baskerville Old Face (for longer books). I switched it to Sylfaen here, and you can compare and contrast the results far down below.

Now, I'm not going to detail the entire bookmaking process here - just the interesting bits. If you want to learn how to make books, I highly suggest checking out @renegadepublishing's resources, as they're how I learned. But here we can see all the new signatures of the new edition nice and crisp and printed. In the second photo they've even been punched for sewing already!
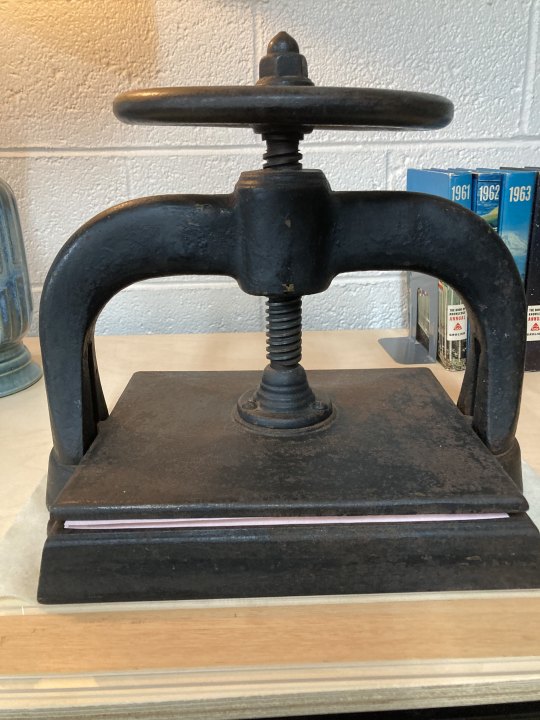
At the co-op where I print and sew my textblocks, I often get to use real nipping presses like this bad boy right here. It's entirely metal (iron?) and way too heavy to lift. Between the two scrap papers peeking out is the new Bernhardiner!
But at home, this is my current set up:
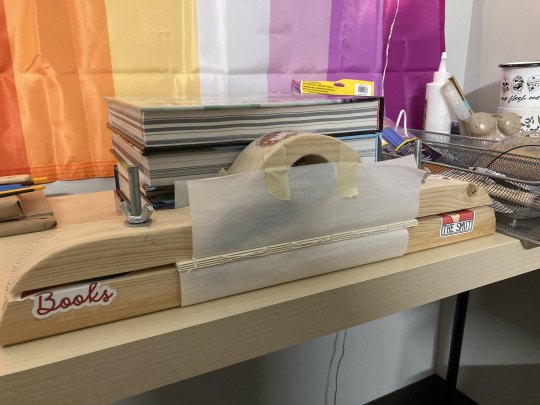
Everyone, meet the eponymous Pulse of Life Press. POL Press, meet everyone.
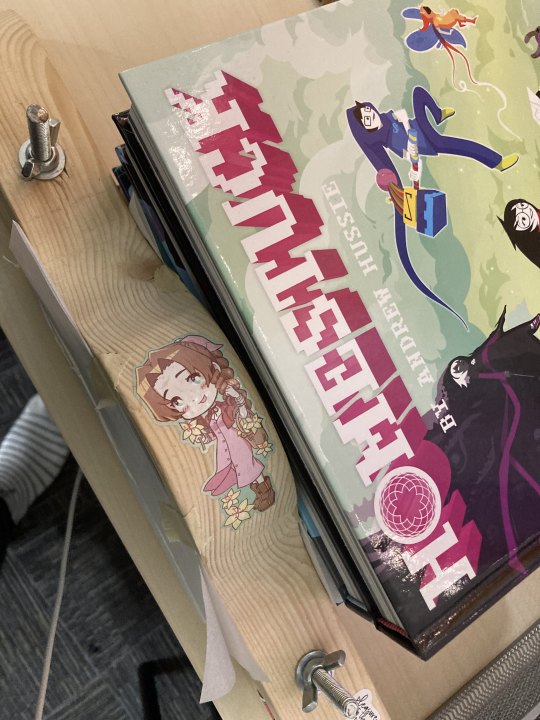
A family member of mine made the wood part (obviously, a separate piece from the HS books) for me last Christmas, with no real knowledge of what a book press should look like at all. It's sort of a cross between what's known as a lying/finishing press and just some sort of regular old clamp. I line it with wax paper, stick the spine of the book in the center, tighten, and then cover the rest of the textblock with my trusty viz Homestuck books. It's a little MacGyver-y, but it's served me well.
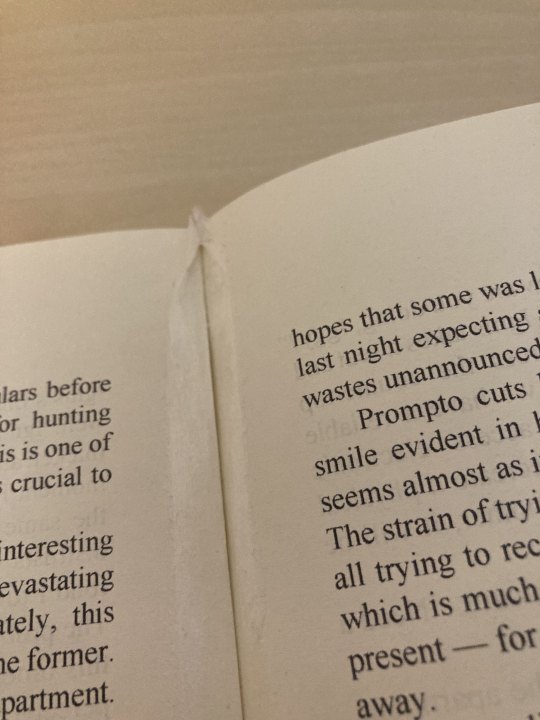
This is the part where you glue the spine, attach the endpapers, and so forth.


For this redux, I decided to continue practicing making my own endbands instead of using the same pre-made ones I had for the first copy. These ones actually came out pretty darn well, if I do say so myself! They're the absolute neatest I've made them so far, and that's a relief. Obviously I still need work, but it's so lovely making them. <3
After this, I actually don't have a lot of pictures! It's basically just press, attach the spine liner and glue again, press again, casing in, and then...

Et voila!


Lookin' pretty good, if I do say so myself.


I didn't get exact duplicate photos of the original textblock's mistakes for a before/after, but you can probably just tell from these just how cleaned up the new one is. Rest assured those pesky out-of-place page numbers are long gone, and my spine gluing has gotten a lot better. I'm honestly just glad that it cased in so well - I was worried about that flaky board for a minute there!
And that's all. Thank you for coming with me on this little peek behind the scenes! Here's to many more books in the coming year - more to read, more to make, and more to write.
Cheers!
#cyborg rambles#POL press#bookbinding#fanbinding#book repair#it's also my birthday month so! double the warm and fuzzies#long post
36 notes
·
View notes
Photo

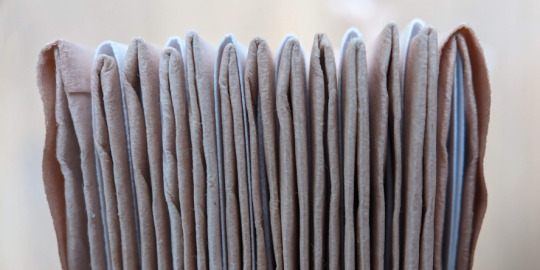
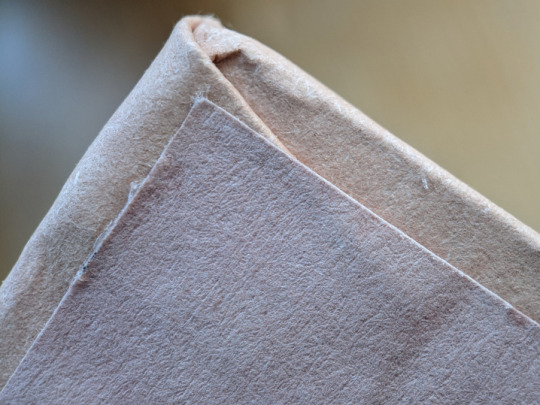


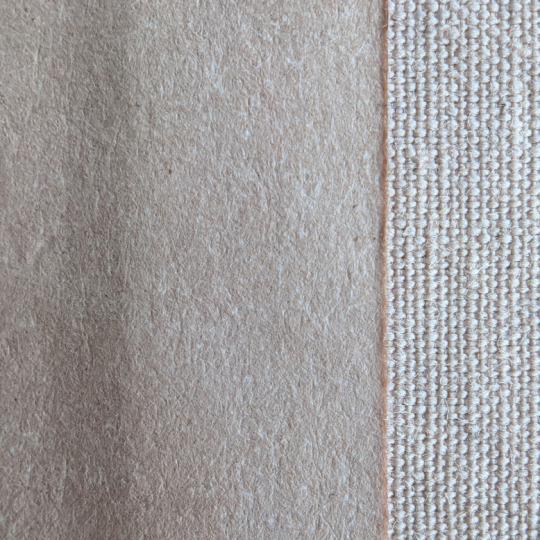
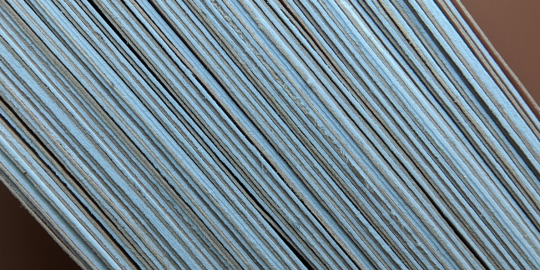


Macro Monday shots of a recent loquat blank I made. Didn’t dye enough sheets and so I cut it half and half with that horrible-to-work-with-but-feels-so-nice 28lb paper. Enjoyed the folding/interweaving of the sheets to make a signature and the pattern left behind when trimmed. Cover, endpapers, bookcloth, and half the headband floss also dyed. Has a very pleasant, earthy, modest, muted vibe. Already a touch munged, I’m tempted to use it as a journal but sadly didn’t include a ribbon... feels good though
#I love my single sheet endpaper setup#at the very least- sewn in endpages open oh so nicely#I think all these shots are lovely- would recommend zooming in on some#texture texture texture#I love it#not my best bookcloth- I was rushed#and definitely a bad cover paper glue job- it's been a while since I botched it that bad#(excess glue woes)#macro monday#photography#macro photography#book arts#bookbinding#natural dye#natural plant dyeing#loquat#book
21 notes
·
View notes
Last Seen Blogs

r4p1std4d-3
Daddy's Dungeon
versatileizzy
Versatile Izzy
healingthoughtsofabrokenmind
Healing Thoughts

kami-chu
Untitled

untilourmay
forthegoodtocome