#makingminifood
Text


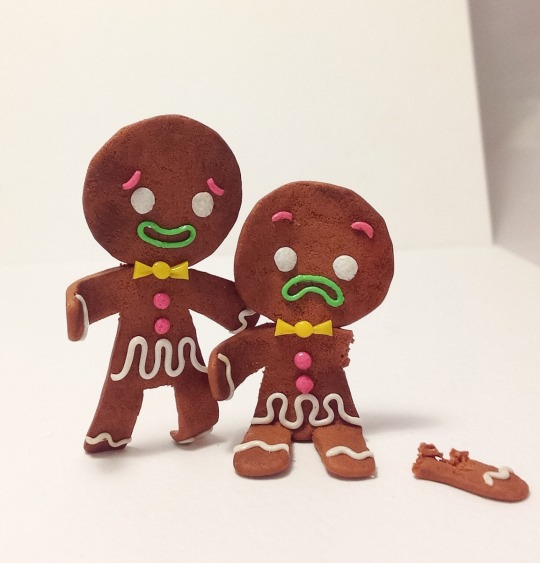

📣ORIGINALS FOR GRABS📣I have decided to sell lots of my original pieces from my book ‘Making Mini Food’😊ALL OF THESE are now in my Etsy shop, please check it out here:👇Please reblog and share the love❤️
http://www.tuckshop.etsy.com
#tuckshop#fimo#miniature#handmade#miniaturist#kawaii#polymerclay#modelmaker#fauxfood#cute#sale#shop#fakefood#minifood#makingminifood#buy#shopindependant#freelance#modelmaking
173 notes
·
View notes
Text
Etsy
“Gohan” sell in KMTokyoPrints, Etsy.
KMTokyoPrints
https://www.etsy.com/jp/shop/KMTokyoPrints?ref=seller-platform-mcnav
Dishes-- $2.00

Foods-- $1.00
Others-- FREE
I do handwriting all foods illustration.
But some of them didn’t become items on my shop.
I want to provide them for free.
Thank you so much!!
#fakefood#foodsamples#etsy#etsyshop#stickers#minitures#miniaturist#handmade#kawaii#makingminifood#minifood
1 note
·
View note
Photo
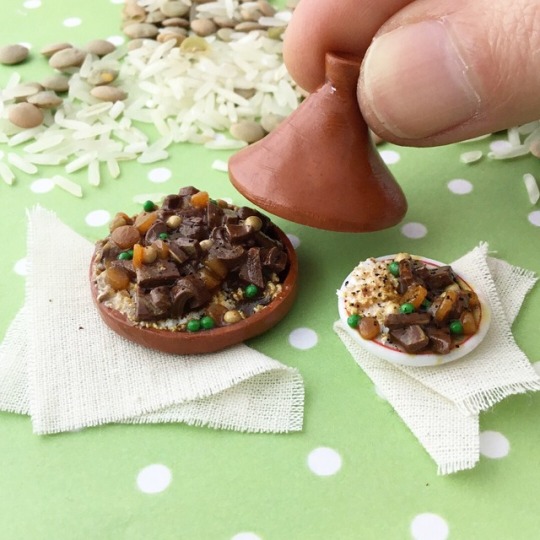
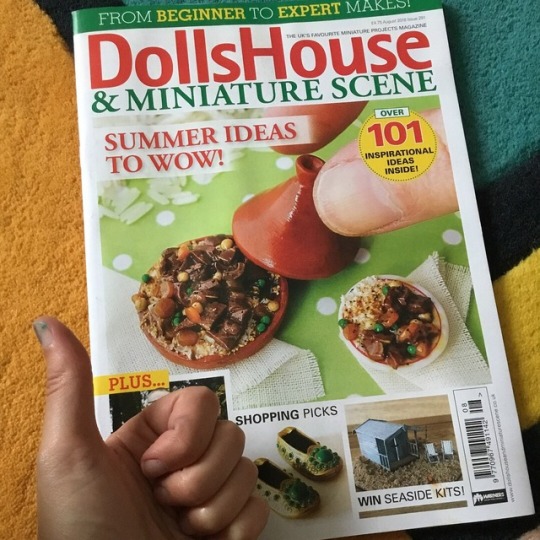
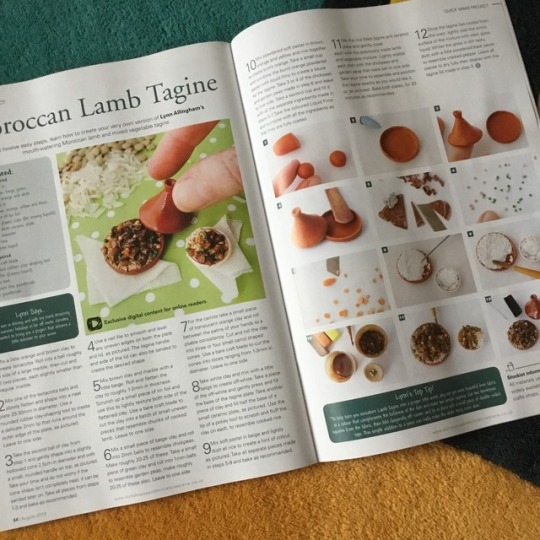
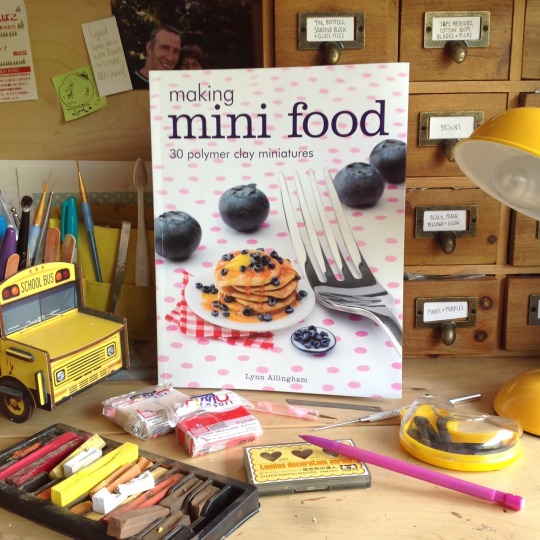
🍲YIPPEEE my mini Moroccan Tagine project made it onto the front cover of this months Dollshouse and miniature scene magazine. Thanks guys, I’m super chuffed❤️If ya wanna make one, grab yourself a copy📄
#miniaturist#miniature#polymer#polymerclay#fimo#handmade#cute#kawaii#Tagine#Moroccan#modelmaker#modelmaking#tuckshop#tuckshopminiatures#fun#minifood#fauxfood#makingminifood
176 notes
·
View notes
Photo
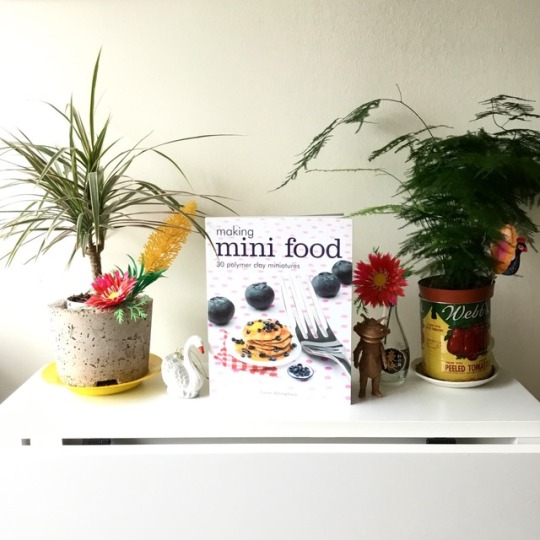
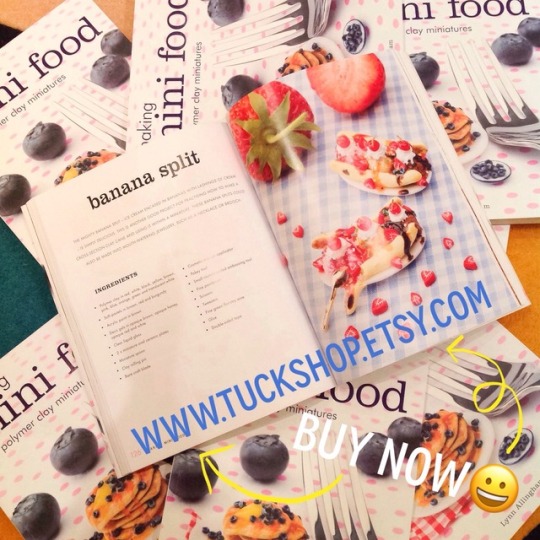
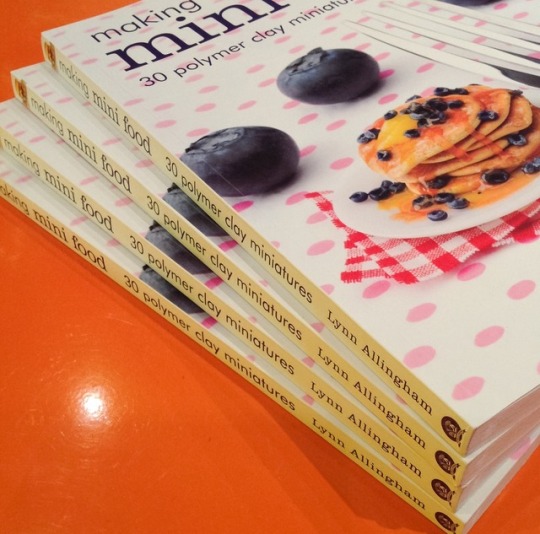
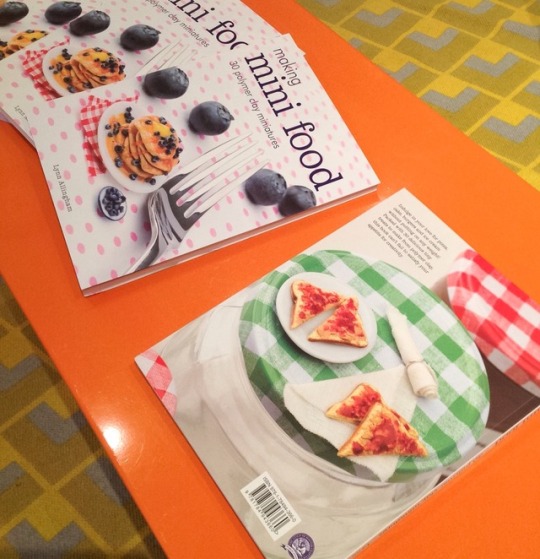
🌾📕I have just topped up my online shop with more books, fancy making something tiny? www.tuckshop.etsy.com 📕🌾
#polymerclay#fimo#miniature#miniaturist#handmade#modelmaking#modelmaker#fakefood#fauxfood#makingminifood#bespoke#book#author#dollshouse
40 notes
·
View notes
Photo

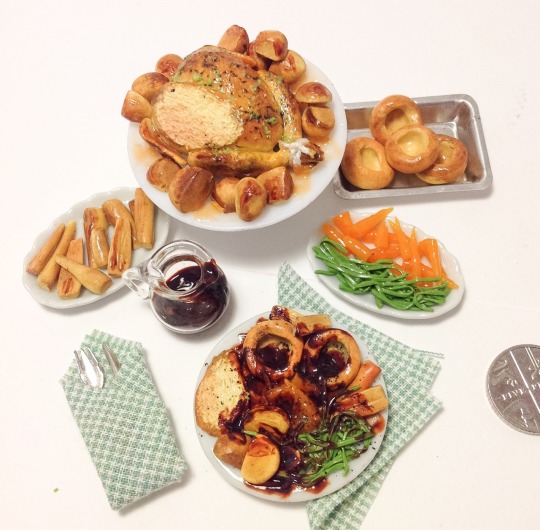
🍴❤️To all my US followers and friends, have a lovely Thanksgiving today, I hope you all have a tasty roast❤️🍴
#Pinocchio#thanksgiving#USA#happy holidays#polymerclay#fimo#handmade#published#author#book#puppet#miniature#miniaturist#fauxfood#fakefood#makingminifood#minifood#cute#kawaii#modelmaker#tuckshopminiatures
2K notes
·
View notes
Photo


🍟Am I eating chips at my desk?... You decide!🍟 www.tuckshop.etsy.com
#miniature#prop#model#odelmaker#Ute#await#fun#handmade#chip#potatoe#propsmaker#fauxfood#fakefood#makingminifood#minifood#chip fork
4 notes
·
View notes
Photo


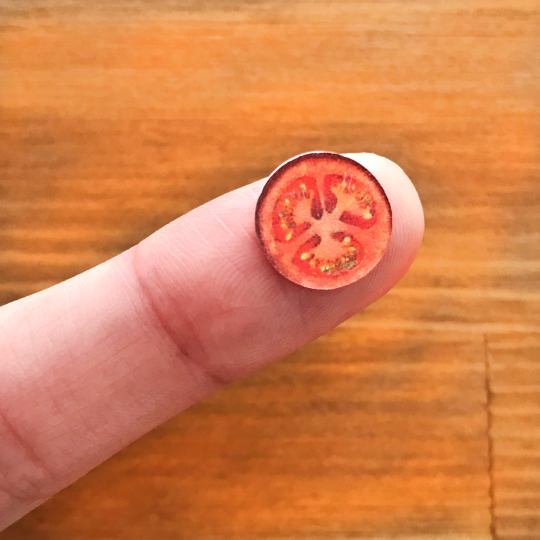
🎨I've been making again, can you spot the imposter?🥚I love experimenting with life size models, so much fun😋 Check out my shop and buy my book here- www.tuckshop.etsy.com
#handmade#modelmaker#mniatures#miniaturist#polymerclay#fimo#kawaii#cutest#egg#cremeegg#fun#fakefood#fauxfood#makingminifood#tuckshopminiatures#tuckshop
27 notes
·
View notes
Photo
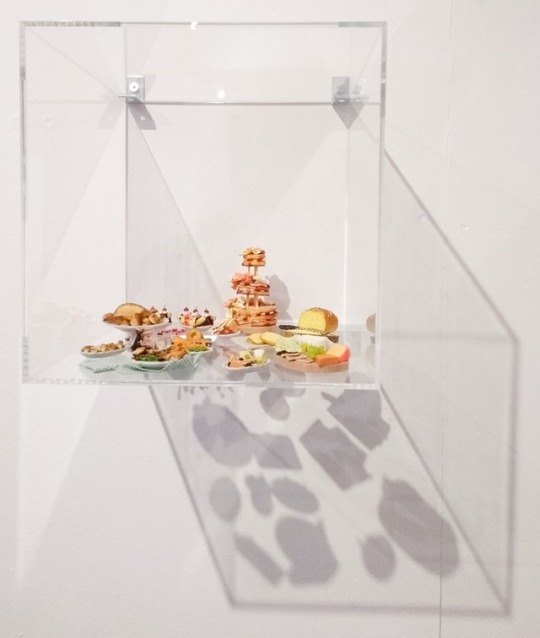
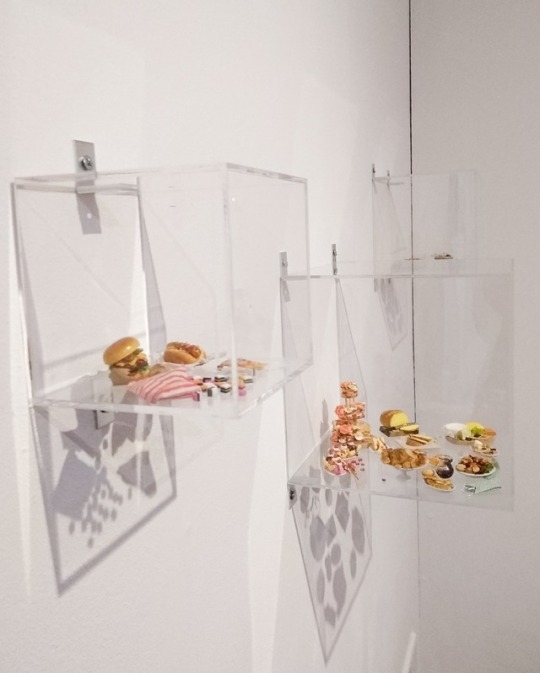

👀Come along tomorrow evening 6-9pm at Sloe Gallery in Manchester to see some of my miniatures! ❤️'TINY' is an exhibition exploring the artistic interpretation of TINY by talented artists from all over the 🌎 globe. The exhibition will be open every Sat 11am-5pm until Feb 10th❤️
#art#polymerclay#fimo#handmade#tuckshop#modelmaker#exhibition#Manchester#craft#tuckshopminiatures#fauxfood#fakefood#makingminifood#book#published#tiny#mini#collection
66 notes
·
View notes
Video
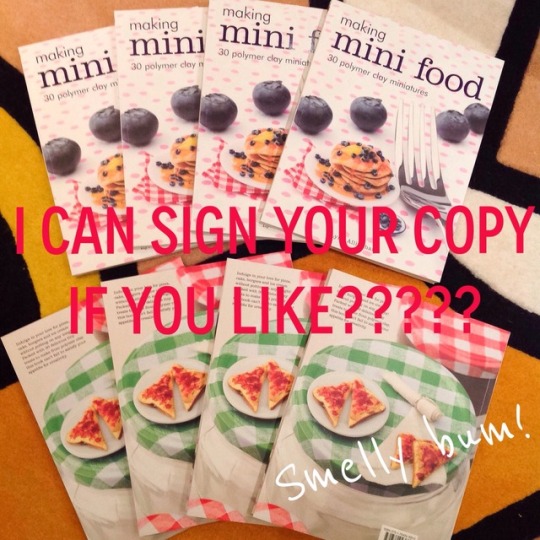
❤️😊Yippeeee, another book signed and on its way to a new 🏡 home😊❤️You can grab a copy📖if ya wanna🙌 I can sign it for you or just leave it nice and clean, it's up to YOU☝️ Making mini food👉 www.tuckshop.etsy.com
#book#published#kawaii#shop#handmade#makingminifood#fakefood#fauxfood#miniaturist#modelmaker#minifood#miniatures#tuckshop
26 notes
·
View notes
Photo


❤️🎄❤️🎄🧀As a super special CHRISTMAS TREAT my publisher has asked me to give you a project from my book for FREE, so you can have a play over Christmas, so here is my yummy CHEESE BOARD, perfect for festive lunch🧀🎄❤️🎄❤️ pls re-blog and spread the cheer😁
You can buy my book here👉 https://www.thegmcgroup.com/pc/viewPrd.asp?idproduct=7925&idcategory=0
My shop👉 www.tuckshop.etsy.com
🧀🍇🧀🍇🧀🍇🧀🍇CHEESE BOARD🍇🧀🍇🧀🍇🧀🍇🧀
No gathering would be complete without a bountiful board full of cheesy goodness. This project features lots of tiny cheeses, using a range of techniques to create a mouth-watering centrepiece. This project can be simplified to make small cheese boards that can be worn as necklaces and much more.
Ingredients
• Polymer clay in white, yellow, green, black, orange, brown and translucent white
• Soft pastels in beige, brown, red, white, light green
• Deco gel gloss in opaque brown
• Clear gloss liquid
• Miniature ceramic oval plate
• Round or oval wooden board
• Miniature knife
• White tissue paper or thin paper
• Black card
• Pokey tool
• Toothbrush
• Small flat-wash paintbrush
• Fine paintbrush
• Cosmetic sponge applicator
• Clay rolling pin
• Cellophane or acetate sheet
• Craft knife
• Bare craft blade
• Piece of tin foil
• Scissors
• Glue
1 Brie-Take a marble-sized piece of white clay and mix with a little yellow to create a soft cream. Roll into a 5/8 – 13/16in (1.5–2cm) ball. Take white clay and roll onto cellophane until it is 1/32in (1mm) thick.
2 Take the rolled white clay and encase the cream ball. Trim any excess clay and roll to a smooth finish. Slightly flatten and shape the ball into a chubby disc. Push in the centre of the disc slightly and pinch the outer edge between your fingers to create a crisp rim. Use a piece of foil to texture the surface.
3 Create a lined pattern across the surface of the brie using the side of a pokey tool. Apply a little beige pastel to the outer rim using a cosmetic sponge applicator. Use a bare blade to cut a neat slice from the disc (see post below). Place to one side.
4 Blue cheese- Mix cream clay as in Step 1. Take green clay and mix with a little black to create a dark forest green. Take a very small piece of the forest green and slowly marble it into the cream clay to create a veined effect throughout.
5 Take the marbled clay and cut into a wedge 3/8in (1cm) high. Texture the surface of the wedge using a toothbrush and use a pokey tool to create slight nibbles along all edges of the wedge.
Apply beige and brown pastel to the end with a cosmetic sponge applicator (see post below).
Set aside.
6 Edam- As in Step 1, mix cream clay and roll into a 5/8 –13/16in (1.5–2cm) ball. Use a bare blade to cut the ball in half, then carefully cut a wedge from one half to resemble a semicircular piece of Edam.
7 Use a toothbrush to texture the flat surface of the previously made wedge. Apply red pastel
with a cosmetic sponge applicator to the curved outer surface. Apply a little beige pastel to the
flat surface. Set aside.
8 Red Leicester- Take a pea-sized piece of white clay and mix with a little orange and brown to create burnt orange. Slightly flatten the orange clay to 1/8in (3mm) thick.
9 Cut the burnt orange clay into a 3/8 –5/8in (1 x 1.5cm) rectangle. Slightly soften all the edges with your finger and texture all surfaces with a toothbrush. Apply a little white and beige pastel to one end of the cheese. Set aside.
10 Grapes- Take translucent white clay and soften and roll into a batch of 1/8in (2–3mm) oval balls. Assemble the balls to resemble a bunch of grapes. Leave a few of the balls loose.
11 Make a tiny stem for the bunch using beige clay and attach it to the grapes. Apply light green and brown pastel to all grapes using a small flat-wash brush. Set to one side.
12 Crackers- Take a pea-sized piece of white clay and mix with a little brown to create beige. Working onto cellophane to avoid sticking, roll out the clay to 1/32 in (1mm) thick.
13 Use a bare craft blade to cut six neat 3/8 x 3/8in (1 x 1cm) squares from the previously rolled clay.
14 Use a pokey tool to create small holes in each previously made cracker. Apply white, beige and brown pastel with a cosmetic applicator to create a baked appearance.
15 Take the slice of brie from Step 3 and cut a small piece from it. Take the cut piece and texture it
with the side of a pokey tool to look as though it is being spread. This will be added to a cracker later on.
16 Take the Red Leicester made in Steps 8–9 and cut a section from it. Lightly texture the cut surfaces with a toothbrush.
17 Take a miniature ceramic oval plate and assemble two crackers, the cut Red Leicester, brie and a few loose grapes. Bake all the items made in Steps 1–17 for the recommended times.
18 Brie wrapper- Take the white tissue paper and cut out a 19/16 x 2in (4 x 5cm) rectangle. Crumple the paper to create a creased appearance. Glue the brie made in Steps 1–3 onto the centre of the paper. Continue to fold and crumple the paper to achieve the desired effect.
19 Take a wooden oval board and glue the brie, Red Leicester, grapes, blue cheese and crackers into place. Glue all items that were previously assembled onto the oval ceramic plate into place, and add a knife to one side. Use a fine paintbrush to apply clear gloss liquid to each grape.
20 Pickle- Create pickle by cutting black card into 1/32in (1mm) strips. Cut the strips into tiny pieces. Mix all the pieces together with brown opaque deco gel and apply to the finished items as desired. Leave to dry completely.
#book#published#guildofmastercraftsmen#gmcpublications#polymerclay#fimo#handmade#kawaii#modelmaker#models#cheese#makingminifood#fakefood#fauxfood#minifood#cute#author#Christmas#Xmas#project#Dollshouse
43 notes
·
View notes
Photo

🐬Sorry to be annoying! You still have 2hrs to grab a 🎄Christmas Bargain🎄in my sale👇 30% off ALL with code; FRIYAY 👇 🍴www.tuckshop.etsy.com🍴 😬I'll go away now😁
#miniaturist#miniatures#handmade#polymerclay#fimo#kawaii#makingminifood#book#published#fauxfood#fakefood#minifood#modelmaker#tuckshop#tuckshopminiatures#art#artist#sculpture#craft#writer#blackfriday#thanksgiving#Christmas#bargain#sale
47 notes
·
View notes
Photo

❤️📚Check this out, the lovely Richard Burr from #GBBO got sent a copy of my book, now the whole family are ready with a big pack fimo to get miniature making, this makes me so happy 😀📚 Watch 👀 this space for more news coming tomorrow
#miniature#miniaturist#handmade#polymerclay#fimo#kawaii#modelmaker#book#published#publisher#author#craft#art#props#mini#makingminifood#fakefood#fauxfood
54 notes
·
View notes
Photo


📦EXCITING NEWS📮 You can now buy my book from ME🙋🏻I have lots of copies in my shop and I can ship to any country, so if you live outside the U.K. I can now send you a copy YAY😎 Buy my BOOK here👉www.tuckshop.etsy.com👉 (I can't guarantee delivery by Christmas SORRY😭) You can also choose to have it signed with a message from moi🤷🏻♀️ (if ya want!) That's all, please tell EVERYONE, I ❤️ you all 👄
#book#published#shop#buy#post#polymerclay#fimo#handmade#gmcpublications#guildofmastercraftsmen#kawaii#modelmaker#makingminifood#fakefood#fauxfood#mniatures#minifood
17 notes
·
View notes
Photo
📚Today I received lots of copies of my book through the post, so exciting📚 Not long until it’s official release date, yipppeeeeee😋
#miniature#miniaturist#book#published#model maker#polymer clay#fimo#gmcpublications#faux food#fake food#makingminifood#kawaii#cute#miniature food#tuckshop#tuckshop miniatures
80 notes
·
View notes
Photo


😱Im completely overwhelmed by the lovely response to my book so far. 'Making Mini Food' had its UK release last week and here are a few amazing articles that have been written. I also did a live radio interview on the BBC which was bonkers😂 Thanks for your continued support❤️🍰💚😀💛📖💪 ❤️Buy my book here; www.thegmcgroup.com or on Amazon 💕Radio interview; http://www.bbc.co.uk/programmes/p05kbrd3 ❤️The Daily Mini article; http://thedailymini.com/daily-mini-feature-making-mini-food-book-by-miniaturist-lynn-allingham-of-tuckshop/ 💕The Kitchn article; https://trib.al/bEQxtKJ
#makingminifood#book#published#author#polymerclay#fimo#handmade#miniature#miniaturist#miniatures#model maker#kawaii#cute#tuck shop#tuckshopminiatures#faux food#fakefood#mini food#GBBO#greatbritishbakeoff#gmcpublications#gmcbooks
25 notes
·
View notes
Video
👀I L❤️VE my publisher, they have made this brill little trailer for my 📚 book, it's so sweet🤗You can buy my book from them but also from me 👇 🏠 www.tuckshop.etsy.com 🏠 I'm packing orders tonight, shipping tomorrow so to be in with a chance of it arriving before Christmas, get in on the action 👆📦📮
#polymerclay#fimo#kawaii#handmade#mniaturist#miniture#dollshouseminiature#Dollshouse#published#book#buy#bargain#shop#modelmaker#faux food#fakefood#makingminifood#mini#minifood#craft#blog#art
8 notes
·
View notes
Last Seen Blogs

todorkihoe
todorki

collection2024
collection2024

afd-zitate
AfD-Zitate

maxsmusicmacrology
Max's Music Macrology

shadedheartgurl
Kelly Lee Asian-American Sissy Fantasies