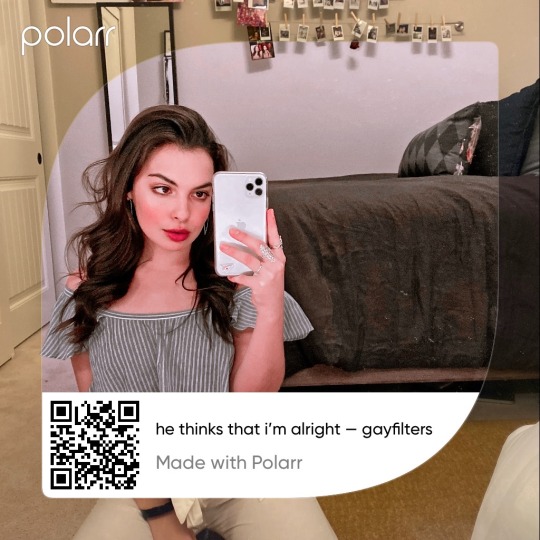
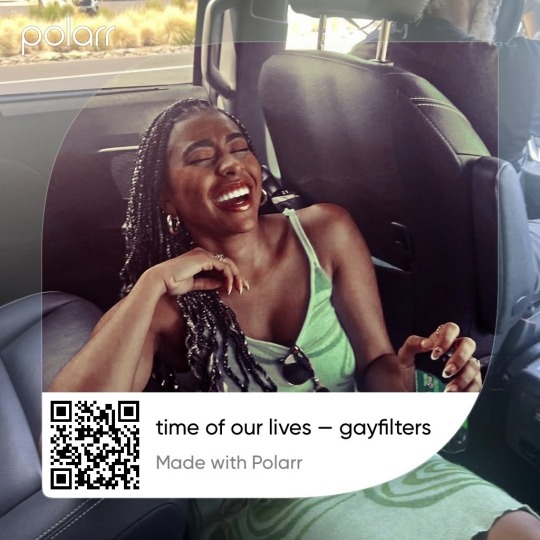
#polarr qr code
Text
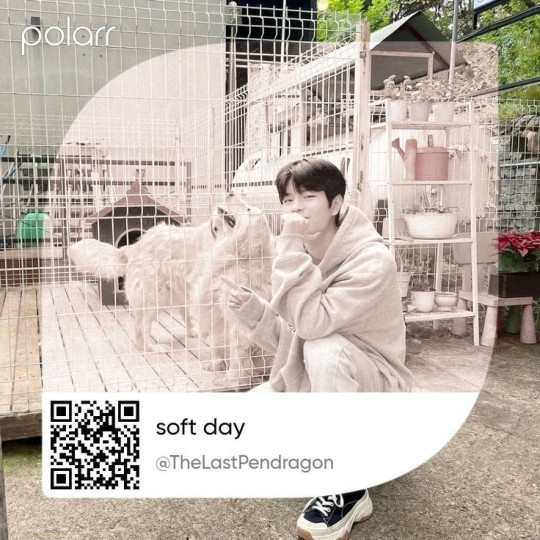
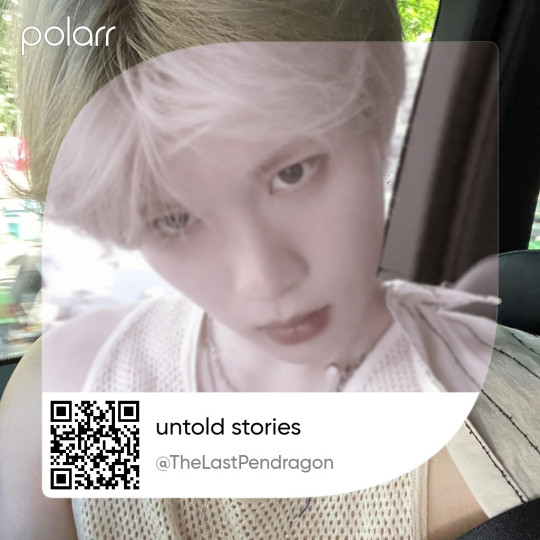
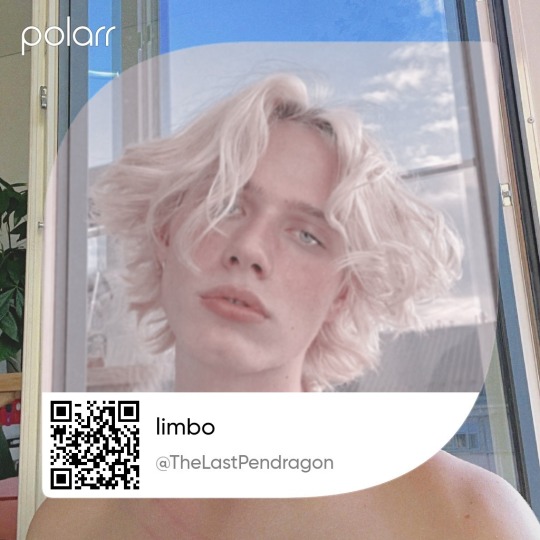
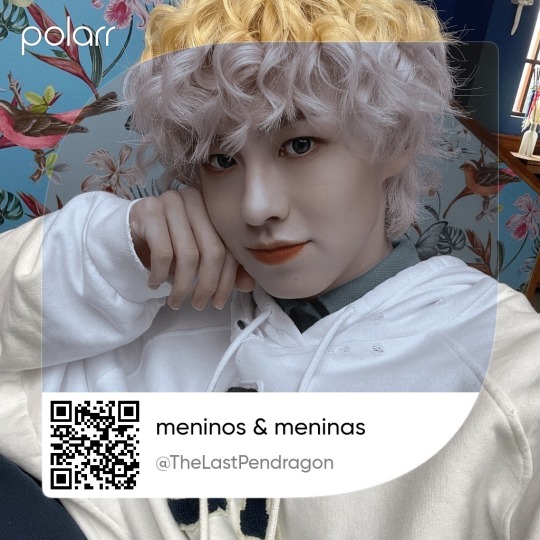
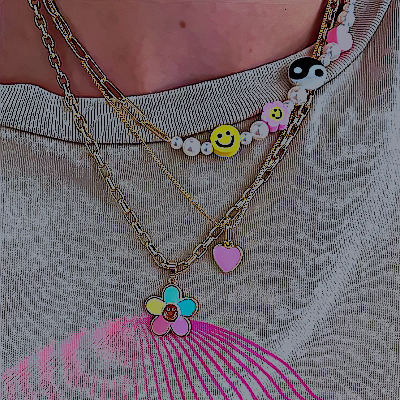
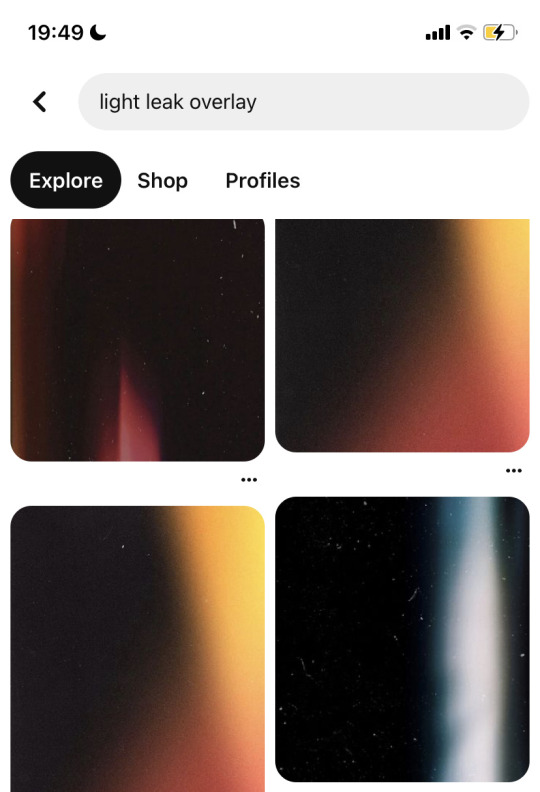
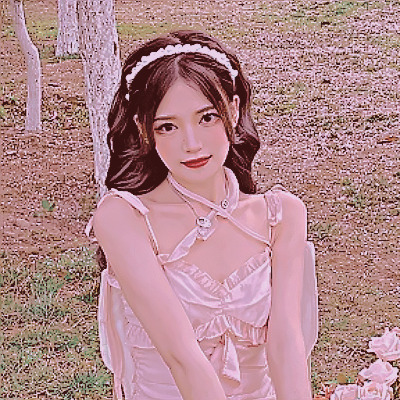
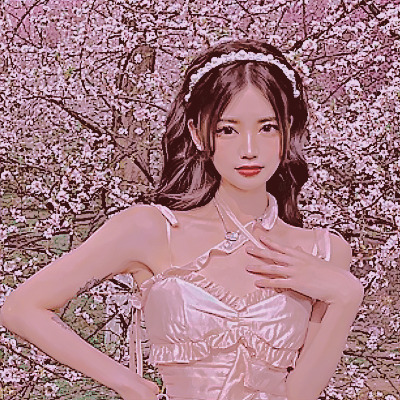
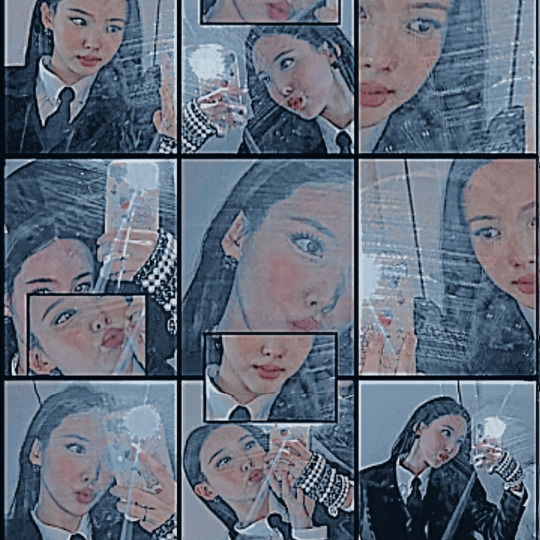
if you want to make a soft, pastel and cute edit i recommend you these...


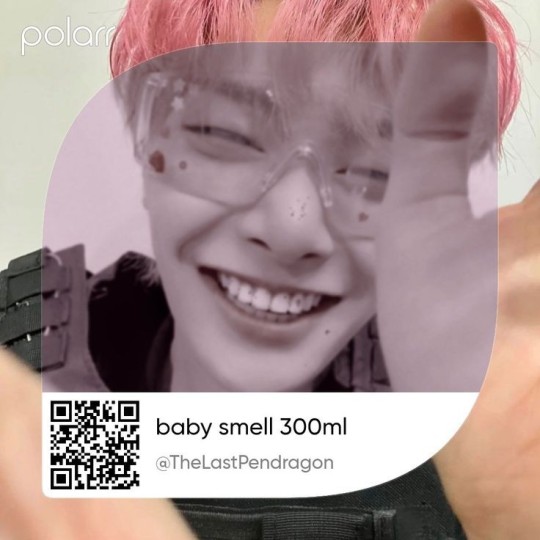


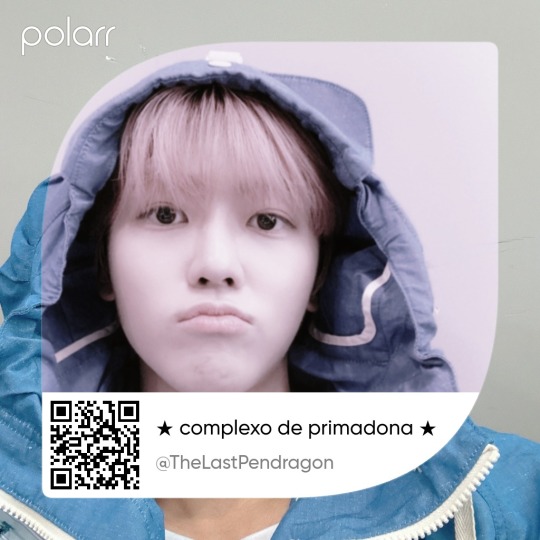
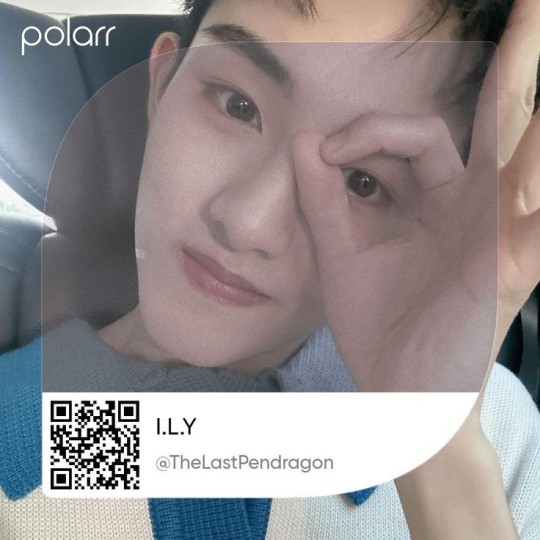
#filter polarr#polarr#polarr filter#code filter#filter code#filtros polarr#polarr code#code polarr#polarr style#style polarr#style:: pastel filter#pastel filter#polarr pastel#pastel polarr#cute filter#polarr qr code#qr code#filter qr code#polarr pack#polarr psd#pastel psd
59 notes
·
View notes
Text


/ᐠ - ˕ -マ く♡ 💭 子供
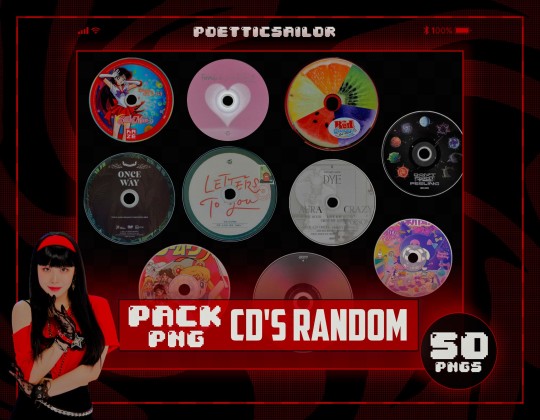
any of mine ☆ resources
download and more:
link here
꒥ ͝ ⏝ ͝ ⏝꒥ ͝
#kpop#resources#font#filter#polarr#transparent png#png#pngpack#twice#xdinary heroes#cds#aesthetics#kpop edits#bg#gg#ibispaintx#qr code#stickers#moodboard#icon#lockscreen#wallpaper#layout#resource#design#deviantart#shop#design shop
10 notes
·
View notes
Text
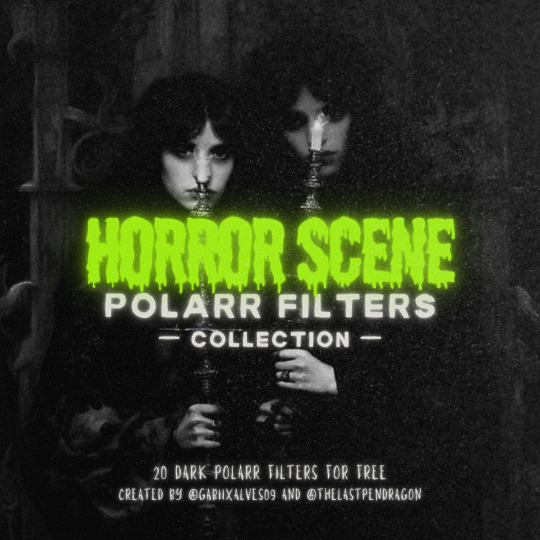
𝗛𝗢𝗥𝗥𝗢𝗥 𝗦𝗖𝗘𝗡𝗘 é uma coleção de 20 filtros do polarr com temática dar feitos especialmente para o halloween.
Os filtros foram feitos por mim e @neogotmycolors
Esperamos que gostem!
🎃 link aqui
𝗛𝗢𝗥𝗥𝗢𝗥 𝗦𝗖𝗘𝗡𝗘 is a collection of 20 Polarr-themed filters made especially for Halloween.
The filters were made by me and @neogotmycolors
We hope you enjoy!
🎃 link here
#polarr#polarr filter#filter#filter polarr#halloween#happy halloweeeeeeen#halloween polarr#halloween filter#dark aesthetic#dark polarr#dark filter#dark filtro#filtros#filtro polarr#psd#psd dark#dark psd#qr code filter#qr code polarr#halloween aesthetic#aesthetic
4 notes
·
View notes
Text


#adm:ale#códigos polarr#polarr code#polarr#polarr filters#polarr filtro#filters#filtros#code qr#polarr styles#moodboard#romance moodboard#icons#ulzzang couple#ulzzang boy#ulzzang girl#ulzzang style#cake#foods#landscape#sakura#soft icons#soft moodboard#psd#psd coloring#free to use#indie moodboard#edgy moodboard#random icons#editing
47 notes
·
View notes
Text


7 notes
·
View notes
Text
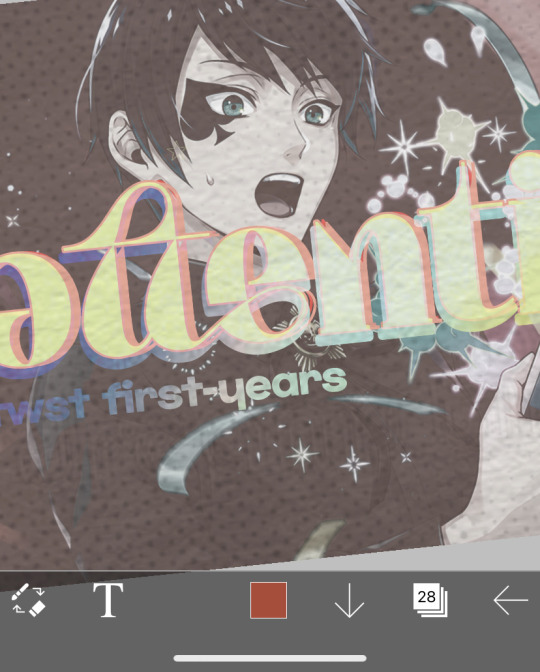
would anyone be interested in me posting filters i’ve made on polarr here ? examples of some i’ve made recently under the cut. note: if you use any of the ones from this post, please give credit either in the source link of your post or in the tags <3


#rph#rpt#psd#polarr filter#polarr#rpc#also sorry the images are so big idk if making them smaller will affect qr code so dsfkldsj
4 notes
·
View notes
Note
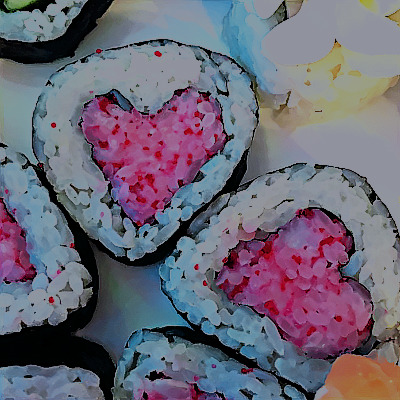
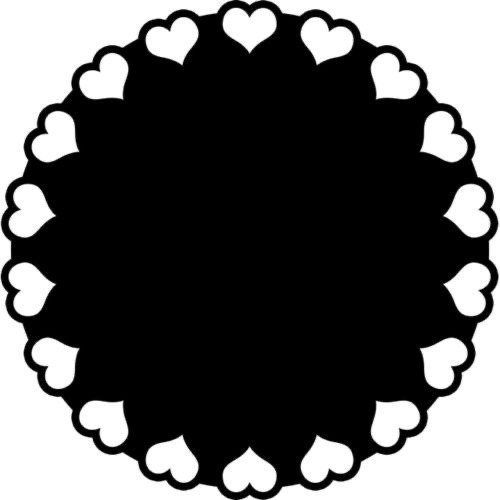
Anon here!! How did you make the heart graphic for the power rentry?

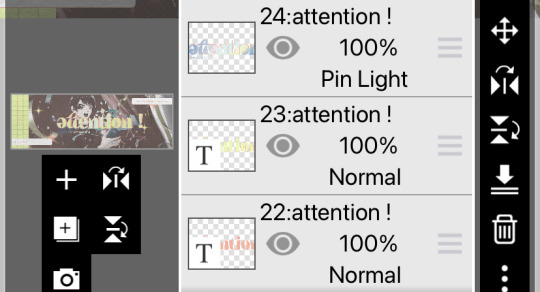
hi!! i’ll put it under the cut since there’s quite a few steps. lmk if you need a more specific tutorial or images for any of the steps!!

1) finding the base
find the shaping mask you wanna use. you can look up “shaping mask png” or “mask png” on pinterest to find some. this is the one i used:
2) removing the background
to remove the background, use the selection layer in ibis paint x. to find this layer, go to the layers panel and it should be the one all the way at the top. it is titled “selection layer.” to remove the white background, select the bucket tool and select the white background. it should turn blue. then switch from the selection layer to the layer you’re removing the background from. look at the top middle of the screen. there should be a square composed of dotted lines that looks like this:
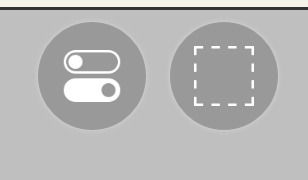
click on it and select “cut.” this will remove the white background. click on it again and select “remove selection area.” now you’re ready to continue!
3) creating a cleaner base layer
you might want to do this if you plan to add a stroke, as once the background is removed from the mask, it tends to leave some remnants behind. this makes the stroke look choppy and pixelated. to do this, take the paint bucket tool on a new, blank layer, and fill in the black part of the base with black. then, delete the base layer underneath the new layer. the hearts will become transparent (to see this better, change the canvas from white to transparent in the layer menu) and the base will hold its shape. you can also remove the hearts in the previous step, but this tackles two birds with one stone and (in my opinion) looks cleaner.
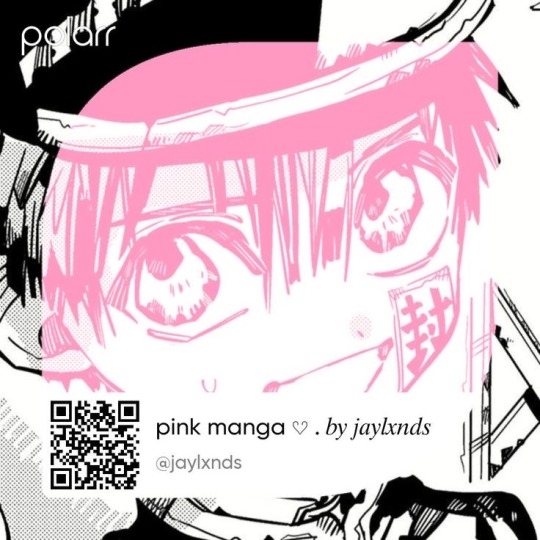
4) filtering manga panels
to make the manga panels pink, i looked up “pink manga polarr code.” pretty much any one will do, but this is the one i used:
for the rest of this step, you’ll need the app polarr. once you get the app, go to the edit section of the menu on the bottom. click “open photos” and insert the manga panels you wish to change the colors of. then, click “filters” and “import filter.” from there, click “import qr code” and click on the filter in your gallery. the filter will go into polarr, and you can just click instant export or you can save it and then export it. it’s up to you.
5) masking the panels
import the images you just filtered into your canvas. now we’ll use a clipping layer to have them take the shape of the base. click on the image layer you want to do this with, and then hit the clipping option in the layer menu. this will have it take the shape of the base.
6) coloring the hearts
now we’ll add a new blank layer atop the clipping layers. i color picked the pink color from the image, and then used the bucket tool to fill in each of the hearts.
7) adding the extra pngs
for this step i used the sticker option in picsart and a transparent canvas to collect the pngs. i believe i looked up “pink png” in the search bar, but i’m not sure. then i imported them into the ibis paint x project and positioned them where i wanted them to go. download transparent pngs of the project (one of each image you added). toggle the eyes on and off so that you can save the different versions (not individual layers. i just mean if you added two manga panels, make sure you get one with one manga panel and one with the other).
8) creating the gif
search up ezgif animated gif maker. it should be the first option that comes up. for this, i typically switch to “manually ordered upload” opposed to “alphabetically ordered opload” (the default) so i have more control over the order of the images in the gif. once you upload them into the site and you get to the editing menu, set the delay time to 100 and click the box that says crossfade frames.
andddd you’re done!!! i hope this was somewhat comprehensible and i didn’t miss any steps xD
139 notes
·
View notes
Note
helloooo !! i love your theme and how you organize your whole page 🙏 you seem really talented in graphics 🤭🤭 and i was wondering if you use anything specific to help make create your theme ???
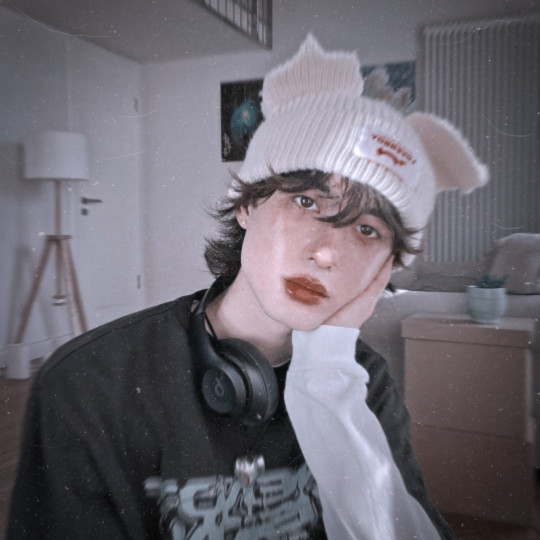
HIII!!! thank u sm!! 😭😭 tbh i think experience video editing actually really helped me with graphics LMAOO i will list everything i used to do my graphics/theme below!!
graphics — ibispaint x
literally just insert a bg photo and go crazy. that’s what i do. layering is the way to go if you want gradients etc
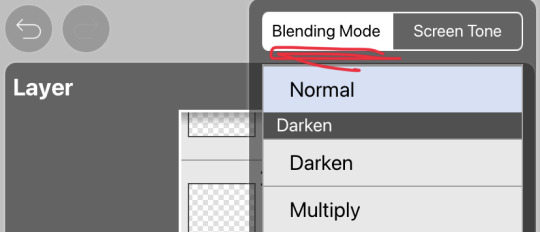
for textures i search keywords on pinterest like: paper texture, grain texture, light leak texture/overlay. then you import it into ibispaint and mess with the blending mode until you get something you like
fonts — dafont

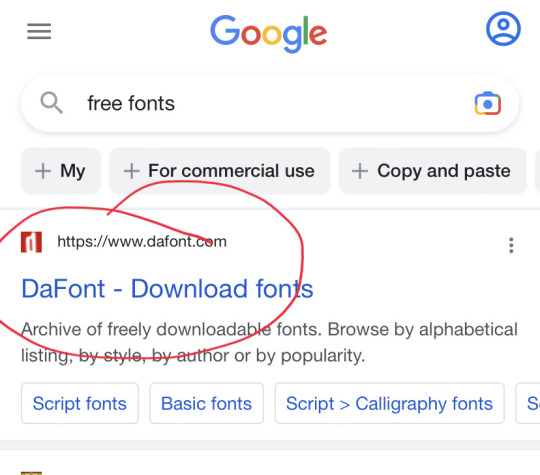
the basic fonts on ibispaint are ugly Af. u DON’T wanna use those. u want cool fonts. pretty fonts!!! the 𝓐𝓮𝓼𝓽𝓱𝓮𝓽𝓲𝓬 𝓕𝓸𝓷𝓽𝓼
when you get on the website go to the Top section (they’re popular for a reason) for the good fonts, or u can just browse urself
my personal fave fonts are: New Romantics, Glitten Regular, Bush Forest, Arter, Brittainy Signature
gifs — ezgif.com

^^ low quality watch me edit on ibispaint 💀
you can select different photos and import it into the website to make gifs which is what i did here and here, or convert videos into gifs like i did above :)
filters — picsart, polarr
FILTERS CHANGE THE WHOLE VIBE OF SOMETHING SO MUCH. on every header i have on my page there is some sort of filter on it. (e.g here and here both use the BRL2 filter on picsart.. i think?) polarr is also really good, i don’t use it much anymore but you can find qr codes for different filters on pinterest
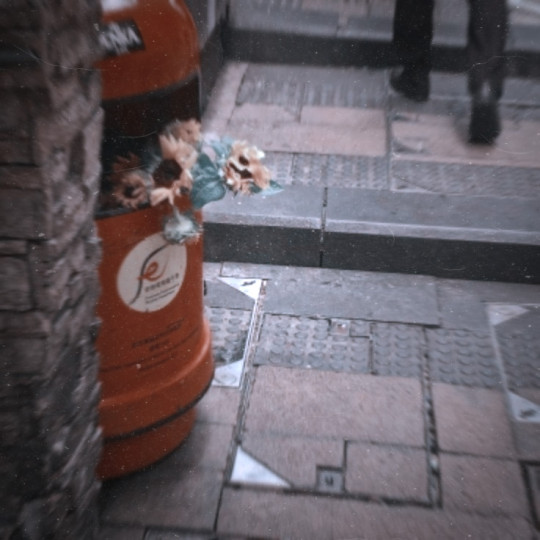
overlays — pinterest
i’ve been speaking about this the whole time but pinterest is amazing for anything graphics related for textures

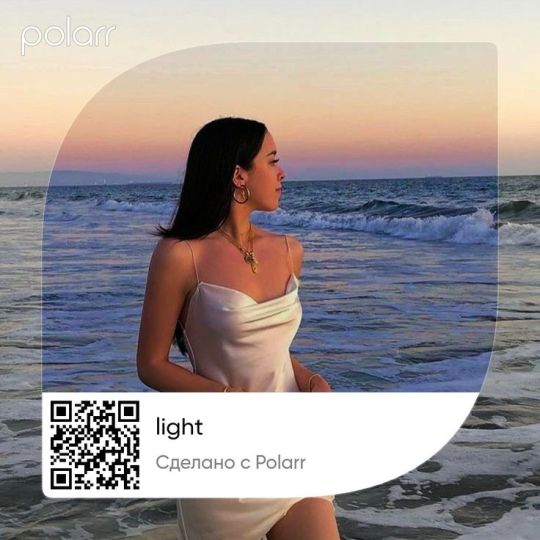
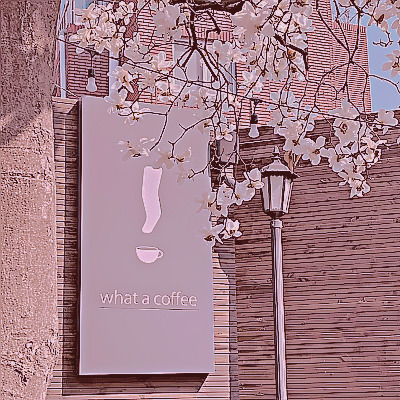
/OR/ aesthetic photos for headers like this (just made this rq💀)

LITERALLY JUST SEARCH “light aesthetic” [other prompts: dark aesthetic, cute aesthetic YOU GET WHAT I MEAN] and keep going
then use picsart to make a collage using the twitter header ratio
AND THATS IT BASICALLY. IF THERE IS ANYTHING ELSE LMK🤭
<- back
26 notes
·
View notes
Note
How do you get your photos to have that filter? I really like it and want to know your secrets hee hee (that’s supposed to be funny but I’m not funny). Thank you!!!
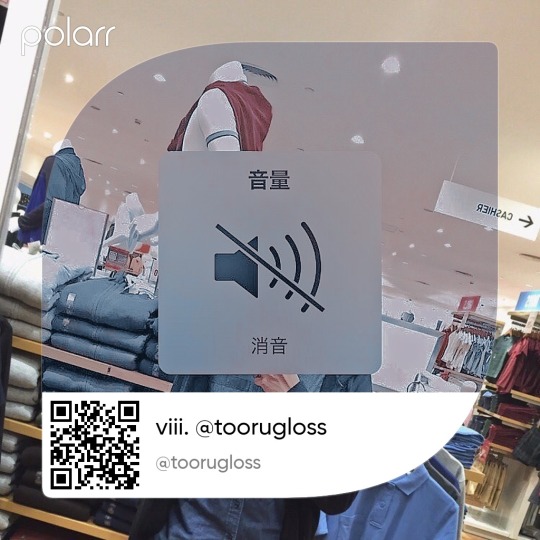
Thank you ! I'm using Polarr but it's a bit hard to explain how to get the filter here 😅. I asked an account on Instagram if she could send me the QR code of the filter but it was three years ago so I don't remember the account 🫤.
2 notes
·
View notes
Note
what coloring do you use for ur pfp?
dm me so i can send you the qr code ! + picsart thing
(but first download polarr … and picsart 🙏🏽😭)
1 note
·
View note
Text


the great escape ★ polarr filter
rules: do not use it to make yours, do not claim as yours, only for personal use. this is free, but i'd appreciate like or reblog.
#filter polarr#polarr#polarr filter#code filter#filter code#filtros polarr#polarr code#code polarr#polarr style#style polarr#qr code filter#filter qr code#polarr qr code#qr code polarr#polarr filter code#polarr psd#icons with psd#icons with polarr#icons with filter#made with polarr
11 notes
·
View notes
Note
I used a random filter for it, if you have polarr you can download qr codes off of pinterest -nene
Oh i see :0
0 notes
Text


#polarr#códigos polarr#polarr code#polarr filters#polarr filtro#filtros#filters#soft filters#soft filter#code qr#polarr styles#icons#moodboard#soft moodboard#soft icons#soft layouts#ulzzang icons#ulzzang girls icons#ulzzang girl#girls#cats#cats icons#cottagecore#fairy#fairy cottage#fairy girl#aesthetic#aesthetic love#aesthetic moodboard#pink aesthetic
25 notes
·
View notes
Note
Where the hell have you been
A lot, but also looking up qr codes for polarr
1 note
·
View note
Note
Hii~ I wanted to know if I could have the filter you use because I find it beautiful ❤️❤️❤️
៹⸼۰hello! please credit me if you use it୭̥

#polarr#polarr filter#polarr code#polarr qr#polarr qr code#filter qr code#psd#psd code#polarr filter code
67 notes
·
View notes
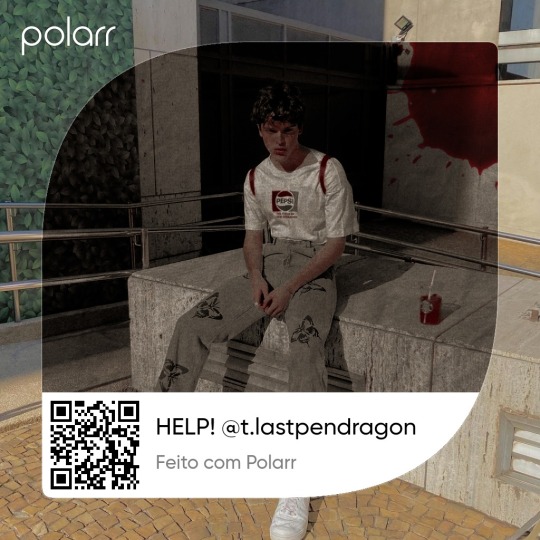
Text
não vou mentir negando que fiquei meio chateada por não ter ganho o desafio de halloween do polarr no insta (foi minha primeira vez participando), uma vez que criei bastante expectativa (devido ao meu olhar avaliativo sobre os participantes), mas tamo aqui na luta né kkkkk na vida nem sempre se ganha (mas perder sempre também é fodakkk). enfim, vim aqui compartilhar com vocês o filtro que fiz para o desafio e também postarei duas versões alternativas dele. está lá embaixo, espero que gostem. ps.: o user dele é meu user do insta, então não estranhe.
aqui embaixo tá um preview dele na versão original que postei lá (o tema era de halloween, segundo eles "um filtro que lembrasse filmes antigos de horror etc"):
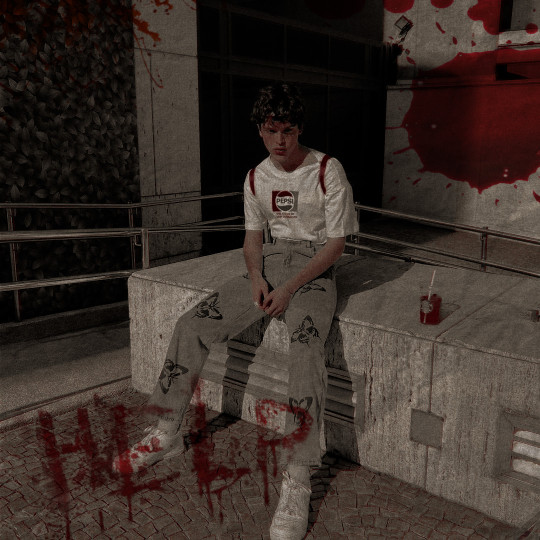

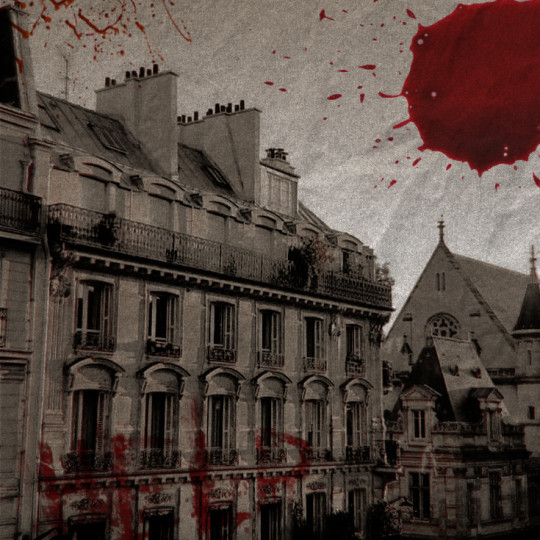
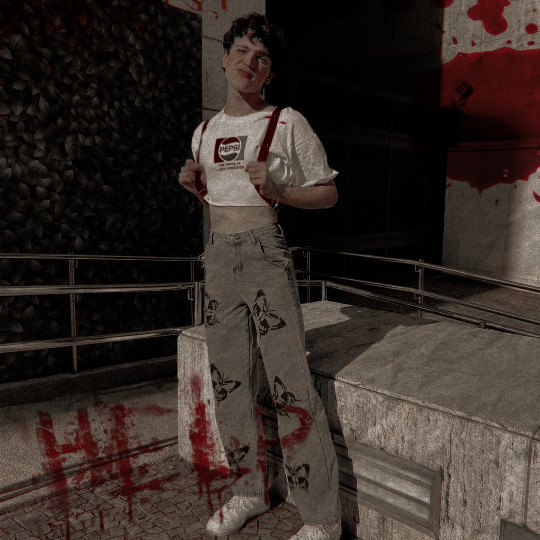

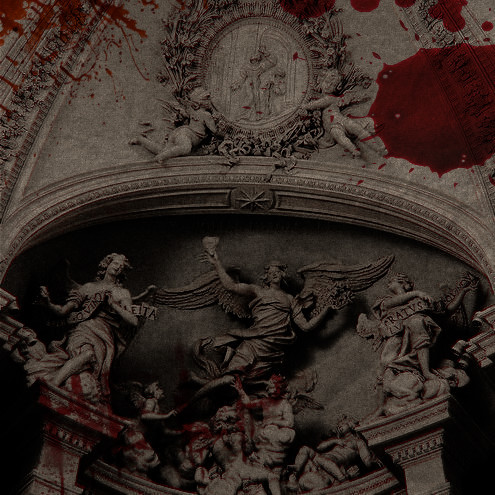
eu tinha me inspirado muito em cartazes e capas de livros de thriller. vi um pôster de psicose e veio a ideia de sangue e algo meio papel para dar essa ideia de pôster de filme mesmo. enfimkkkk *lágrimas*
aqui o código do filtro original e, ao lado, a versão alternativa1 (sem o "help") e a versão alternativa2 (sem o "help" e o sangue):


bye (´ε` )
#polarr#polarr filtros#polarr code#code polarr#code filter#polarr qr code#filter code#dark filter#filter polarr#coding
174 notes
·
View notes
Last Seen Blogs
yukatanman14
36524

carmillasaurus
Untitled
27--garabatos-blog
27--Garabatos

lordofthetruth
Sans titre
average-old-backup
GO TO: average-old-me