
techavidus
TechAvidus
Web and Mobile App Development Company providing service to small, medium and large enterprises.
495 posts
Don't wanna be here? Send us removal request.
Last Seen Blogs

bestspinesurgeoninindia
Best Orthopedic Surgeon hospital In India | Ahmedabad | Gujarat

travelfeelgood
TravelFeelGood

angrybreadtimemachine
대구 양산 란제리 별창녀 줌마 데이트어플 카섹

agave
oh, my aching jack!

lovelycrackhead
Old Account Got Deleted 🙃
Text
Google Bard AI Sign-Up A Step-By-Step Guide
Artificial intelligence has permeated various facets of our lives, transforming how we interact, work, and engage with technology. Google's Bard AI, a cutting-edge language model, has garnered attention for its remarkable ability to generate creative and contextually relevant text. If you're eager to explore the potential of this AI marvel, here's a comprehensive step-by-step guide to signing up for Google Bard AI.
Step 1: Accessing the Google Bard AI Website
Launch Your Web Browser: Open your preferred web browser on your computer or mobile device.
Search for Google Bard AI: Type "Google Bard AI" into the search bar or navigate directly to the official Google AI website.
Step 2: Creating a Google Account (If You Don't Have One)
Click on 'Sign In': Look for the 'Sign In' or 'Get Started' button on the Bard AI webpage.
Select 'Create Account': If you don’t have a Google account, choose the 'Create Account' option.
Fill in the Details: Provide the necessary information, including your name, desired email address, password, and phone number.
Verify Your Account: Follow the verification steps sent to your email or phone to confirm your account creation.
Step 3: Accessing Google Bard AI
Sign In: Use your newly created Google account credentials to sign in to Google Bard AI.
Explore Bard AI: Once signed in, familiarize yourself with the platform. You might find introductory materials, guidelines, or tutorials to help you get started.
Step 4: Understanding Bard AI Interface
Navigate the Dashboard: Take time to understand the user interface. It might include options for text generation, settings, or model preferences.
Review Guidelines: Google often provides guidelines for ethical and appropriate use. Familiarize yourself with these guidelines to ensure responsible usage.
Step 5: Generating Text with Bard AI
Enter Prompt: Start by entering a prompt or a few sentences to generate text.
Select Parameters (If Available): Depending on the interface, you might have options to specify parameters like length, tone, or style.
Generate Text: Click on the 'Generate' or equivalent button to prompt Bard AI to create text based on your input.
Step 6: Experimenting and Learning
Experiment with Prompts: Test different prompts to explore the AI's capabilities.
Review Outputs: Evaluate the generated text for relevance, coherence, and accuracy.
Learn from Results: Understand how the AI responds to various prompts and use these insights to refine your interactions.
Step 7: Stay Updated and Engaged
Check for Updates: Periodically visit the Bard AI platform for updates, improvements, or new features.
Join Communities: Engage with online communities or forums where users discuss their experiences and share tips on optimizing Bard AI's usage.
By following these steps, you can seamlessly sign up for Google Bard AI and begin your journey into the world of advanced language generation. Remember, responsible usage and ethical considerations are pivotal when interacting with AI technologies. Enjoy exploring the capabilities of Google Bard AI while being mindful of its potential impact and implications.
Disclaimer: The sign-up process and features may evolve over time. Refer to the official Google Bard AI website for the most updated information and guidelines.
0 notes
Text
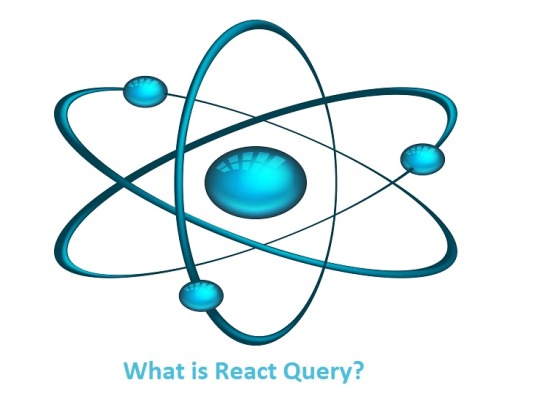
What is React Query: everything you need to know
Introduction
In the ever-evolving world of web development, tools and libraries continue to emerge to simplify the way we handle data in our applications. React Query is one such library that has gained popularity for its ability to streamline data fetching and state management in React applications. In this blog post, we'll explore what React Query is, how it works, and why it has become an essential tool for modern web development.
What is React Query?
React Query is a JavaScript library designed to simplify and optimize data fetching, caching, synchronization, and state management for React applications. It was created by Tanner Linsley, known for his contributions to the React and JavaScript communities. React Query provides a set of hooks and utilities that make it easy to handle asynchronous data, whether it's coming from REST APIs, GraphQL, or any other source.
Key Features of React Query
Data Fetching: React Query offers a wide range of hooks and utilities that make fetching data from various sources incredibly simple. It provides hooks like useQuery for fetching data and useMutation for making updates.
Caching: One of the standout features of React Query is its built-in caching system. Data retrieved through queries is automatically cached, making it available for instant retrieval without unnecessary network requests. This caching mechanism helps reduce the load on your server and improve the application's performance.
Automatic Invalidation and Refetching: React Query manages the invalidation and refetching of data seamlessly. When data is modified or updated, React Query intelligently invalidates and refreshes the cache for you. This ensures that the data is always up-to-date and consistent with the server.
Background Data Sync: React Query enables background data synchronization by allowing you to specify a background reference interval. This feature is especially useful for applications that require real-time or near-real-time data updates.
Server State Management: The library includes features for managing the global state of your application. You can store and update global application data in a clean and organized way.
DevTools: React Query comes with a set of DevTools that make it easy to inspect and debug queries and mutations. This helps in diagnosing issues and understanding how data flows within your application.
Why Use React Query?
Simplified Data Fetching: React Query eliminates the need to write custom data fetching and caching logic. Its hooks and utilities make fetching and managing data in React applications more straightforward and less error-prone.
Improved Performance: With built-in caching and automatic invalidation and prefetching, React Query helps improve the performance of your application. By reducing unnecessary network requests and ensuring that data is always up-to-date, it provides a smoother user experience.
Better Developer Experience: The DevTools and clear documentation provided by React Query make it easier for developers to understand and debug data-related issues in their applications. It also encourages best practices for data management.
Wide Ecosystem Support: React Query is not limited to any particular data source or API. It can be used with various data-fetching methods, including REST, GraphQL, and more. This flexibility allows you to integrate it into your existing or future projects seamlessly.
Conclusion
React Query is a powerful tool that simplifies data management in React applications. With features like data fetching, caching, automatic invalidation, and background data synchronization, it has become an essential library for modern web development. By improving performance and enhancing the developer experience, React Query empowers developers to create robust and efficient applications. If you're building a React application and want to streamline your data handling, give React Query a try – it may just become an indispensable part of your development toolkit.
0 notes
Text
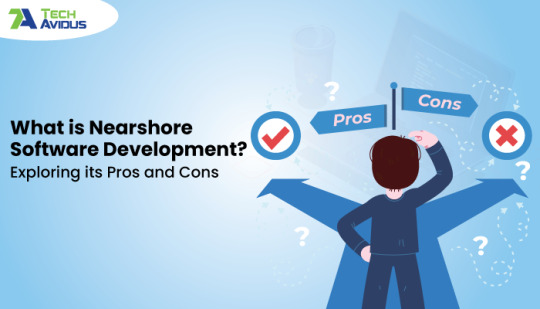
🚀 Dive into the world of Nearshore Software Development with our latest blog post! 💻 Learn about the Pros and Cons that can shape your project's success. Ready to explore? Click the link below to read more! 👇
🌐 https://bit.ly/3Z9yrYg
0 notes

Text

2 notes
·
View notes
Link
1 note
·
View note
Photo

An MVP or Minimum Viable Product is the launch of a working version of the product quickly. The MVP can save money and time. It is the best way to start the project with a development cycle so the product will be available for users to get the services faster.
The benefit of MVP software development is it helps start-ups to test their business ideas. Learn more about MVP App Development: Steps, Examples, and Benefits at - https://www.techavidus.com/blogs/mvp-app-development
0 notes
Photo

SaaS is a software model in which a service provider hosts an application for the customer and makes it available to them via the cloud. So, SaaS application makes it easy to access, scalable and monetize.
Want to launch your app in time & capture the market share that your idea deserves? Have a look at the Complete Guide to SaaS Application Development at - https://www.techavidus.com/blogs/guide-to-saas-application-development
0 notes
Photo

How to Build a Doctor Appointment App?
Healthcare Applications are becoming popular over time as they increase healthcare services' productivity and excellence. On-demand doctor booking apps can help patients instantly connect to doctors and book an appointment quickly through their smartphones.
Make booking appointments simple with the On-Demand doctor app. Learn more about how to build a doctor appointment booking application at - https://www.techavidus.com/blogs/doctor-appointment-booking-app
#HealthcareApp#HealthcareApplication#HealthcareAppDevelopment#DoctopApp#DoctorAppointmentApp#AppointmentScheduling
0 notes
Photo

Top Reasons Why You Should Update Your Website
Updating a website is a meaningful effort; it’s necessary for your business to grow and succeed online. For this reason, you must perform a website refresh every few years to keep it relevant, fast, and safe.
Learn more about the reasons you should update your website frequently at - https://www.techavidus.com/blogs/reasons-to-update-website
0 notes
Photo

There are many things to consider when creating, designing, and launching an app. Utilizing a proper launch strategy is crucial in ensuring you have an effective launch and a successful position in the marketplace.
To help you through this journey, here is a list of critical steps for each launch stage to help you achieve app success. Learn More at https://www.techavidus.com/blogs/launch-mobile-app-successfully
0 notes
Photo
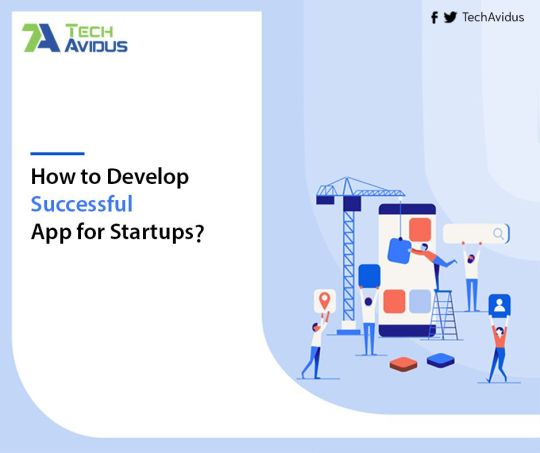
For every startup a successful app development is important. The application has the power and potential to convert your unique idea into a runaway success business story.
The duration of Planning and Developing an app for startup may vary based on the scope of the project and the process you follow. Learn more about How to Develop Successful App for Startups at https://www.techavidus.com/blogs/develop-apps-for-startups
0 notes
Photo

With the increasing popularity of online education and eLearning, every company wants to develop an education app. Educational mobile app development costs include the number of necessary features, OS, Technology Used, and more.
Learn more about how much does it cost to build an educational app? Visit - https://www.techavidus.com/blogs/cost-to-build-an-educational-app
0 notes
Photo
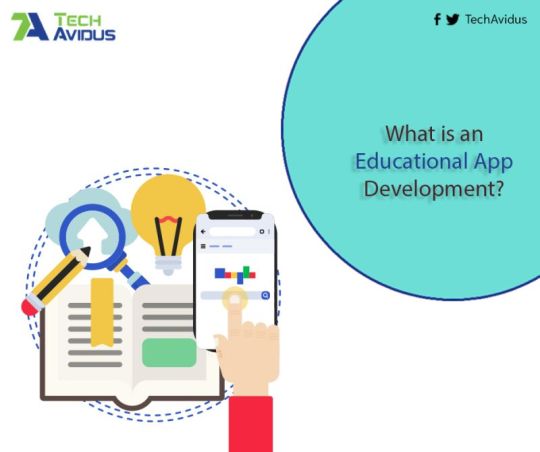
Education App Development solutions provide incredible opportunities to the education industry to serve a range of learning activities in a compact way using an app.
Discover more about What is Educational App Development and the Advantages and Disadvantages of Educational Apps at https://www.techavidus.com/blogs/educational-app-development
#eLearning#Education#eLearningApp#EducationApp#eLearningApplication#EducationApplication#eLearningAppDevelopment#EducationAppDevelopment
0 notes
Photo

Instead of employing and teaching a whole team of developers, designers, project managers, and so on, you can hire a fully staffed outsourcing company to implement your project. It is the primary reason business owners outsource web development because it reduces costs.
Learn more about How to Outsource Web Development Services successfully at https://www.techavidus.com/blogs/outsource-web-development-services
0 notes