
Last Seen Blogs

violet-hb-310
violet

heceducation
EDUCATION and LONGLIFELEARNING

yourlocalcatholic
your local catholic

rosmisel23
Sin título
heceducation
EDUCATION and LONGLIFELEARNING
Text
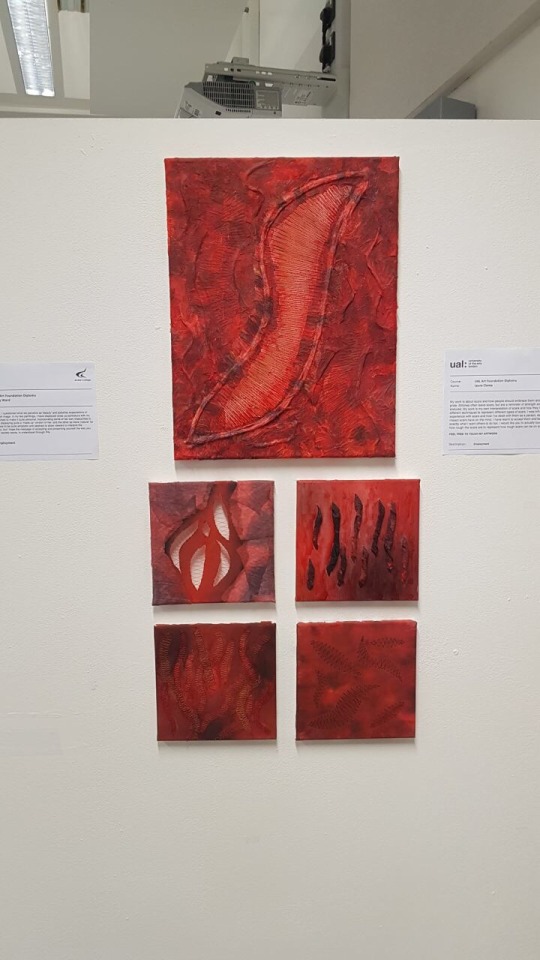
Critical Final Review
Looking back at what I intended originally, my end goal has drifted aside a little bit, however I’m still happy with what I ended up producing in the long run. Originally I set out enhance scars and show the powers of them, and whilst that has somewhat remained I've moved on to something a little different. Instead, I've ended up exploring how hard scars on the human body, the idea of embracing scars has remained, but my actual work now represents all the different type of scars. I also decided that I wanted my artwork to be ‘interactive’, as in I want them to touch my work. This is because I want them to feel the roughness of the textures, to show how rough scars are on the body and what it can do mentally to a person. But overall I did somewhat stick to the original idea, and there’s nothing wrong with deviating from it a tiny bit.
My research was definitely relevant to what I was exploring with gathering images of scars from primary research so I could study the shapes and textures of them. Artist research certainly helped me with choosing what medias and materials I was going to start exploring. I love the mixed media textural artists that I discovered and was heavily influenced by their work throughout.
I did encounter some issues, for example, I was struggling to create the look I wanted with the canvases. They looked flat and boring, so I decided to layer them up and use tissue, linen, ink just anything to layer it up and that worked.
Practical methods I explored were mixed media textural ones, such as stitching, sticking, bending and manipulating. Some of these methods were new to me particularly with the thicker string on some pieces, but some methods I was familiar with from previous projects. I took the risk of using strange medias, such as dyed kitchen cloth, dyed tissue paper and using PVA glue to enhance the colour and make it look like blood. I believe I am rather skillful with what I used and was impressed with what I created, despite the very strange materials and techniques.
I recorded a two weekly review in my sketchbook up until a few weeks before I began my final piece as I didn't feel like I needed it as much as when I was experimenting. I also completed weekly planner sheets, but again started to leave them out when I was creating my final piece as I knew exactly what I was doing. I could have perhaps done this better by carrying it on all the way, but I felt comfortable how I went about it.
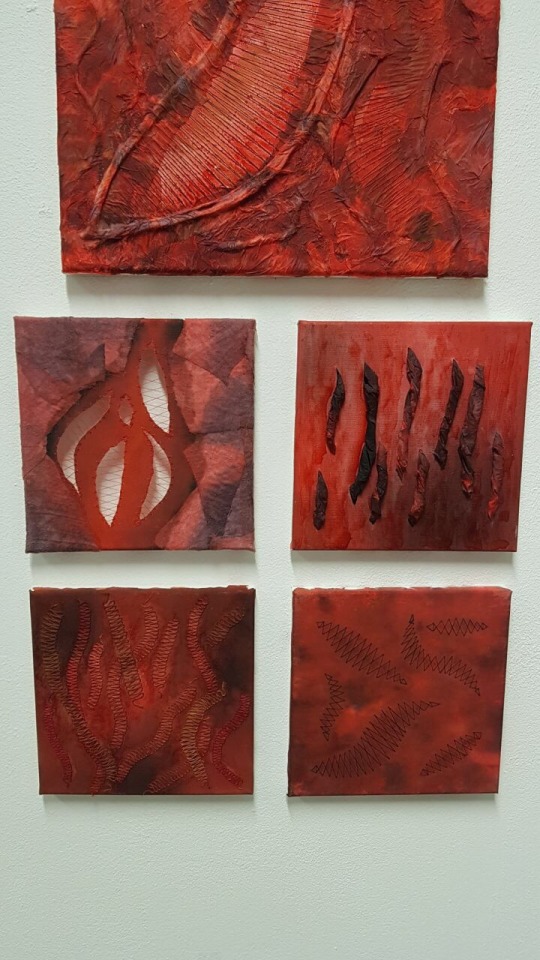
Overall, I’m happy with my piece, there are parts I really like and parts I dislike and wish I could improve. But overall they all work together as a whole and all have the visual and textural feel that was after.
0 notes
Photo
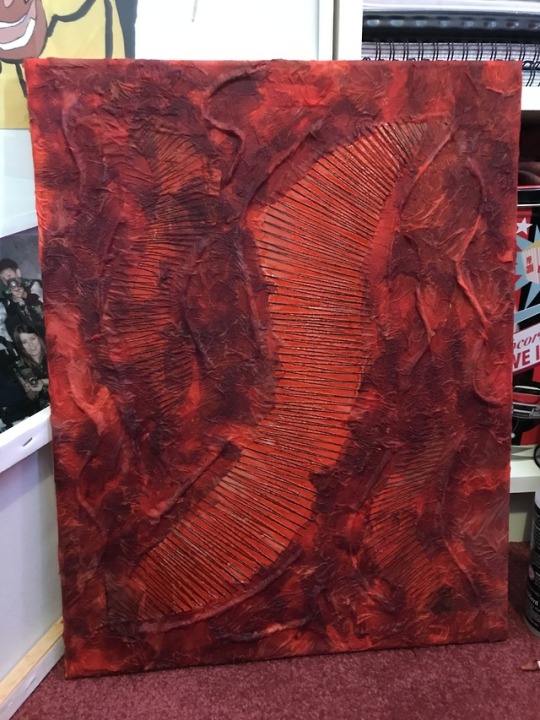
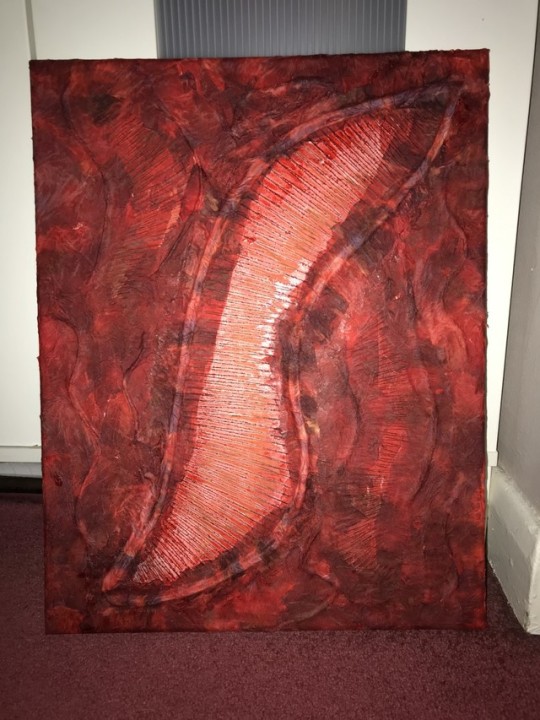
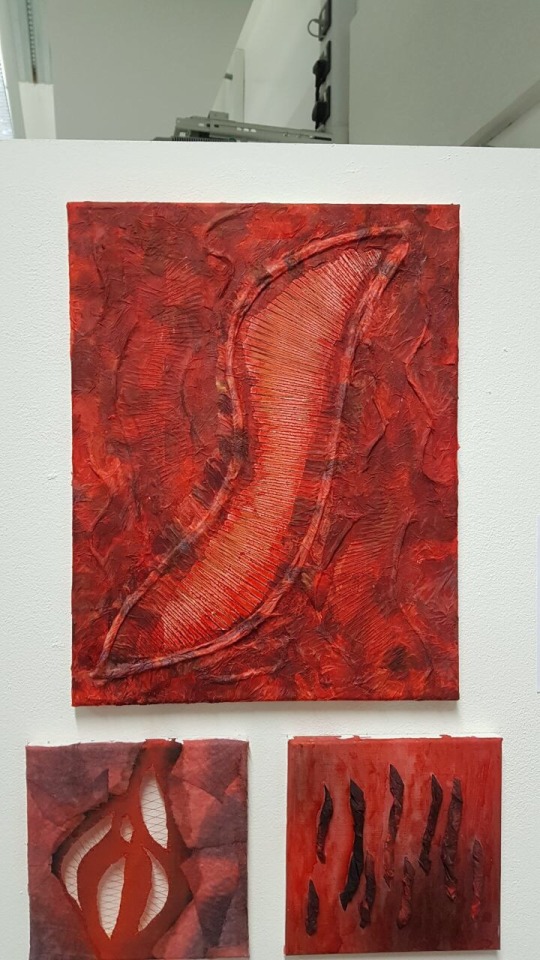
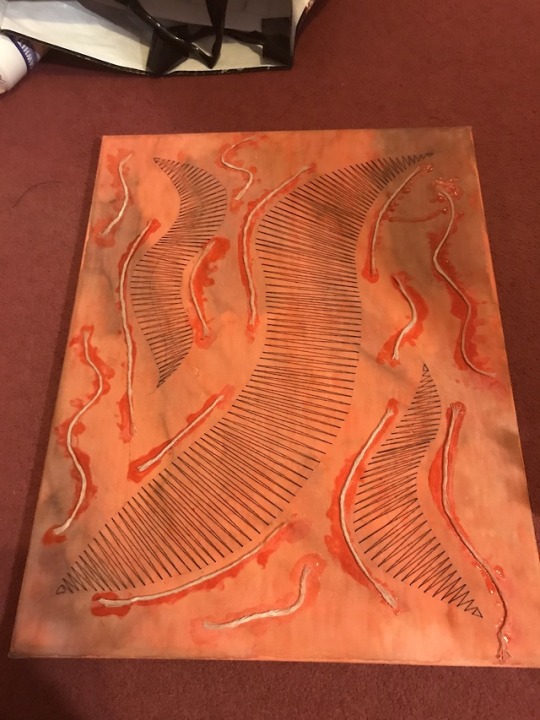
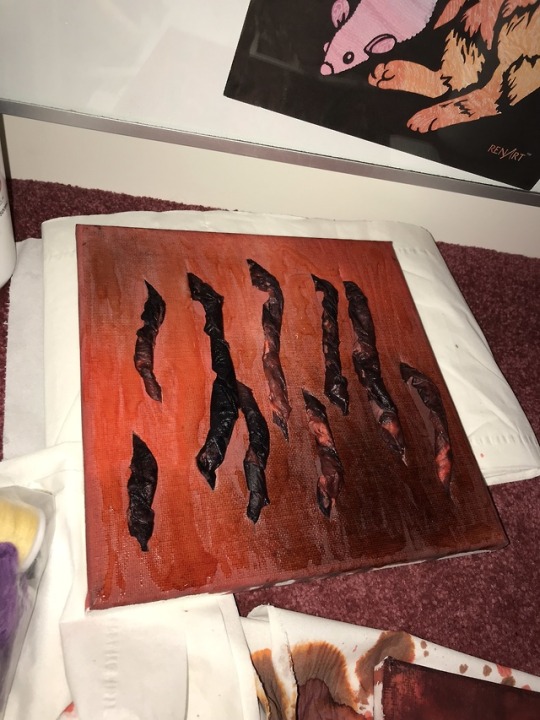
Main Canvas More Development
Carrying on with the main canvas I then moved on to covering the whole piece with dyed tissue paper using PVA glue to give it that wet look. I loved how much in the first picture you see the PVA glue bring out all the colour of the ink in the tissue paper.
1 note
·
View note
Photo
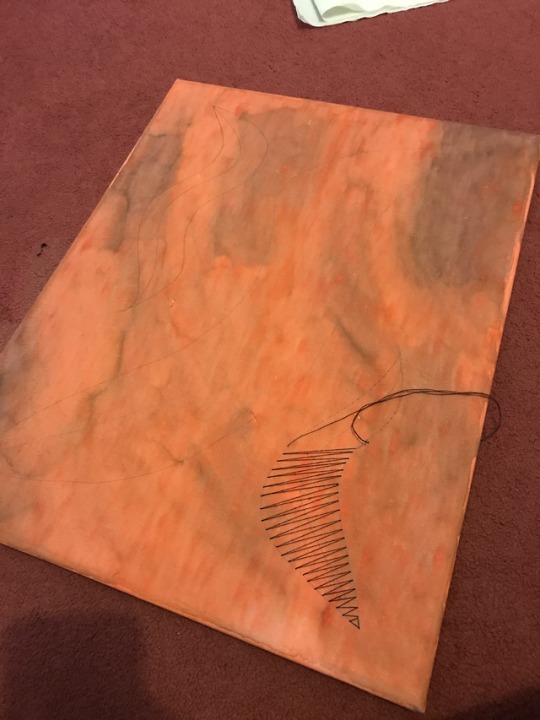
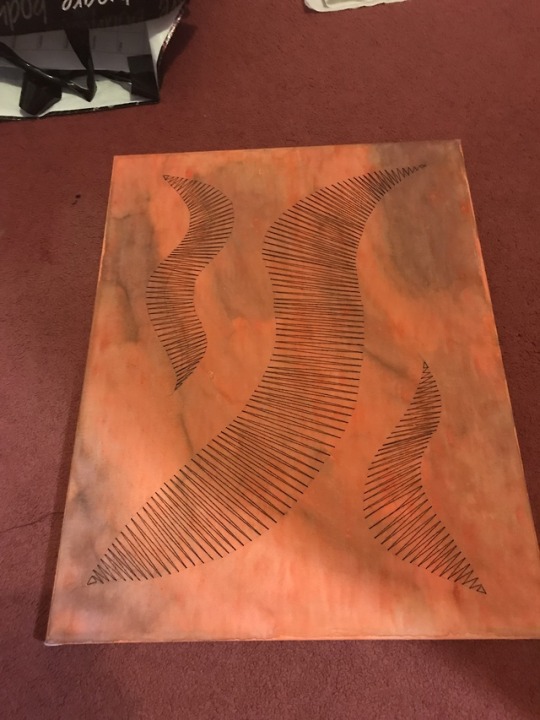
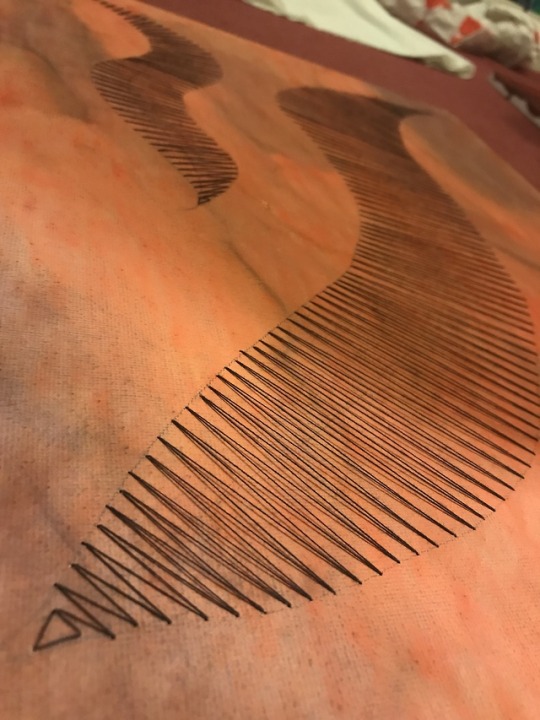
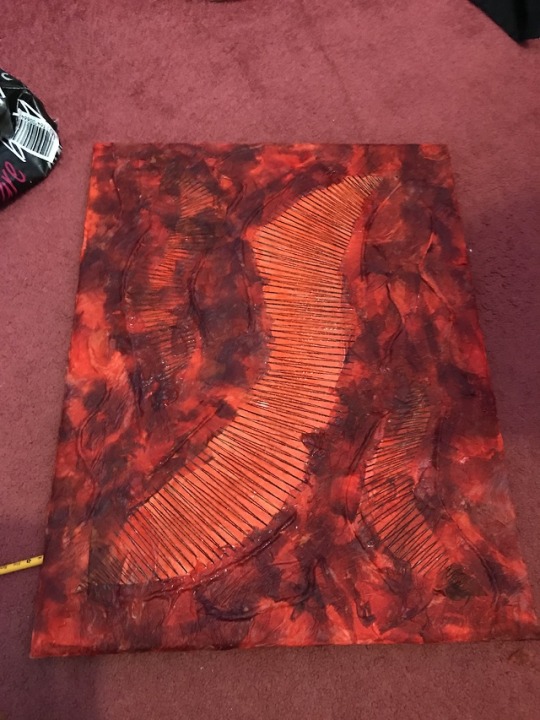
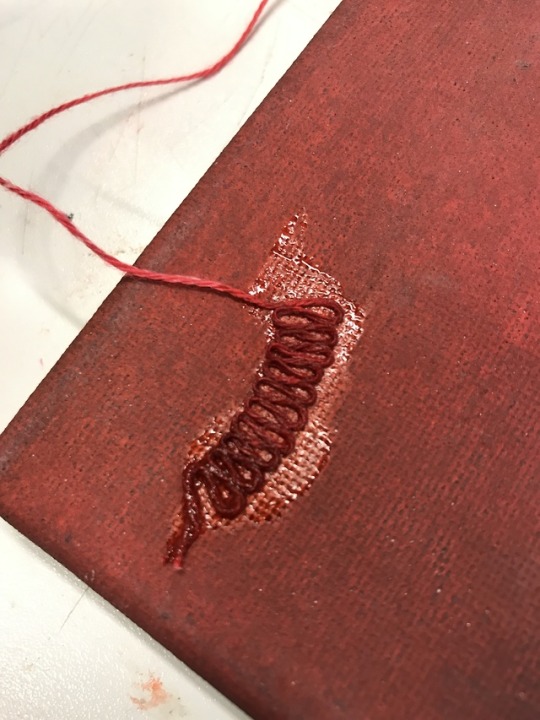
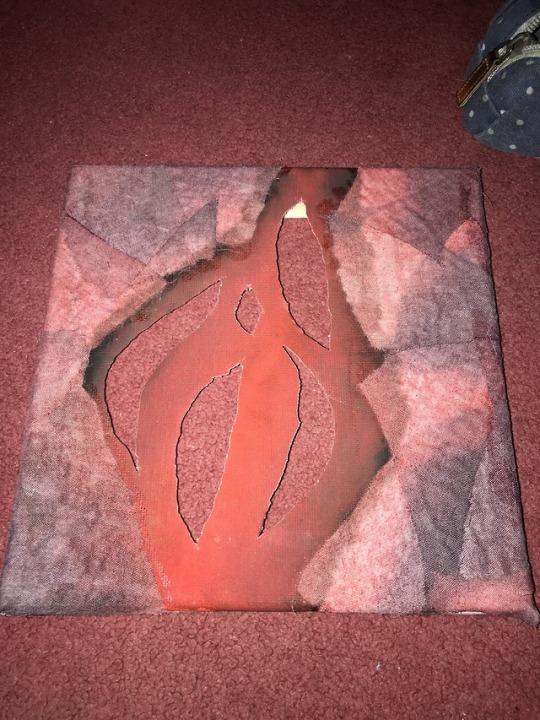
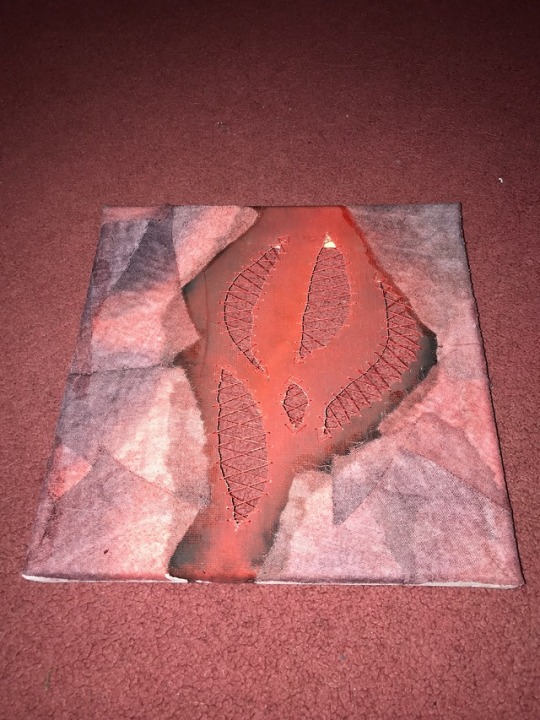
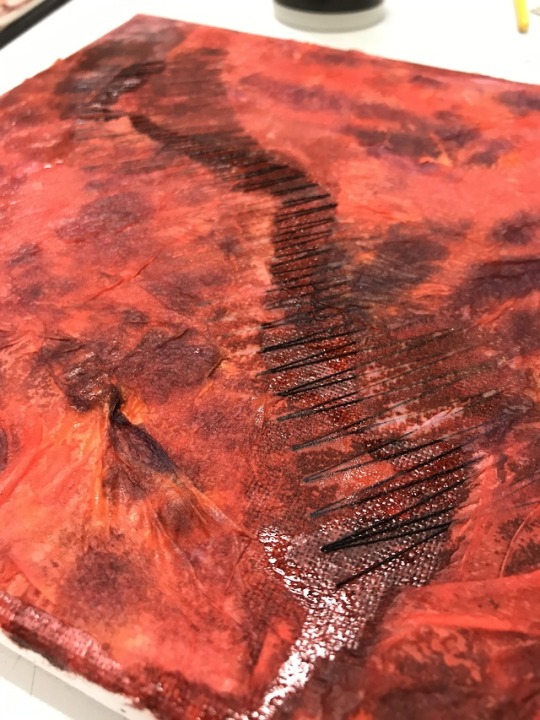
Main Canvas Development
This is the large canvas being developed. I put one plain layer of red on to start with and then added some brown patches to it. I then sewed in to to create scar like patterns. After finishing all of those, I think stuck some string down to give that bumpy texture around the scars.
0 notes
Photo
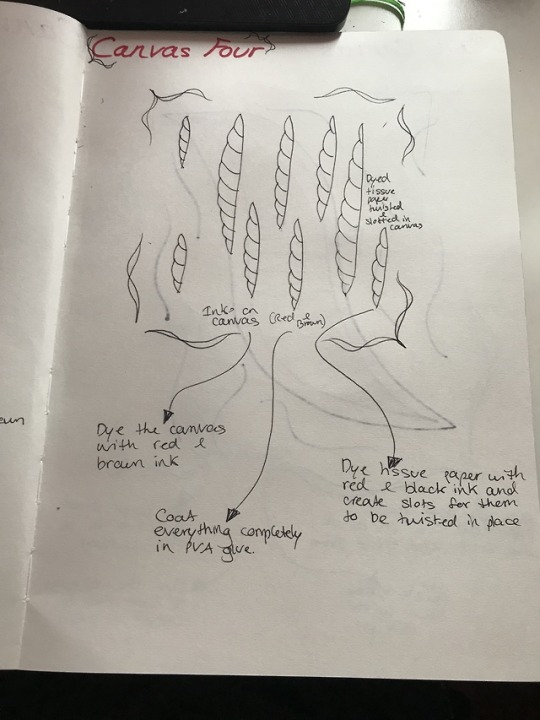
Canvas Four Development
This is canvas four’s development using the twist and glue method.
0 notes
Photo
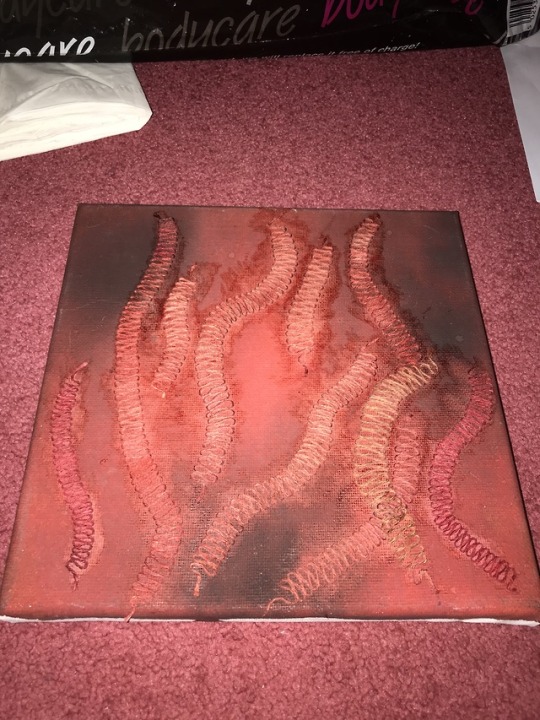
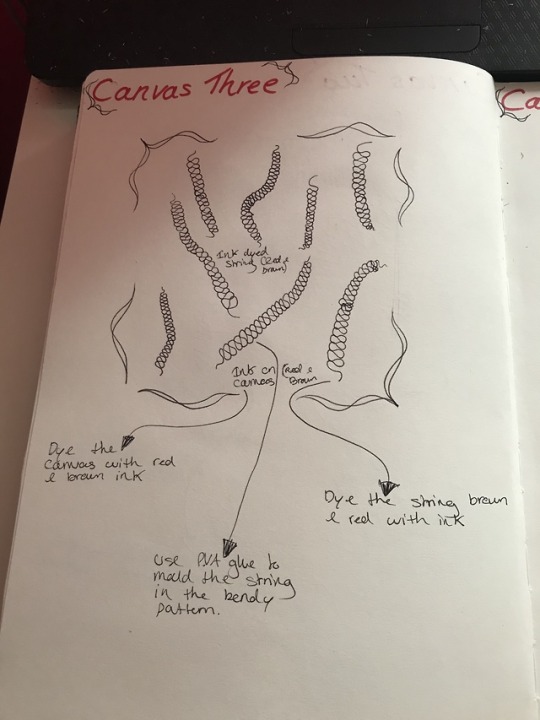
Canvas Three Development
This is canvas three’s development with the manipulated string technique.
0 notes
Photo
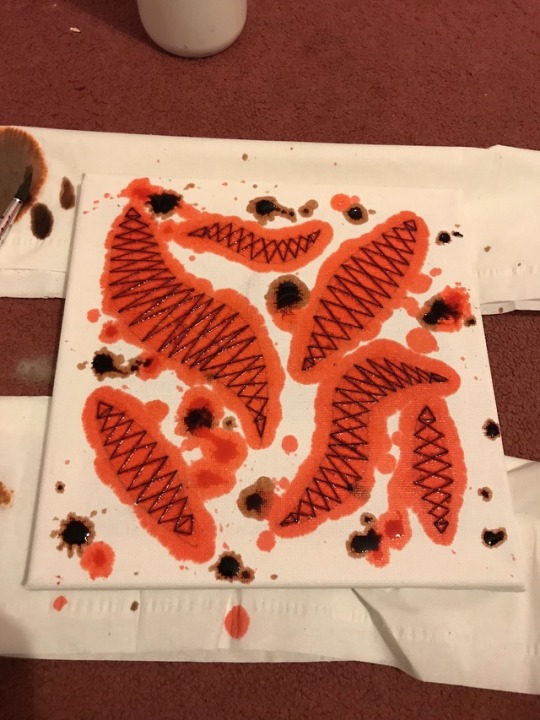

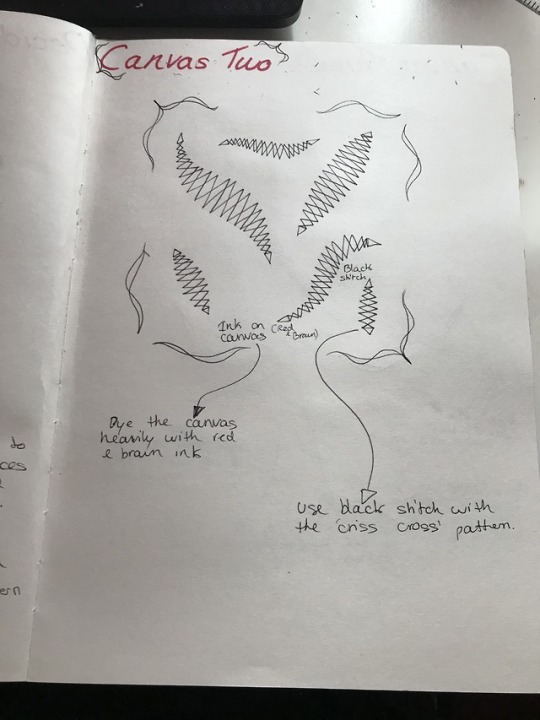
Canvas Two Development
This is canvas Two’s development with the stitch and dye method.
0 notes
Photo
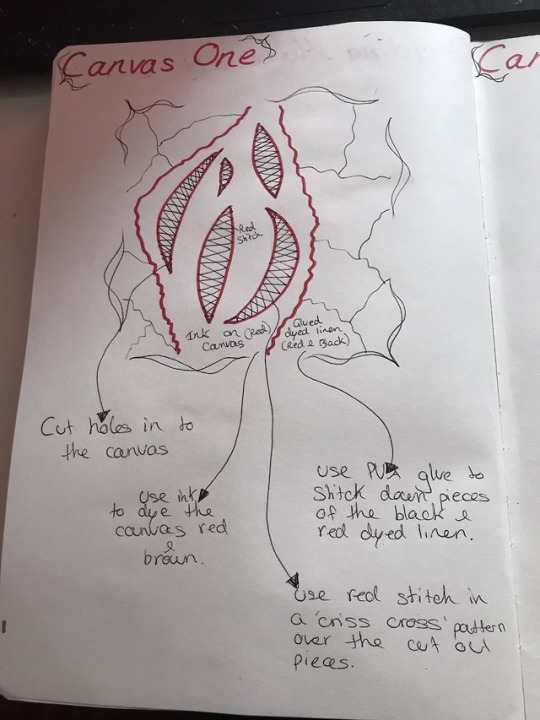
Canvas One Development
Here is some development of one of my canvases. I’m happy with how this looks so far, just going to carry on adding layers.
0 notes
Photo
Beginning of the Canvases
Here is the start of my small canvases. This is the first layer for them all, I used ink for all of them so they look linked together, but they will all have different techniques on them.
0 notes
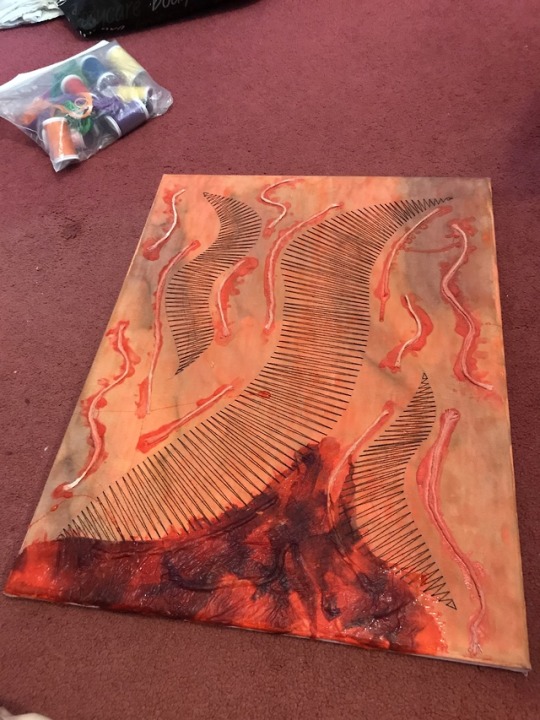
Photo
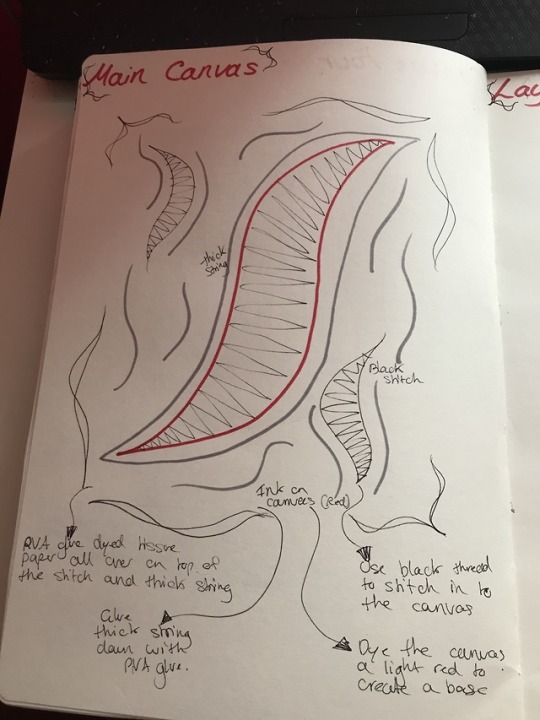
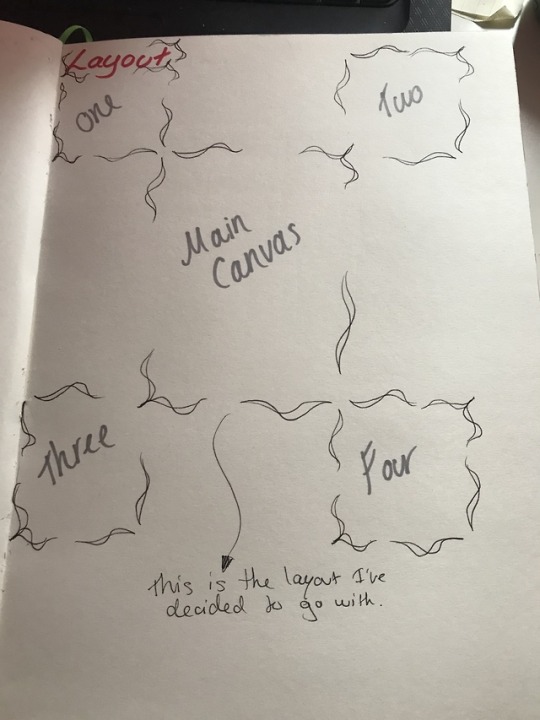
Final Piece Planning
Here are my plans for my final piece, I plan to use four small square canvases and a large A3 canvas as well. They will contain materials and techniques that I have discovered are successful throughout this project.
0 notes
Text
Final Piece
From here onwards, I will document my progress with my final piece.
0 notes
Photo
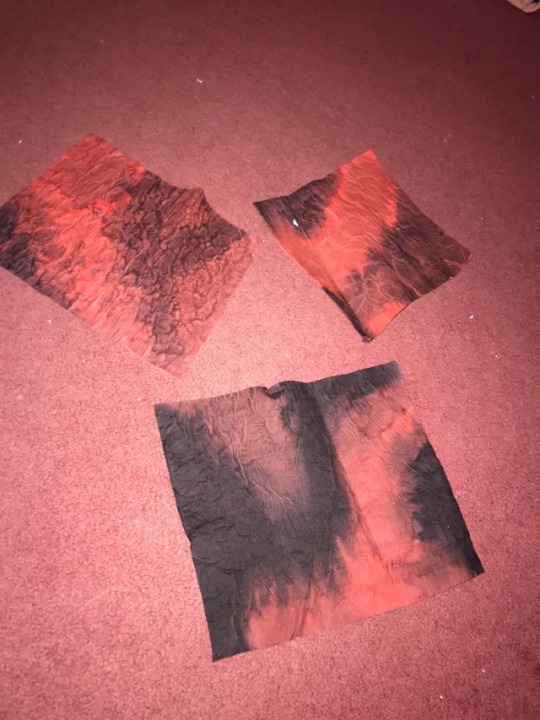
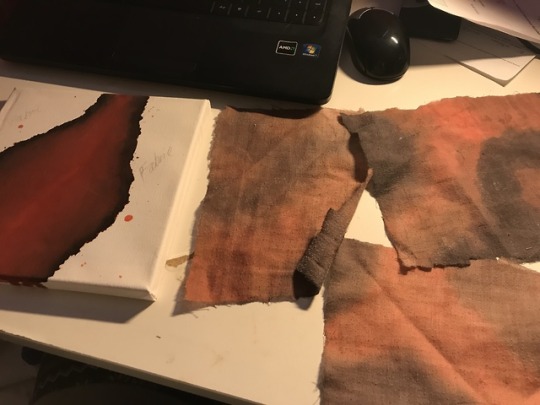
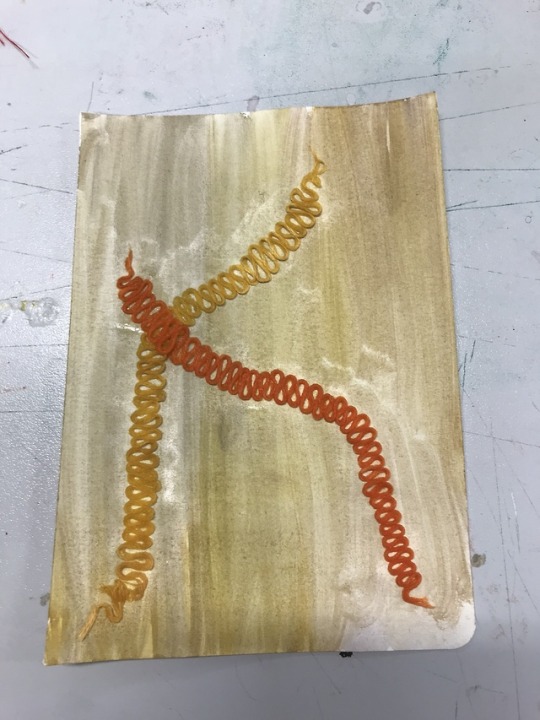
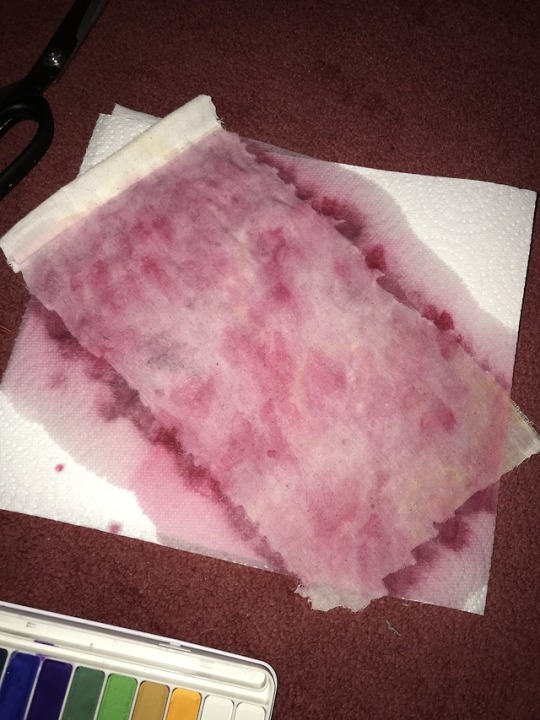
Last Experiments Before Final Piece
These are the last experiments I did before planning my final piece, I was testing to see what string would look like under the dyed tissue paper. I love how it looks and will bring it forward to the final piece.
0 notes
Photo
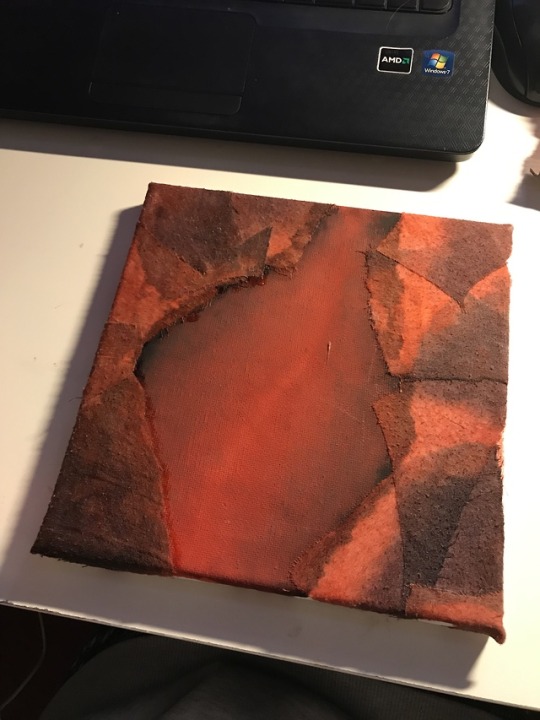
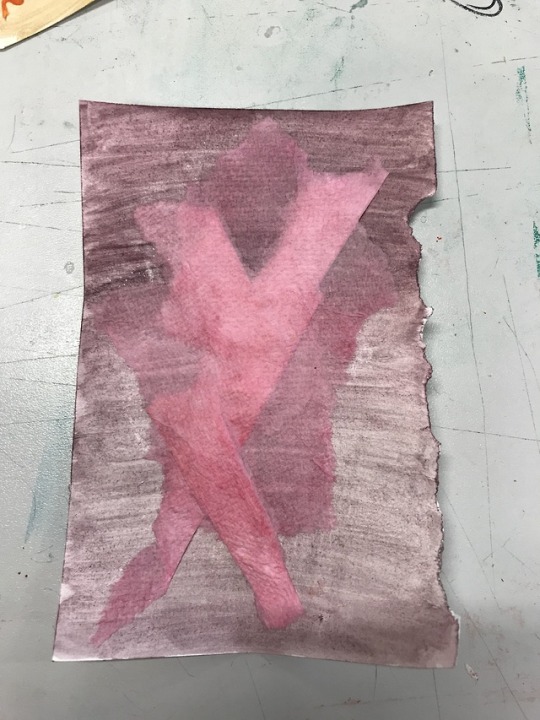
Canvas Development
After testing those techniques on just paper in the previous post, I wanted to explore what these would look like on canvas building up to my final piece. I did this, as something might work really well on paper but then might work horrendously on canvas, so it was best to check.
I tested out the red tissue paper and PVA glue because I love that texture so much and it worked stupendously on the canvas with the stitching underneath. This gave me the idea to layer things, by having stitch underneath and the rough texture over the top so that you could still see the stitch. I enjoyed that piece very much and thought it was very successful. The pink one I wanted to test the tissue paper so I decided to use it not only to create rough texture, but to also stick the fabric down.
0 notes
Photo
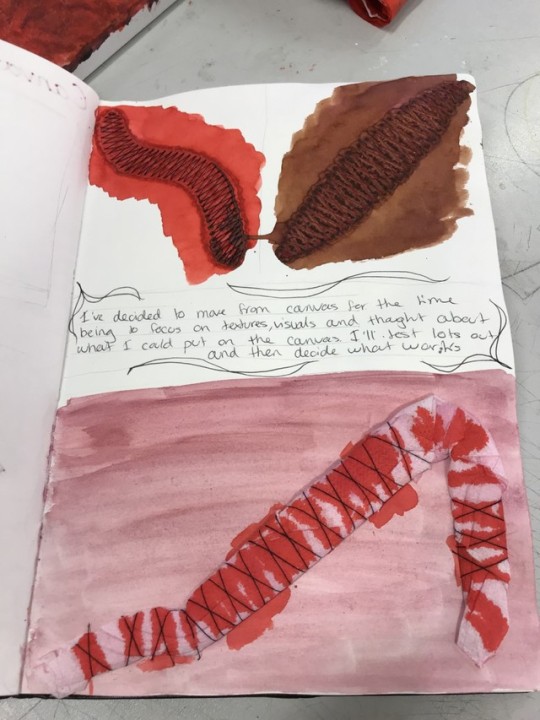
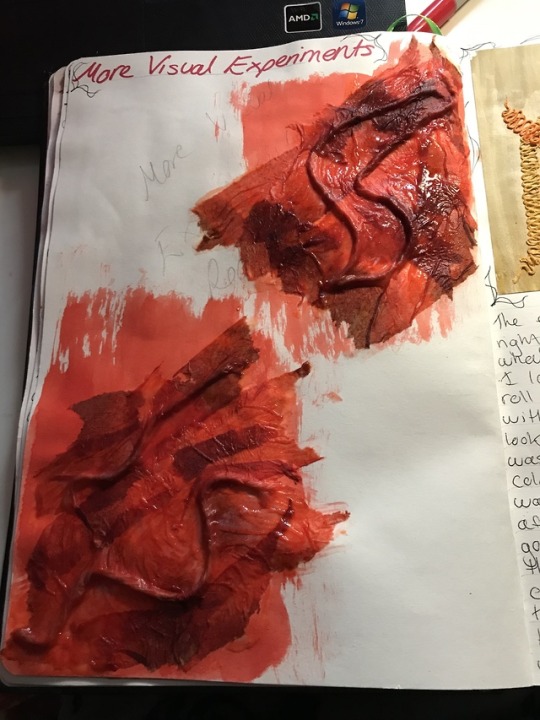
Textual Experiments
With time approaching closely to the end of this project, I needed to test out materials and different techniques to see what is successful and what isn't. I begun with the one in my sketchbook page, where I just could see what I could do with ink, thread, tissue paper and water-colour. I was happy with the ink pieces and plan to implement them in to my future developments. However I wasn't so keen on the more 3D attempt I did, I just simply have a disliking to it and just believe it doesn't really work.
The other three smaller samples worked really well and I enjoyed how they all turned out, I used thread, PVA glue, water-colour and tissue paper. I wanted to just create some weird visuals and surfaces for practice and potential use in my final piece for this project.
Significance of the Materials Used
The main reason I delved in to PVA glue, wasn't just to help stick things down, but to help materials give a nice rough texture. Tissue paper as well was another decision I made as that when covered in PVA glue becomes a very rough surface. The rough feel of the materials used is symbolic of how rough scars are, and how rough they are on the people who have the scars. I’ve made the decision that for my final piece, I want people to touch my work and feel how rough it really feels. So that they can feel how rough it is to go through the pain of having scars.
0 notes
Photo
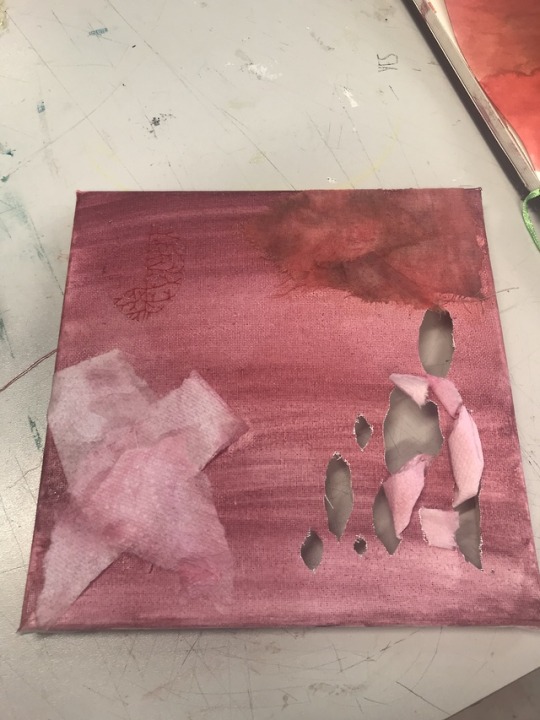
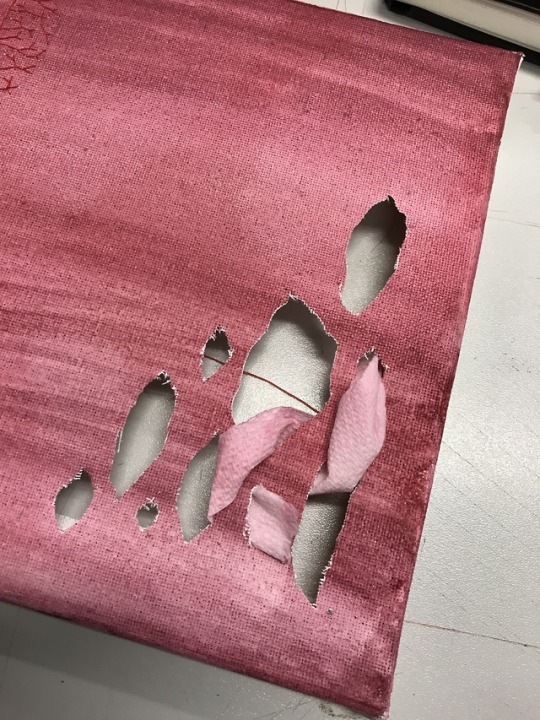
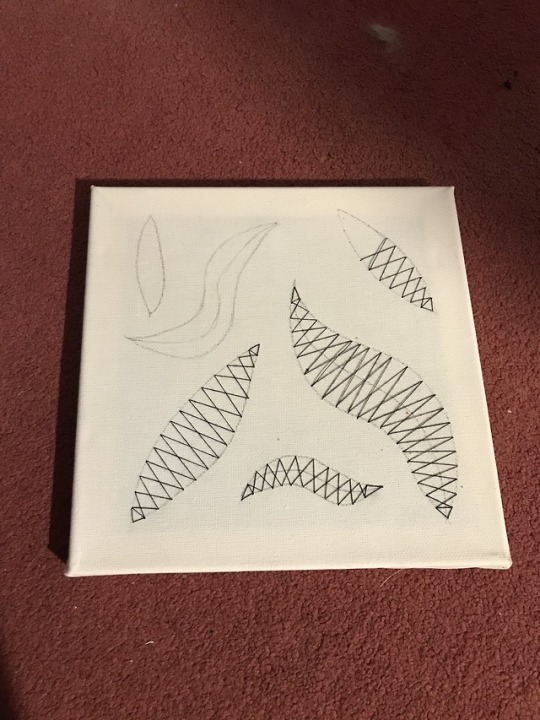
Canvas Experiment Three
This canvas was a 'all over the place' kind of experiment. So I begun with a water-colour base like I'd done. However, instead of making it purely one experiment, I created several on it. I tested out, cutting, tissue paper, weaving, stitching and fabric. I wanted to see what everything looked like on canvas and how PVA glue would react too.
Overall, I'm glad I did this just to see how everything that I would potentially use looked like on the canvas material.
0 notes
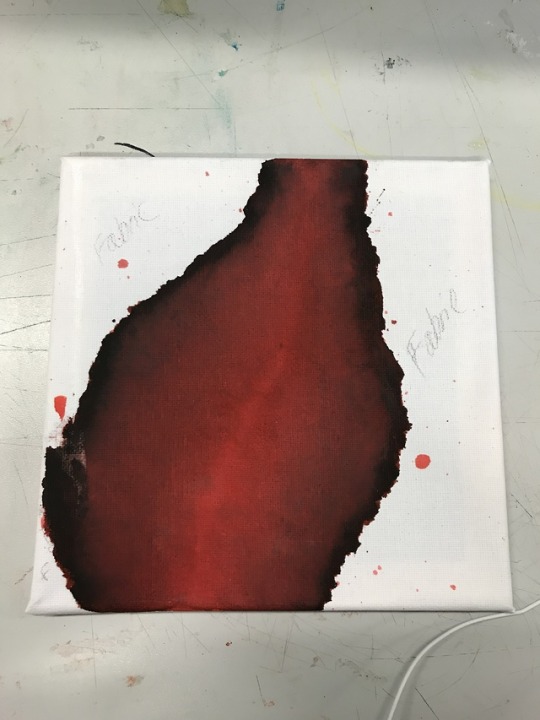
Photo
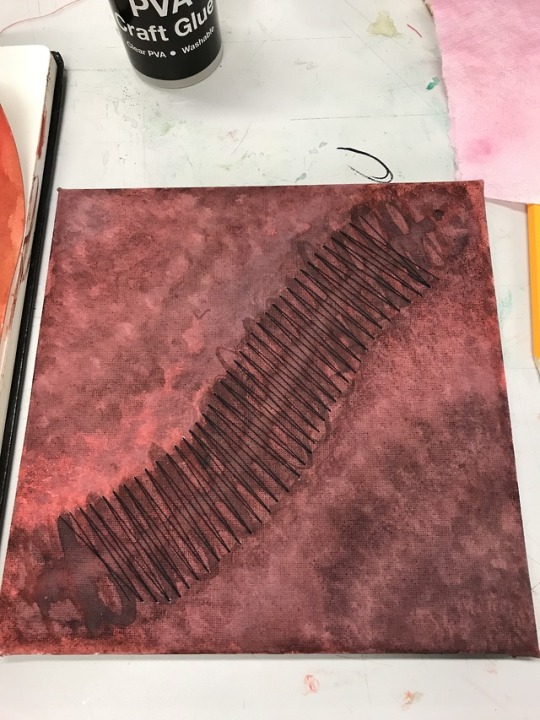
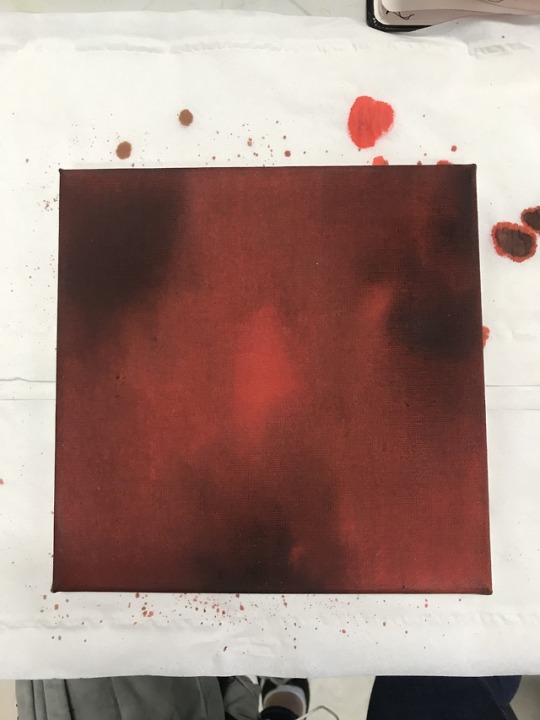
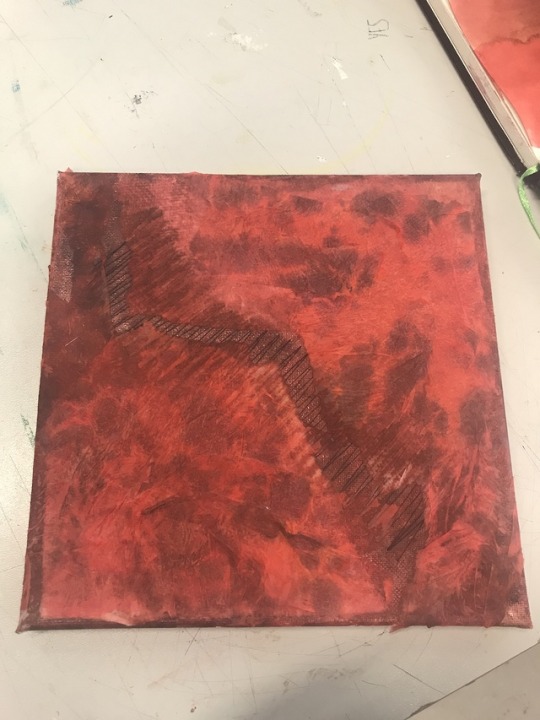
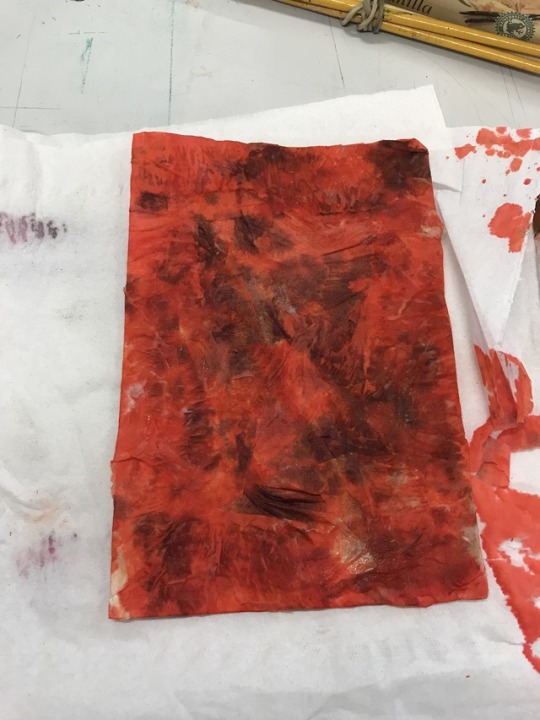
Canvas Experiment Two
The second canvas I decided to experiment with how ink would react with canvas and how it would dry on it. I used red and brown ink on the canvas with a little bit of black water-colour as I didn't want it being too dark. I learnt that ink can be layered very well and so decided to cover the whole background first, and then create a line in the middle once the background was half try. Once that line was half dry, I then did a back and forth motion over the line to create a thicker one. Once I had done that, I then decided to stitch over it creating criss-cross pattern over the top. I used black thread to darken this canvas up, and add some variation to the red.
Overall, I was happy with this canvas too, and liked how it looked for one of the first experiments with the canvas material. I'll implement this in a later stage of my project.
0 notes
Photo


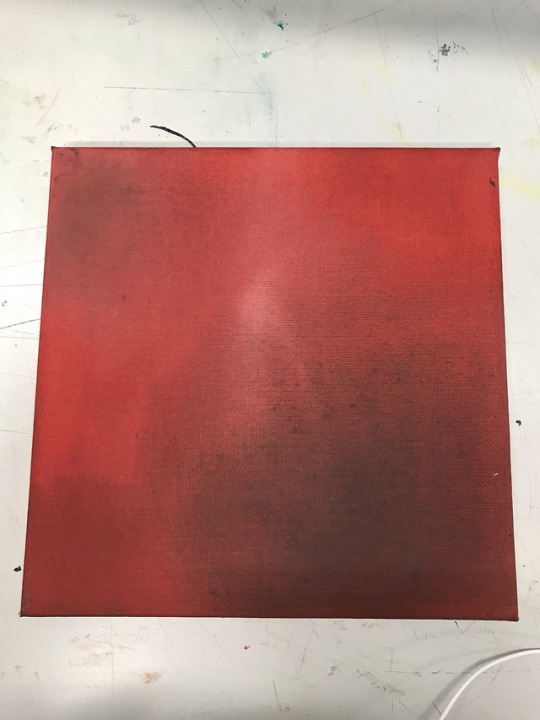
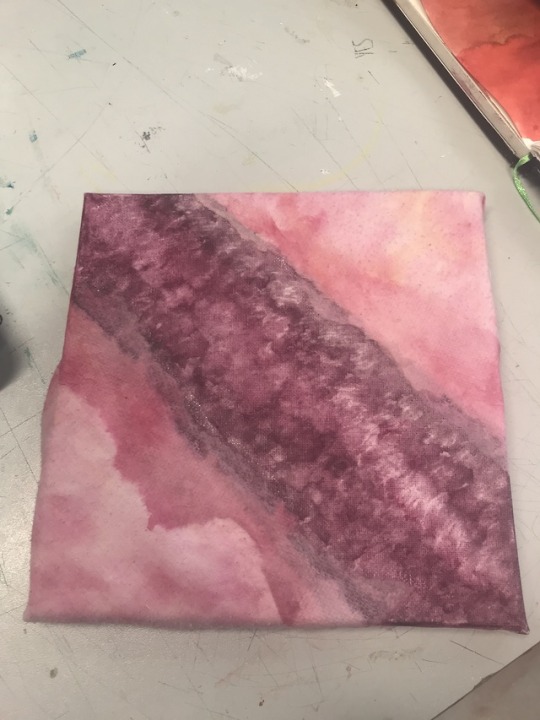
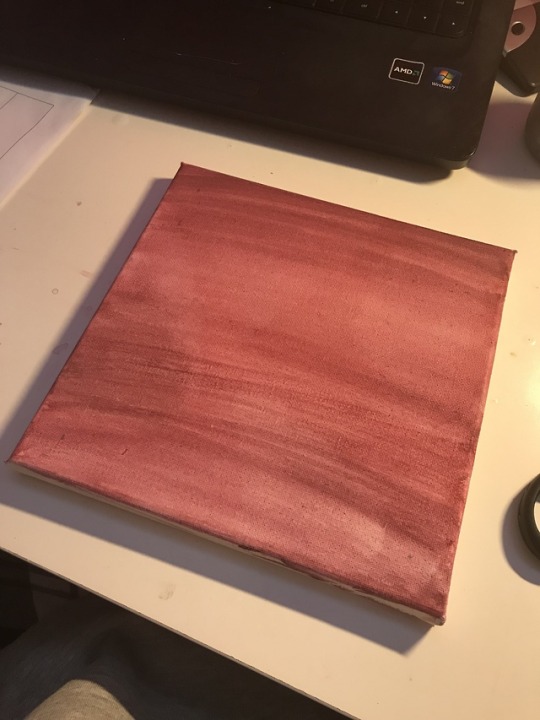
Canvas Experiments One
Moving on from paper, I decided to see what my techniques and style would look like on canvas. So I started by using water colour inspired by the colours from bruising that I took in my Primary Research. I created a line of this colour straight from one corner to another, I wanted this to be inspired by a close up of a scar. Then using the same colours, I dyed fabric and placed it in each corner, just overlapping the water-colour design.
Overall I thought this was a successful attempt at mixing the different medias. I'll be implementing this again at a later stage to see what else I can do with it.
0 notes