#Lady Sybil Ramkin-Vimes cosplay
Photo
27 notes
·
View notes
Text
Sybil’s 1740s Stays Build: Part 1, Drafting/Fitting
Tumblr is a WAAAAAY better format costuming posterity tbh, so here’s a bit of a slapshod build... log? (They’re like 2/3 done, whoops) for these stays.
While I based my Molly Grue cosplay on an 18th c. silhouette, I’ve wanted to give a proper, historical set of stays a try for a while, doing as much by hand as possible to prove that I’m capable of making something even the reenactor crowd could respect. (INVITE ME TO JOIN YOUR WEIRD WOOL-CLAD CLUB) But I also wanted PRETTY UNDERPINNINGS, the kind of thing silkbaron features or something. Kind of thing that gets an ‘ooh’ represented by high def pics in a costuming portfolio. Ah, projects equally rooted in petty ambition and artistic curiosity... anyway...
Since I’m working on a cosplay for ‘dragonkeeper’ Lady Sybil and drawing on a lot of 18th c. influence (and my Molly set are SUPER comfy) I looked for a historical pattern that I liked. Being a Ramkin, surely Sybil could afford a set of elegant, albeit indestructible stays?
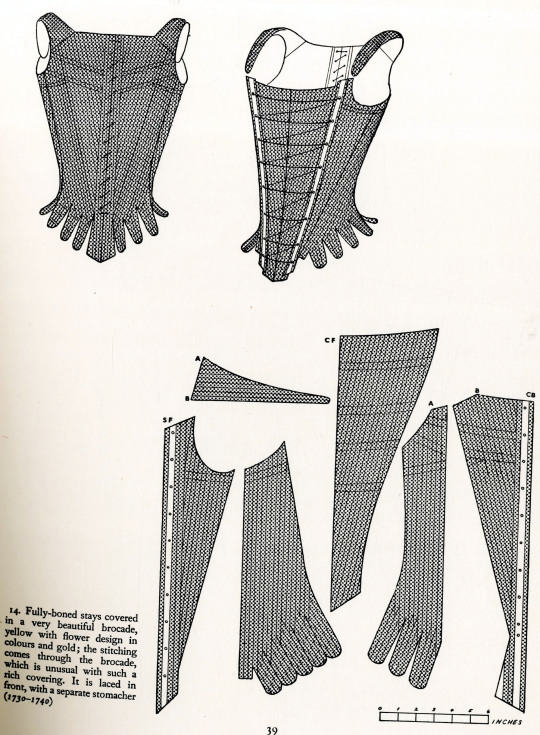
Hot shit, my dudes. (From Norah Waugh’s ‘Corsets and Crinolines’, which I’ll actually buy when I can afford a copy. THANKS PINTEREST)
I’m in a weird place between straight and plus size. Honestly I could get away with a half-boned set of stays like what Redthreaded sells, but MAN I love the sturdy, exoskeleton-like, all over compression of fully-boned ones. As we’ll see later, the downside of this is that you need a metric crapton of boning channels and a similar amount of stiffening. This is also when I’d heard about that newfangled ‘artificial whalebone’ stuff the skinny costumers on the youtubes were aflutter about (I’m not just being salty, this will come into play later as mistakes are made).
So step one: Drafting

Norah Waugh uses a perplexing non-gridded scale in C&C Underpinnings Factory (something that will make you want to kiss the feet of Ninya Mikhaila and the Tudor Tailor team). I could have had my photoshop wizard of a spouse blow up the pattern and through a little trial, error, and sharpie-ing fitted the pattern accordingly- but I’m a goddamned spite gremlin who needed a self-esteem boost in he middle of a pandemic. So I used math.
First I figured out the measurements of the original garment by cutting out the thumbnail pieces and using the scale legend as a ruler. I took my own waist and bust measurements to figure out the ratio of the original wearer to me and used that as the general equation to plot my pattern points. Fudging to fit my own numbers (slightly different waist-hip proportions) or to make the pattern ‘make sense’ happened, but I got over it. Humans struggling to clothe their meat suits and doing a little handwavey geometry in the process is historically authentic.
I wish I could turn this in as very overdue schoolwork for math credit.
Another adaptation I made were areas that weren’t as boning dense to cut costs. In hindsight this didn’t help the bottom line much, but it was going to happen anyway since I changed up the angles of the original pattern (and therefore the channel layout).
To make my life easier mocking up, I wanted to try the cardboard and duct tape stays method that made its way around the internet a few years’ back. I used 2mm chip board, a roll of the silver stuff, and some cord and.. it was an utter goddamned disaster. You know when there’s a hole in the bottom of a rowboat and you’re just bailing and bailing, but more water just keeps seeping through. Then eventually the whole thing floods and sinks, forcing you to abandon ship? That was my experiment with cardboard stays.
(Note: Cardboard as an analogue for the stomacher panels, however, worked great.)

Then I switched to a sparsely-boned mockup cut out of bits of cotton duck/canvas I had lying around and cable ties. As you can see, there are Problems. The back’s too long, the tabs don’t spread out from my natural waist, there was a massive sideboob spillout, and the waist was too tight- creating that bowed gap in the lacing. Not great, not terrible. Fixed it in the next draft.
Since I was feeling a bit confident and o-so zesty, I did v2 out of two layers of (again) sparsely stiffened canvas. If this version fit with minimal tweaks, I’d use it as the boned ‘core’ of my stays. I cannibalized the columns of grommets from v1 and basted them to the mockup to save time (and potentially my interlining, since I’d be doing hand-bound eyelets on the real thing).
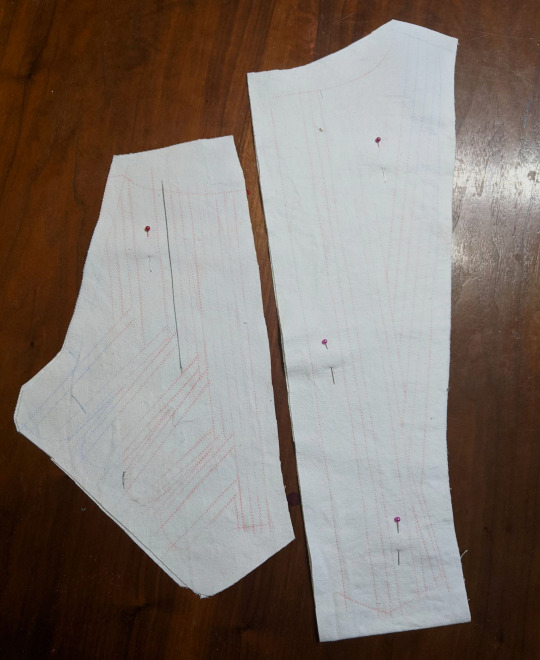
(Caption: I am absolute shit with a tracing wheel- nobody one ever taught me. Above is some semi-successful grinding.)
No pics because I was by myself, but it fit pretty well! In fact I only ended up replacing one of the panels since that side-boob issue hadn’t completely resolved.
With the mockup canvases good to go, I went ahead and machined all of the boning channels. Then I steeled myself for the next stage: handsewing ALL of those channels through the nice outer fabric I’d chosen. Of course more mistakes were made, but we’ll get into that in part 2...
#costuming#18th century#discworld cosplay#sewing#pattern drafting#stays#corsetry#Lady Sybil Ramkin-Vimes cosplay#contains math
40 notes
·
View notes
Text
Sybil’s 1740s Stays Build: Part 2, Handsewing
When you’re working with a nice, new material a lot of times you practice a bit before making the real garment to make sure Providence doesn’t throw you a curve ball.
Oh thanks, Providence, you bastard. This is when I should’ve realized that I was trying to punch above my weight class.
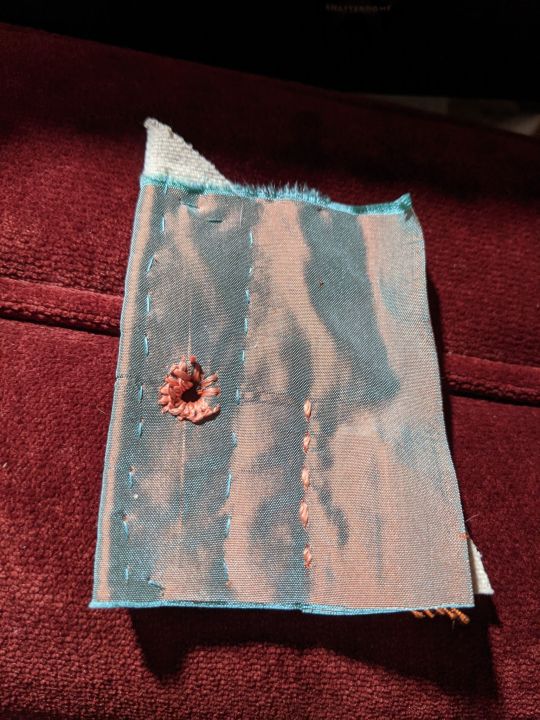
If tumblr tries to flag the above image, I’m not surprised, because my first attempt at a hand-bound eyelet with the shot silk taffeta I chose (Patina from Silk Baron) looks like a festive, but raw anus. But I had bigger issues.
The fine weave of the silk meant the force of an awl- hell, the force of most SEWING NEEDLES- made it snag and run. Per a tip from someone on facebook’s Elizabethan Costuming group, I’d have to commit a historical costuming anathema and punch my lacing holes.
As you can tell by the test piece above, I’m also not the best handsewist. Obviously I picked a helluva piece to level up with, but I was strangely motivated despite the many, MANY boning channels ahead of me. I did cheat a bit by using the machined lines in the mockup/interlining as a guide though.

Before that, I decided to fill my boning channels. I went panel by panel so that in the event that I ran out of artificial whalebone (or money to buy it) I could make progress while I waited for it to ship. I also started with the back pieces in case my first several yards of hand-stitching was shoddy.
I really dig the artificial whalebone. It’s a bit denser and stiffer than plastic cable ties and the shape looks a little more like the baleen or cane you see in extant stays. I used a grease pencil to mark the lengths then cut them to size with tinsnips. Being a thermoplastic, I was able to straighten out each piece by hovering it above a lit candle before shaping it with my hands. The candle wasn’t just for aesthetics, I swear. I wanted to sit on my couch and not deal with the noise of a heat gun or burned fingies. You can also use a hot iron, but this is less fun.
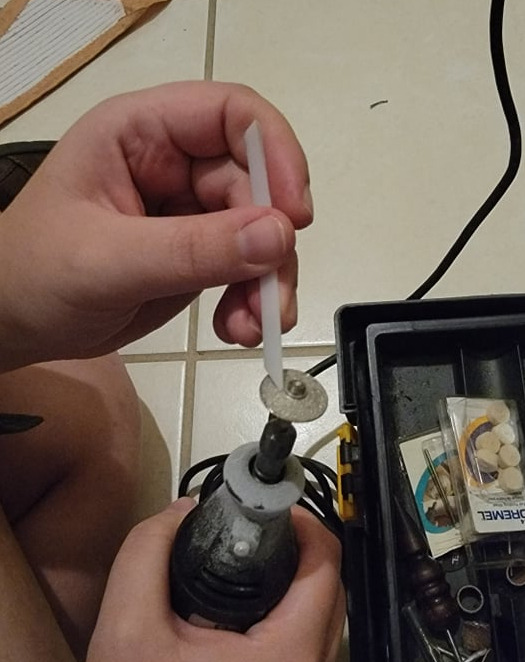
An additional bonus of artificial whalebone is that you can round and smooth the ends of the bones with the grinding wheel of a rotary tool without the plastic getting chewed up. No boning poking out and jabbing my armpits on this build! You can use a hand file of course, but with 44 bones in the stomacher panels alone, I needed to save my energy for literally anything else.
To nobody’s surprise, I ran out of my initial order of 16 yards of whalebone. Seasoned staymakers will have noticed a big mistake in my procedure at this point (but don’t spoil it for the others).
While working on my test scrap I noticed that the boning lines looked REALLY harsh through the taffeta. I stitched between the bones, following the machined lines on the underside and ended up with puckering along the seams. It looked BAD. Someone in the facebook Plus-Sized Costuming Group recommended putting a ‘dampening’ fabric between the canvas and taffeta.
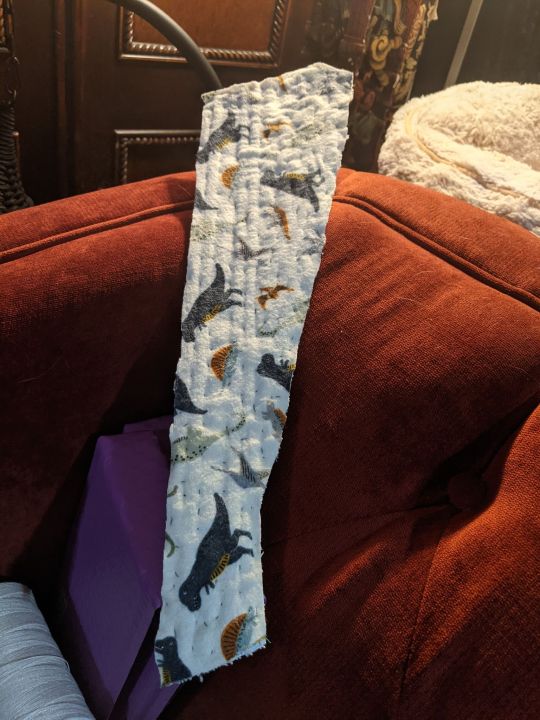
I did the period-accurate thing and used some dinosaur flannel leftover from a commission. Ah, authentic.
This looked a lot better, but I still had some unsightly puckers going on. I chalked this up to inexperience with hand-sewing taffeta, but I was really dealing with the uneven tension on the fabric from having the boning channels filled. Someone mentioned this early on, but I didn’t want to pull out every piece of whalebone. Being a lazy bastard and causing more work for myself later on is a character trait anyhow.
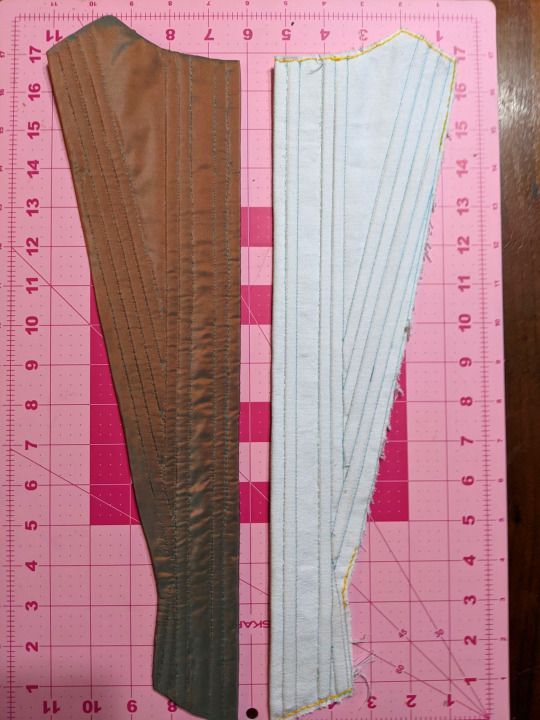
I used Gutermann silk thread, waxed, with a number 10 sharps needle for the topstitching, done in a pretty straightfoward backstitch (oxymoron?). No. 10s ended up being fine enough to poke through the taffeta without disturbing the weave. There were many, many hours of PBS documentaries half-watched...
When finished with each piece, I folded over the edges of the taffeta and whipstitched them down. Eventually the lining will get matched up to this and sewn so I have clean edges even before the binding goes on. I learned this trick from Koshka-the-Kat.
This post is getting fairly long, so Part 3 I’ll cover MORE handsewing, some construction details, and more or less get caught up to where I am at this moment (10/14/21).
#costuming#sewing#18th century#discworld cosplay#stays#Lady Sybil Ramkin-Vimes cosplay#silk taffeta can be your angle...
9 notes
·
View notes
Photo
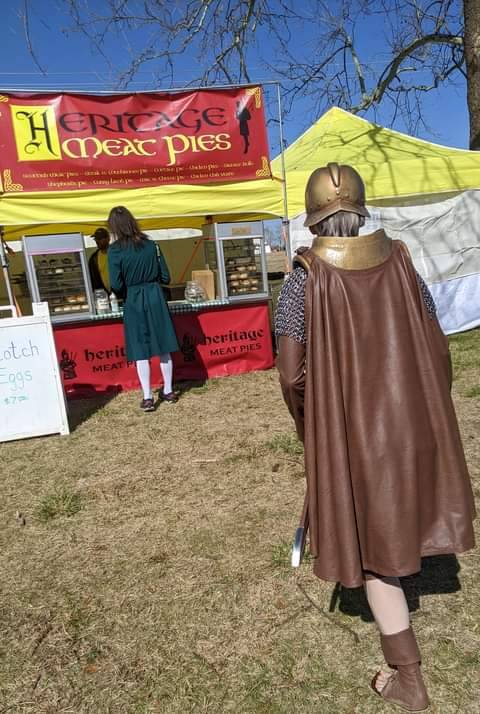

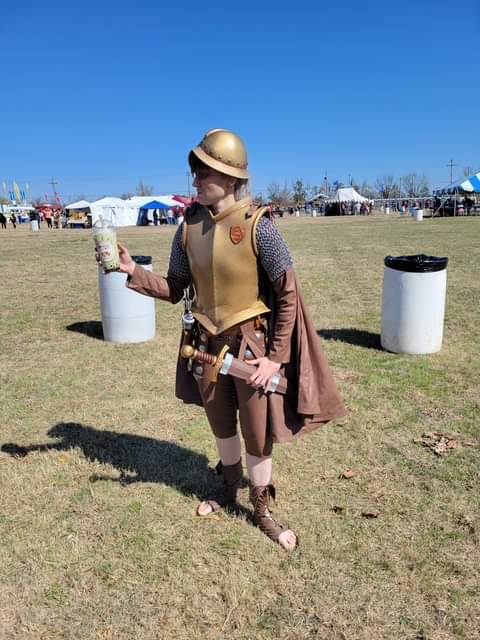

Approach the meat pie stand.
Examine the meat pie.
Express blatant suspicion of the boba tea.
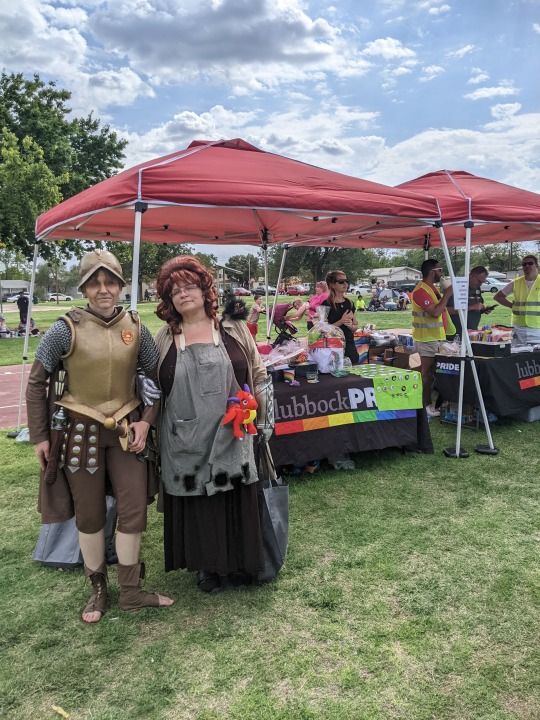
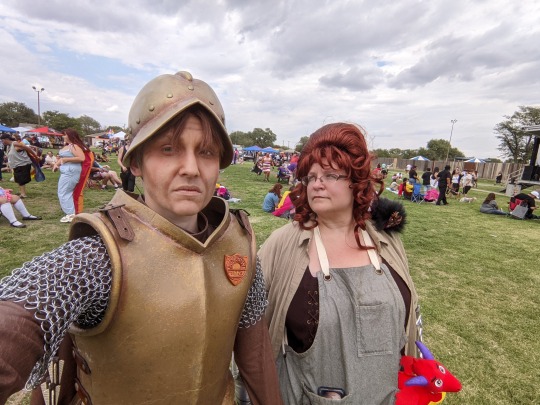
Pose for Vimes family portrait.
121 notes
·
View notes
Photo
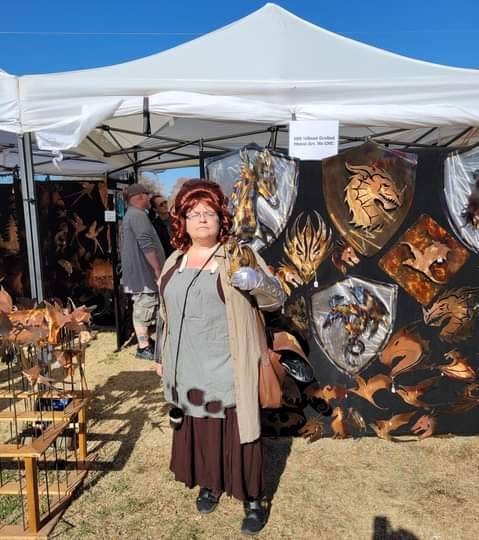
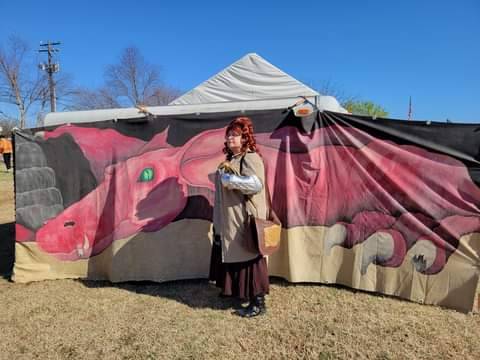
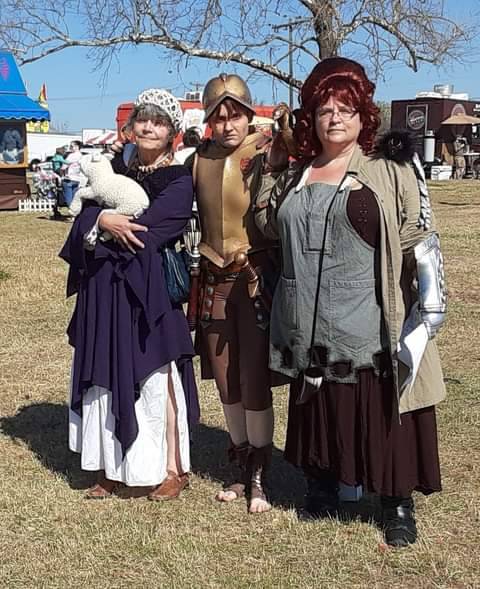
Behold splendid home decor.
Examine magnificent specimen.
Dragoon husband into family portrait.
Lady Sybil Cosplay by @slyjinks
25 notes
·
View notes
Text
OPTIONS
For my Sybil cosplay I want to have the option of the Dragonkeeper headgear and just my own short hair wrapped up in a silk kerchief (I love art of her like that)- BUT THAT SAID....
If I have enough time/money, I want to do a big ole’ combination Elizabethan/Georgian updo wig with a little cap or caul on the back embroidered with these:
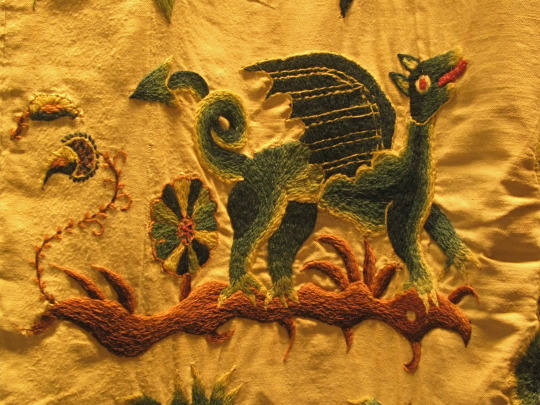
Look at this delightful creature. What a goddamned chum.
(It is actually embroidered on a set of bed hangings dated from the 17th c and I’VE BEEN WORKING ON MY CREWEL STITCHING)
20 notes
·
View notes
Last Seen Blogs

nekosqueako-art
Maybe it's art?

ethn11winter24
Intro to Ethnic Studies

passivedemonic
alpha couple apologist

reanie-xoxo
Reanie

moms-are-gonna-kill-you
We weren't really doing anything