nanikaq
nanikaQ
Hello from Japan! I'm Nanika:)It's the blog of my favorite Furby and Furby friends🐥💕/FURBY BLOG/FURBY FAKE/PEEPY
69 posts
Don't wanna be here? Send us removal request.
Last Seen Blogs

shocktrooper262-blog
ShockTrooper262

allthetastesofnewyork
All The Tastes of New York

encikabc-com
KOLEKSI LEAKED AWEK MELAYU

yandere-dandelion
‼️tw yandere‼️
‼️just fantasy‼️

kaolinyum
kaolin:3
Text

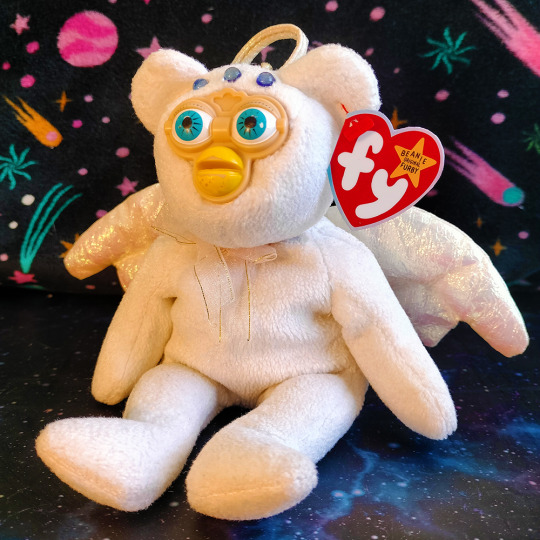


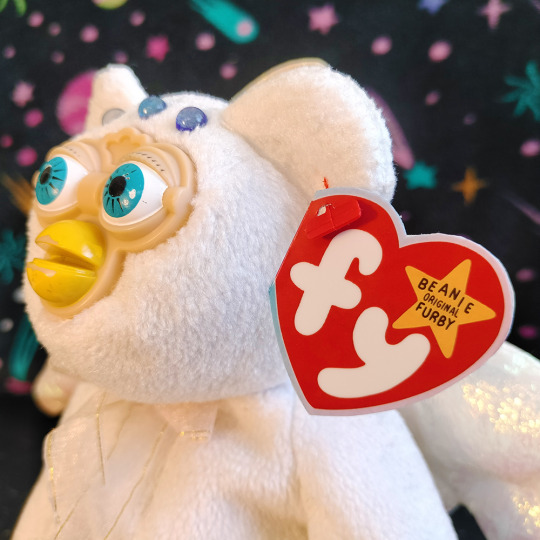

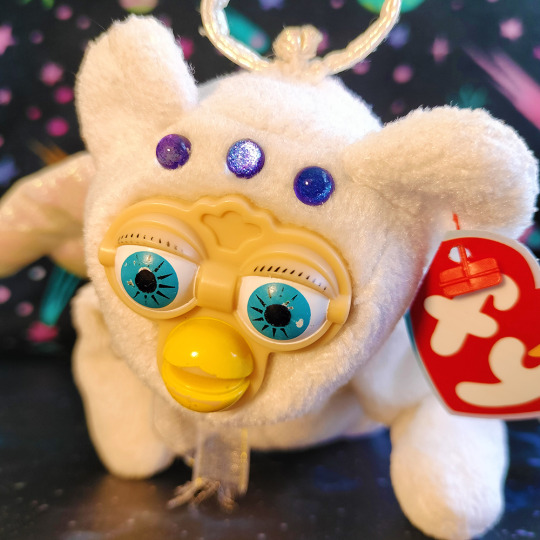

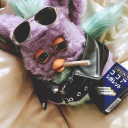
I MADE A THING I'm not sure what to call this but I slapped a furby on a beanie baby and CREATED LIFE
Purbetua ( ͡°( ͡° ͜ʖ( ͡° ͜ʖ ͡°)ʖ ͡°) ͡°)
she's watching over you 🥰
42 notes
·
View notes
Text
You guys know that 2005 Furby board game that’s so obscure only one known image of it has surfaced online?
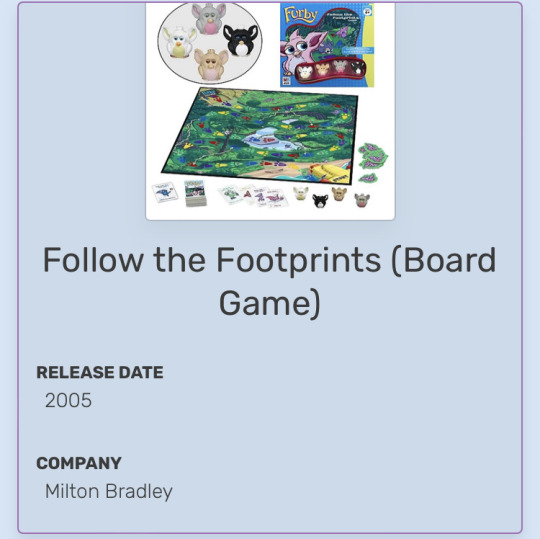
Yeah this one? The one that was only able to be identified recently because of its obscurity?

I OWN PART OF IT???? SOMEHOW?
221 notes
·
View notes
Text
Complete 2023 Furblet Teardown/Disassembly Guide
hi!! this post will be an image heavy teardown guide for the newest 2023 furby furblets. questions are welcome!
Be aware there will be skinning and disassembly below the cut!
You will need:
A PH1 size screwdriver
a stiff, strong, thin prying tool (like a very thin flat head screwdriver, a butterknife, a palette knife, etc.)
a second stiff tool to pull/push on tabs (i used a mini plastic curved scraper)
optional, but a small magnetic mat and a small container (or just 2 containers) to hold parts and screws so you don't lose them!
This is my volunteer model ooh-koo!
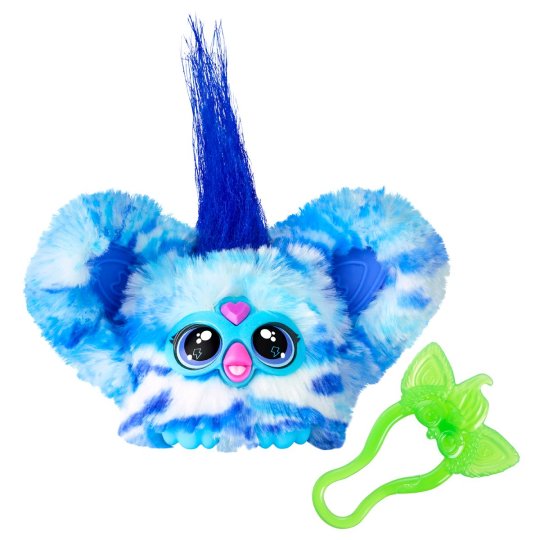
She is in complete working order, both before and after the teardown. There aren't many fragile parts inside furblets (they're surprisingly simple but clever!) but I still do not recommend following through with this disassembly unless you're absolutely fine with damaging your furblet. Furblets are NOT meant to be taken apart, and are filled with 1-way safety pins in the faceplate that cannot be removed without bending/breaking them out.
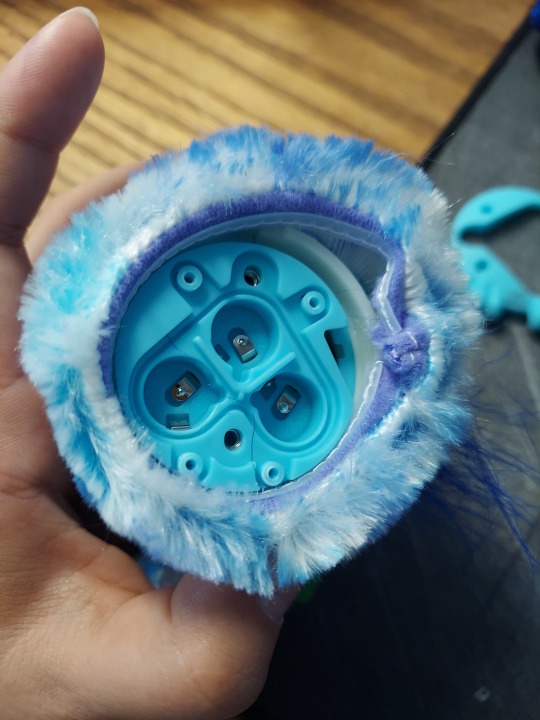
To start, remove all visible screws on the underside of the furblet where the battery compartment is. There are 6 total screws, two larger ones for the battery compartment and 4 smaller ones on the outside holding the bottom on to the furb. These screws are different sizes, don't lose them and put them back in the right places! The bottom of your furby should look like this now:
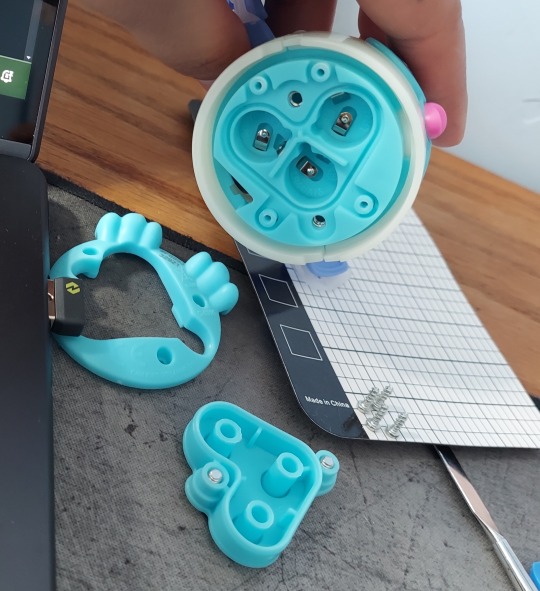
(i forgot to take a photo of this initially, so she is skinless here.)
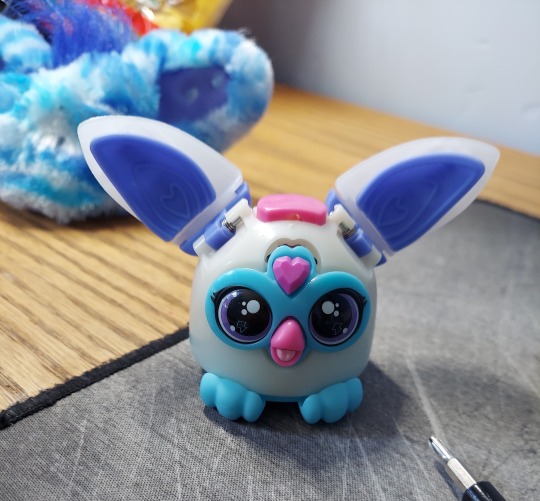
After this, you should very easily be able to lift the plastic strip holding the fur into the shell. Part of it is tucked into a nook to allow slack in the fur for lifting it over the body!
After this, gently pull the fur up and over the body shell, and flip it over the ears. These are held in place by plastic clips so be gentle and don't force it off yet.
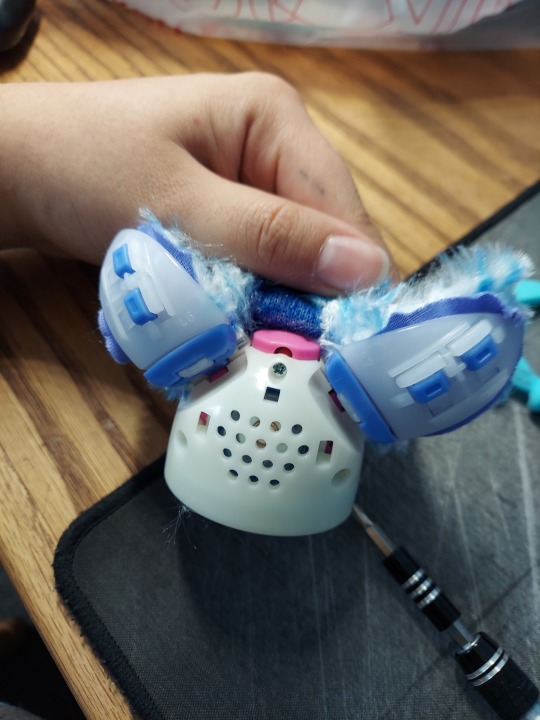
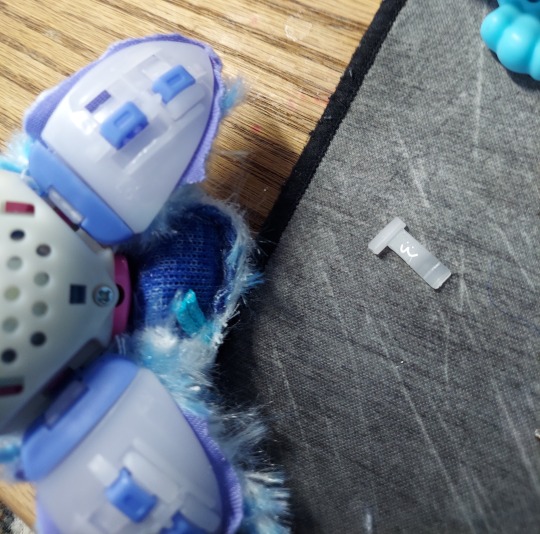
now for the most genuinely difficult part of the whole process, unclipping the ears
Holding the ear on the front and back to sandwich the pieces together, and being VERY gentle, slide your first prying object under the wide end of the white ear clips. This will lift it to allow you to pull the clips up over the barrier. While still leaving the pry in, use your second object and push/pull on the clip. Here I am pulling since my scraper is curved and it was easiest. The T shaped clip should pop right out, but may need a lot of finagling to get it there. I stretched the second clip and damaged it, so again be slow and careful!
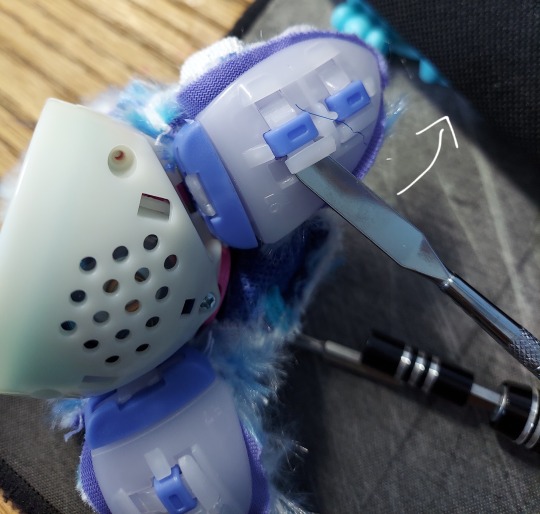

Repeat this process on all four tabs! Now, the skin should only be held on to the furb by the face plate.
To open up and remove the faceplate, start by removing all three screws on the back of the shell. Again, I forgot the picture initially so she is already skinless here.
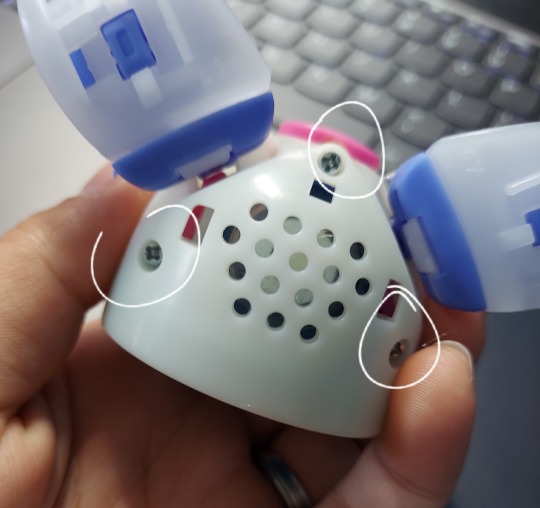
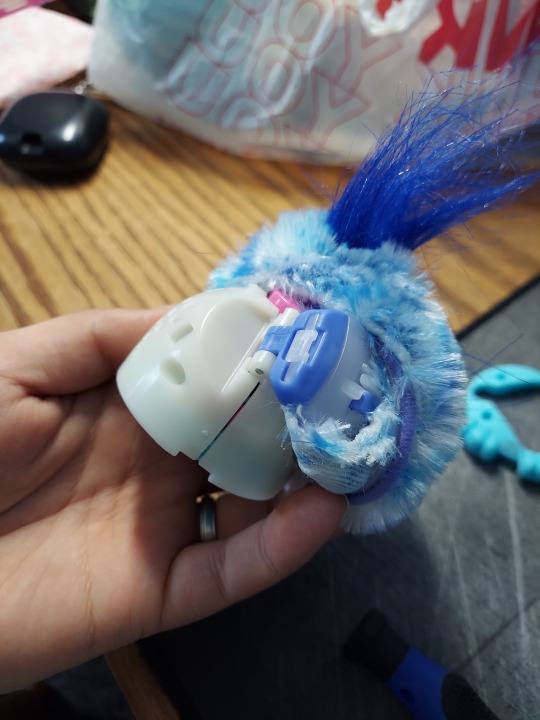
Now, pull apart the two halves of the shell. The microphone is wired from the center board to the back half of the shell, so don't pull too hard or you might rip the wires out!
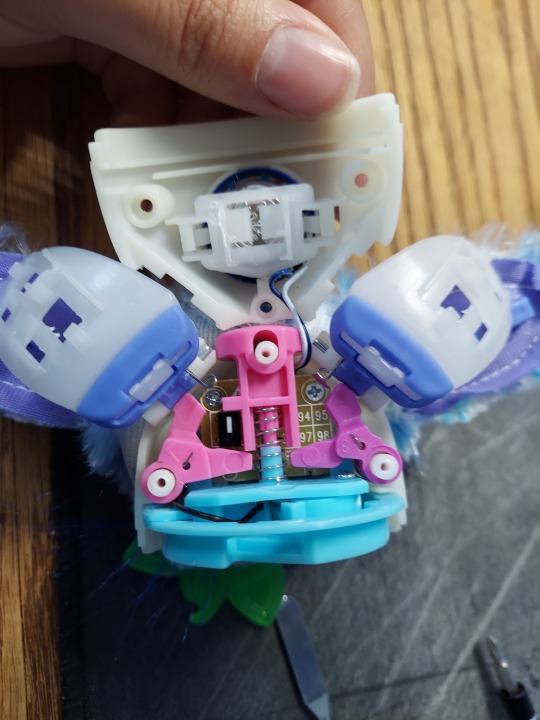
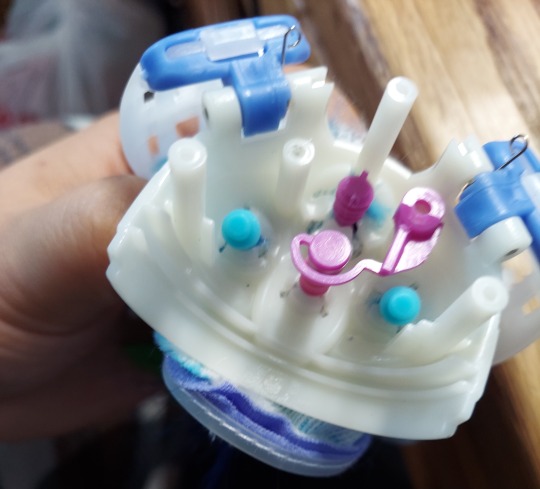
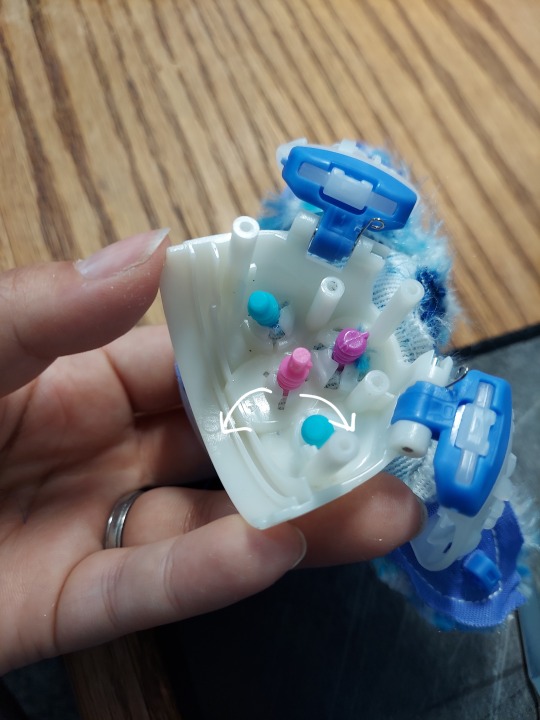
Pay attention to your individual furblet! Mine has pink and purple components, remember or take a picture of the lay out so you aren't confused later. the pink and purple parts on either side just pop right out, and the button slides off the peg along with its spring. This will give you full access to the backside of the motherboard.
Remove the screws on either side, and it will release the whole center plate from the front half of the shell. There is a third screw on the bottom of the center plate, but this only separates the battery contact plate and the base plate of the motherboard (i wouldn't really recommend removing it since it's not relevant to anything you need access to) The whole center plate will now just slide out of the empty front half of the shell!
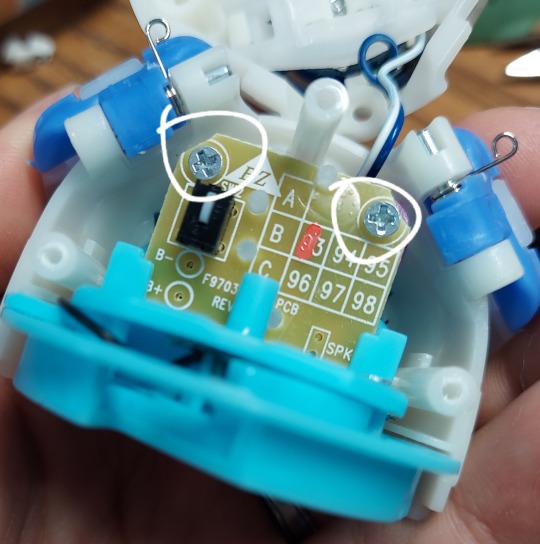
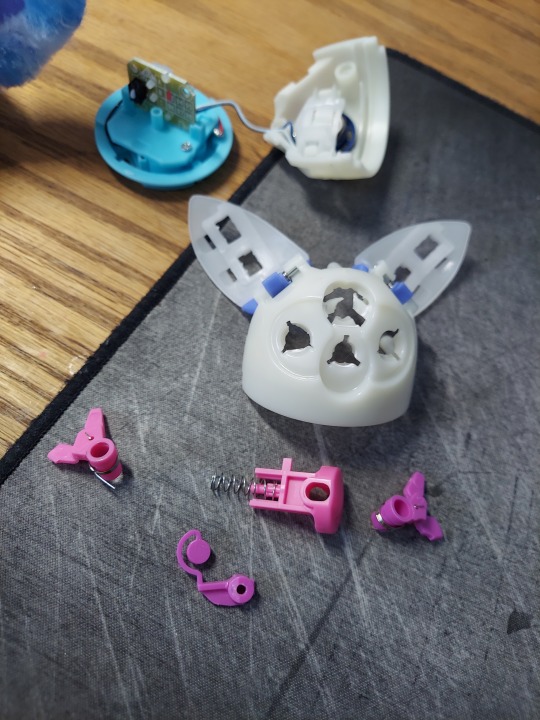
There is one additional piece kind of floating on the pegs here, and it's needed so the furb recognizes button presses to the mouth. Here it's the J shaped purple piece! This just pops right off and you can see all the safety pegs for the faceplate and mouth/gem buttons. To remove the pegs, you will have to manually bend the tabs holding the pegs in place. This WILL damage your furblet. Do not go further if you aren't wanting to break anything.
After bending the tabs out, the pegs should pull straight through, releasing the whole faceplate. At this point, the skin should come right off too! Here are the inside and outside parts.

Congrats! You've completed a disassembly. To put your furblet back together, just do everything in reverse!, however please note the following:
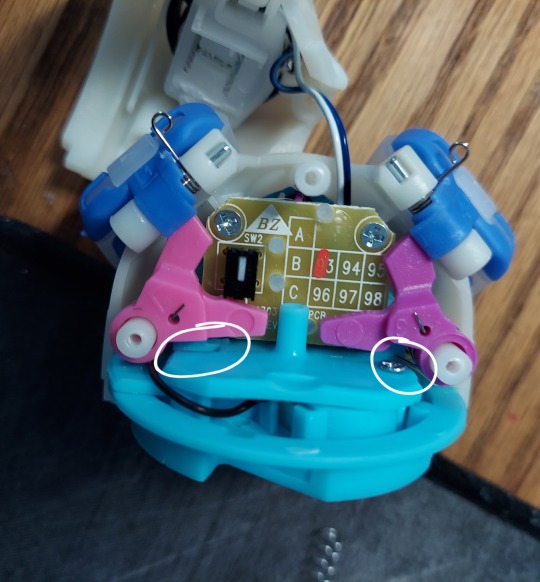
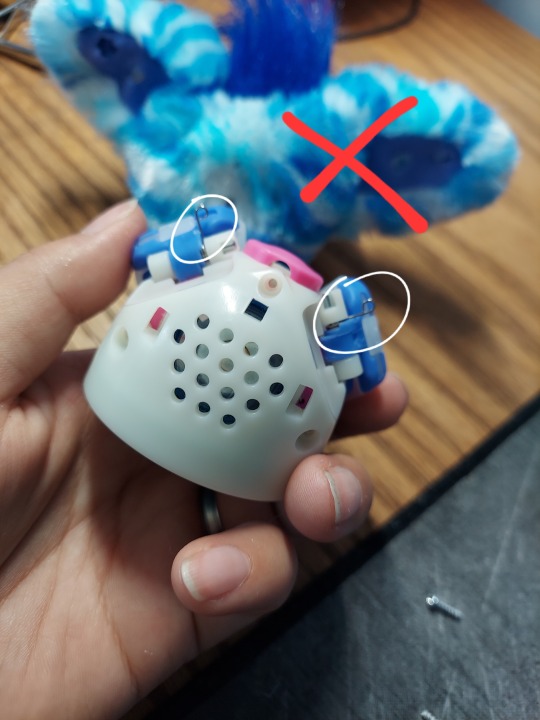
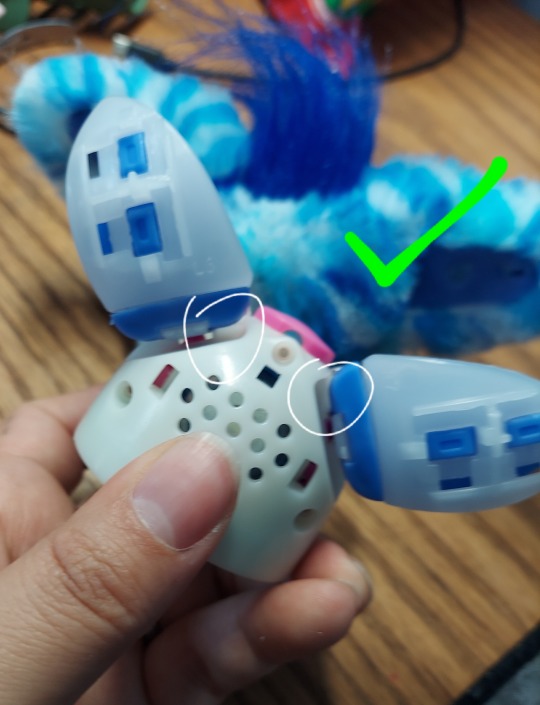
When reassembling, be sure to replace all spring parts in their correct positions! The ear mechanisms are reliant on all of these springs to work. For the inside, make sure the Y shaped brackets are on their correct sides, and that the end of the metal spring is INSIDE the furb, pushing against the bottom plate (the left side here has a small divot where the left side spring goes, the right side just kind of sits on top of the plate)
Similarly, when replacing the shell be sure to lift the ears all the way up and close the metal pins into the shell. This puts tension on the spring so they'll be able to pop out when the button on top is pressed. Test the button to make sure everything is working mechanically!
And that's all! This wasn't very difficult to do, but because of the actual inevitable damage caused by removing the face plate, i figured it wouldn't be a bad idea to make a guide of some sort. Please feel free to use and link this guide however you see fit, but please don't use my photos! Thanks for reading 🩵💙
23 notes
·
View notes
Text
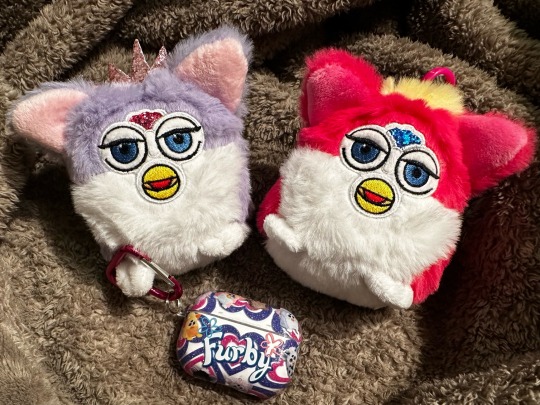
I was able to get the Furby x SKINNYDIP merchandise 😭🫶
Thanks to the lady who brought it from the backyard even though it's not in the store yet!
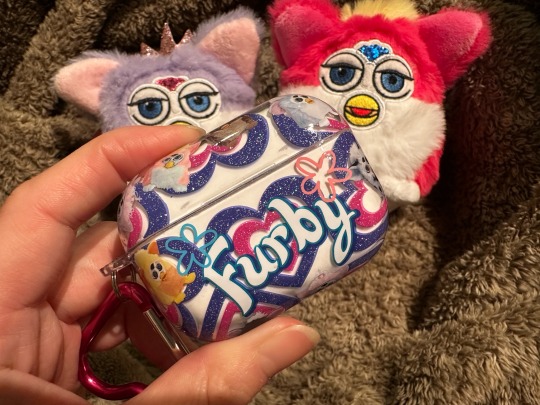

Also looking forward to getting the other stuff in the mail on the 15th 😍
57 notes
·
View notes
Text
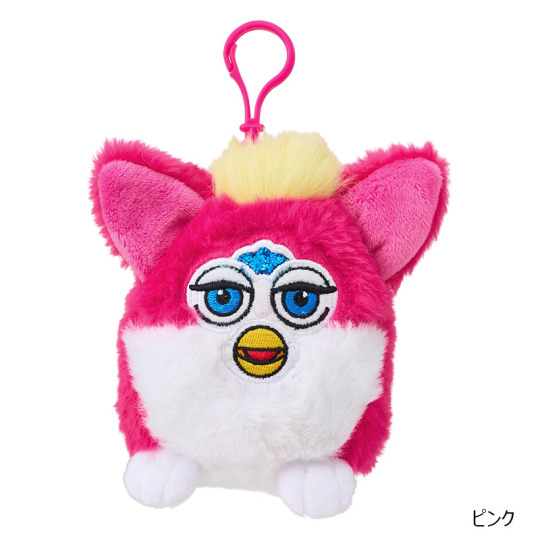

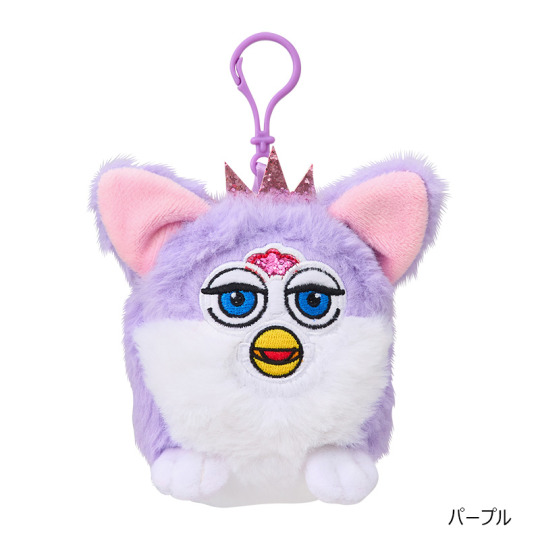
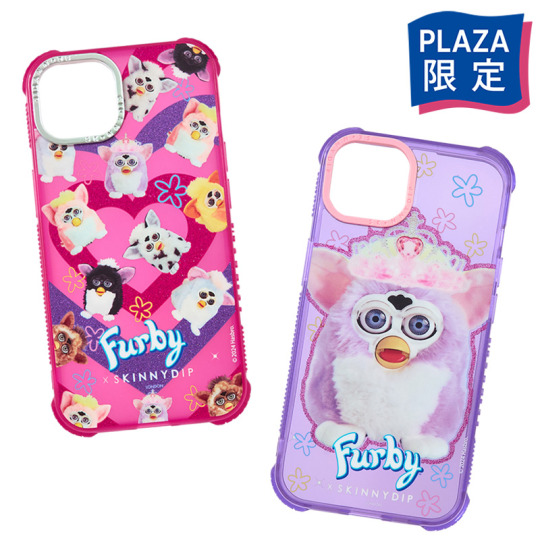
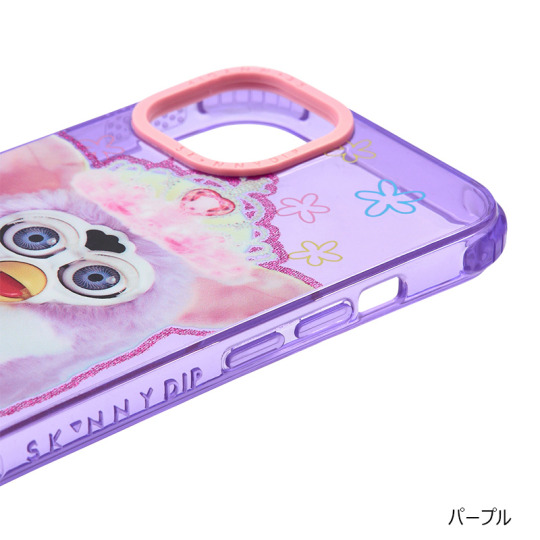
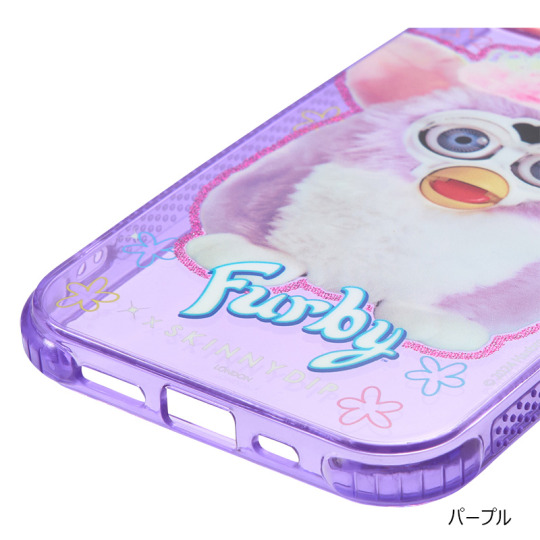


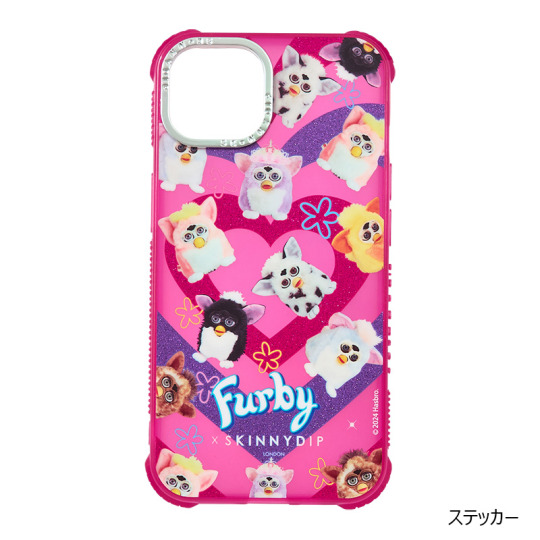
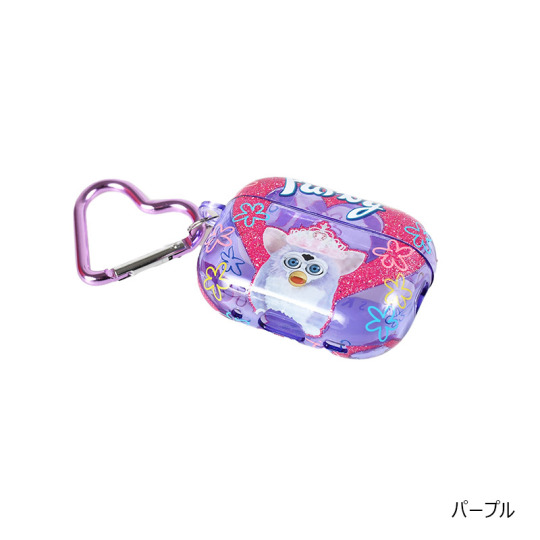
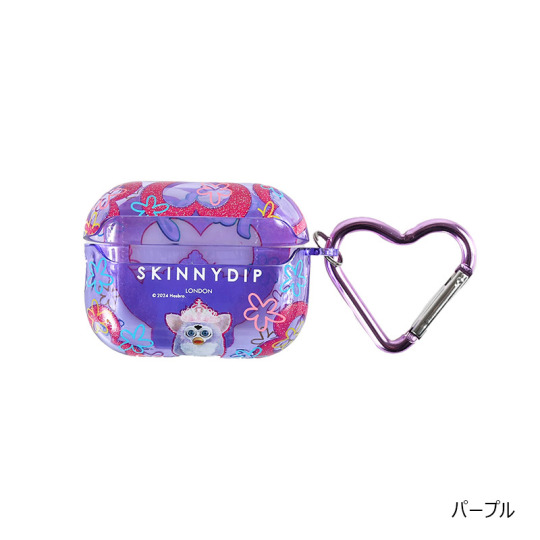
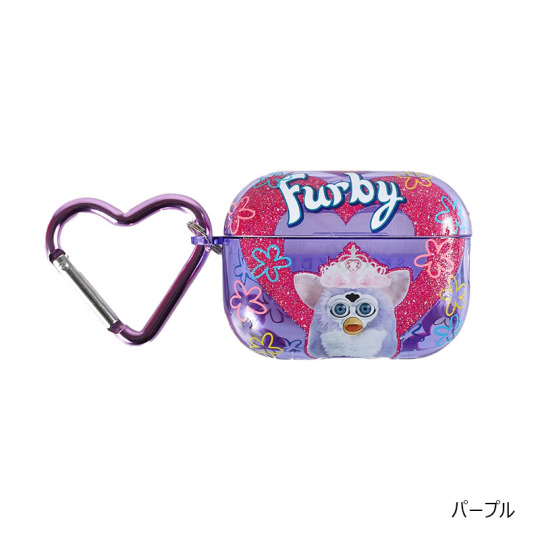

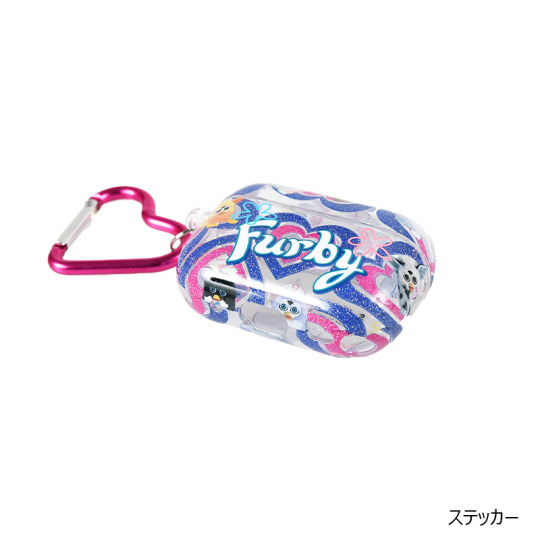


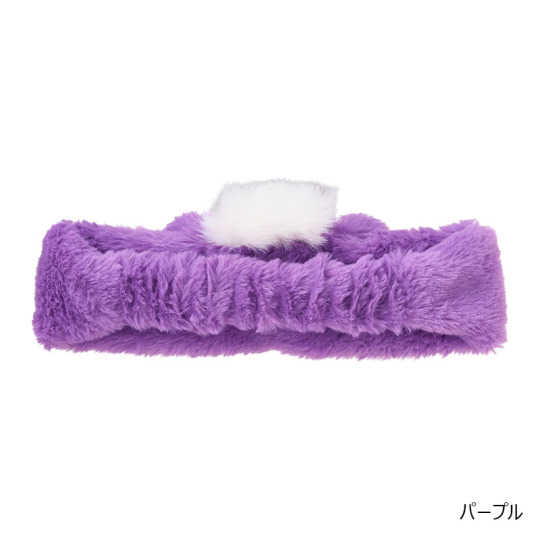
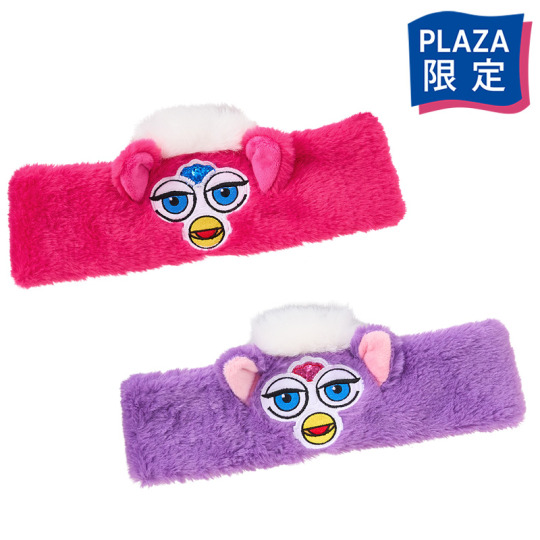
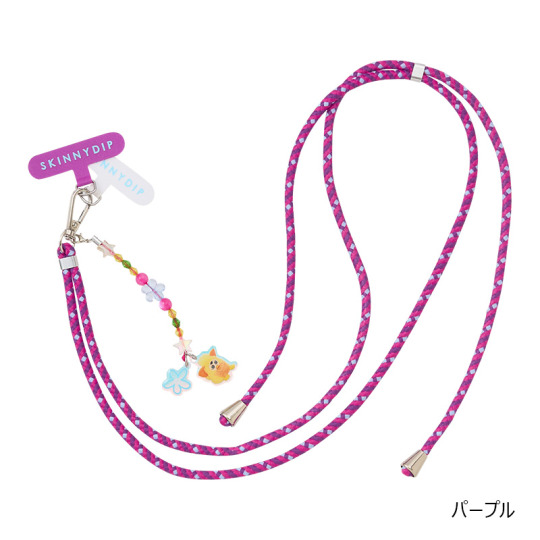
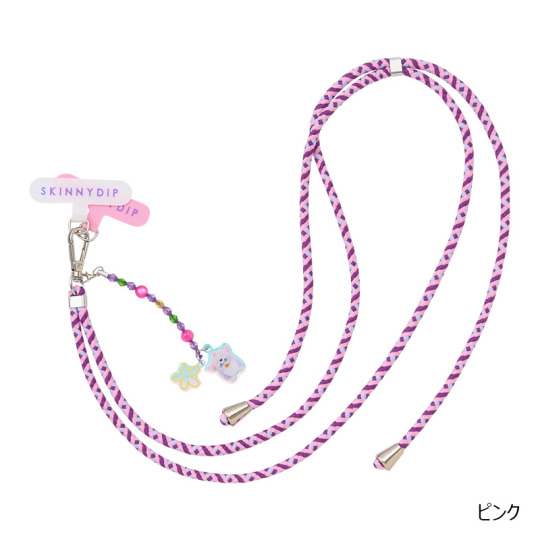
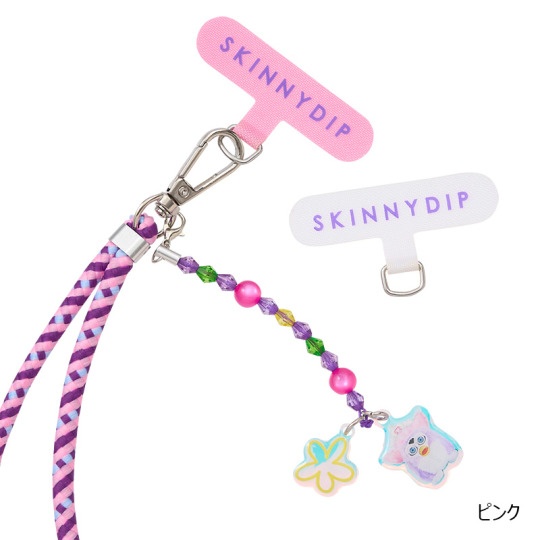

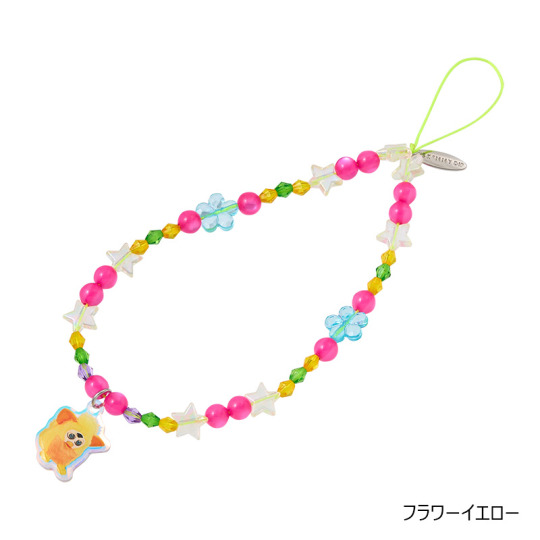
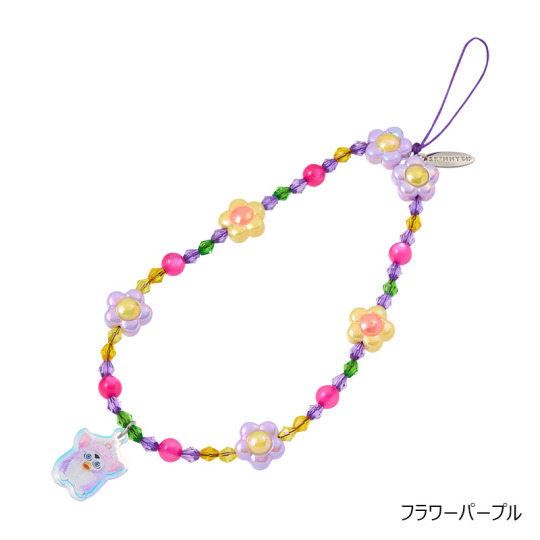
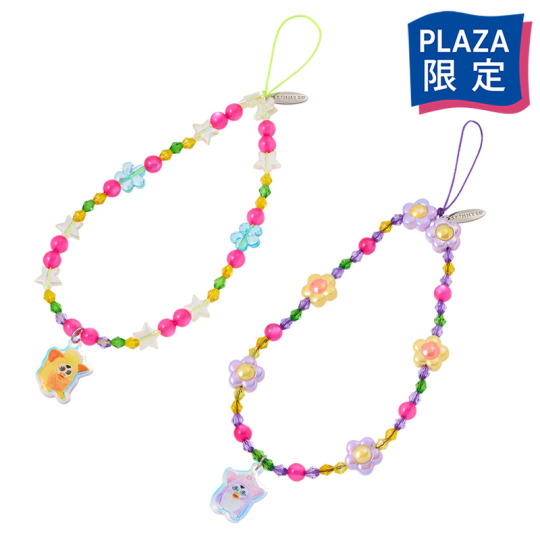
New Skinnydip x Furby merchandise is being sold in Japan by Plaza's website, including:
Plush keyrings
iPhone 14 cases
Airpods Pro cases
Headbands
Shoulder rope straps
Necklaces
The website states the merch is exclusive to Plaza and MiniPla. Not sure if this is all of it, or if they could add anything else for sale.
146 notes
·
View notes
Text


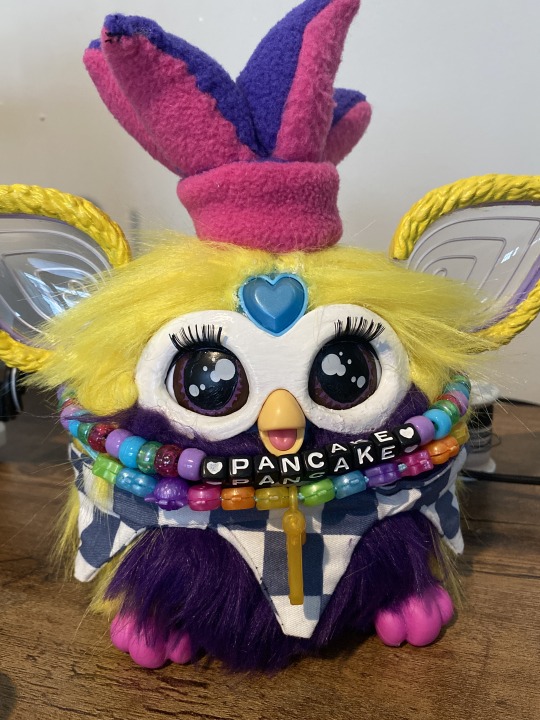
The birth of the bomb 🥳✨✨✨✨I struggled with the name and decided on Gonzo ╭( ・ㅂ・)و ̑̑
I've been wanting to make a odd furby🫶I printed a faceplate to commemorate the introduction of the 3D printer and made a plushie and inlaid it 🥹
He's so cute😍Let's make lots of clothes and stuff 💪
#furby#my furby#all furby#furby fake#furby community#furby fandom#furblr#ファービー#oddbody furby#furby costume#furby blog#custom furby#furby love
137 notes
·
View notes
Text
The Furby Trainer's Guide DELUXE! Put together by the fans, for the fans!
FINALLY! After 25 years, the Furby community has come together to make the newest addition to the Furby Trainer's Guide series…THE FURBY TRAINER'S GUIDE DELUXE!
In it, you'll find a layout reminiscent to the previous ones, but updated with new information, chapters, sections, images, illustrations, and so much more.
And best of all, it's all FREE TO READ! 445 pages worth of new and updated content!! Download and read the PDF at this link: http://tinyurl.com/FurbyTrainersGuide
Please reblog this so other Furby fans can refer to this guide if needed, and feel free to send it to anyone you feel might be interested :D

EASIEST WAYS TO OPEN THE PDF AFTER DOWNLOADING:
PC: Open it using Adobe Acrobat, which you can download for free here: https://get.adobe.com/reader/
Mobile: Download Adobe Acrobat PDF viewer for mobile devices
What to do if you can't download the file:
First, try checking it out on archive.org: https://archive.org/details/furby-trainers-guide-deluxe-2024
On mobile: You should be able to read the PDF within Google Drive itself. Opening this on mobile may take a few minutes, so leave your device open while you go get a snack to eat while reading the book.
On computer: Since a lot of online PDF sites require a subscription to view large files, i suggest downloading the file onto an external drive like a USB stick and SD card and opening it on Adobe Acrobat from there.
516 notes
·
View notes
Text
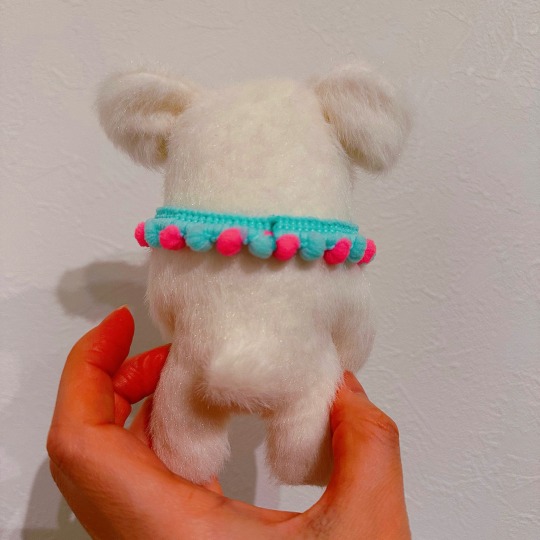
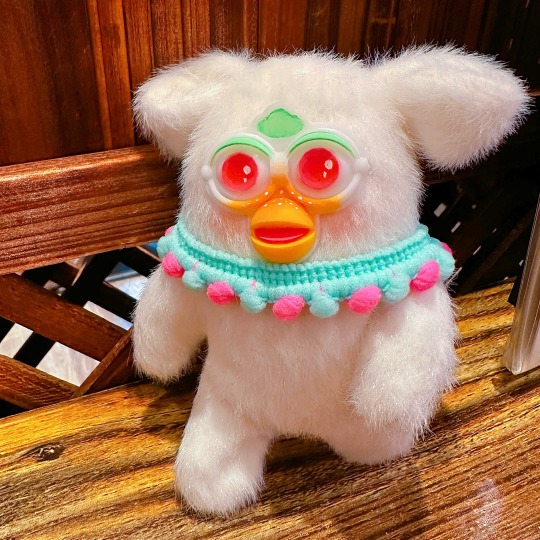
still gotta get pompoms 😔 but!!! the ruff is done :3
167 notes
·
View notes
Text

I made new outfits for my furbs 🧶✨

#furby#my furby#all furby#furby community#furby fandom#furblr#ファービー#furby outfit#hand knitted#sweater
99 notes
·
View notes
Text
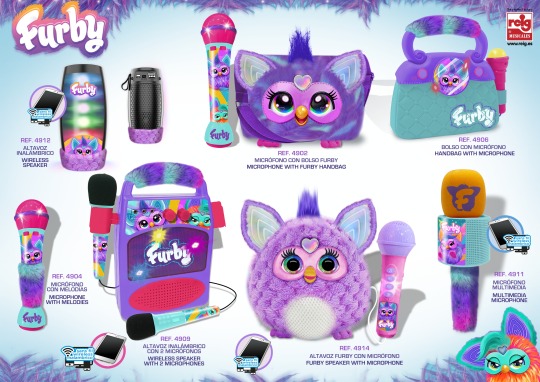
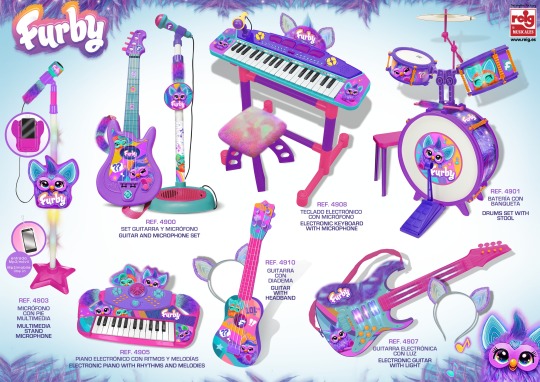
A company called Reig Musicales posted these pictures on their Flickr. Looks like we might be getting more Furby merch? The titles mention these are catalog pages.
Sources: 1 2
178 notes
·
View notes
Text
Okay friends, guess what!! My wife is the best, that's what! Check out what she got for me!!
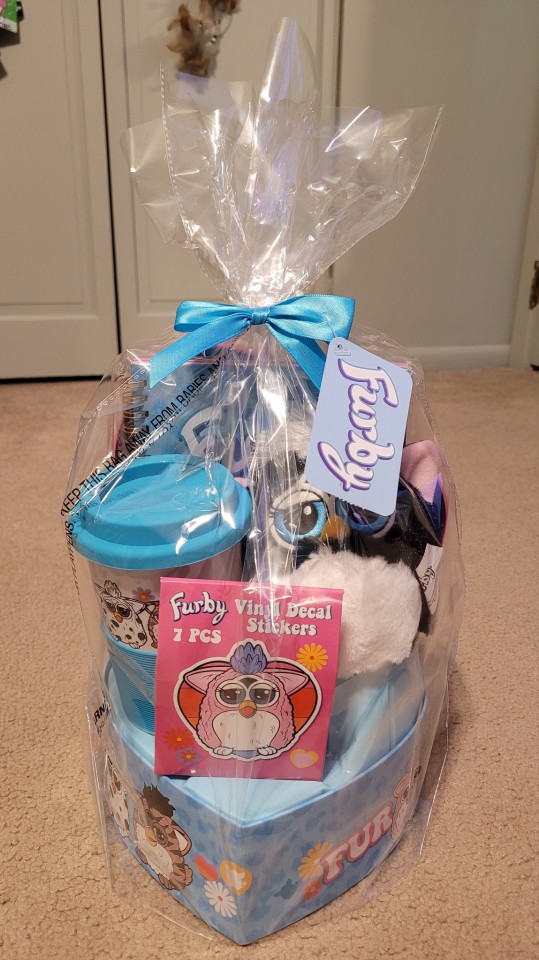

I've decided to go ahead and show everything that comes in this set! First, all sides without the wrapping.

Unfortunately, everything was taped together with a really sticky tape. I had to be really careful peeling it all off, so I wouldn't damage the boxes.

So the inside of the box is blue (very trans-coded, imo) and here's the back of the little paper (thin cardboard? Cardstock?) sticker holder. The bottom of which is disgustingly covered in double-sided tape, which I cannot get off.
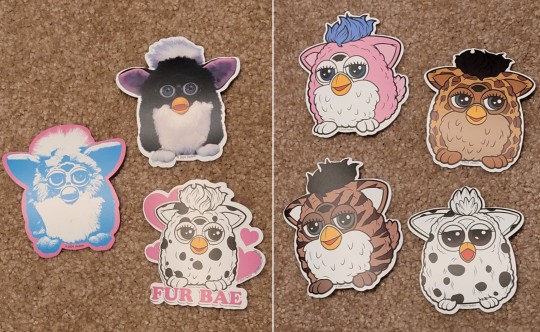
And the stickers? *chef's kiss* Amazing.
I think I've seen that blue edit somewhere before. The Furby Instagram, maybe? If anyone knows, please share!

Now for the plush. Very cute! Sadly, pulled out some fur, as they were also held in with the tape.
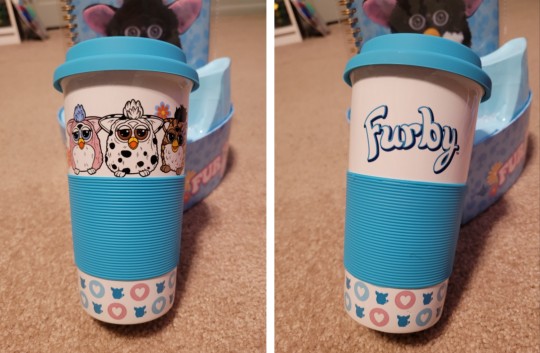
The cup is ceramic?! It's very heavy! The blue feels like soft silicone, and so does the lid.
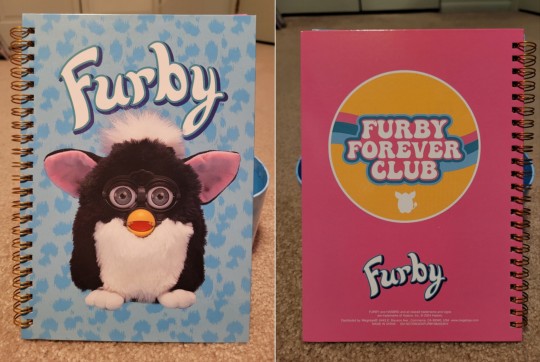
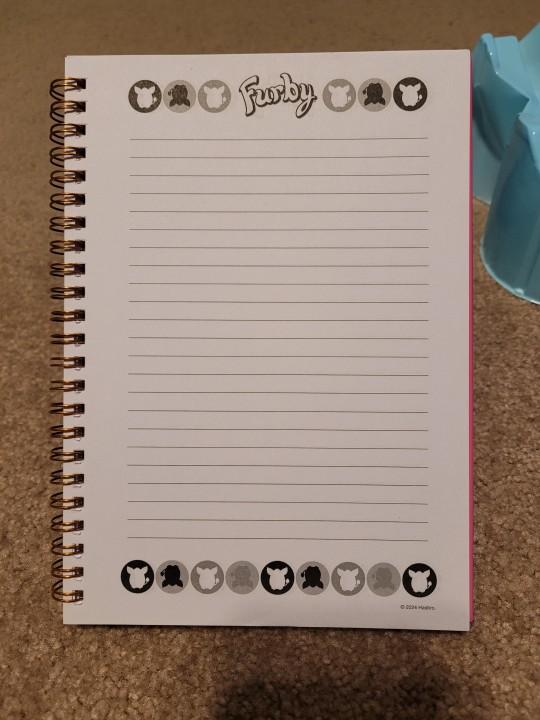
And here's the notebook! And the inside, for good measure.
302 notes
·
View notes


Text

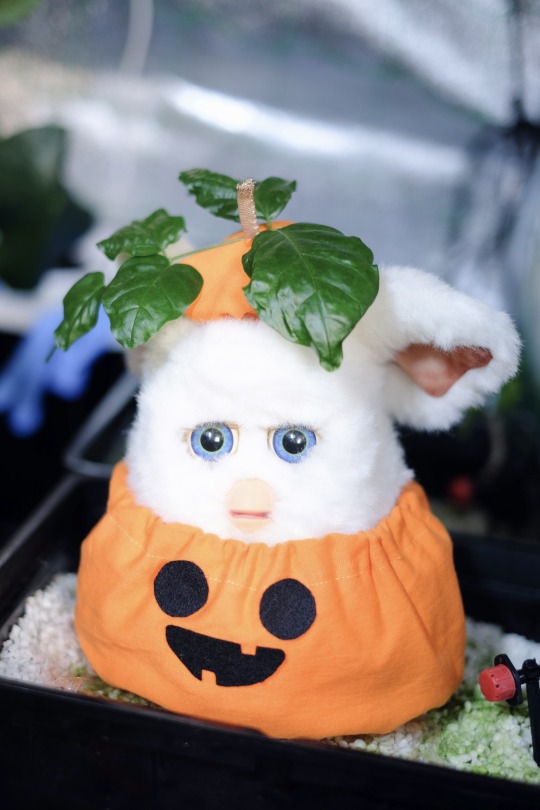
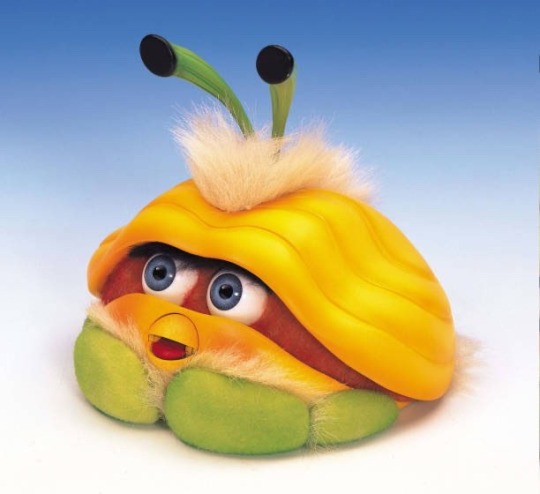
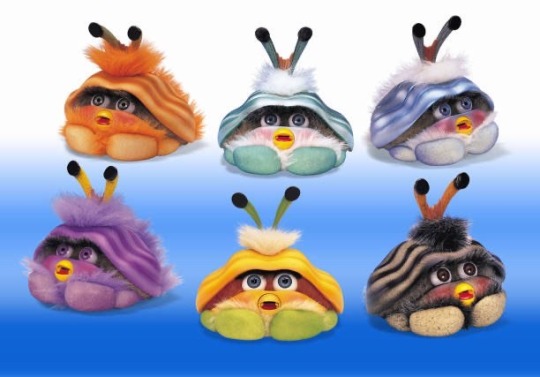
This is a very cute oyster costume!
59 notes
·
View notes
Text
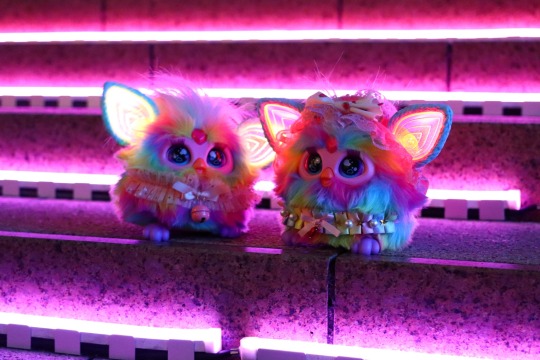
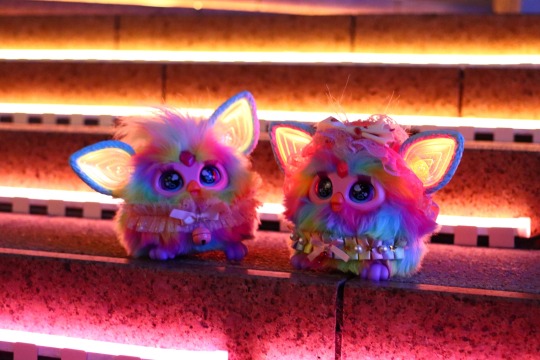

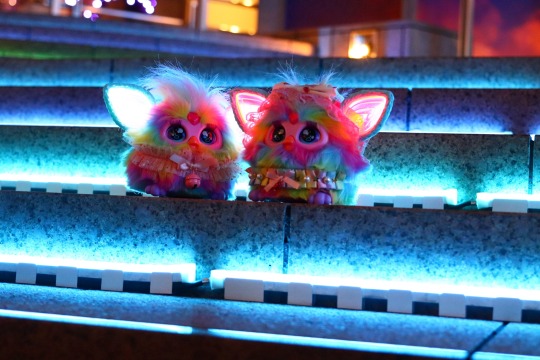
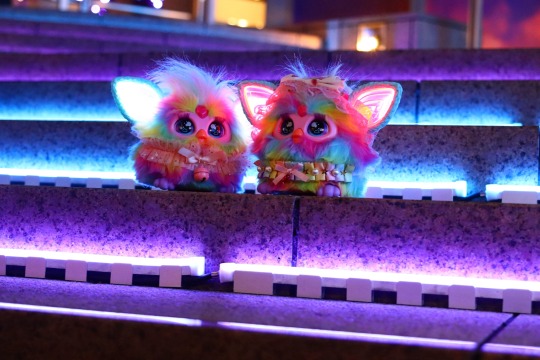

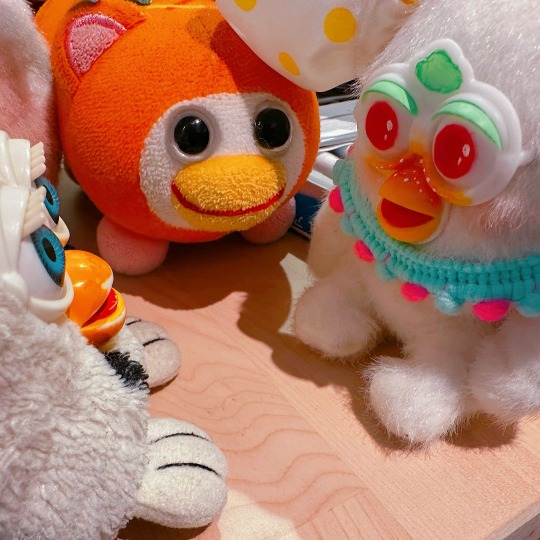
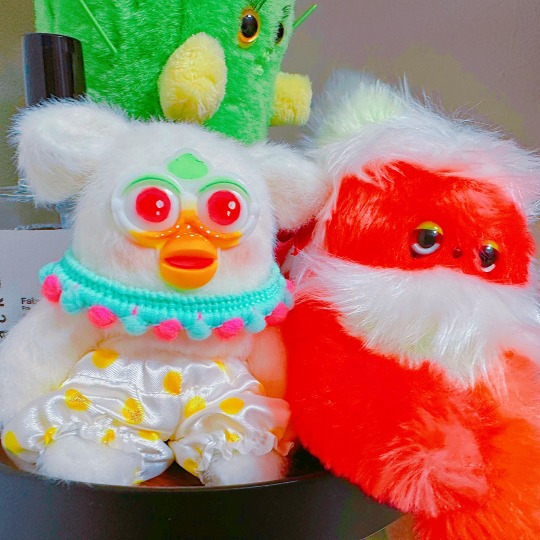
party time🩷💚🩵💛

らぶ🫶
336 notes
·
View notes


Text
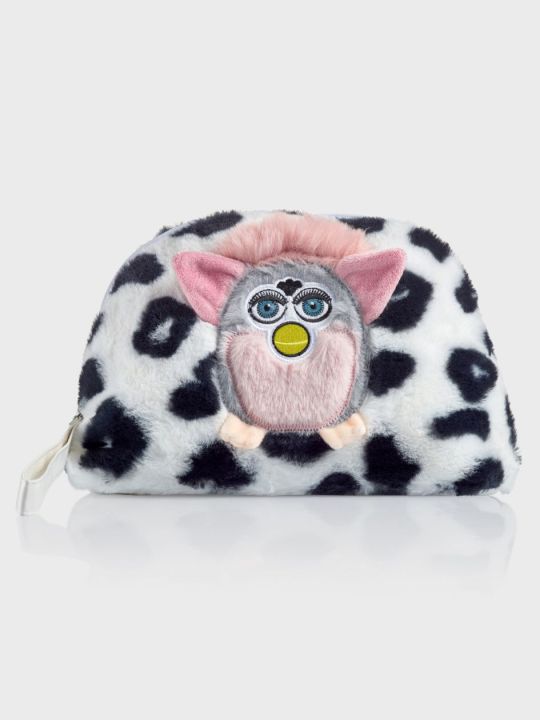

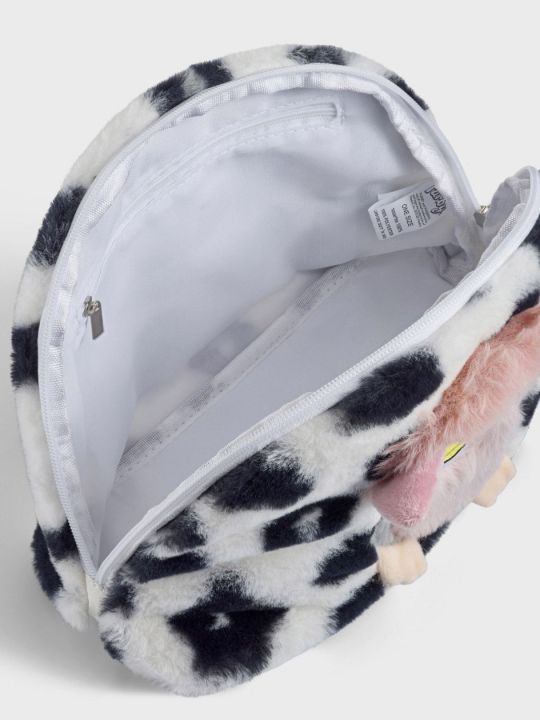
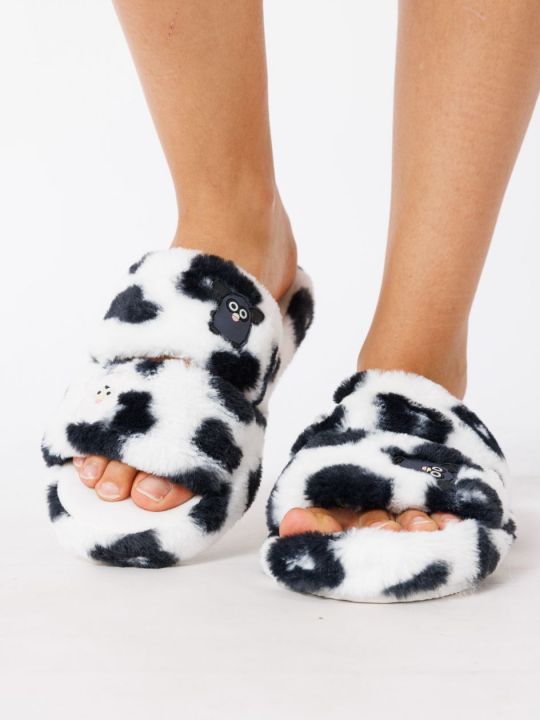
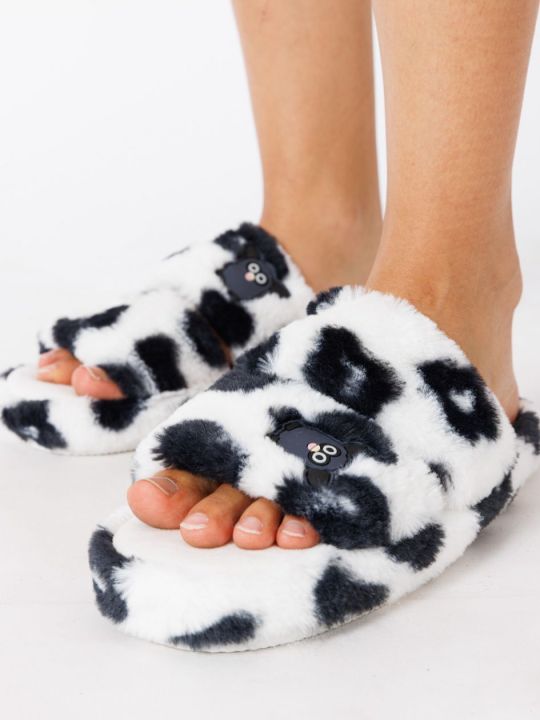
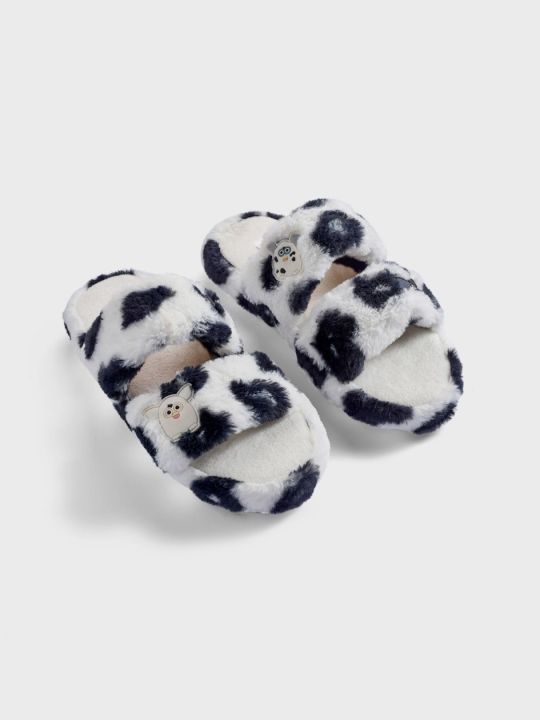


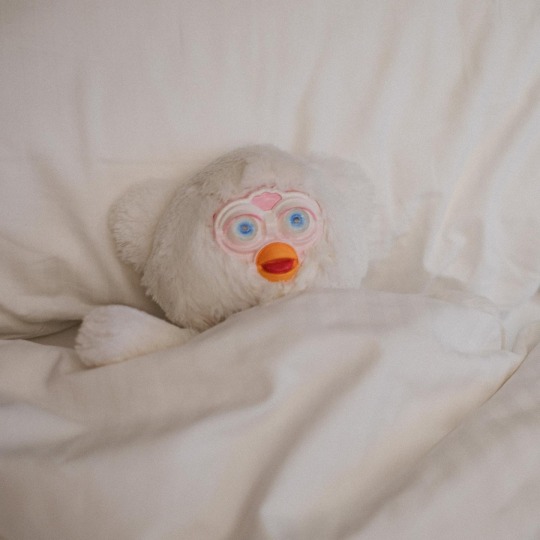
Official Furby bath bag, slippers, mask, and pajamas, being sold by Delta in Israel.
Slippers: NIS 99.90
Bath bag: NIS 99.90
Mask: NIS 29.90
Pajamas: NIS 269.90
Listings (archived)
34 notes
·
View notes