
sophiewestljmu
Sophie West
First year at LJMU studying Fashion Communication!
25 posts
Don't wanna be here? Send us removal request.
Last Seen Blogs
rudymcmillan16
Share the Gospel
thailandcurtains
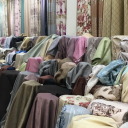
บริษัทผ้าม่าน ราคาส่ง
escritosdenicole
soul trapped in the darkness

aminiwan
Untitled
Text
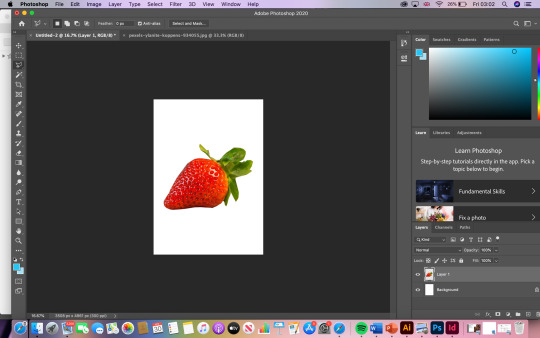
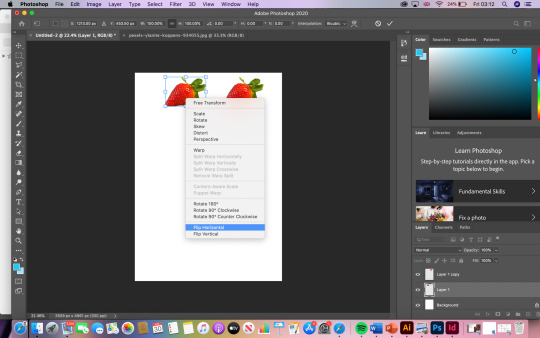
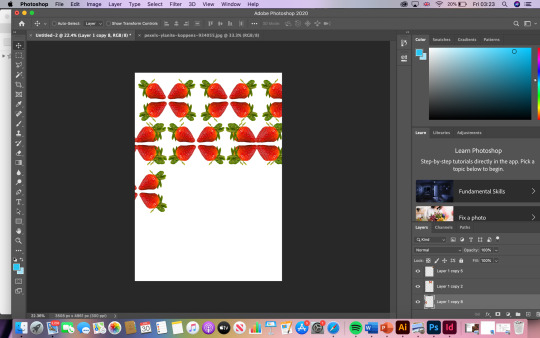
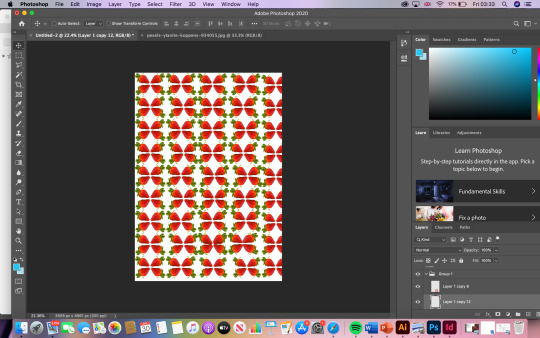
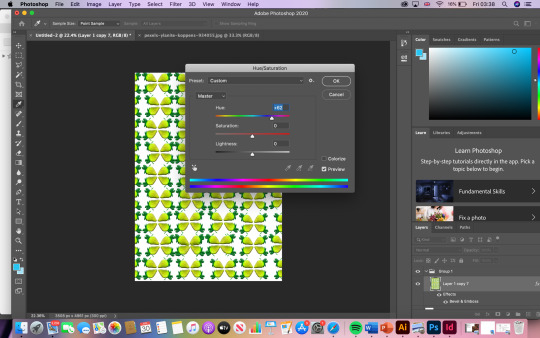
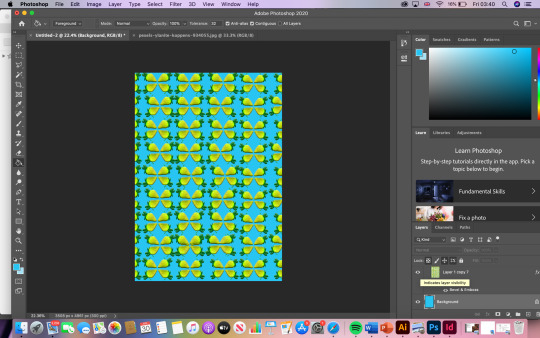
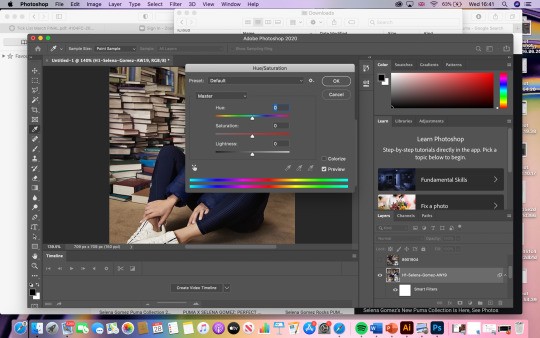
This was my favourite session yet, I throughly enjoyed making this document using photoshop, we learned how to replicate a image and how to change the background image etc. We did this using the hue/saturation
0 notes
Text
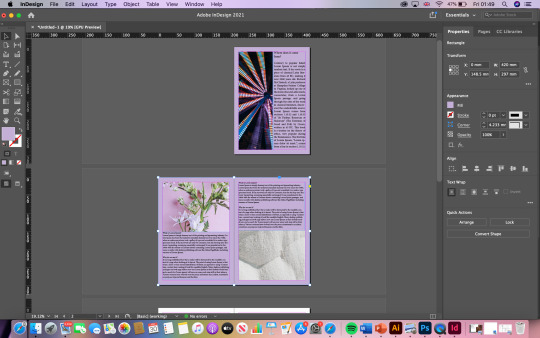
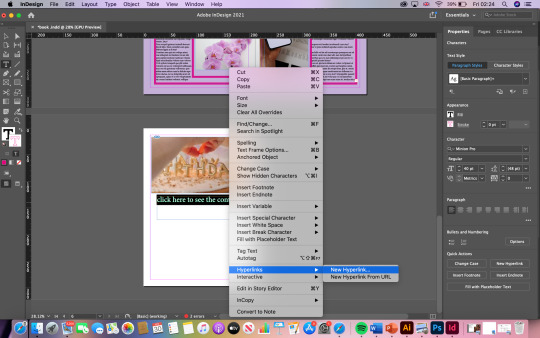
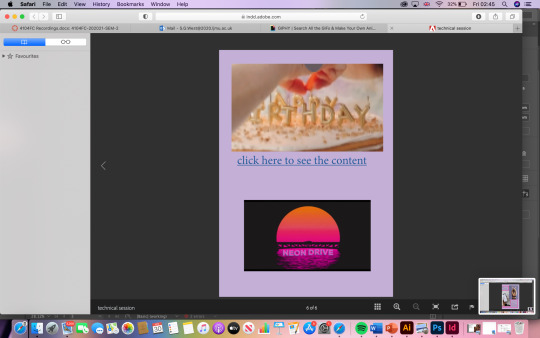
I thoroughly enjoyed this technical session with Carlos we made a article/magazine type document. In these sessions I learnt to put images into indesign and move them about , how to type in certain areas and how to change the back ground colour. Also learnt how to put a gif and a video into I design which was very interesting. As I said I really enjoyed this and feel as though I learnt a lot
0 notes
Text
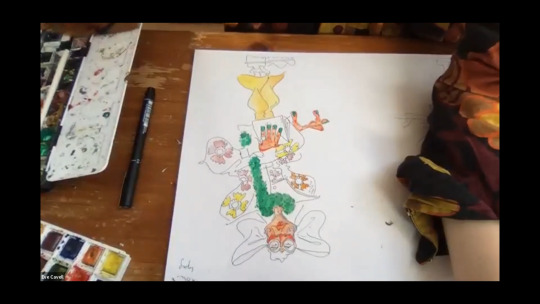
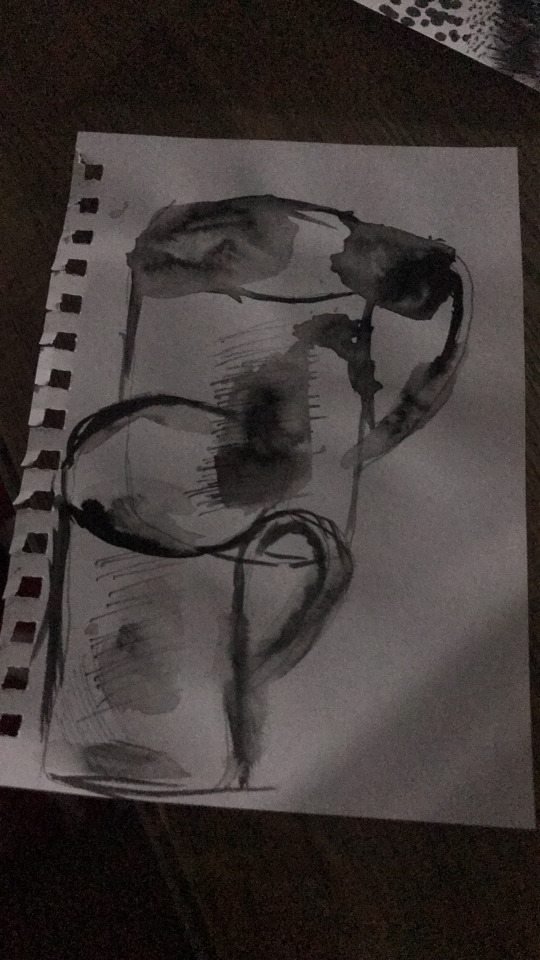
This is from the mark making session with Eve her speciality is puppets so following her tutorial this is my end result. I faced a problem of not having any paint at the time to add colour so instead I used sharpie to give quite a sketchy look
0 notes
Text
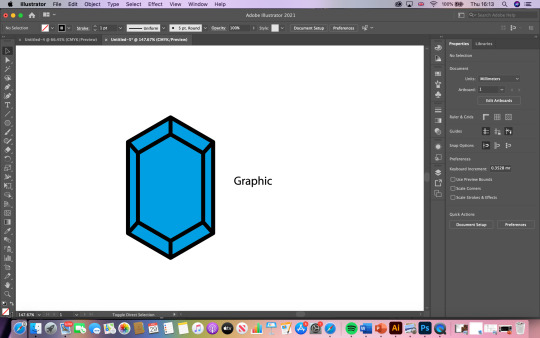
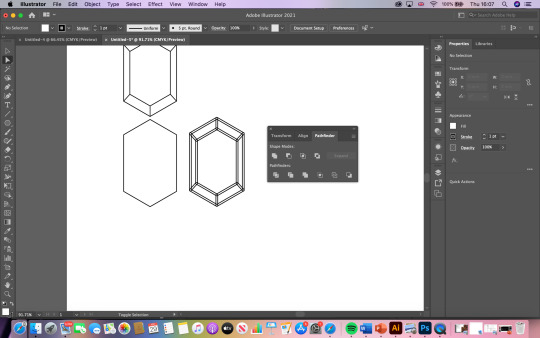
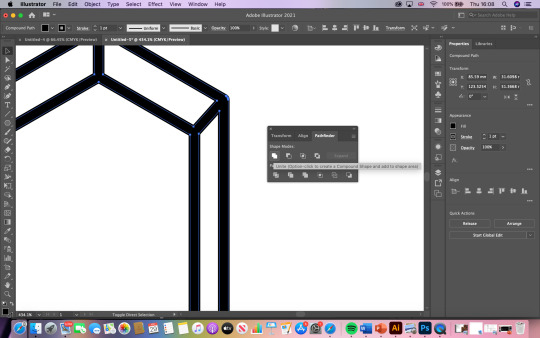
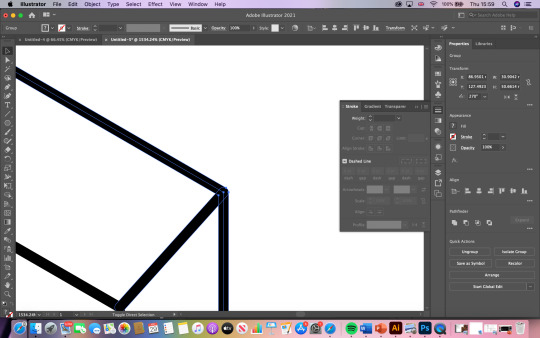
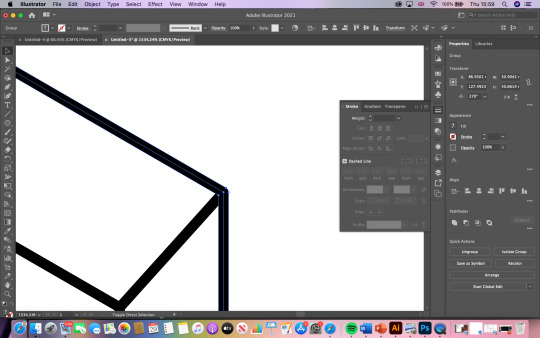
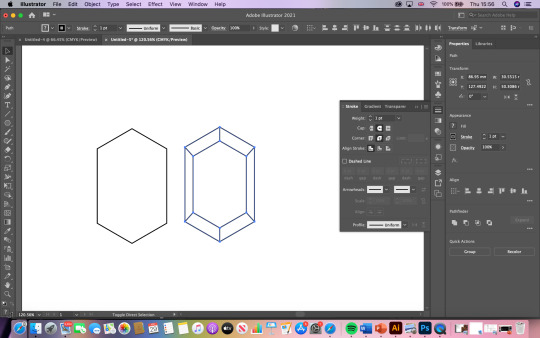
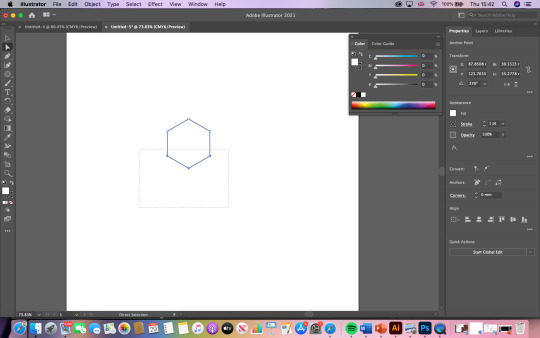

In this session with Milo, we learned how to create a graphic, to start we opened a A4 document in illustrator where we then drew a hexagon in the centre, then using the direct selection tool, I selected the bottom three corners only, this was so I could adjust the shape without actually moving the shape, I then duplicated the shape and made it larger to fit around the original shape, adding lines in the process , then to add colour I used the bucket tool and then right click, arrange, and send to back
0 notes
Text
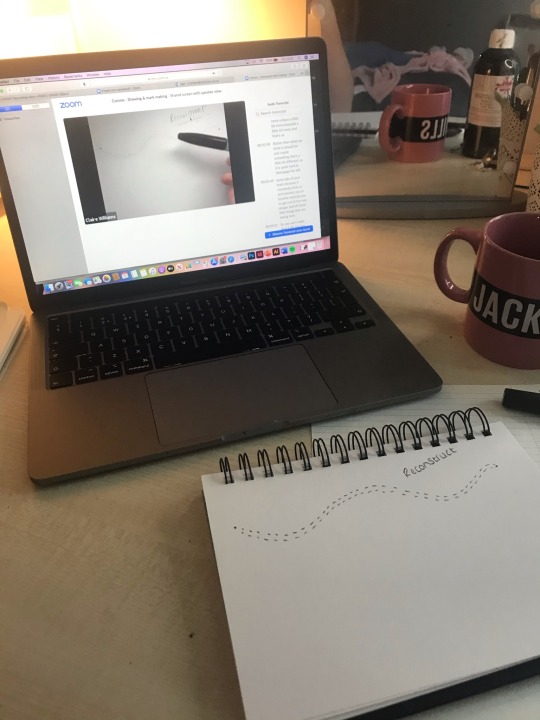

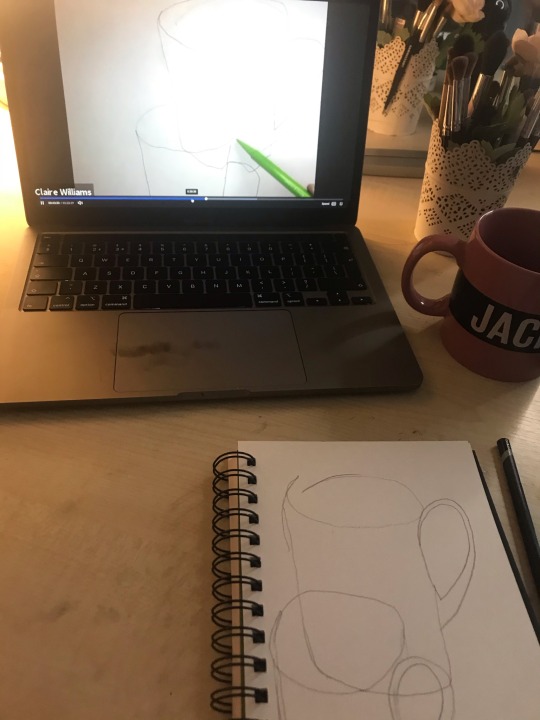
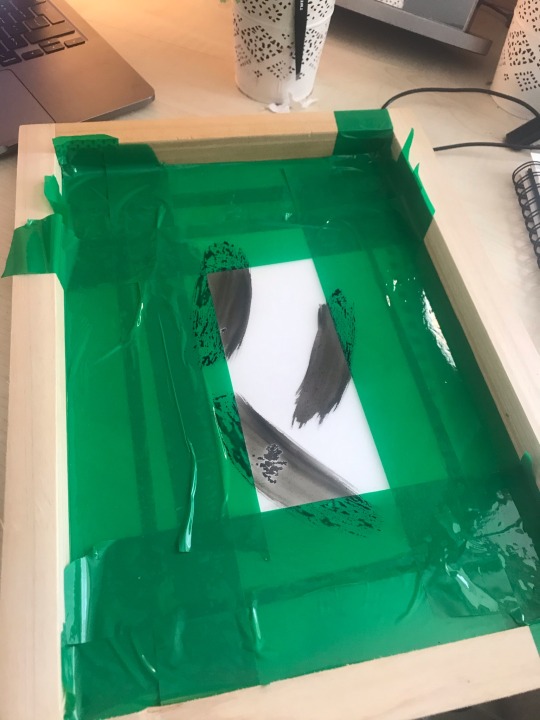
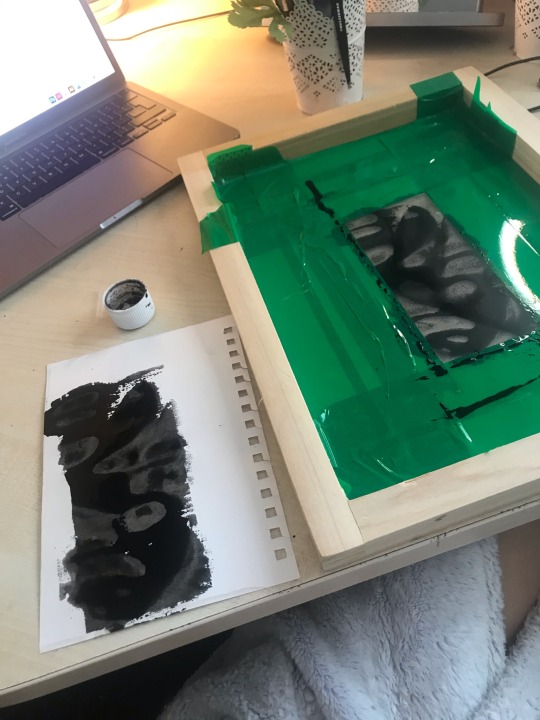
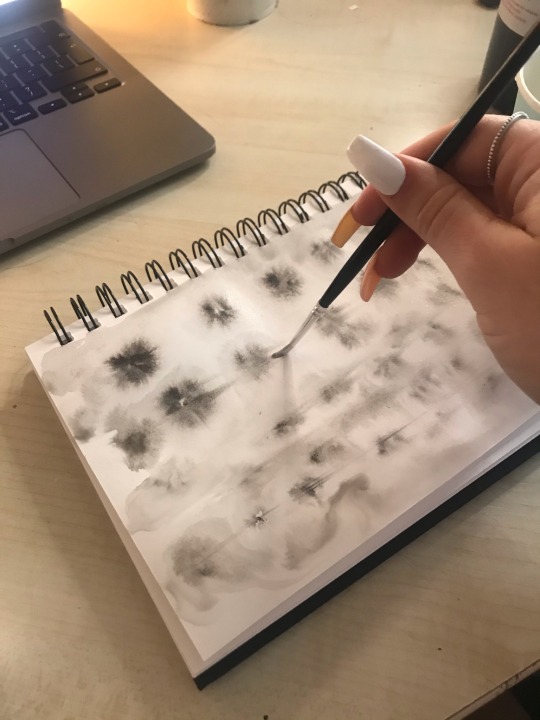
In this session with Clair we concentrated on reconstruction and still life, using different techniques of mark making to create different patterns on paper, here are my results
0 notes
Text
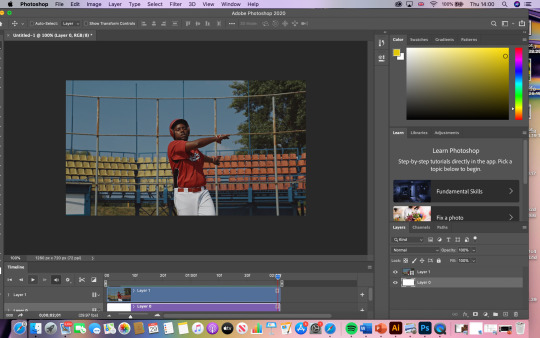
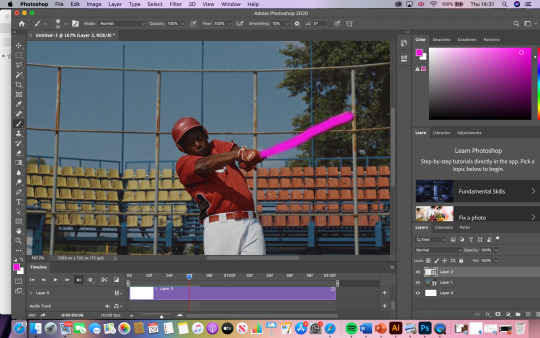
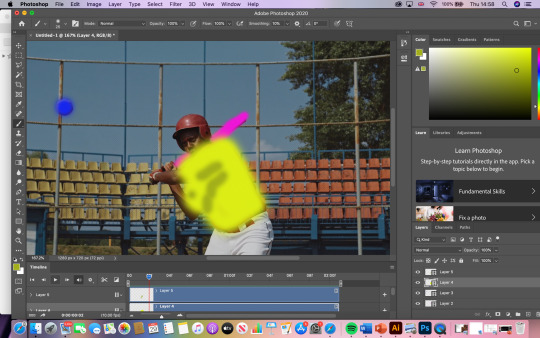
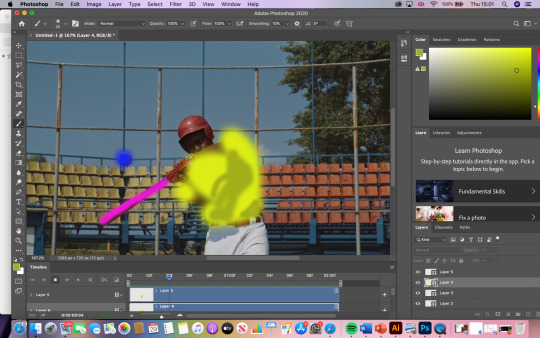
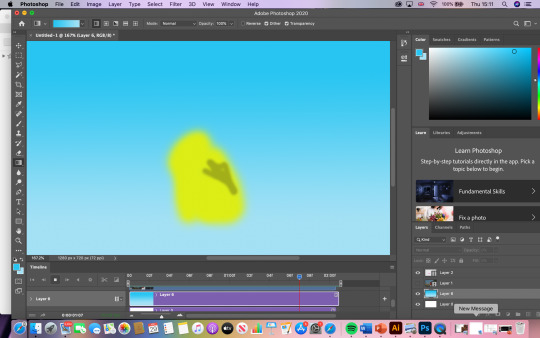
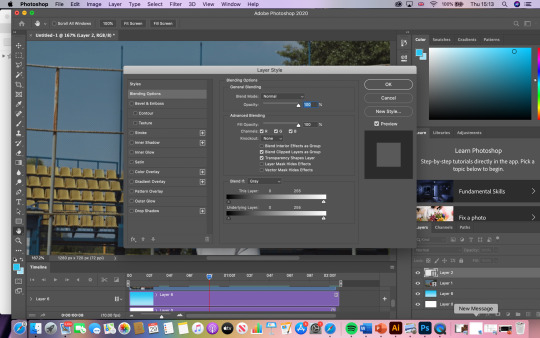
For this session with Carlos we where told to download a video to animate. I downloaded the same as Carlos so it would be easier for me to understand. Once the video was downloaded we then went into photoshop and imported it into there. We then went to ‘windows’ and selected ‘timeline’ we could then click ‘video’ and ‘import video’ once the video was imported we could then begin to add layers to begin the animation process, for the animation process we then began to colour in frame by frame until the whole video was animated properly. To change the colour of the layers all I did was double click on the layer I wanted to change and the colour changer would pop up on the screen
0 notes
Text
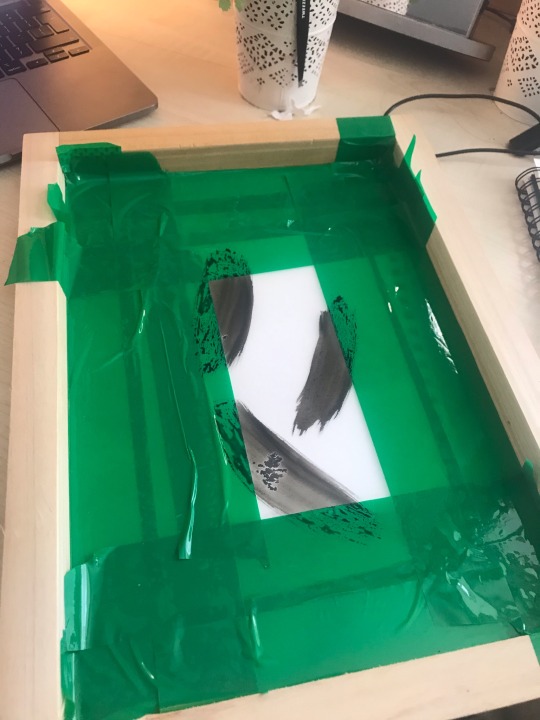
This is what I created in the mark making session with Kate, I didn’t have any paint so I used some ink I had and used that, I made a little window using tape and then painted over it to create a art piece I continued print to create different pieces
0 notes
Text
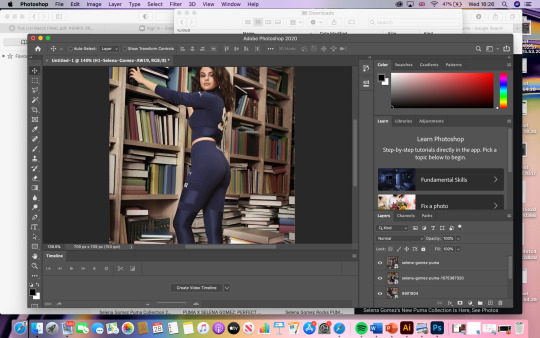

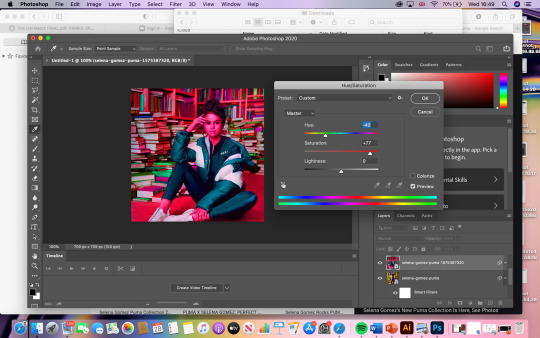
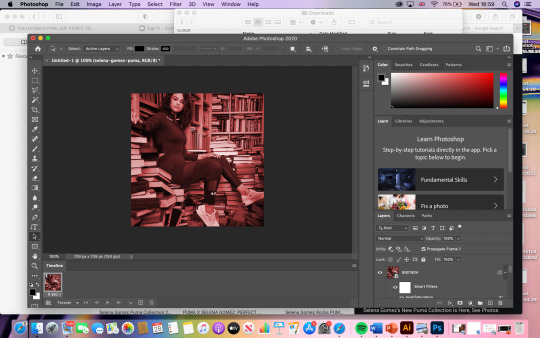
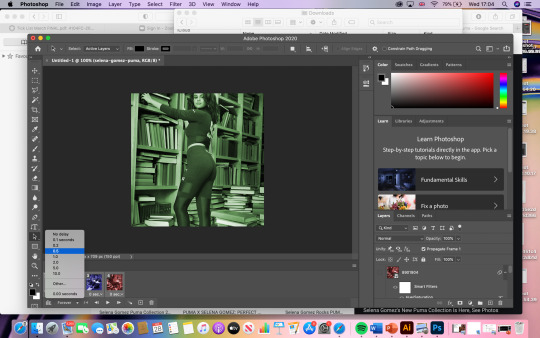
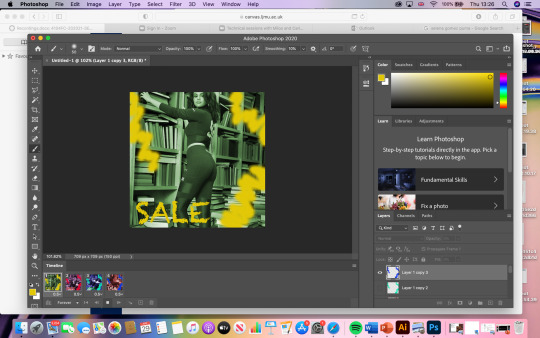
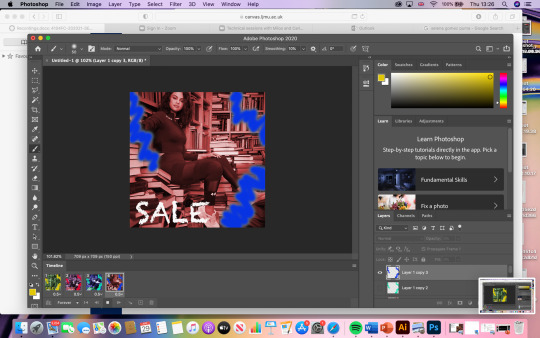
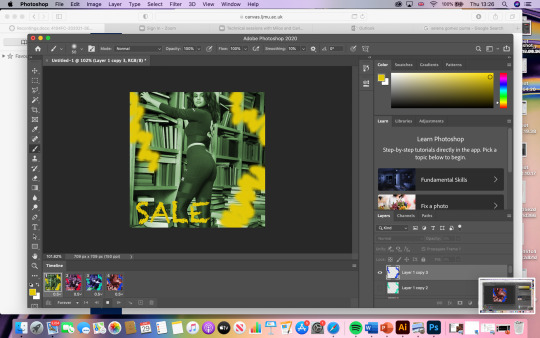
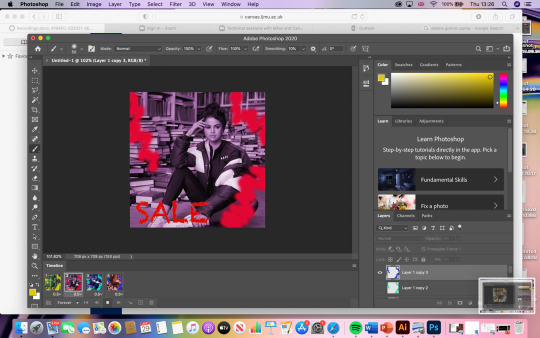
I really enjoyed this session with Carlos, we had to create a gif using a 12x12 document, so it was a similar size to a CD, we then had to collect 4 images of the same person but in different positions, i chose to use the puma campaign of Selena Gomez as I knew they would work well for this project. Once all images where into the photoshop document we could then begin by pressing ‘command I’ this would invert the colour of the image which was very interesting to know, we then selected ‘command U’ witch gave us the hue/saturation, we then changed other colour of each image after putting it into a timeline, we could change the colour frame by frame and then change the length of time each image showed, then we added text and squiggles to add depth and we changed to colour of each one by removing layers, I am very happy with how my gif turned out.
0 notes
Text
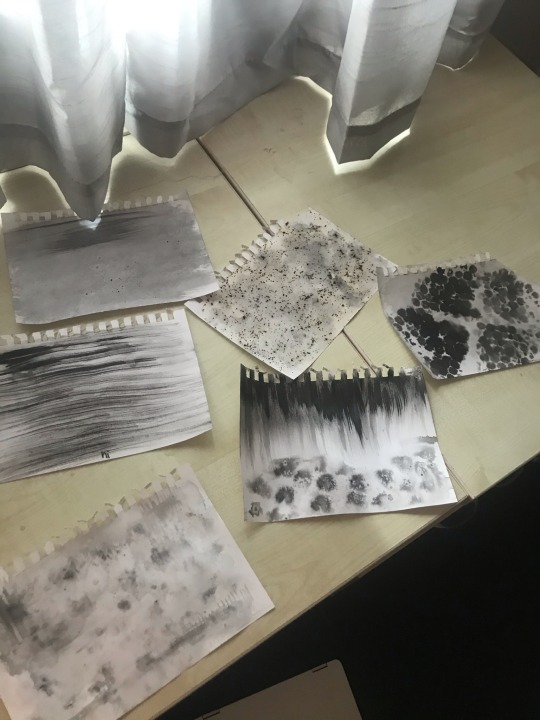
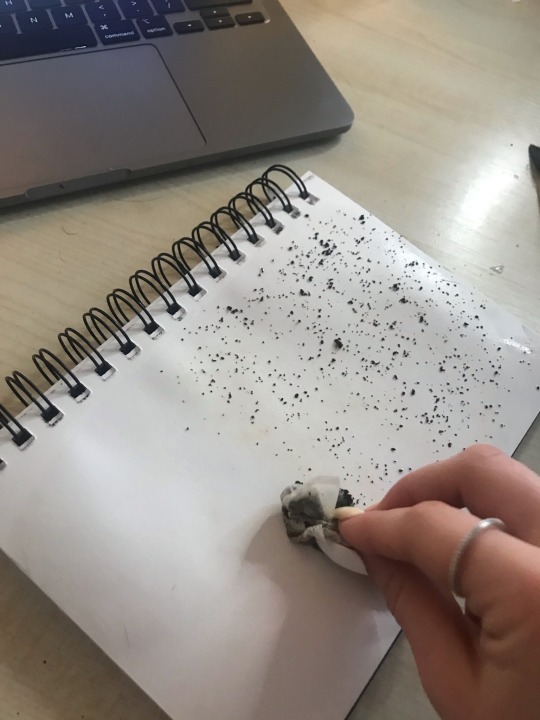
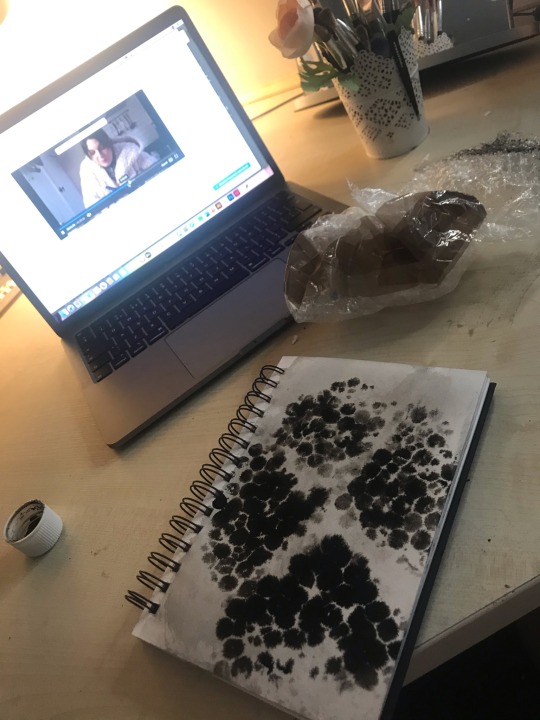
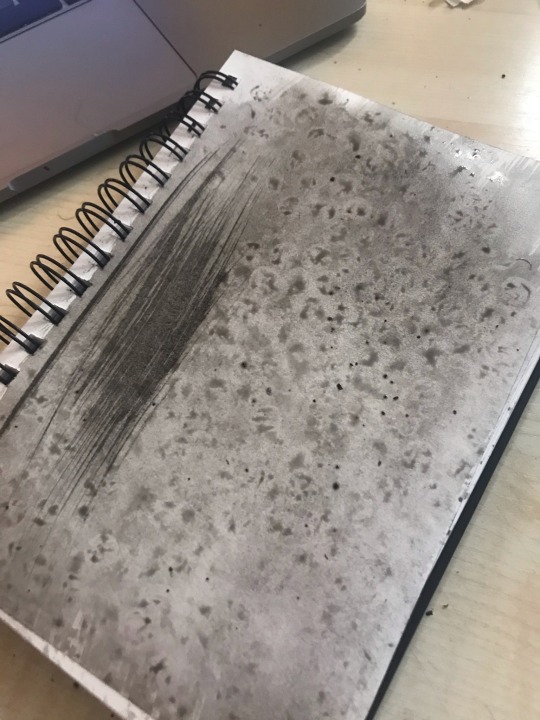
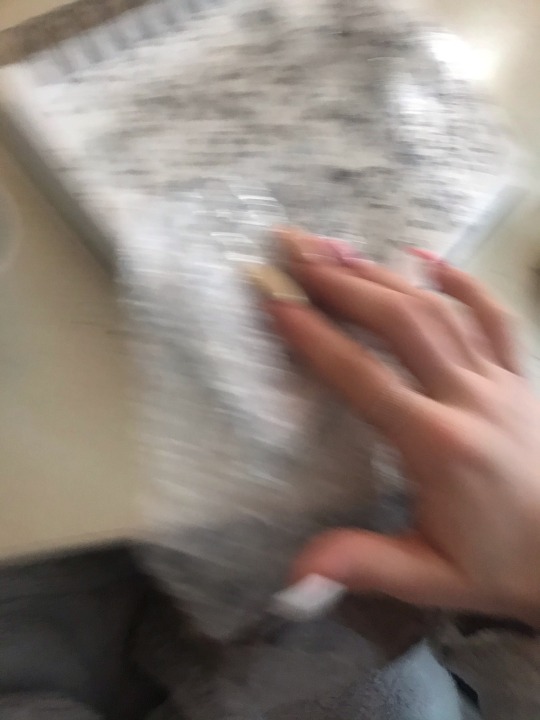
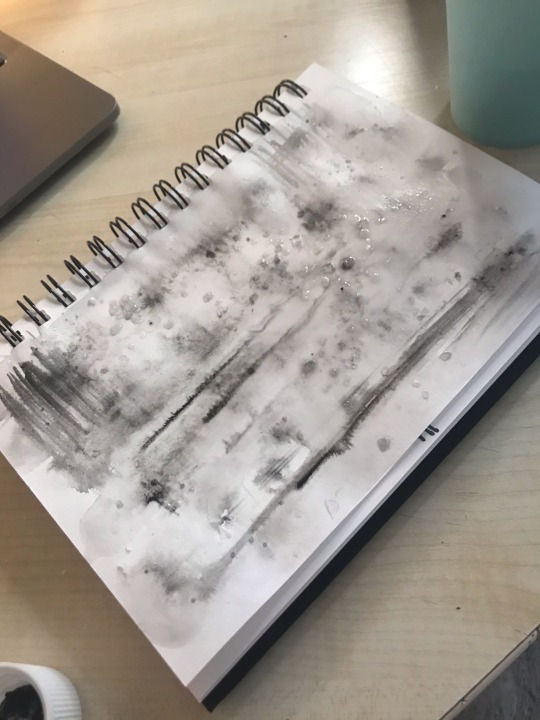
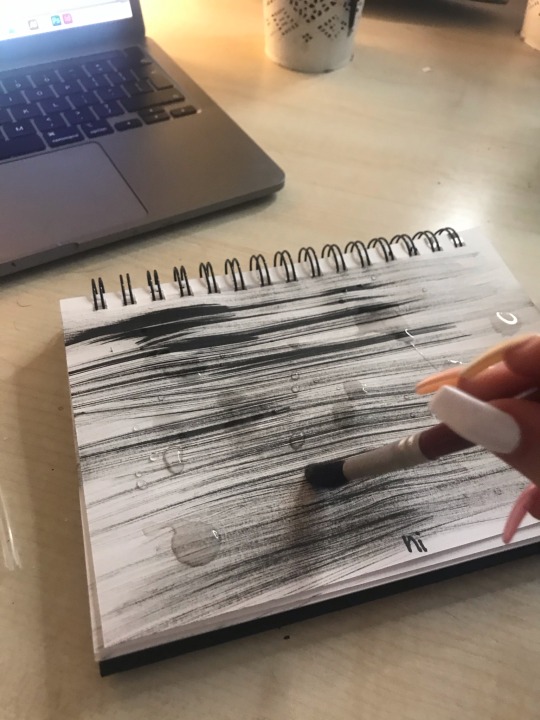
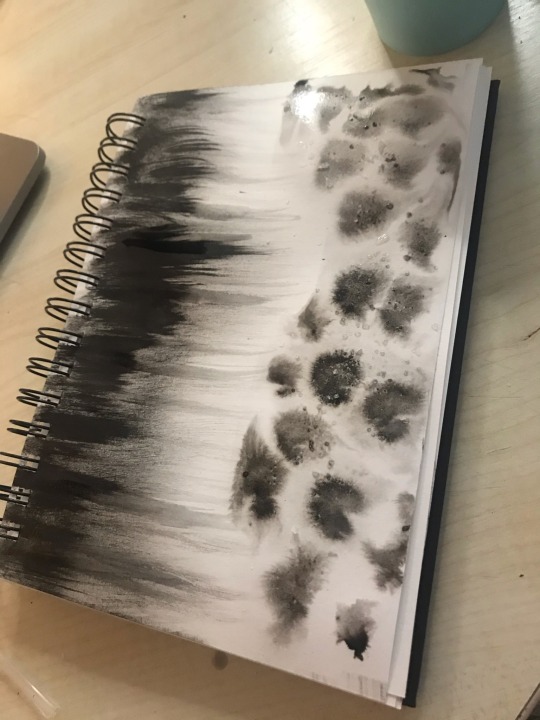
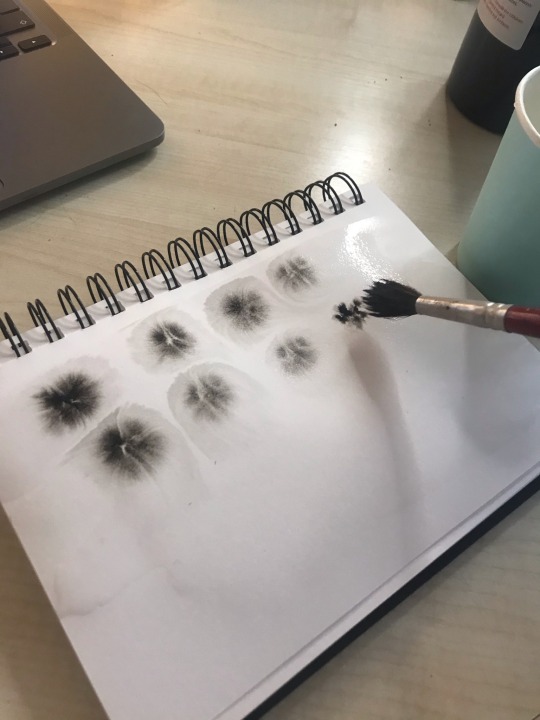
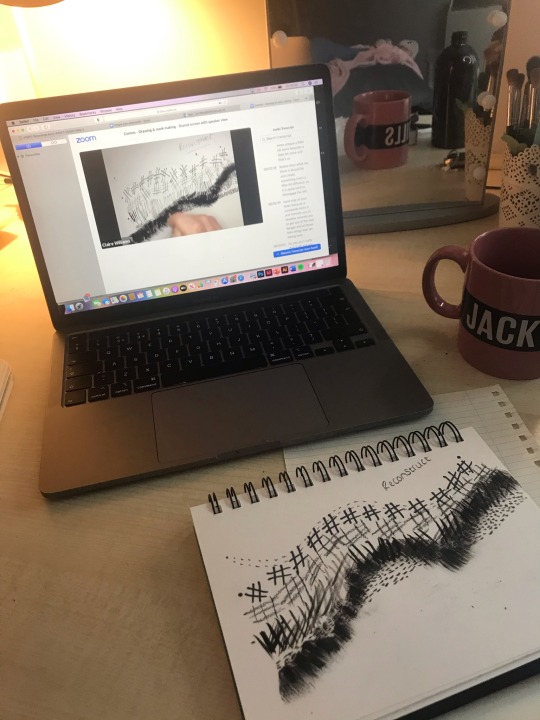
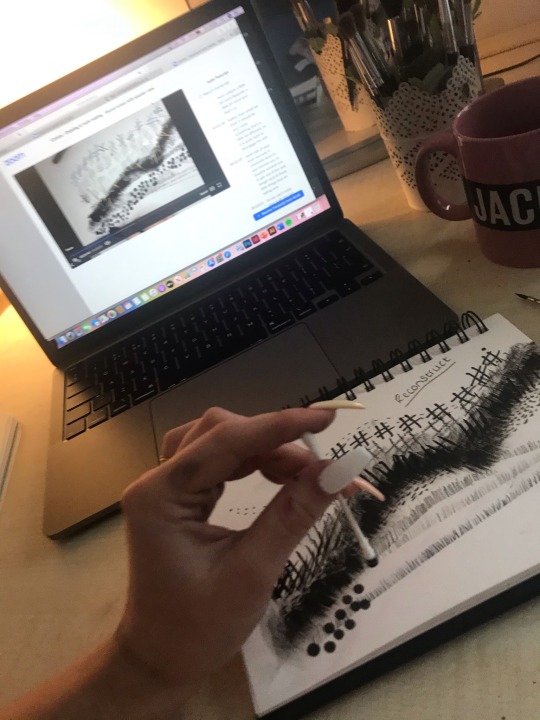
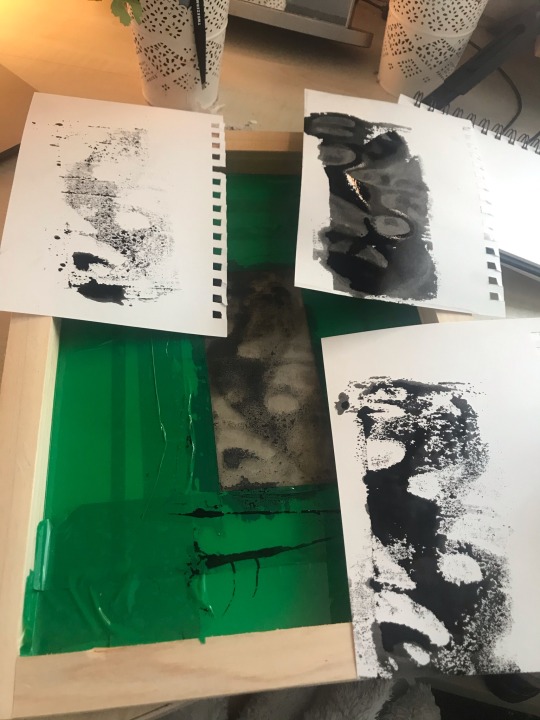
Here is what I did during my mark making session with Claire, using elements such as salt, ink, makeup brushes, toothbrushes, tea, bubble wrap. Using all these types of elements meant I created different textures and looks and I’m very happy with my outcome.
0 notes
Text
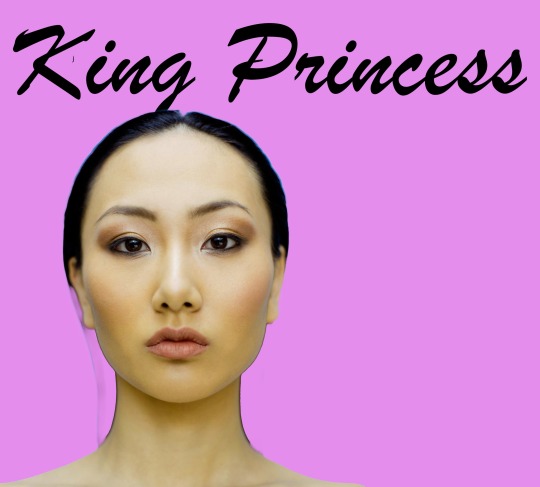

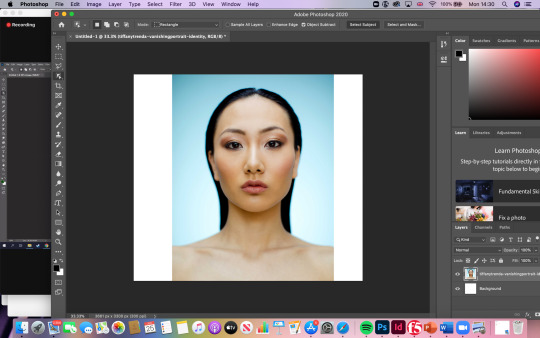
Using photoshop I created an ‘album cover’ with Milo. Over zoom he gave us a tutorial of how to create the album cover using photo shop,first i had to set up the document correctly, then was asked to find a portrait image, as long as the portrait was straight on, then I cut around the image using lasso tools, then inverted what I wanted to remove, this removed the background of my image, then it was time to add colour so I chose a pink/purple to contrast the image, after that we added text and any further images to make it look more like an album cover.
0 notes
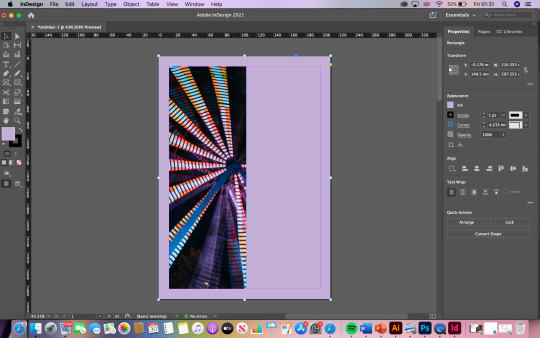
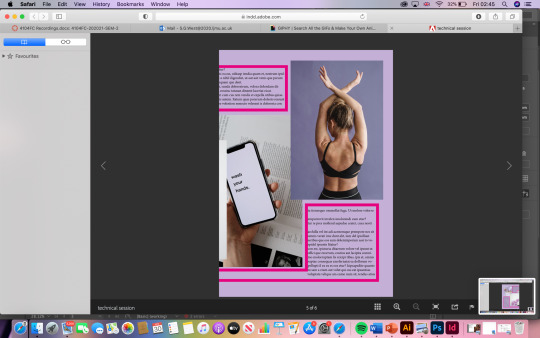
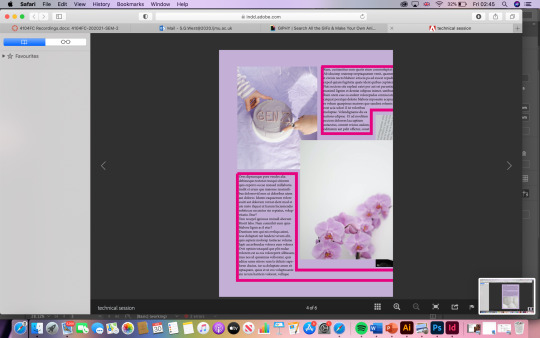
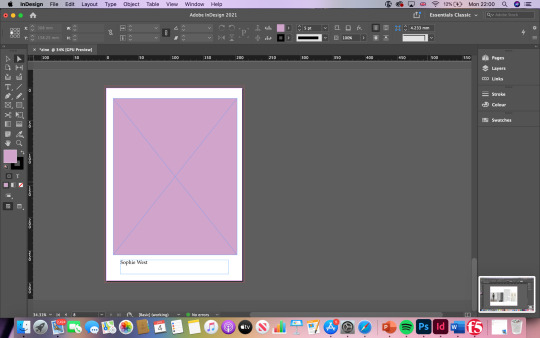
Text
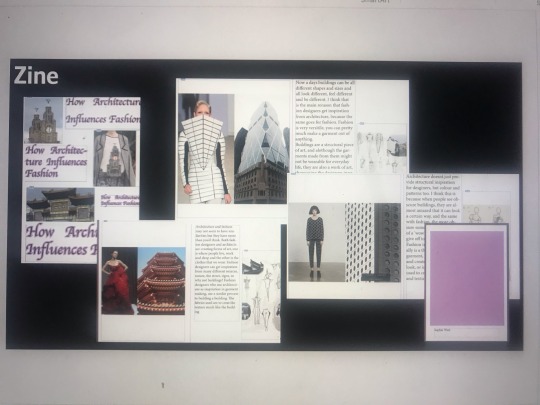
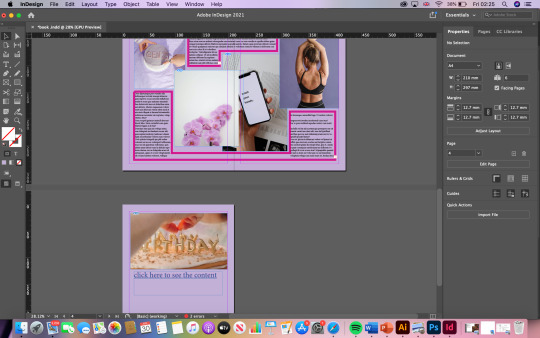
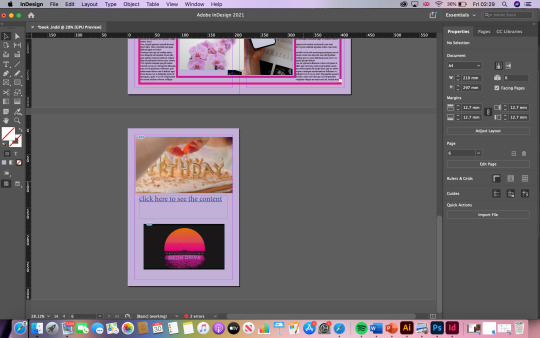
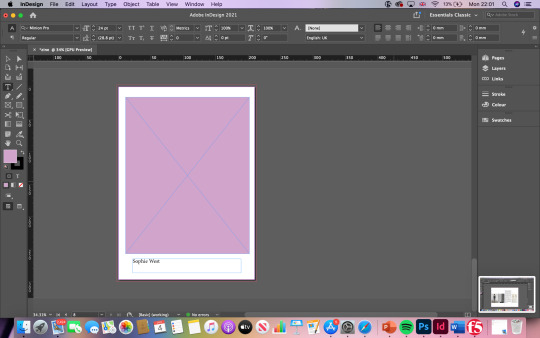
Here is my completed zine, done on indesign, I struggled to use this at first but once I had the hang of it, it became quite repetitive! I used tools such as, the type button, the picture insert and more, over all I am happy with the outcome of my zine.
0 notes
Text
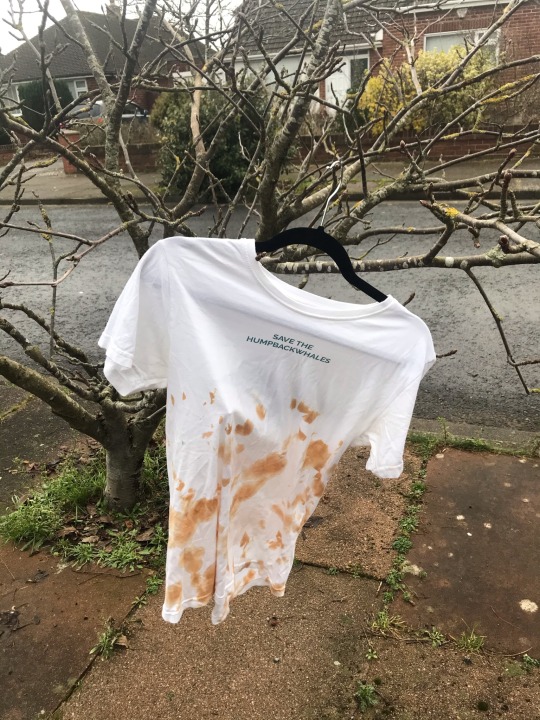
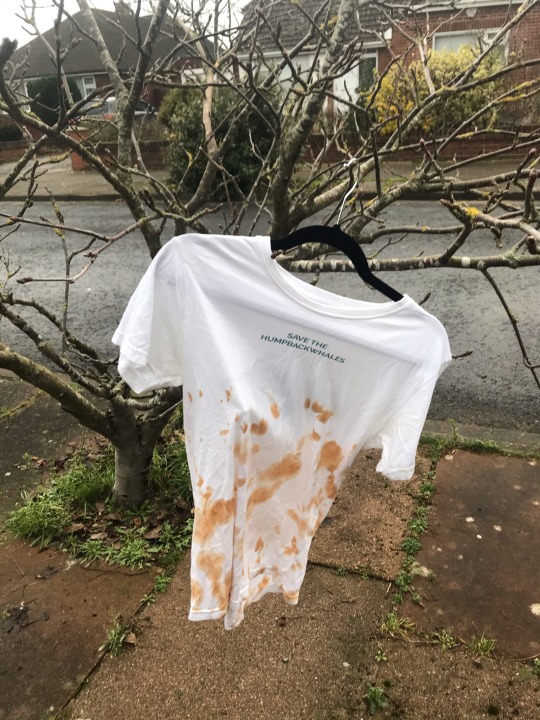
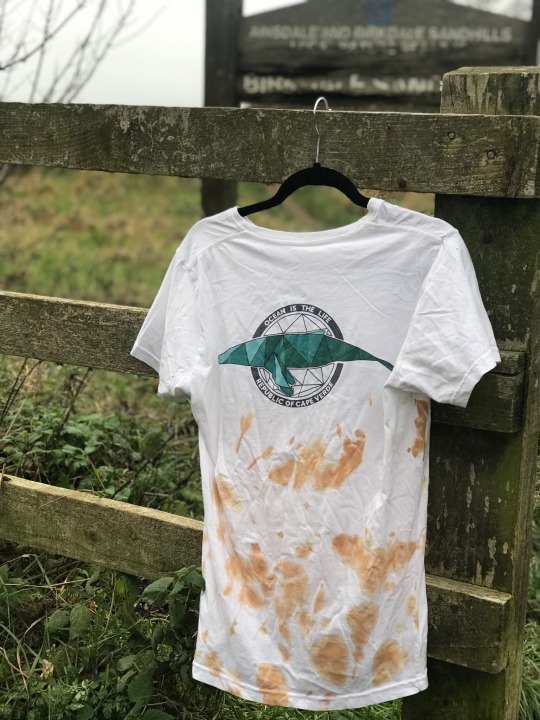

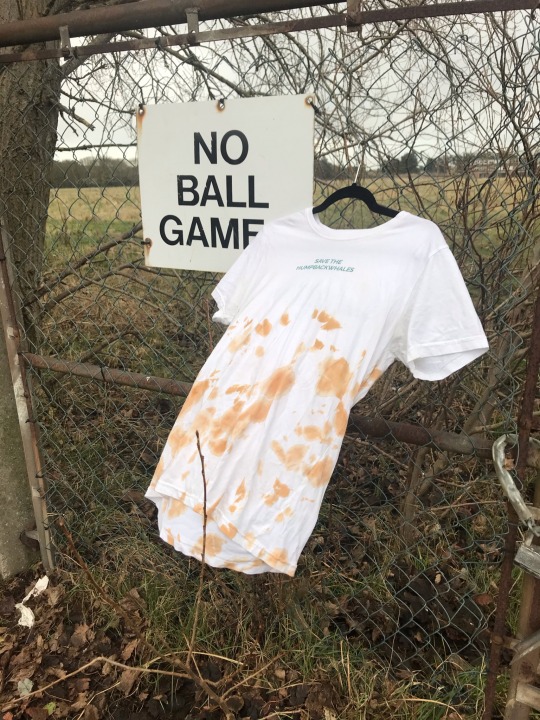
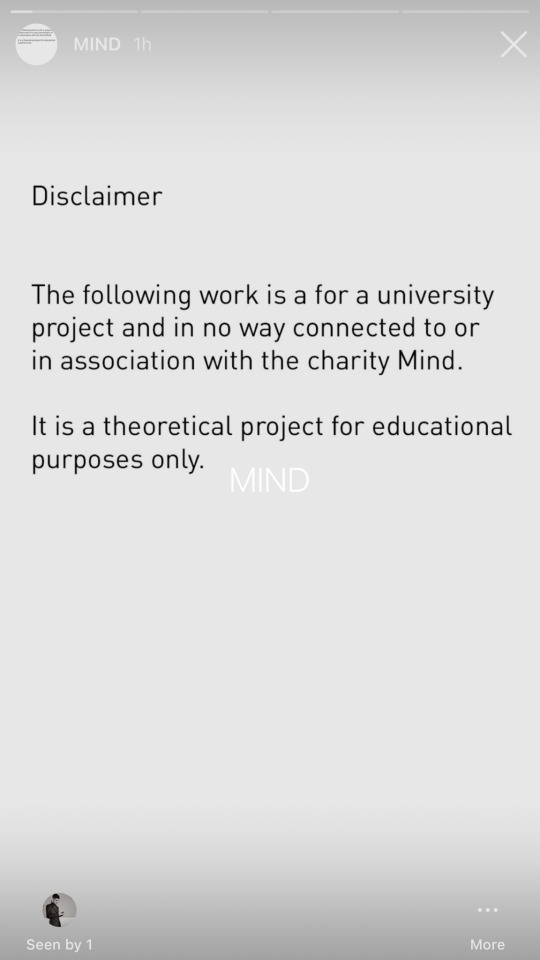
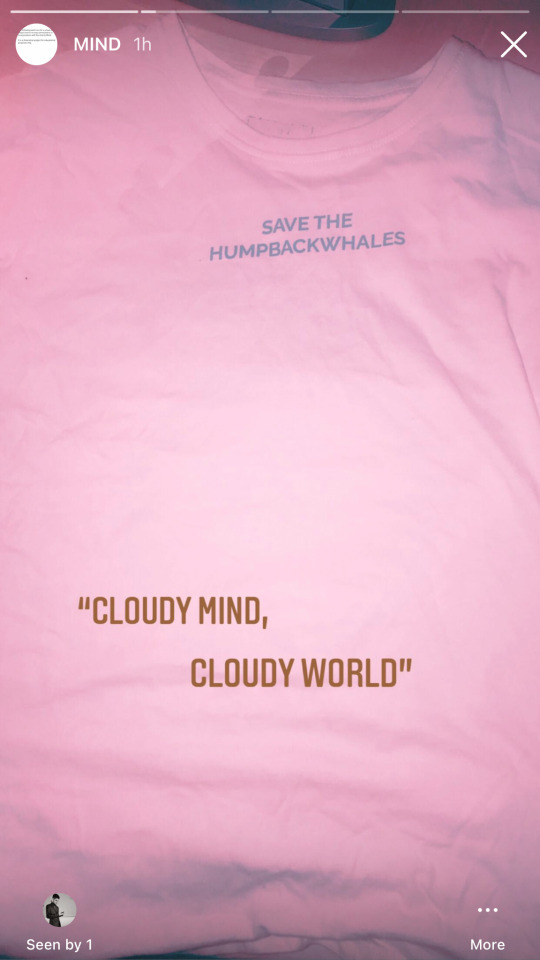
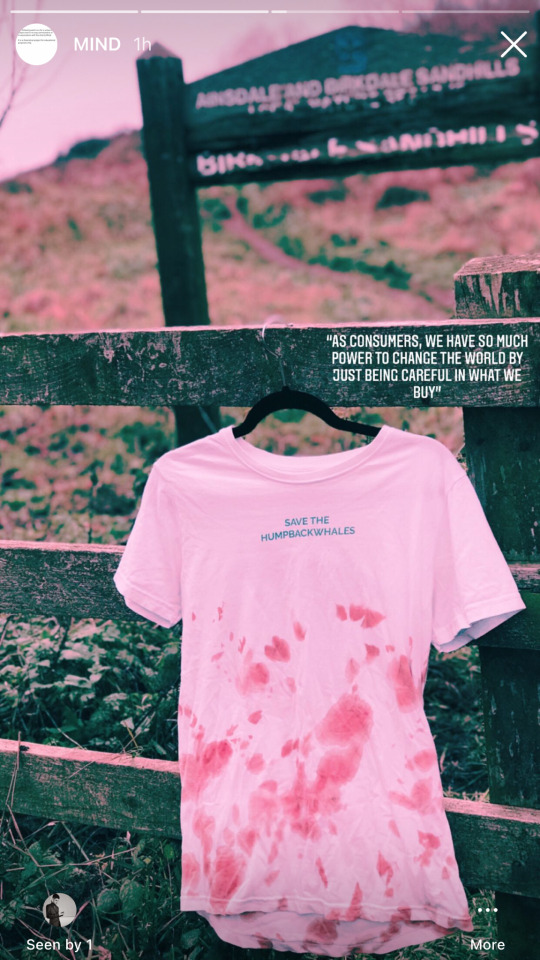
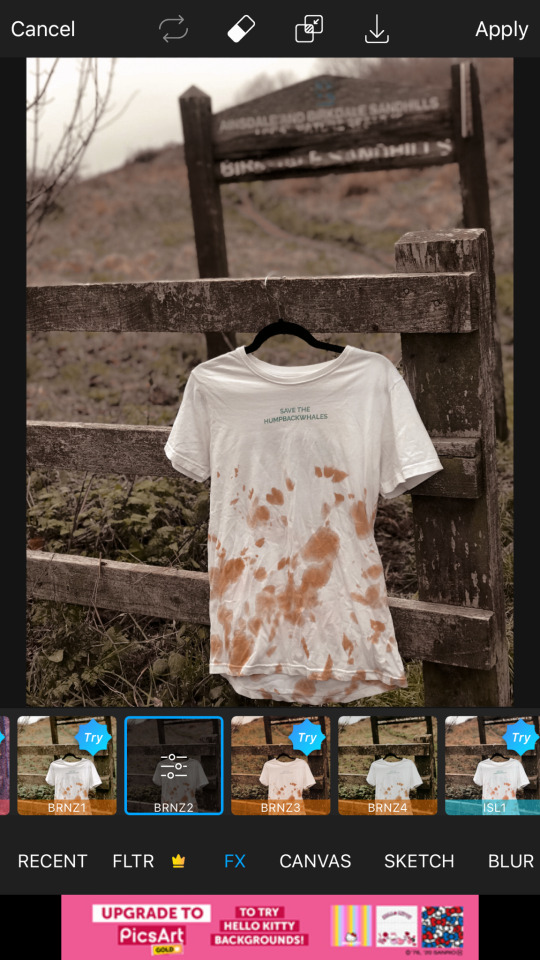
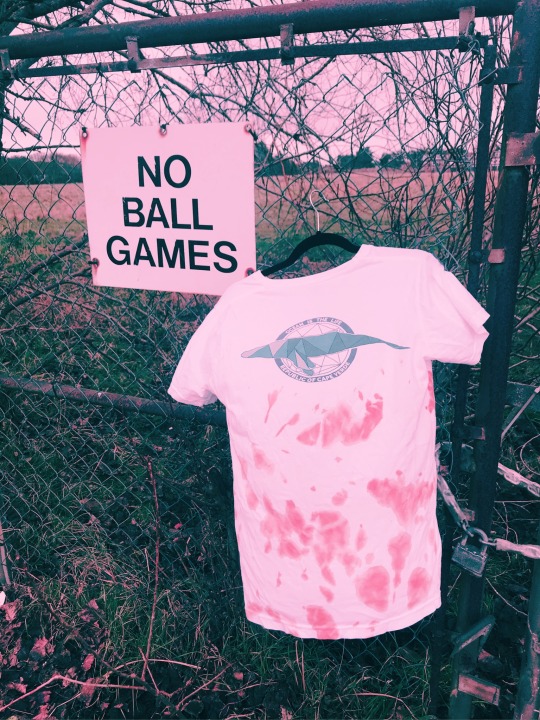
Images that where not used for my campaign but the behind the scenes of when I was shooting for it.
0 notes
Text
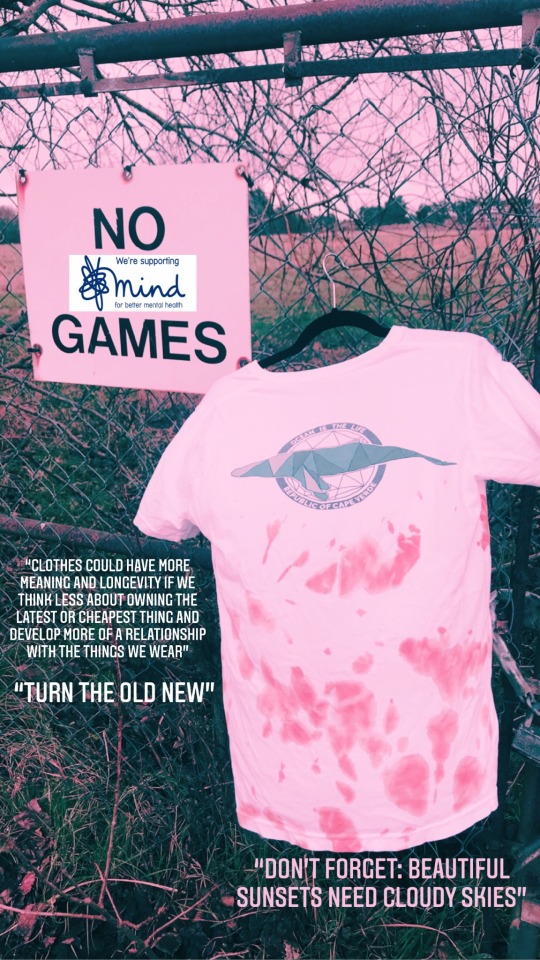
This is my final campaign, that I posted on Instagram highlights, I used ‘PicsArt’ app to get the filter and then got quotes from all over and put them in using Instagram story, over all I am happy with the outcome of my campaign.
0 notes