#mygiftutorial2024
Text
what i use:
potplayer for capturing frames
photoshop cs6 (can find it for free here or in other links on the tag)
qbittorrent
torrenting sites (this, this, eventually this)
sharpening action
arial rounded mt bold for subtitles
assuming you know how to torrent, if possible download what you want to gif in 1080p or the highest possible resolution etc etc
frames
open video in potplayer, go to the moment you want to gif and go back a couple frames (10-20) from when you want your gif to start (i usually just spam press D a bunch) (to see which key you have to press to go back on frames, right click > jump (to) > previous frame
now press CTRL+G or open frame capturing through right click > video > video capture > capture consecutive images...
my settings for capturing frames
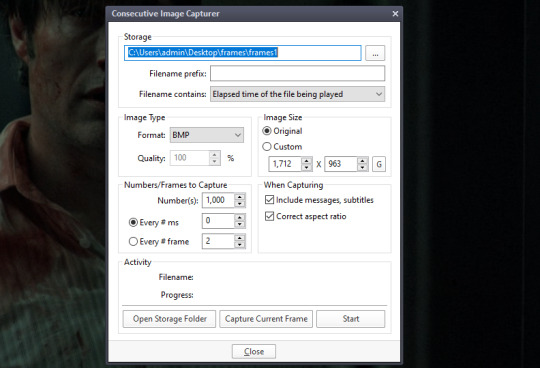
(important to turn off subtitles before doing this or they'll be captured on the image too)
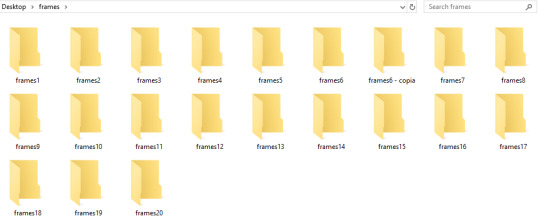
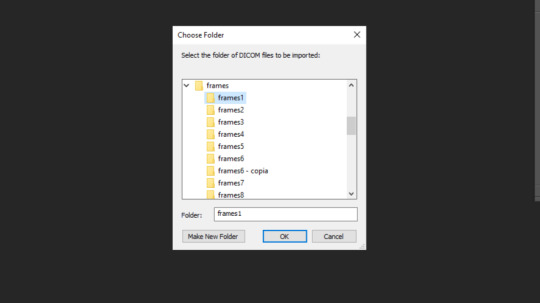
the folders i save it to -> i created a bunch of frame folders that i fill up since the way frames load in my photoshop require me to load an entire folder into it. so i capture an entire gifset's frames into one folder and then load up the entire thing
press 'start' on the consecutive image capturer, then start playing the video (best to mute it since the video might start playing slower), wait until the part you want to gif is over and stop the video, press CTRL+G again to stop the capturing
2. photoshop
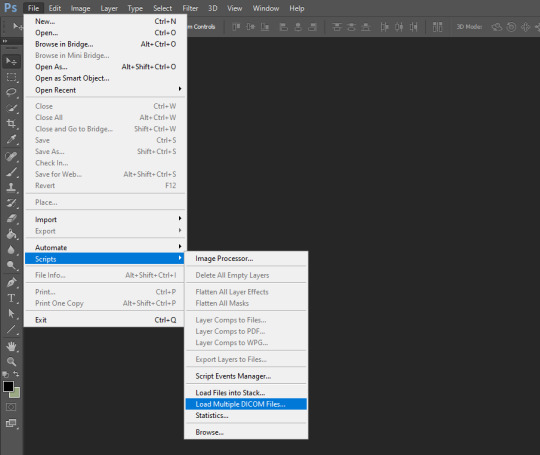
depending on your photoshop you can either 'load files into stack...', which opens up a folder and you can manually choose which frames you want to load, or 'load multiple dicom files..." (what i have to do), where you select an entire folder to load its contents into photoshop
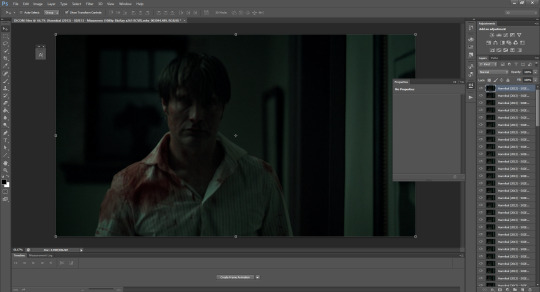
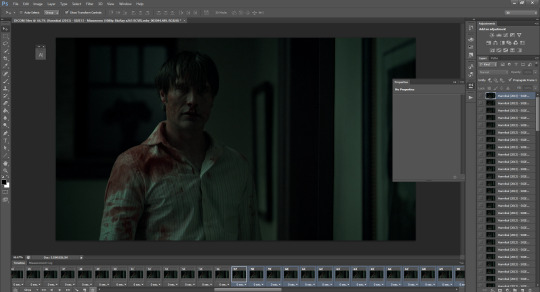
once you do either of those things, you got this
now click 'create frame animation' on the bottom
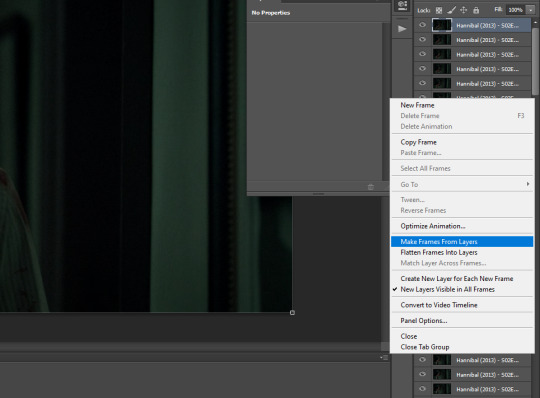
now we click on the three bars and 'make frames from layers'
!! if you loaded up frames with 'load frames into stack...' at this point you also have to click 'reverse frames' since they load in reverse order with this method for some reason
now we got our frames on a timeline and delete anything you dont want in your gif. if you have frames for multiple gifs on the timeline, go to image > duplicate and duplicate for however many gifs you got and delete the unnecessary frames from each one
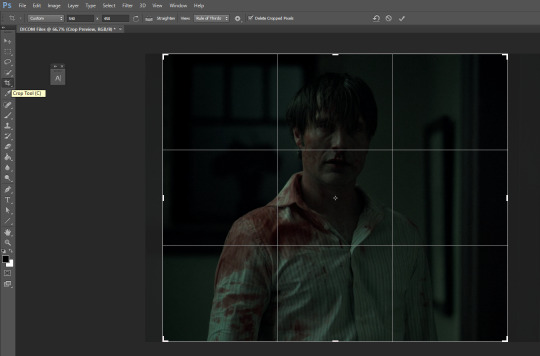

crop tool, type in dimensions up top (in accordance with tumblr's dimension graph, so if you want a wide gif like the one on the top of this post keep it 540px). i usually crop my gifs to between 540x400 and 540x500. once centered on how you want to crop, press enter or double click on the image to crop
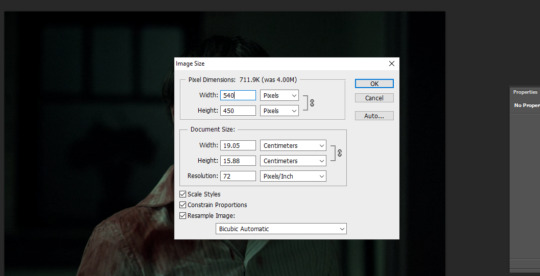
press ALT+CTRL+I or go to image > image size... to resize
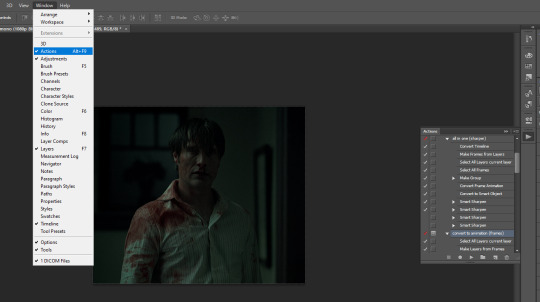
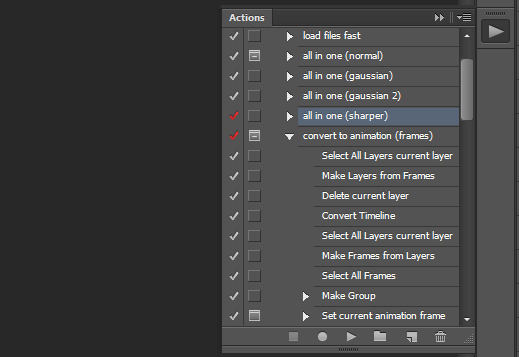
open the actions tab if you don't have it already open, go to 'load actions...' and find where you saved the sharpening action you downloaded from the top of this post
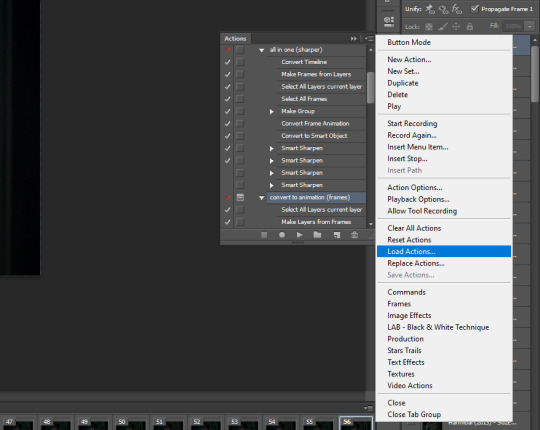
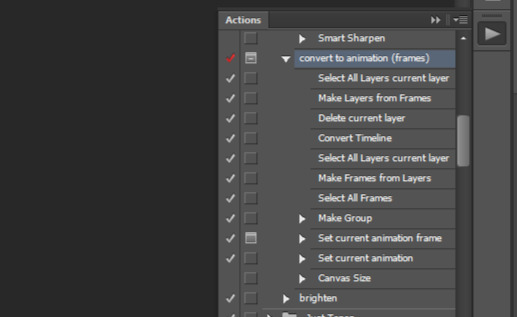
i only use "all in one (sharper)" and "convert to animation (frames)", but unchecked the "canvas size" option on the latter one since we resized the gif ourselves
select 'select all layers current layer' on the action (the other steps we already did) and press play
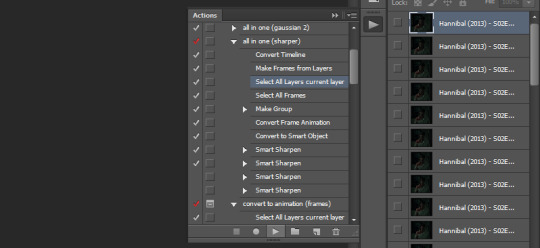
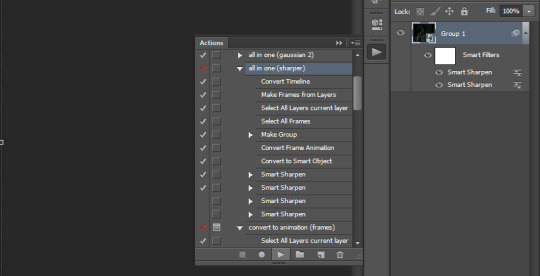
our gif frames will turn into a group so now go to "convert to animation (frames)" and press play again
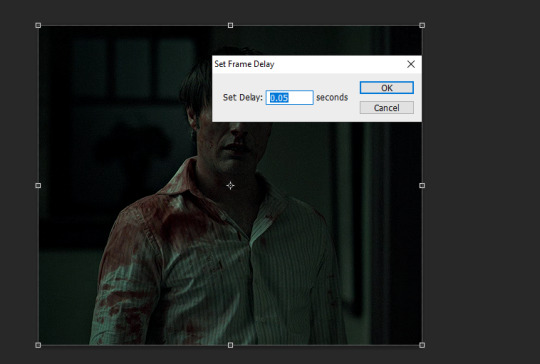
this will pop up at the end, leave it at 0.05 (maybe 0.06 if the gif is going too fast)
if we were to export the gif now it would look like this
now comes the coloring, which is personal preference. the reason i chose hannibal for this gifset is to show the white balance tool that works great in tinted scenes
open a 'levels' layer and selected the bottom eyedropper. then click it on a place on the gif that should be white but isn't (i clicked on hannibal's shirt collar). the gif coloring will change accordingly
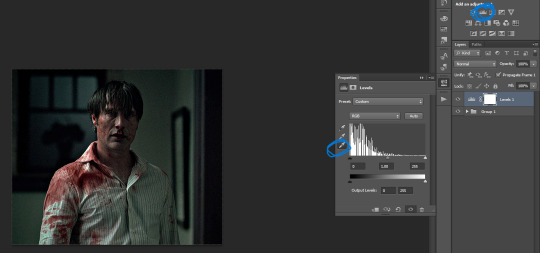
then pick the top eyedropper and click on anything that should be black but isn't (you can click on multiple places and see how the color changes, keep trying until you find one that looks good)
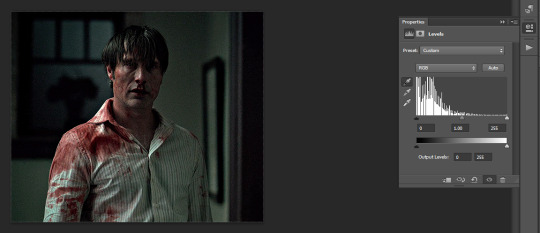
the coloring difference with just those two clicks
and then the coloring is up to you, i usually just add more levels layers and color balance
here's all of the layers i applied to color this
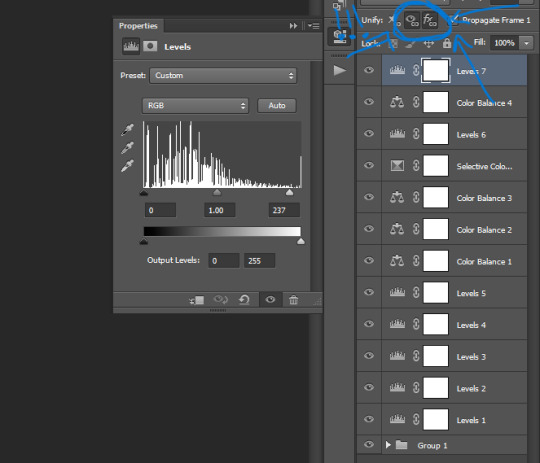
VERY IMPORTANT to get into the habit of selecting those two thingies on each layer you apply (on the subtitle text layer select all three) so that the coloring stays the same on all frames
difference
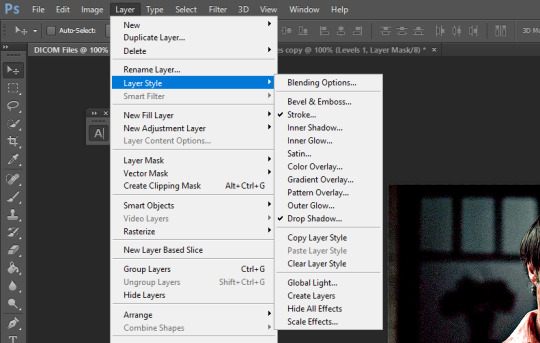
+ subtitles settings using the text tool
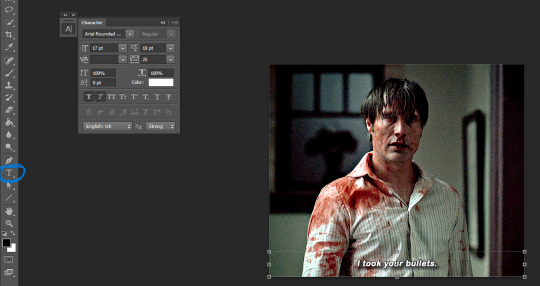
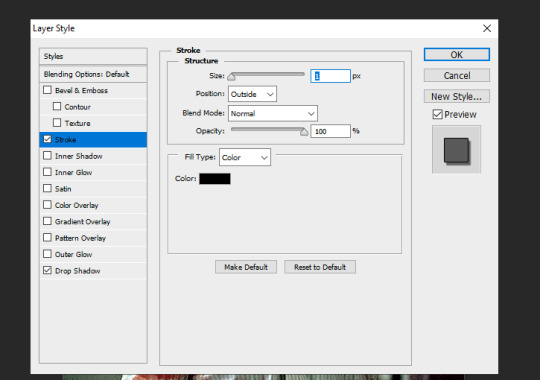
shadow and stroke to make your subtitles readable

saving the gif. click ALT+SHIFT+CTRL+S or go to file > save for web... here are my settings
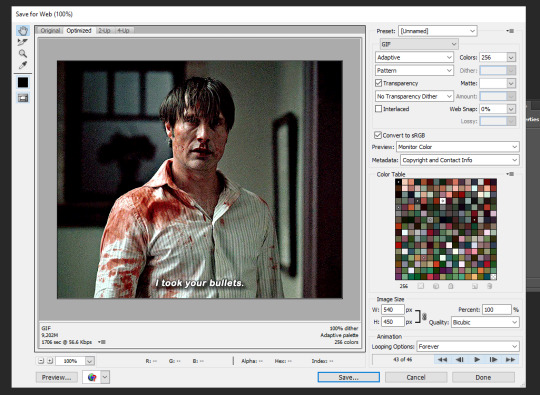
that's it
269 notes
·
View notes
Last Seen Blogs