Last Seen Blogs

asmin1nakliyat
Tarsus Asmin evden eve nakliyat 05538305347
rapidograf3d
Rapidograf 3D


alexandra-jennings
The Medoran Chronicles

simysun
About all and nothin'
Text
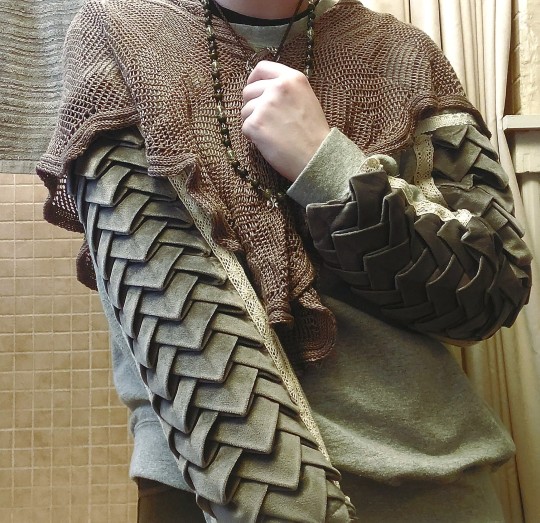
Hi friends!! I know I haven't been posting as much lately, and that's because I've been working on a project!! That project is finally completed now :}
Dragon scale jumper!!!! 🐉🌱⭐️
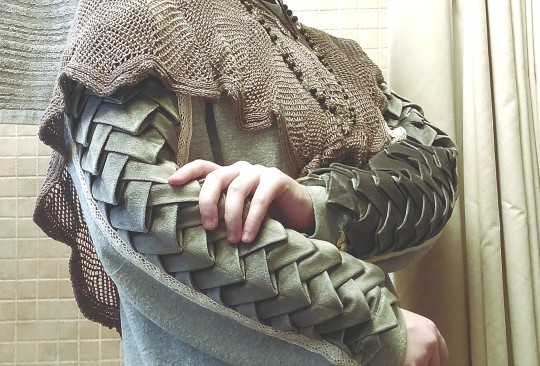

please me nice to me I do not know how to pose or style this yet 😔
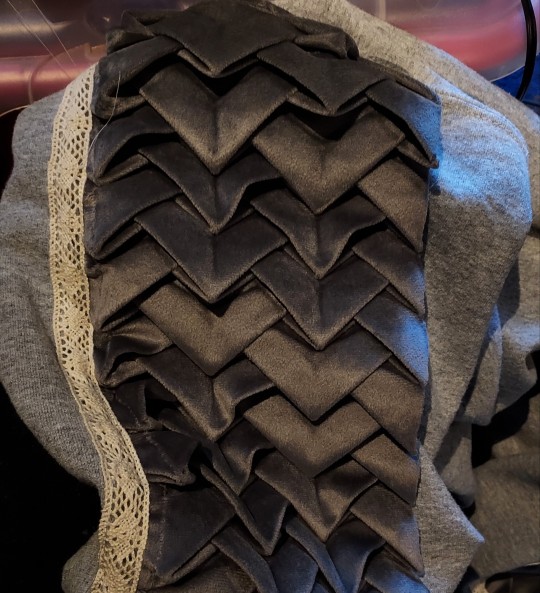
It looks a little wonky up-close, but I'm very happy with the results!! This was a prototype done with an old grey jumper and a dragon-scale patterned pillow I got on clearance. Now that I sort of know what I'm doing, my goal is to make a green version that fits me better :}
I very much recommend this for all beasties with scales!! It's a really easy project even if you dont have a sewing machine, and it looks great even if you mess up a bit
Some wip shots when I remembered to take them below the cut!
🌱⭐️🐉

1K notes
·
View notes


Text


🔥🔥🔥
784 notes
·
View notes
Text
DIY advice for making punk clothes while poor
17K notes
·
View notes
Text
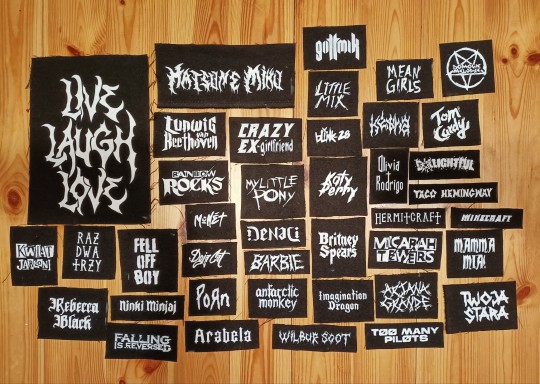
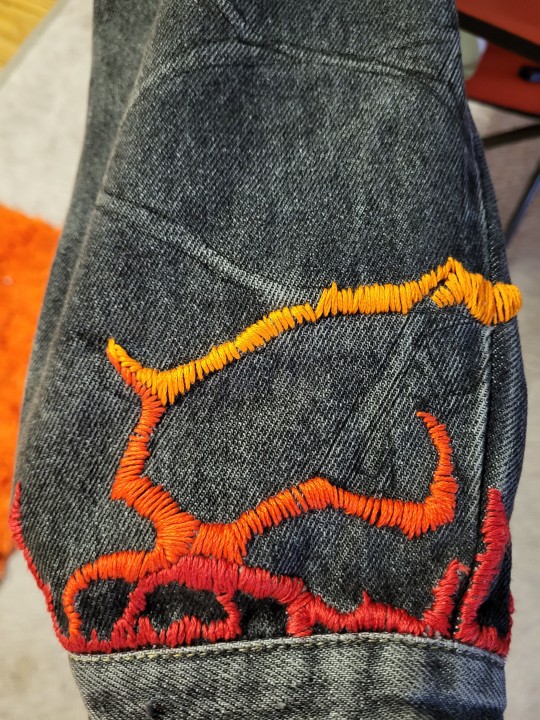
All the patches I did for my Poser Jacket. This is the best thing I've ever thought of.
12K notes
·
View notes
Text
Had a few folks interested in how I made the patches I posted for Solarpunk Aesthetic Week, so I thought I'd give y'all my step-by-step process for making hand-embroidered patches!

First, choose your fabric and draw on your design. You can use basically any fabric for this - for this project I'm using some felt I've had lying around in my stash for ages.

Next, choose your embroidery floss. For my patches I split my embroidery floss into two threads with 3 strands each, as pictured. You can use as many strands in your thread as you prefer, but for the main body of my patches I prefer 3 strands.
Next you're going to start filling your design using a back stitch.

First, put in a single stitch where you want your row to start.

Poke your needle up through the fabric 1 stitch-length away from your first stitch.

Poke your needle back down the same hole your last stitch went into so they line up end-to-end.
Repeat until you have a row of your desired length (usually the length of that colour section from one end to the other). Once you have your first row, you're going to do your next row slightly offset from your first row so that your stitches lay together in a brick pattern like this:

Make sure your rows of stitches are tight together, or you'll get gaps where the fabric shows through.
Rinse and repeat with rows of back stitch to fill in your patch design.

When you're almost to the end of your thread, poke your needle through to the back of the fabric and pull the thread under the back part of the stitching to tuck in the end. Don't worry if it looks messy - no one's gonna see the back anyway.
This next step is fully optional, but I think it makes the patch design really pop. Once your patch is filled in, you can use black embroidery floss to outline your design (or whatever colour you want to outline with - it's your patch, do what you want). I use the full thread (6 strands, not split) of embroidery floss to make a thicker outline.

I use the same back stitch I used to fill the piece to make an outline that adds some separation and detail. You could use most any 'outlining' stitch for this, but I just use back stitch because it's just easier for me to do.
Once you're finished embroidering your patch, it's time to cut it out!

Make sure to leave a little border around the edge to use for sewing your patch on your jacket/bag/blanket/whatever, and be careful not to accidentally cut through the stitches on the back of the patch.
If you have a sturdy enough fabric that isn't going to fray, you can just leave it like this. If not, I recommend using a whip stitch/satin stitch to seal in the exposed edges (I find that splitting your embroidery floss into 3-strand threads works best for this).

And then you're done! At this point you can put on iron-on backing if you want, or just sew it on whatever you wanna put it on. Making patches this way does take a long time, but I feel that the results are worth it.
Thanks for reading this tutorial! I hope it was helpful. If anyone makes patches using this method, I'd love to see them! 😁
17K notes
·
View notes
Text
i hate then when something is considered "adult" it almost always means sex . like i *want* more cartoons for adults so that my adult autism fixation on cartoons has something to adapt into. but why is it alllllways at the risk of being BOMBARDED by sexual content like geeez lol
445 notes
·
View notes