#groutrenewal
Text
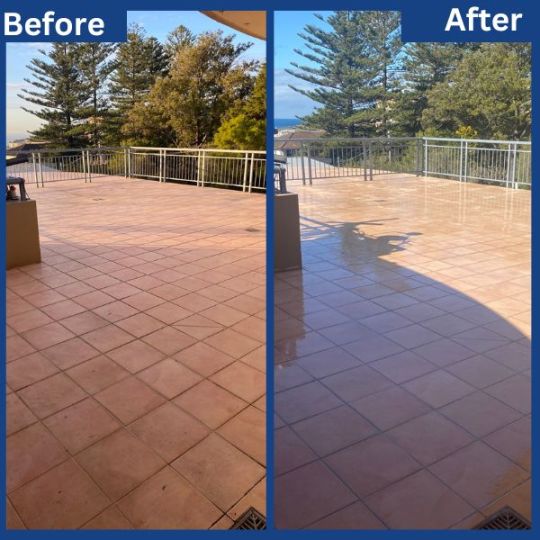
Revive your grout with our restoration solutions! Say goodbye to leaks and hello to a fresh, waterproof surface.
🌐: https://bit.ly/3On12pm
📞: 1300 461 119
For Business Related queries: [email protected]
#groutrenewal#epoxygrouting#epoxygrout#groutrestoration#professionalgroutcleaner#tileandgrout#tilerenovation#tilegroutcleaning#freshgroutfeels#sparklingtiles#groutexperts#epoxy#groutpro#groutspecialist#unitedwaterproofing
0 notes
Text
Grout-ReGrouting
Grout is a material that is used to fill the gaps between tiles in order to make them strong and secure. Over time, grout can become discolored or damaged, and may need to be re-grouted. Re-grouting involves removing the old grout and replacing it with new grout to restore the appearance and integrity of the tile installation.
To re-grout, the following steps can be followed:
Remove the old grout using a grout saw, which is a small tool with a serrated blade. Be careful not to damage the tiles.
Clean the tile and the gaps using a solution of water and vinegar or a commercial tile cleaner. This will help remove any remaining grout or dirt.
Let the tiles dry completely before applying the new grout.
Mix the new grout according to the manufacturer's instructions. There are different types of grout available, such as sanded or unsanded, and the choice will depend on the size of the gaps between the tiles.
Apply the grout using a rubber float, making sure to fill the gaps completely.
Use a damp sponge to remove any excess grout from the tile surface.
Let the grout dry for the time specified by the manufacturer.
Once the grout is dry, buff the tiles with a dry cloth to remove any remaining grout haze.
Re-grouting can be a time-consuming process, but it is necessary to maintain the appearance and functionality of your tile installation.
#grout#regrout#tilemaintenance#groutrepair#groutcleaning#groutrestoration#tilegrouting#groutrefresh#groutrenewal#groutrevival
0 notes
Text
DIY Recolor Grout
Project by Erica Loesing:
I sure do love a nice, bright and clean-feeling bathroom. I can’t count the number of apartments I have lived in where the bathroom tile just looked really gross. And I could never do anything about it while being a renter (this was one of the many moments when I knew I was meant to be a project-doing homeowner one day!). Now I finally have a house that I adore — although not everything made the cut during our renovations. This super simple technique — of basically repainting the grout without having to redo all of your tile — came to my rescue. Read on below to learn how! ––Erica Loesing
Photography by Kimberly Murray
Tools and Materials
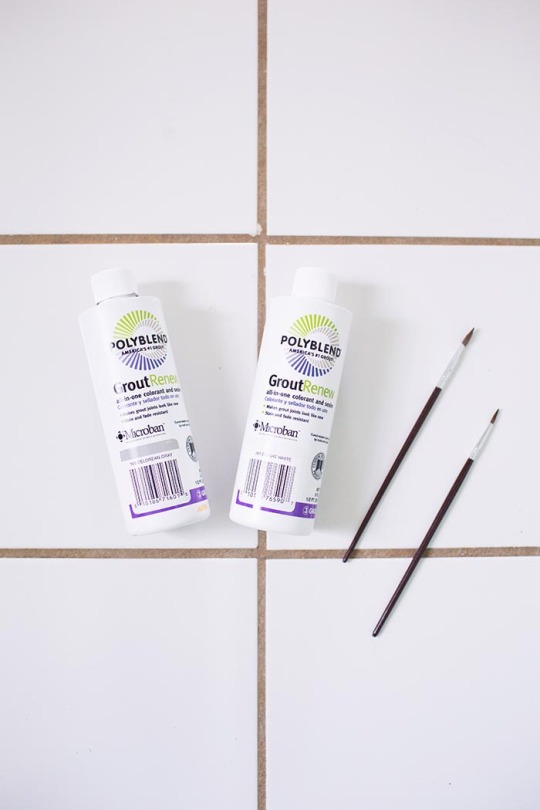
-Polyblend GroutRenew
-Narrow paintbrushes
-Toilet paper
-Quite a bit of time (So, maybe your favorite show to binge-watch…)
I had previously tried everything under the rainbow to clean this grout. I think it was originally a light beige? But it had been stained and who knows what else over its years. I finally found Polyblend GroutRenew at my local hardware store and decided to give it a try.

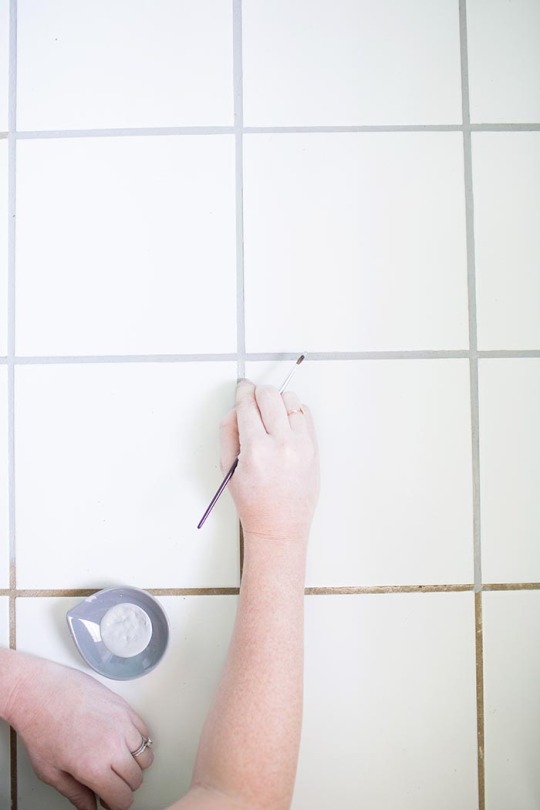
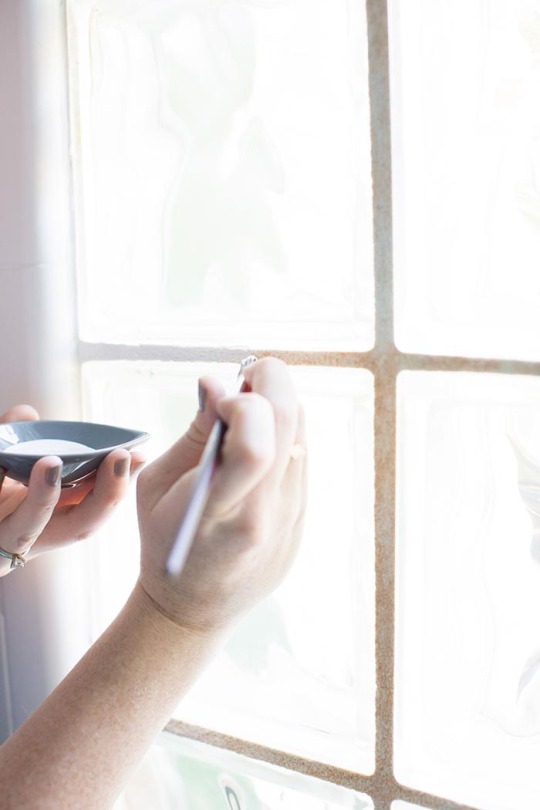
Magic! It’s inexpensive (around $12), and it comes in a whole lot of colors. I decided to use the Bright White in the shower (really just to touch up a few spots) + glass block and Delorean Gray on the floors (in hindsight, I wish I would have gone a little bit lighter here, especially since it does dry a bit darker than when wet, but on the other hand, it will hopefully continue to look clean). The only prep work I did was to clean the tiled areas really well to assure the product would adhere, shake the bottle well, and then I chose to pour the paint into a little dish to avoid having to dip my brush down into the bottle.
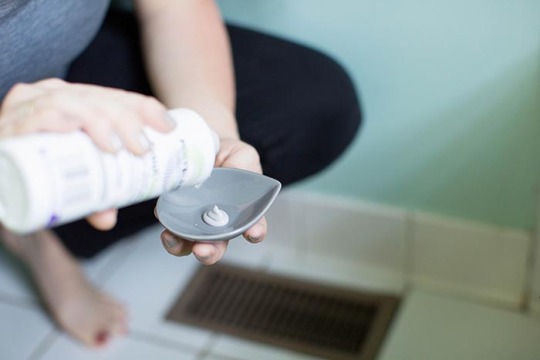
This project is seriously as simple as painting over the existing grout and letting it dry. (The bottle suggests 24 hours, so you may want to work in phases if you need access to the room you’re working on.) A good opportunity to catch up on my favorite show!

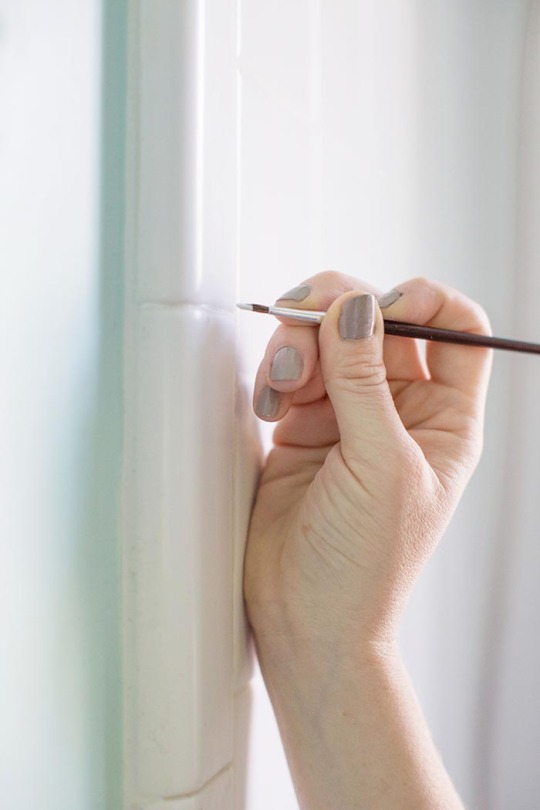
Rather than take my time painting exactly within the lines, I did each line more quickly with a little cheap brush, making sure to cover all areas, then used a tiny square of toilet paper to wipe the edges as I went. I could paint one full side of a square tile before wiping (any longer and it starts to dry). I just found this to be much more rewarding: going faster and not having to be as precise.
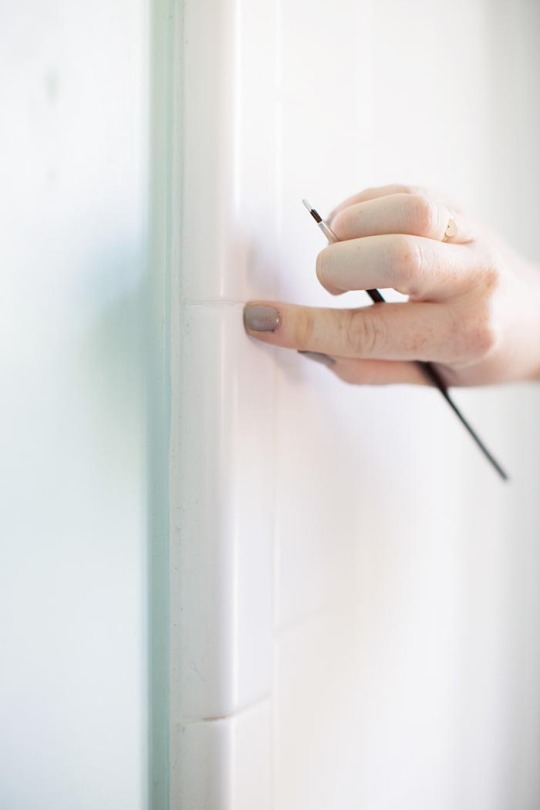
The GroutRenew wipes off of the tile very easily when wet, and even when it dries I could use my fingernail to touch-up if I needed. I did the same process for all areas of the tile. Keep in mind that the more contrast between your tile and paint color, the more visible your mistakes will be if you don’t wipe it clean.
I’ve seen samples where people successfully went over dark grout with white paint, or the reverse. And all of the reviews are glowing, even over time. I completed this project months ago and it still looks just as good as when I did it. Everything the product promised has rung true so far — yay!
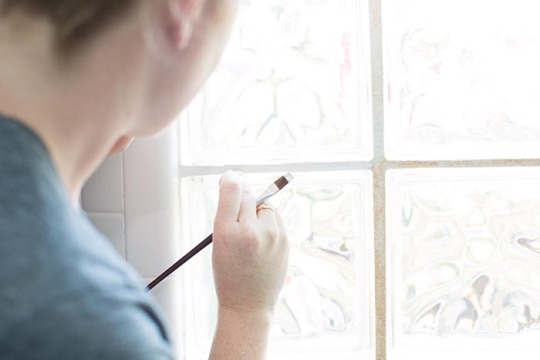
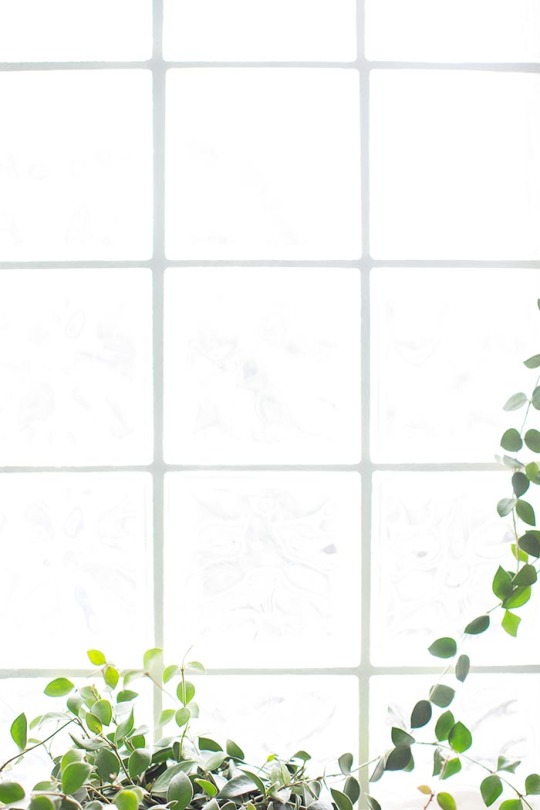
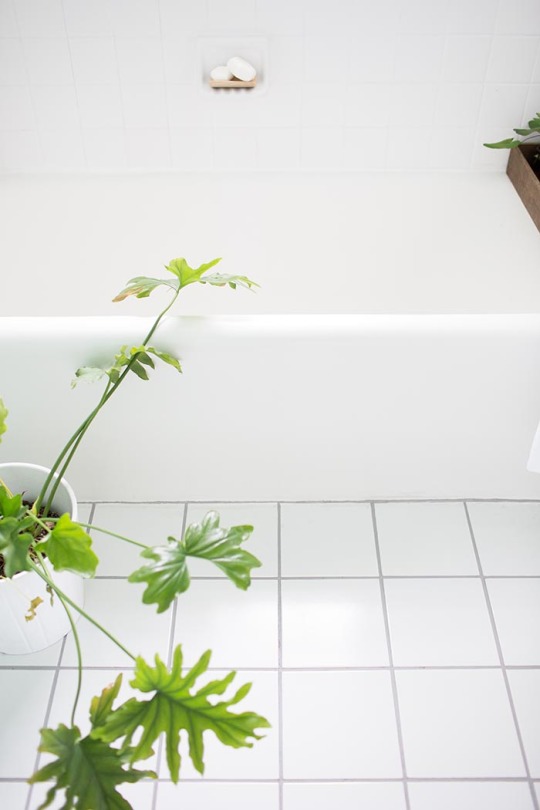
The most dramatic change was the glass block window. The white grout had turned more of a clay color over time (so gross), so getting that back to its intended white makes such a difference. The whole bathroom just feels so much cleaner and brighter! I then even learned how to re-caulk the tub and tackled that, too. So easy!
3 notes
·
View notes
Photo
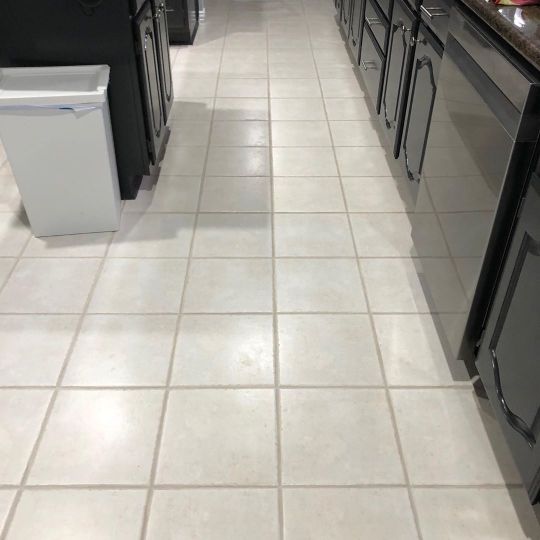
Before and after pictures of the floor in my kitchen. Why did I not know about this amazing product Grout Renew by Polyblend! A few days crawling around on the kitchen floor (a foam cushion is mandatory), a stubby paint brush and a $15 bottle of magic! And I have a beautiful “new” floor! @herdingcatshere #herdingcatshere #renovation #renovations #grout #restore #beautiful #kitchen #groutcleaning #flooring #floorcleaning #remodel #tile #tilefloor #renew #likenew #pretty #magic #amazing #bloggersofinstagram #blogger #mom #almostthere #clean #cleaning #floor #groutrenew https://www.instagram.com/p/B8yotGWFB0a/?igshid=1bg2ir793sftw
#herdingcatshere#renovation#renovations#grout#restore#beautiful#kitchen#groutcleaning#flooring#floorcleaning#remodel#tile#tilefloor#renew#likenew#pretty#magic#amazing#bloggersofinstagram#blogger#mom#almostthere#clean#cleaning#floor#groutrenew
0 notes
Text

Rejuvenate grout integrity! Our professional restoration revives grout, preventing leaks and enhancing surface durability.
🌐: https://bit.ly/3On12pm
📞: 1300 461 119
For Business Related queries: [email protected]
#groutrenewal#epoxyrestoration#epoxytransformation#tileregrout#epoxygrouting#epoxygrout#groutrestoration#tilegroutcleaning#freshgrout#sparklingtiles#groutexperts#groutpro#tilemaintenance#tilerenovation#unitedwaterproofing
0 notes
Text
Grouting tips and tricks: insider advice from professionals on how to achieve the best results when grouting tiles.
Grouting tiles is an important step in the tile installation process that requires attention to detail to achieve a professional-looking finish. Here are some insider tips and tricks from professionals on how to achieve the best results when grouting tiles:
Choose the right grout: It's important to select the correct type of grout for your tiles. There are different types of grout, such as sanded or unsanded, epoxy or cement-based, and they are suitable for different types of tiles and applications. Make sure to read the manufacturer's instructions and consult with your tile supplier before selecting a grout.
Mix the grout properly: Follow the manufacturer's instructions carefully when mixing the grout. Add the water gradually and stir continuously until you achieve a smooth, creamy consistency. Avoid adding too much water, as this can weaken the grout.
Apply the grout with a rubber float: A rubber float is a great tool for spreading the grout evenly and filling the gaps between the tiles. Hold the float at a 45-degree angle and apply the grout in a diagonal motion, making sure to push it firmly into the gaps.
Work in small sections: It's best to work in small sections when grouting, typically 3 to 4 square feet at a time. This will help you to work quickly and avoid the grout drying out before you've had a chance to clean it up.
Clean the excess grout: Once you've applied the grout, use a damp sponge to remove the excess grout from the tiles. Rinse the sponge frequently and avoid wiping too hard, as this can remove the grout from the gaps.
Seal the grout: After the grout has dried, it's important to seal it to protect it from moisture and stains. Use a high-quality grout sealer and follow the manufacturer's instructions carefully.
By following these tips and tricks, you can achieve the best results when grouting tiles and ensure a long-lasting, professional-looking finish.
#TileGroutTips#GroutHacks#GroutCleaningTips#GroutMaintenance#GroutRenewal#GroutSealing#GroutColoring#GroutRestoration#GroutRepairTips#DIYGrouting.
0 notes
Last Seen Blogs