
cadian-volksgrenadiers
Historical Wargamming... and 40k
Inactive Wargamming Blog
FoW - 40k - WoG
254 posts
Don't wanna be here? Send us removal request.
Last Seen Blogs
ellythejelly
~Bite Me~

br4tbbyy
Untitled

caldwelllocklear6-blog
Untitled

florencia18-blog2
Sin título

solomonjack83-blog
Untitled
Text
Snowy Water Feature Tutorial
Today we’re going to go over my technique for creating striking water features in your miniature basing and terrain work, like this.

This piece is the basework for a Cygnar Storm Strider, back when I thought that I was interested in Cygnar as a faction. Boy was I wrong!
First off, a list of essential supplies for the project.
A Base
Corkboard
Wine Cork
Super Glue (gel/thin)
PVA Glue
2 Part Acrylic Resin
Baking Soda
Acrylic Paints (I use a mix of P3 & Citadel)
Primer
Plasticard
Milliput (or any modeling putty)
Sand/Shale
Scissors
Hobby Knife
Dremel Tool
A Pen
You start off by cutting a circle of your corkboard and gluing it in place on the base of your choice. This provides the start of your soil layer and provides a nice elevation for the edges of any water features you might place. Do not glue down any part of the corkboard that will later be cut away to form a pool, as it will be a bitch to remove if you do.
After you’ve glued the cork in place, use a pen to mark out the edges of your water feature. Try and avoid perfectly round pools, unless you’re going for a cartoony vibe. After making your mark, cut the shape out with your hobby knife.
It’s at this point that you glue/pin any of your major terrain features/props in place onto the base. In the case of the base at the start of the article that meant wine cork, cut at sharp angles, to simulate boulders.
After your props are in place, it’s time to Dremel out the plastic of the base where the bottom of the water feature will be. This will leave you with something that looks like this.

Now you’ll want to cut out some plasticard in a large enough shape to completely cover the bottom of the pool. When you’ve got that sorted, it’s as simple as gluing it in place.


Next up, you form the walls of the pond with a bit of milliput, making certain that it is sealed against both the upper lip of the corkboard and the plasticard bottom.The end result should be both organic looking and watertight. After the milliput sets, use some PVA glue and sand/shale to cover the cork and plasticard, just like you’d use them to base anything else.

I use several different grits and shale pieces to add depth to the soil profile. You rarely see uniformity in nature after all. I also picked shale as it’s sharp edges really math the rock profile of the wine cork boulders. I’ll be picking out individual pieces with gray paint to tie the terrain together.
After that all dries and sets, it’s time for some black primer.
The first thing you paint is the bottom of the pool, so you can pour your resin and let it sit overnight (not a project for the impatient). You do this by wet blending a gradient of blue tones across the bottom. The deepest part of the pool being Citadel’s Teclis Blue and working up the highlights with a mix of Teclis and working P3 Morrow White. A 1/1 mix for the first transition and a ½ mix for the lightest highlight. I like to pick any large rocks with the highlight color brighter than it’s surroundings as it really makes the detail POP, when the underwater effect is applied.

When that paint has dried, it’s as simple as carefully mixing and pouring the 2 part resin and waiting for it to set. A word to the wise, most of the acrylic resins give off toxic/carcinogenic fumes, so it is a good idea to do the pouring and setting in a well ventilated area. Always make sure to follow the instructions on the tin when working with potentially hazardous substances.

12-24 hours later, you’re ready to paint your piece. I recommend a triad drybrushing technique for ease of application and awesomeness of appearance. For the browns in the soil I start with a ample basecoating of Citadel’s Dryad Bark followed by a drybrush of Citadel’s Gothor Brown and a fine drybrushing of Steel Legion Drab. I use the same technique for the boulders and shale pieces, only in grayscale using Citadel’s Eshin Gray, Dawnstone and Administratum Gray, Respectively.

Now it’s time for some PVA glue and flock, got to mix in those grass elements!

Finally, and most dramatically… Snow. Snow is not a science, it is an art. I can give you the ingredient list, but not the ratios. Snow is not a static thing. There is wet snow, dry snow, powdery snow, yellow snow, compact show… you get the picture.
For wet snow, use a paintbrush to paint an area with realistic water effect then sprinkle a little baking soda on it. Use just a dash, and you’ve got a sheet of ice, a little more, wet/melting snow. Experimentation is key.
For dry snow, mix the baking soda with PVA glue, it will become doughy and hold its form, giving you ample time to shape it into a billowing snowbank or the dense snow swept aside by a passing tank. You’re limited by your imagination. As a word to the wise, if your snow seems too wet, sprinkle more baking soda on top, if it seems too dry, wet the edges with your acrylic resin or some gloss medium.
In the end, you should have something akin to this.

Well, that’s all for this tutorial. If you like what you see, let me hear about it! If you’ve got a tutorial you’d like to see, let me know!
May your bristles never bend,
Will Tomorrow
205 notes
·
View notes
Photo

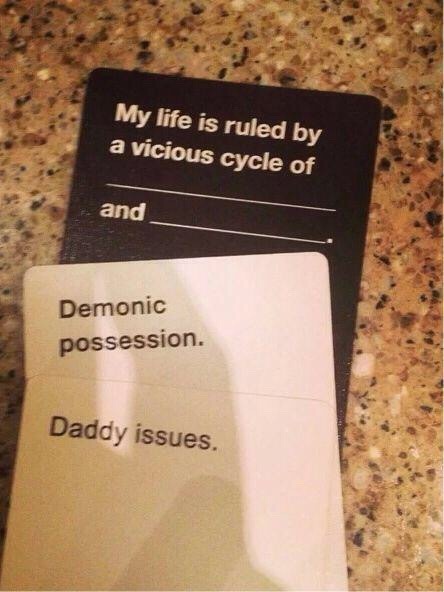
When you gotta make 40k less grimdark…
664 notes
·
View notes
Photo
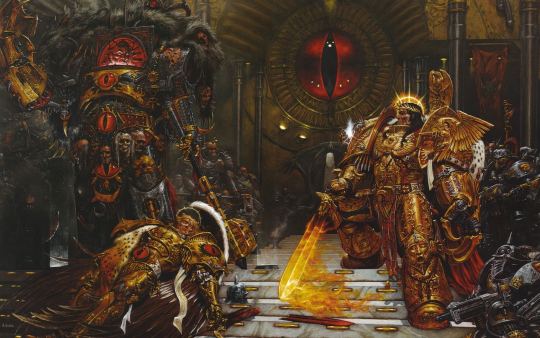
I think actually its Laughter because he saw some Iron Warrior "defences" and couldnt help but laugh ;^)
When you gotta make 40k less grimdark…
664 notes
·
View notes

Photo
When you gotta make 40k less grimdark…
664 notes
·
View notes
Photo

Getting started on a Loyalist Thousand Sons army for 30k based on the Corvidate Cult (cough Blood Ravens cough). Starting by converting some Scarab Occult Terminators to look like some First Company veterans of the Great Crusade. Luckily not too many chaotic symbols.
2 notes
·
View notes

Photo
Can Love Bloom on the battlefield?

Yea that Dire Avenger is done for
517 notes
·
View notes

Photo
When you gotta make 40k less grimdark…
664 notes
·
View notes
Photo
When you gotta make 40k less grimdark...
664 notes
·
View notes

Photo

Got about half the box built tonight.
9 notes
·
View notes
Photo

The CiC is done. He’s a Mk 10 with Stillbrew. I’ll be painting my Chieftains as the 14th/20th King’s Hussars of the Berlin Brigade, British Army of the Rhine
I mean, look at this camo <3


I knew youd soon ave us do arder work!
16 notes
·
View notes
Photo
I knew youd soon ave us do arder work!
16 notes
·
View notes
Photo

Foreign Born is a Farsight equivilent concept that would fill the role of Darkstrider or a Shas'ui Pathfinder. Like his Fireblade counterpart, Foreign Born has had to replace some of his limbs with prosthesis. The history behind his name is known only to O'shovah himself and the rest of the eight. Be it literal or symbolic, Foreign Born projects an alien air about him, and is often a loner ever among his most trusted brethren. Most notably different is his extensive use of tattooing, which seems to cover his entire body. His has a brutish and often short way of talking with a thick accent, and those under his command have slowly begun to replicate these behaviors, out of admiration or by some other reasoning. Despite his differences, Foreign Born has proven himself as a competent commander, one who excels at the art of hunting and improvisation.
18 notes
·
View notes