NefariousKing #221629
684 posts
Last active 3 hours ago
Don't wanna be here? Send us removal request.
Last Seen Blogs

kodicoolguy
Kodi

djgblogger-blog
DJG Blogger

forgotten-bennet
Longbourn's Forgotten Daughter

phantom-and-ghost
Phantom & Ghost
0meidiama0
MEIDIAMA
Text
Simple skin & accent tutorial!
I'm only familiar with making accents in CSP so some of the things you see here might be program specific, but for the most part it should be generally applicable.
Okay with that being said, here's a very basic tutorial, under a readmore because it got long (image heavy)
Assuming you already know roughly what you want to make and what breed pose you want to make it on, go to the custom skins page on the sidebar then download PSDs. For this step I'm choosing coatl F!

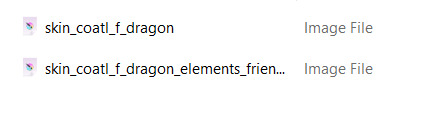
It should download automatically, the file will be compressed (zipped). I normally just open the folder and move the top file (without elements_friendly) to my accents folder to access it from my art program:
Open your preferred art program and open the file! It is a PSD file so it should be compatible with most art programs. When you open it, everything should look like this:
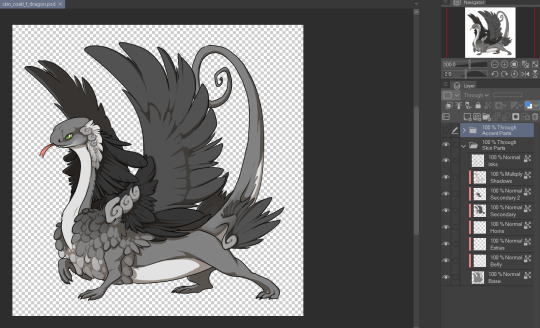
The layers probably look complicated, and it isn't super clear where you can and can't draw- but I promise it will get easier to understand! Before I even start drawing I do two things: I resize the image (changing the image resolution) to 700px by 700px. This means the image the resize better later on when I need to downscale it to 350px by 350px. Next, I make a new folder under both the existing folders with a single, full white layer in it. And set everything in "Through Skin Parts" to 50% opacity.

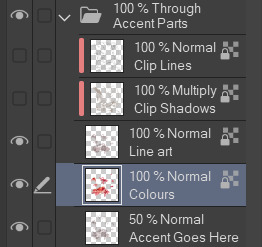
Lastly, put the bottom two folders completely out of your mind, we won't be touching them at all. The only folder that matters is "Through Accent Parts". As I'm drawing the accent itself, I make the lines and shadows layer invisible because they can just be distracting, like this:

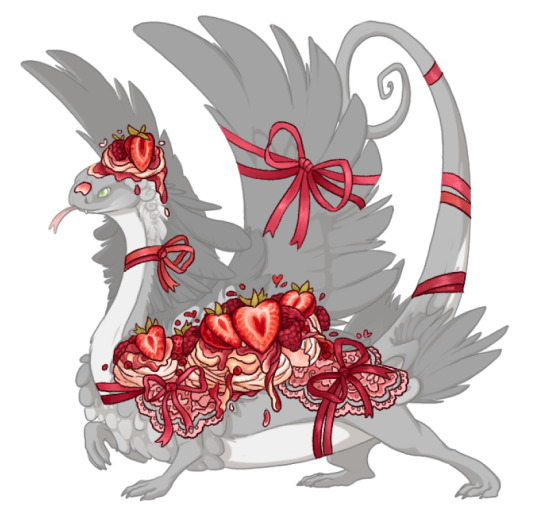
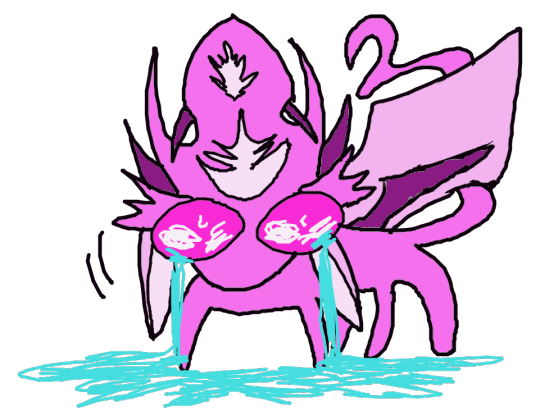
That layer beneath both lines and shadows layers? The one labelled "Accent Goes Here"? That's where you draw, and you can make more layers to draw more on later. For now you can sketch your design on that layer. Here's my sketch for my skin Strawberry Pavlova:

It's pretty rough at the moment so I want to add another layer to draw my clean line art on, in CSP this means just adding another layer and turning off clipping which automatically applies as the layers above it have clipping turned on. When that's done it should look like this:


(You can absolutely use more layers for lining if that's what you prefer!)
Next is adding colour. An important thing to note for this step is to avoid using colours that are very close to black, and to avoid using black altogether. This is against skin and accent rules as you need lines and shadows to remain visible over your design, and very dark colours make this a lot harder!
When I typically colour my skins and accents I will separate out design elements (so for example all plants on one layer, all blue cloth into another layer, all jewellery on another, etc etc.) into different layers- this is purely to make recolouring easier and isn't necessary. In this case I didn't have my colours separated out as I had no intention of recolouring this skin! This is what this skin looked like when I was finished colouring:
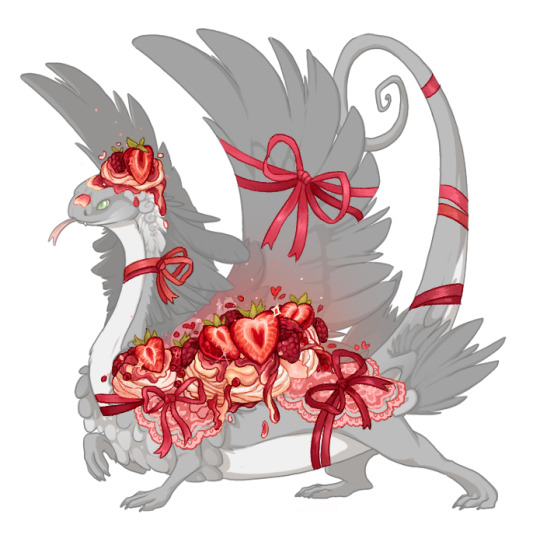
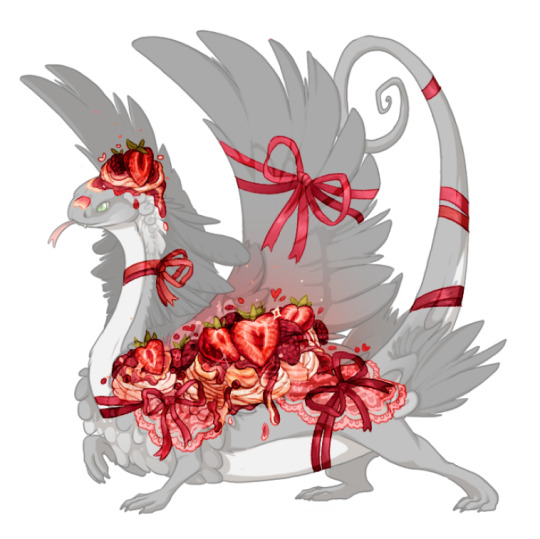
Now I just need to do some final finishing polish on the design! For this one it involves adding a bit of pink transparent colour behind the strawberries, adding pale transparent colour under my lace and of course- adding sparkles! One of the final things I do is recolour my own line art to a red-pink colour (in this case I had it set to multiply as well- but this isn't needed!) this takes some of the harsh edges out of the accent and make the design feel more cohesive imo!

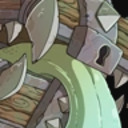
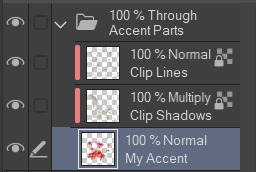
And the design is finished! The final step before we can submit this is a big one! We have to change the lines and shadows that we've been ignoring this whole time. For this I flatten all the art work into one layer, like this:
Why do we have to change the lines and shadows? Well...

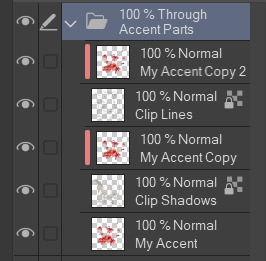
The default shadows are pretty high opacity and very grey, they cover up my accent and make the details harder to see. And the default line art is black. You can edit these layers to make them much nicer. You can edit them manually- making sure to lock transparent pixels so you don't edit the coverage of the lines and shadows. Or you can do this: (You can ignore this next part if you're finding it overwhelming) Duplicate your accent design twice (so you have three layers with it on total), set both your lines and shadows layers to normal and unclip them. Your layers will look like this:

Ignore what the accent looks like for now. Next move the copied layers so one is above the lines and one is above the shadows, keeping only one in the original position. And then clip these duplicated accent layers to the layers directly beneath them, it will look like this:
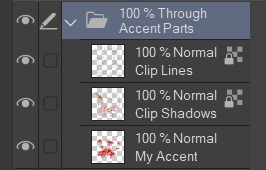
Merge the accent copy layers with its corresponding lines or shadows layer, you should still have 3 separate layers when you're done: The lines, the shadows and your original accent design. Like this:
Then clip both of the lines and shadows onto your accent design layer and set both lines and shadows layers to multiply. Like this:
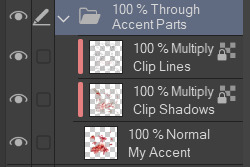
If you've done it all correctly your accent should now look like this:
This is a lot better than the default lines and shadows already! It's pretty dark in spots and my lines are definitely too light in other places though. So next I usually start by setting my shadows layer to 50% opacity and then going over both lines and shadows layers manually recolouring the lighter parts to a darker colour so they are visible on top of my final design. When you downscale your art to submit it, lines and shadows that were super obvious suddenly vanish- so don't be afraid to downscale it and keep editing the lines and shadows.
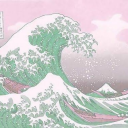
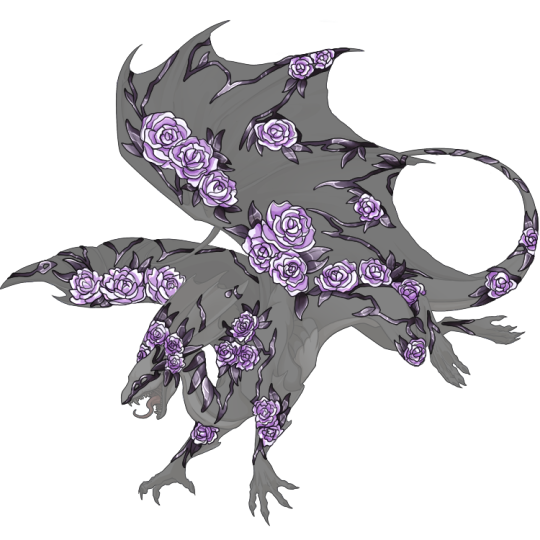
Here's what the final product, downscaled to 350 pixels, looks like:

This got accepted first try by skin mods (just in time for valentines!) Important things to note: places where my design is less opaque the lines and shadows are also less visible, this is completely fine! You don't have to fix this. Lines should always be visibly darker than the shadows they're on top of, this means sometimes they will have to be black to get them to show up or you may even have to make your accent underneath lighter to get everything to conform to the rules! Lastly, lines and shadows are subjective and you may end up getting rejected a few times before they're to skin mods liking. Its one of the harder parts of skin making and you won't always get it right.
Community feedback is your best friend, don't create in a vacuum! Go join discord servers where other people are making accents too, ask for help! Now go forth and make!
140 notes
·
View notes


Text


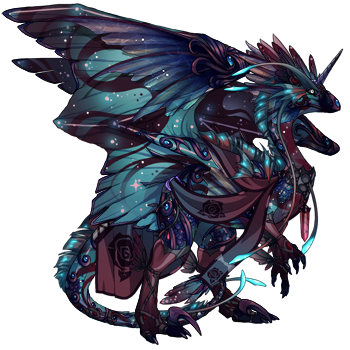


All my current dragons with the Deepwater Fins! ....tis very wonderful piece of apparel.
BattleShip -SolarShoal
TatteredTome -HydroJinx
CruorFuror -ElectroCyte
PrimordialSea -VitalVassal
18 notes
·
View notes
Text
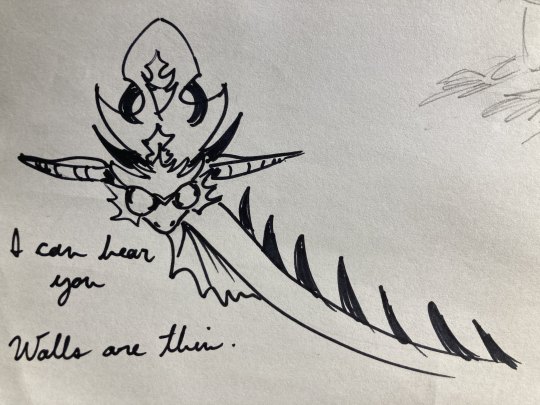
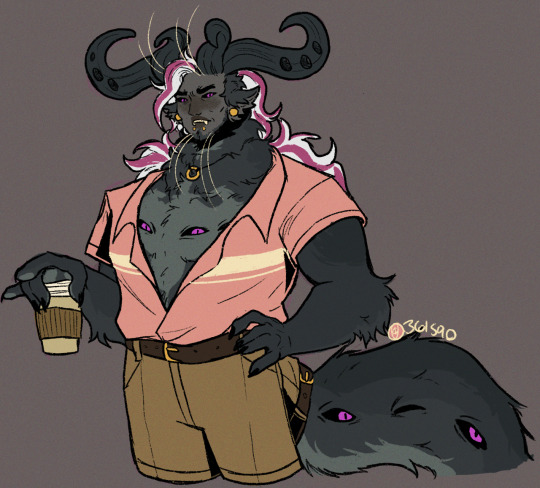
Little practice doodle of Salos
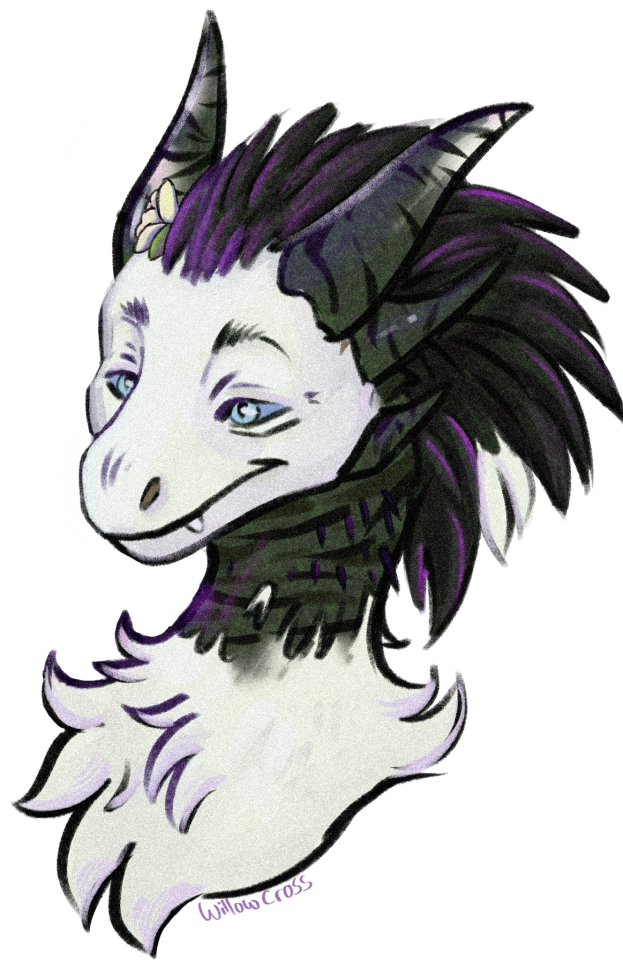
He has no fur on his neck :3
30 notes
·
View notes
Text

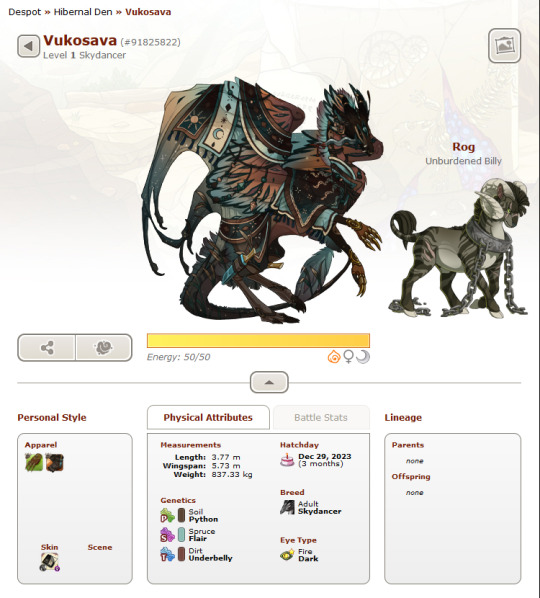
everyone say hi to vukosava she's here to protect you from the evil spirits in the woods..
62 notes
·
View notes
Text


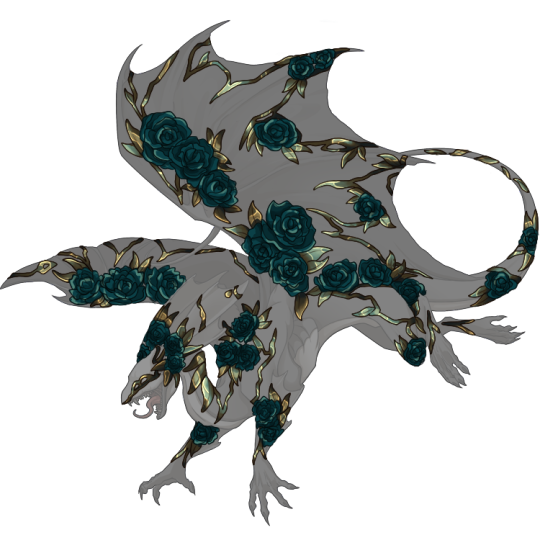


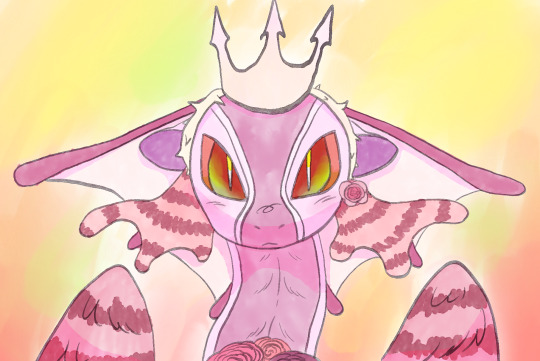
mirror mirror on the wall
These skins were inspired by a suggestion from @bellasdragons
mirror F somehow only has 11 pages of UMAs in the database so here are a million recolours to help bolster those numbers
[link to shop will be in the reblogs]
34 notes
·
View notes
Text
It’s Byron time >:]c drawing him in a very basic outfit is always funny to me, he belongs in extra clothes but he can rock anything. Love this stink ass guy(affectionately <3)
90 notes
·
View notes
Text
Another Spiral adopt, they’re available here if you’re interested in your own! ^^
7 notes
·
View notes

Text
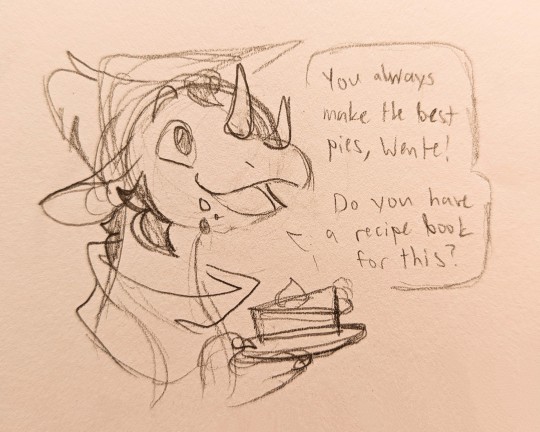
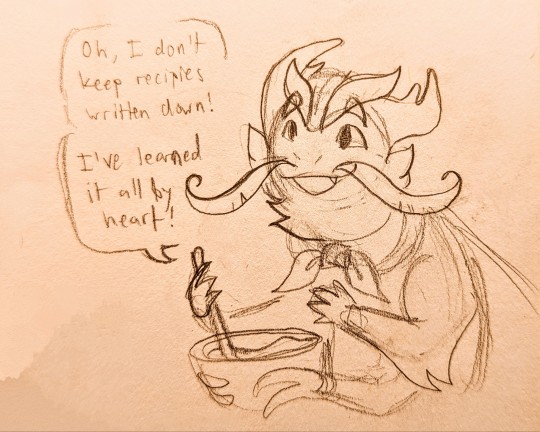

Sometimes even the baker gets a little hungry
-+-
From my King's Quest Flight Rising AU! Dragons featured are Graham and Wente
13 notes
·
View notes
Text


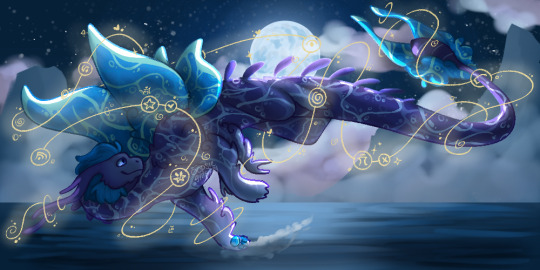
travel | dragon
just a casual speedpaint i wanted to do. video process below!
youtube
48 notes
·
View notes
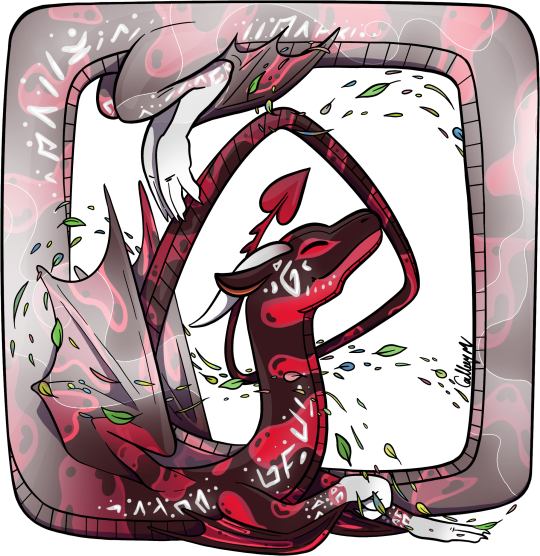
Text

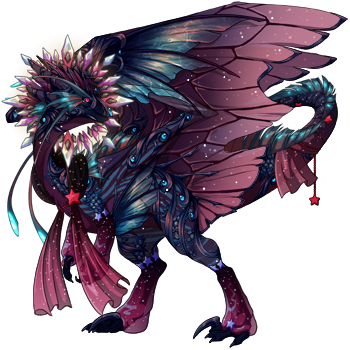
my darling girl... I dont remember why i turned you into an undertide but here we are....
41 notes
·
View notes
Text
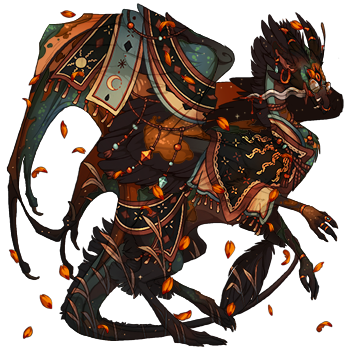
I HAVE ART TO POST
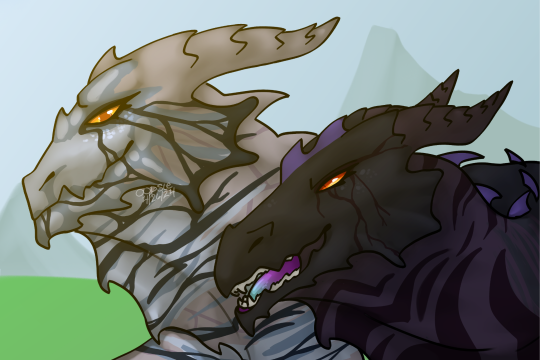


The obelisk is @/volcanicthunder's Fangar
31 notes
·
View notes
Text
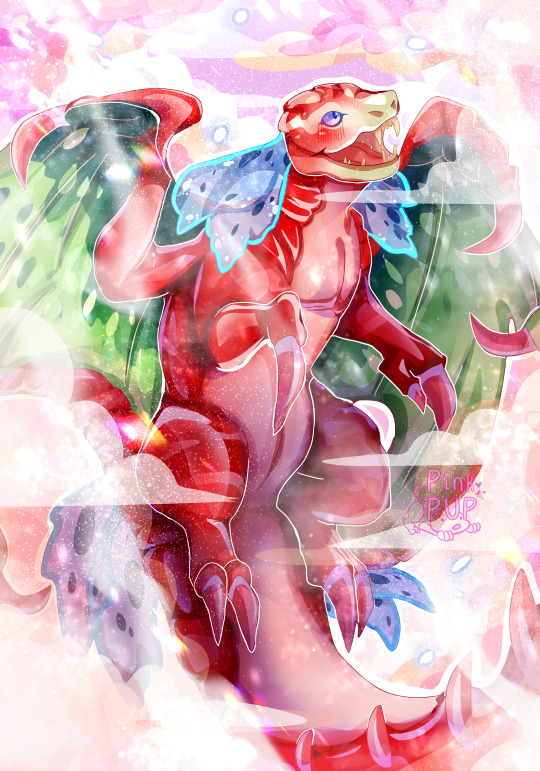
My precious dusthide Strawbs! I love him (♡-_-♡)

here he be:
101 notes
·
View notes

