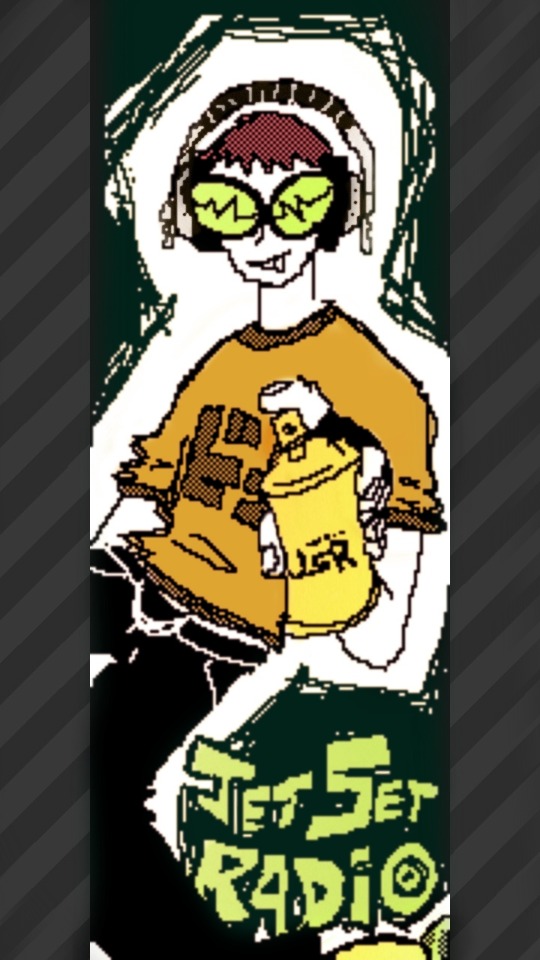
#edit: added a colored version bc I can't help myself
Text


territory it's a territory
#jet set radio#jsr#jsr beat#splatoon 3#my post#my art#maybe I just like games that involve violent painting#edit: added a colored version bc I can't help myself
29 notes
·
View notes
Note
Hey, Can I ask how you edit your gameplay pics? I am a mac user and my ss' are bad and I struggle so hard cause I've never used photoshop before starting a simblr and I can't use reshades to assist me :\
I'd really appreciate any help esp how you blur the backgrounds and make everything look so pretty. TYSM
hi! thanks so much for the compliment!
this is specifically for gameplay posts, but what I do in ps is pretty much using actions then I play around with those settings.
here's a not so little tutorial for you:
here are some actions I've downloaded and use:
smooth by earlygrape // perfect for smoothing out pictures
avonlea // another action that's good for smoothing out pictures, you need topaz clean for 2 of them, but the other 2 you don't (like smooth sharp -- use that one)
sonder by intramoon // these actions will change the color of your pictures and there's a lot of options! it might be a little advanced but these will give you a chance to play around with the style of your pictures once you're more comfortable
sunbloom by fairyfang // these are old but I used them when I was first starting to edit posts myself and they're good to use when playing around and getting the hang of using actions, these are other actions you can play with to change the color/overall vibe of your pictures
how to load actions: you load actions by locating 3 tiny lines on the top right hand of your actions window then drop down to load actions. this will open up finder so you can select the files. the files will have the title.atn, select that and they'll load into photoshop
where to find actions in ps: you find actions by going to window > then select actions, it should be the 2nd one listed after 3D. a little box will pop up and once you have loaded some actions, that's where they will be
how to use the actions: so you downloaded, you located them in ps, now its time to use them. how you do this is by finding the one you want to use > selecting the folder > pick a specific one > then at the bottom of the actions tab will be a little triangle, click that & you will have used the action. it'll either be added on top of your picture in a new layer as a folder, or it'll just change the picture.
tiny tip: if you don't like how it changed your picture, there's a tab called history that you can go to and delete what you did
another tip: it helps to just always make a new layer or copy a layer bc if you make a mistake it's easier to locate where the action started or you can just delete the layer and start over. to copy, it's command+j, for a new layer there's a little + inside of a box at the bottom of your 'layers' window. if you don't have a layers window, you can also find that in window >layers
that's pretty much the basics for actions, now onto blurring:
for starters, there should be a little tool bar on the left side of your screen (that's where mine is) you'll know it's the tool bar bc it'll have a little + with arrows on each corner, a dashed box, a lasso, a magic wand, etc. the tool bar has what you need to begin the blurring background process.
there are multiple ways to blur backgrounds but here's my basic version: right click the magic wand > select quick selection tool.
like in sims, you can make the brush bigger and smaller with [] depending on how big the area that you want to blur is.
then go over the area you want to blur, it'll have the moving dashes around the area once its selected. now go to filter > blur > lens blur (or any other selection you want to play with) > then go to radius & adjust the number to make your selection more blurred or less blurred > hit ok & you're done!
that's pretty much the basics, so I hope this helped! please feel free to reach out again if you need clarity or more help or send me a little chat! ♥️
14 notes
·
View notes