
skellyboys
The Skellyboys
Just three skeletons trying to live their deaths. The Skellyboys: Milo, Ravi and Laika, plus Laika's service dog Rosie and family cat Cypress! Ko-Fi
150 posts
Don't wanna be here? Send us removal request.
Last Seen Blogs

hopland
HOPLAND NETWORK

murdochpod
The Murdoch Mysteries Podcast

weepingfoxmoon
WeepingFoxMoon

diegochtos-blog
Sem título
Photo
kofi | twitter | instagram
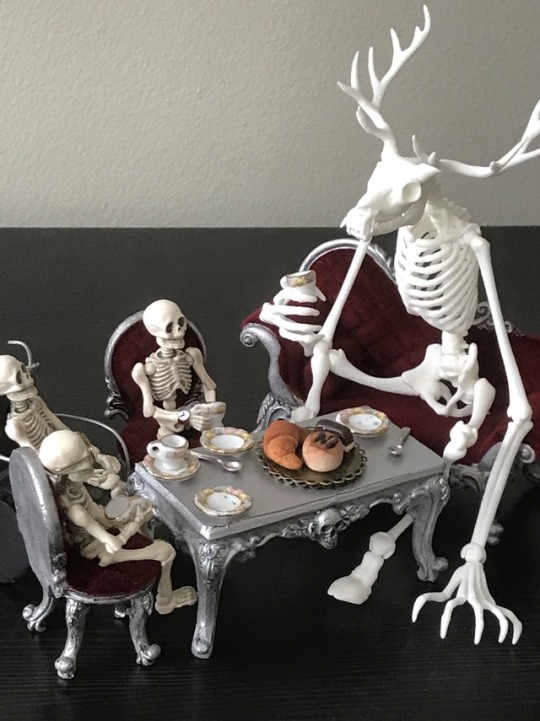
Tea is always better with friends
4K notes
·
View notes
Text
It’s been quite a year
#skeleton#miniature#pose skeleton#skeleton doll#skellyboys#action figures#spooky#re ment#collectibles#halloween#rement#novelty toys#toy photography#milo
129 notes
·
View notes
Photo
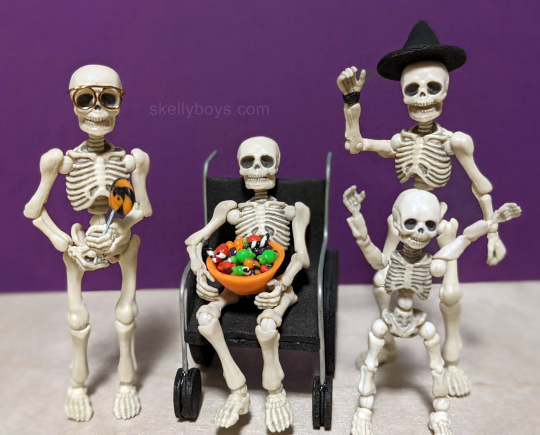
Happy Halloween!!! We hope, despite everything going on, your Halloween was filled with tricks and treats alike!
kofi | twitter | instagram
43 notes
·
View notes
Photo
Happy Halloween!!! We hope, despite everything going on, your Halloween was filled with tricks and treats alike!
kofi | twitter | instagram
#skeleton#pose skeleton#miniature#collectibles#halloween#action figures#novelty toys#spooky#rement#re ment#toy photography#toycommunity#skellyboys
43 notes
·
View notes
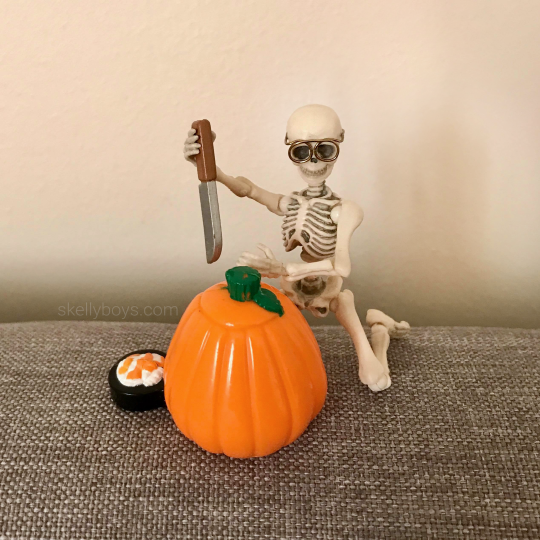
Photo
It’s officially October! Enjoy the last of the warmth before the autumn chill rolls in 🎃
#toy photography#miniature#collectibles#action figures#novelty toys#skeleton#pose skeleton#spooky#halloween#rement#re ment#Skellyboys#skeleton doll#milo#olive
66 notes
·
View notes
Text
The making of Amelia and her forest base (pt. 1)
As promised, here is the first part of how I made this:
This post will mostly be focused on how I altered the model itself, the making of the base will come later.
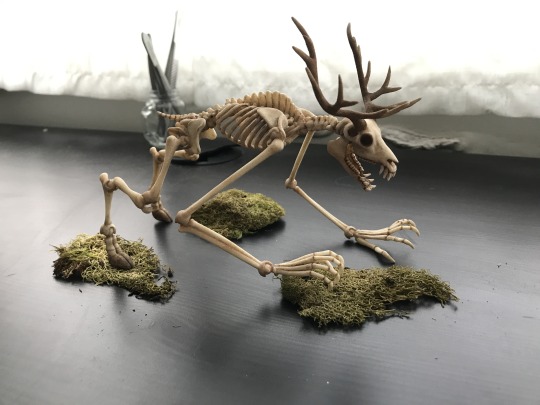
Starting off, Amelia is from Mythic Articulations’ line of poseable skeleton figures (shop here). The whole line is 3D-printed in a lightweight, plain white nylon. Here’s what Amelia looked like originally:

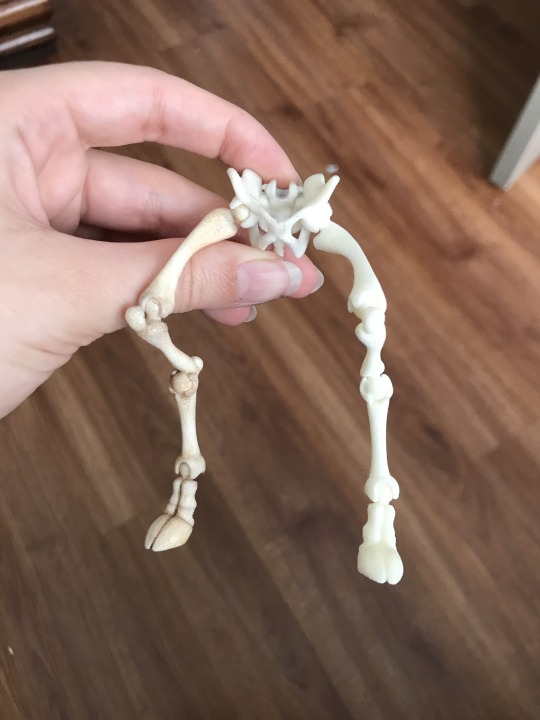
The first step in getting her ready for colour was sanding. The way these figures are printed leaves them with a lot of print-lines and a pretty rough texture which you can kind of see on this unaltered hand below.

Because she’s so light, I’d thought she was quite delicate and only required a light sanding to get her smooth, but I was wrong. I had started with an extra fine grit sandpaper but ended up largely using nail files (jewelry files also work well).
I was also mistaken in how the material would take colour. I started out blushing her joints and crevices with brown chalk pastel and a fine brush but soon realized it was going to take forever to build up the colour to where I wanted it. The left leg has some chalk pastel, the right is still (blindingly) white. I wanted her to have a spooky, ancient look so I had to up the ante.
I graduated to using watered down burnt umber acrylic paint which the material took a lot better, again still focusing on the joints and seams between bones. Often I did a light wash with very watered down paint and used a paper towel or my fingers to remove colour from all but the lowest areas.

At this point however, I decided her colouring was a bit too warm for my taste, so between layers of brown washes I went in with some cool grey chalk pastels (when she was fully dry!!) to help neutralize everything.
Once I had the body pretty much where I wanted, I went in again with some burnt umber paint, still watered down but not as much as before, and set about darkening her hands, feet, eyes/nose, antlers, and around her teeth, still adding grey pastel to keep her overall colour consistent.
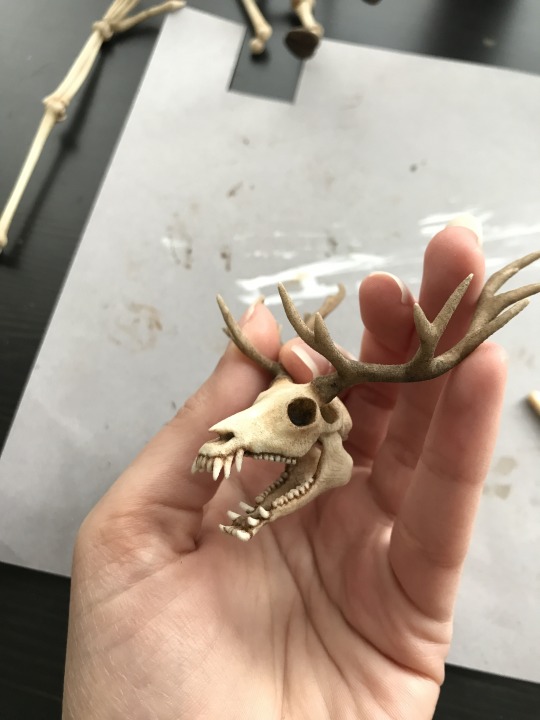
When outlining the teeth, I made sure to use a very small, ultra fine pointed brush (the one I used was the Tamiya modelling brush 87153) and built up the colour slowly with watered down acrylics, wiping off the excess from the teeth themselves.
After all this, a few of her ball joints were a little loose despite my best effort to leave them untouched. To remedy this, I just used a few coats of matte Mod Podge and boom, she was back to holding her poses.
After everything was dry and assembled, she was done! I sealed some of her more “high traffic” areas where I would be touching her more with matte Mod Podge but honestly the nylon is so absorbent that it wasn’t fully necessary, the colour soaked right down to the bone (lol).
Thanks for reading, and check back soon for part 2, making the forest base!
#skeleton#art doll#tutorial#leshen#leshy#mythic articulations#mythicarticulations#action figures#novelty toys#wendigo#miniature#toycommunity#step by step#notskellyboys#amelia
176 notes
·
View notes
Photo

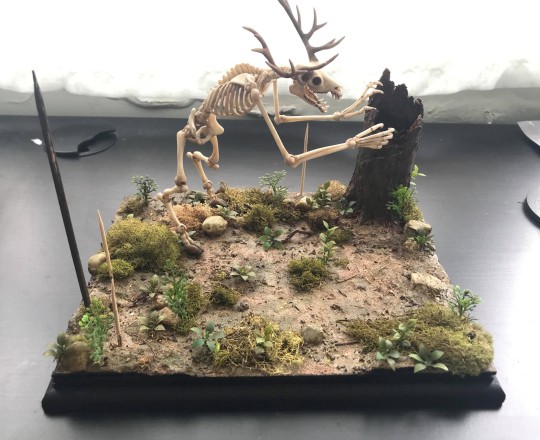
A recent project involving Amelia in her natural forest habitat. Still just a wip but I’m happy with how it’s coming along. I’ll be making a post showing how I made the base as well as the painting process on Amelia herself so stay tuned!
#notskellyboys#amelia#leshen#leshy#skeleton#miniature#collectibles#action figures#novelty toys#art doll#mythicarticulations#mythic articulations#wendigo#(as in she is the wendigo model from mythic acrticulations)#(she is a leshen and im just tagging to reach a wider audience and so MA customers can see what the model looks like painted)#toycommunity
92 notes
·
View notes
Photo
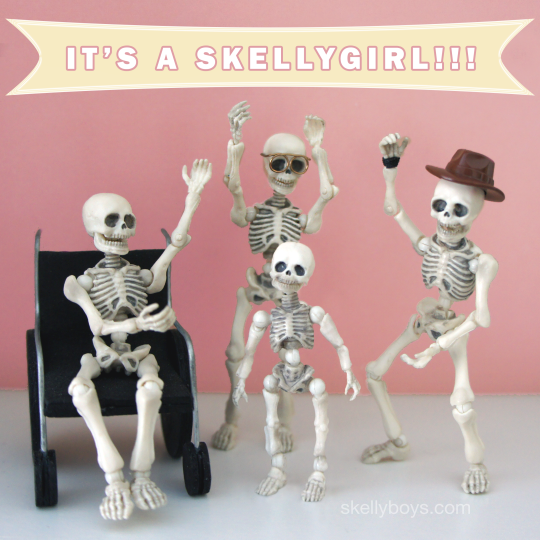
It’s… a SkellyGIRL!
A huge welcome to Olive, the newest member of the Skellyboys family!!!
ko-fi | twitter | instagram
75 notes
·
View notes
Photo
It's... a SkellyGIRL!
A huge welcome to Olive, the newest member of the Skellyboys family!!!
ko-fi | twitter | instagram
#skeleton#pose skeleton#skeleton doll#miniature#collectibles#action figures#novelty toys#spooky#rement#re ment#dollhouse#skellyboys#olive#toycommunity
75 notes
·
View notes
Photo
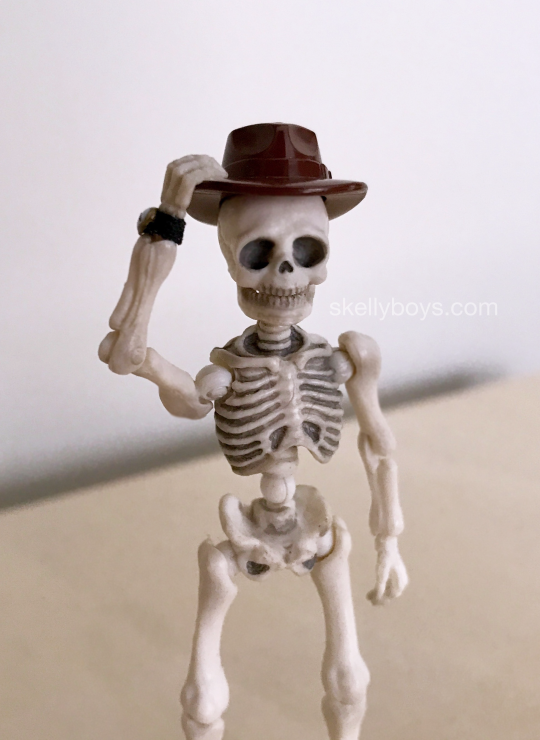
Ravi’s new favourite hat 🤠
#skeleton#pose skeleton#skeleton doll#miniature#collectibles#action figures#novelty toys#spooky#rement#re ment#dollhouse#skellyboys#ravi#cowboy#yeehaw
71 notes
·
View notes
Photo
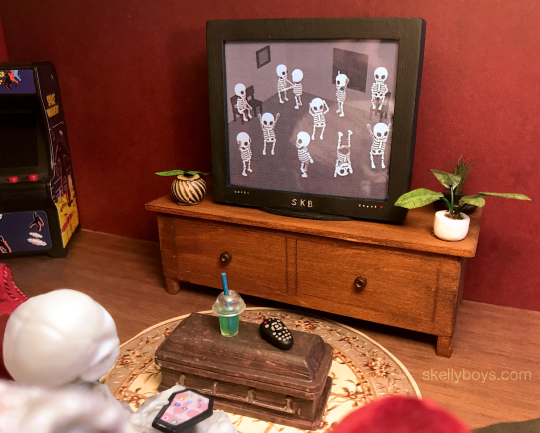
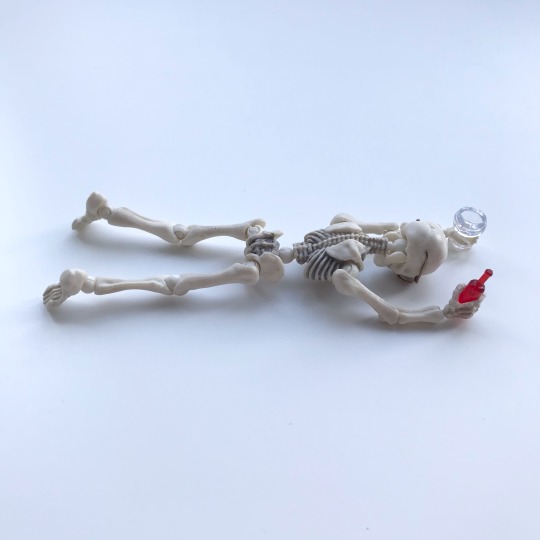
Laika’s having a chill day, just relaxing and watching some cartoons (lovely low poly skeletons by @fi3d)
ko-fi | twitter | instagram
55 notes
·
View notes
Photo
Laika's having a chill day, just relaxing and watching some cartoons (lovely low poly skeletons by @fi3d)
ko-fi | twitter | instagram
#skeleton#pose skeleton#miniature#collectibles#action figures#novelty toys#spooky#halloween#rement#re ment#skellyboys#dollhouse#laika
55 notes
·
View notes
Photo
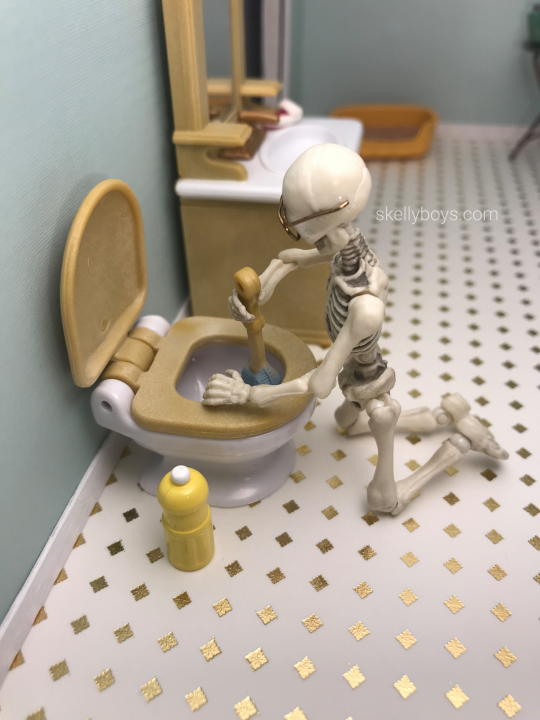
Milo, forever hard at work…
ko-fi | twitter | instagram
64 notes
·
View notes
Photo
Milo, forever hard at work...
ko-fi | twitter | instagram
#skeleton#pose skeleton#skeleton doll#miniature#collectibles#action figures#novelty toys#spooky#Halloween#rement#re ment#skellyboys#milo#bathroom
64 notes
·
View notes
Text
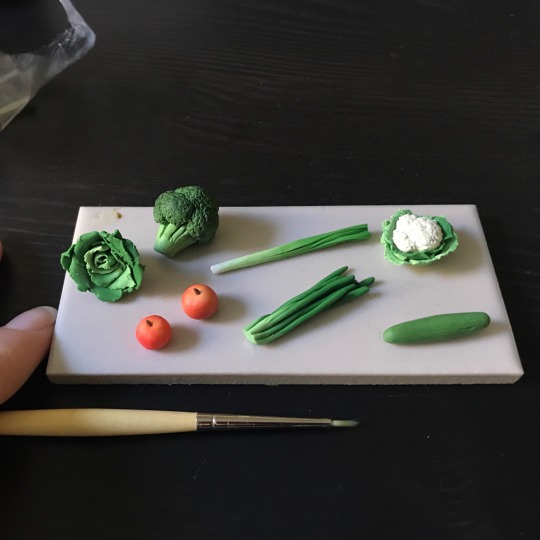
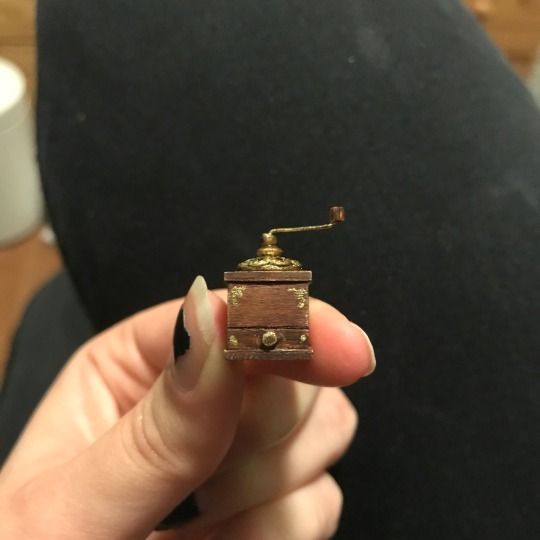
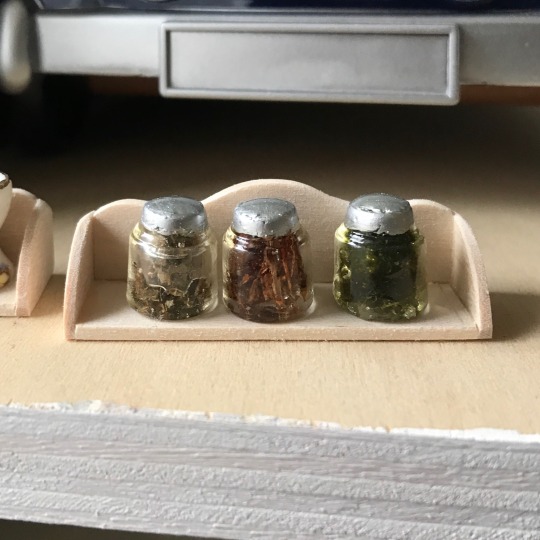
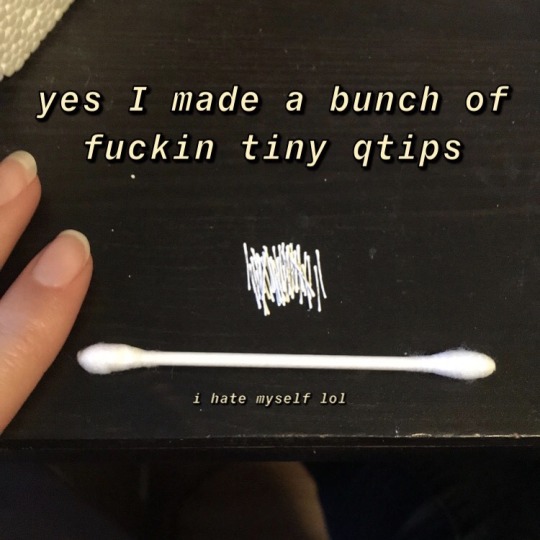
some of my favourite miniatures I’ve made recently ✨
71 notes
·
View notes
Photo
Getting ready...
#skeleton#pose skeleton#skeleton doll#miniature#collectibles#action figures#novelty toys#spooky#halloween#rement#re ment#skellyboys#halloween 2019
101 notes
·
View notes
Text
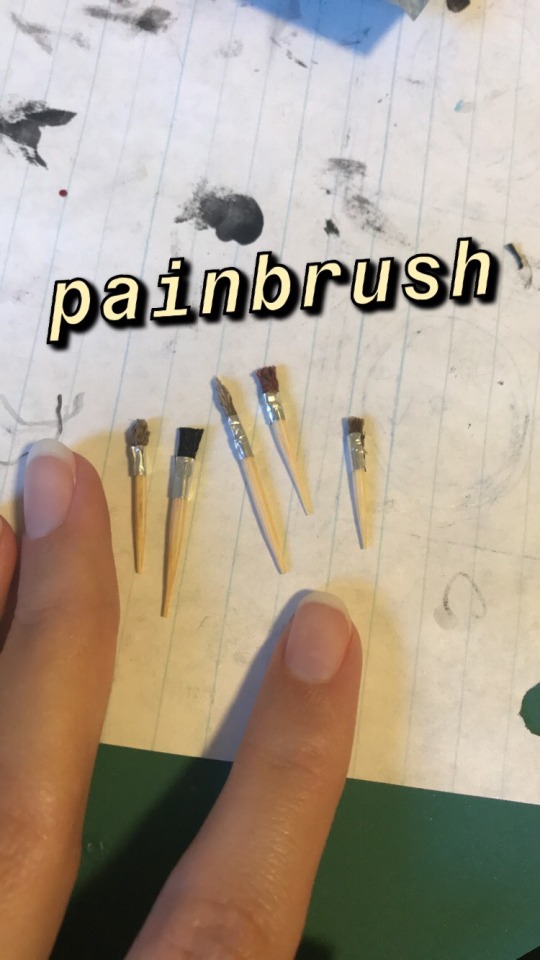
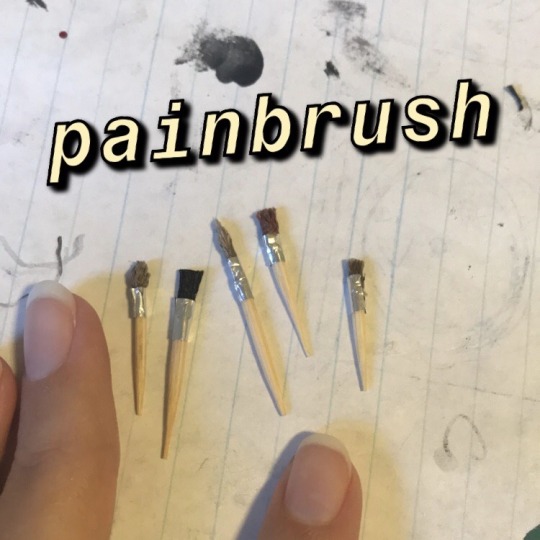
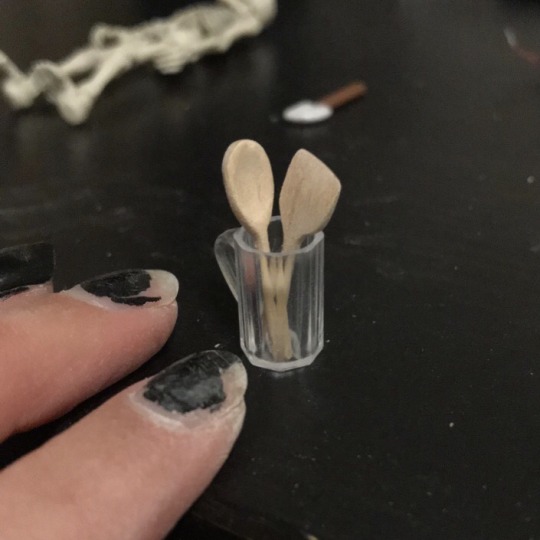
Laika loves to paint so I thought I’d make him some more brushes!
- Mod Ridley
41 notes
·
View notes