#cosplay genshin impact
Text
This isn't a drawing for once, I just want to spread the cynonari love to the whole world (recorded at Japan Expo).
#cynonari#cyno#tighnari#cynari#cosplay genshin impact#japan expo#tighnari cosplay#cyno x tighnari#genshin impact#tighnari x cyno#genshin ship
115 notes
·
View notes
Text
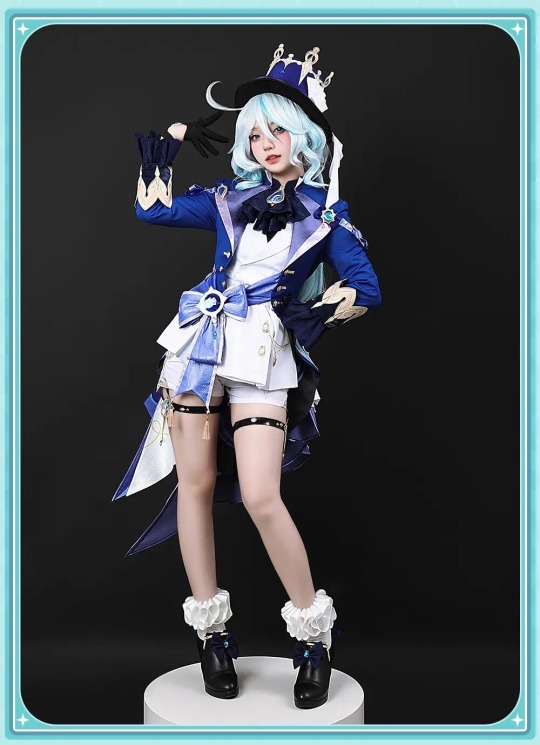


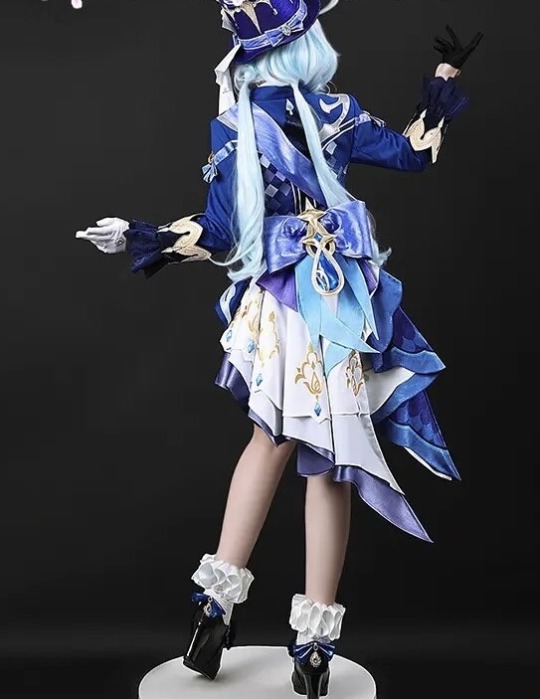
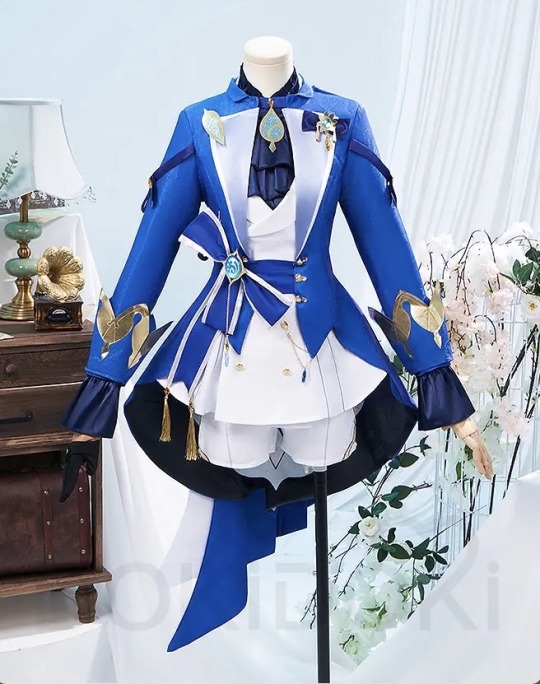
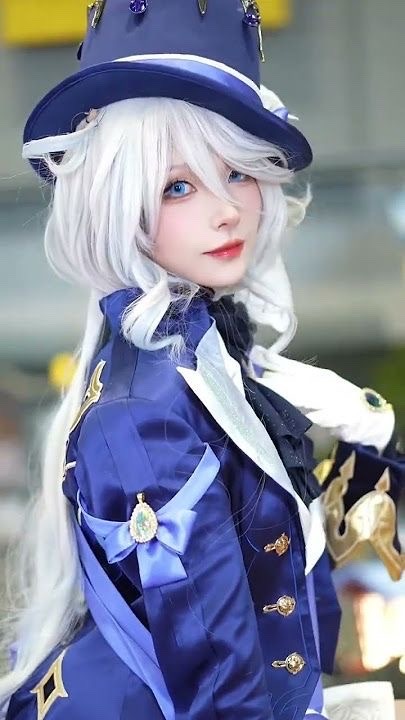
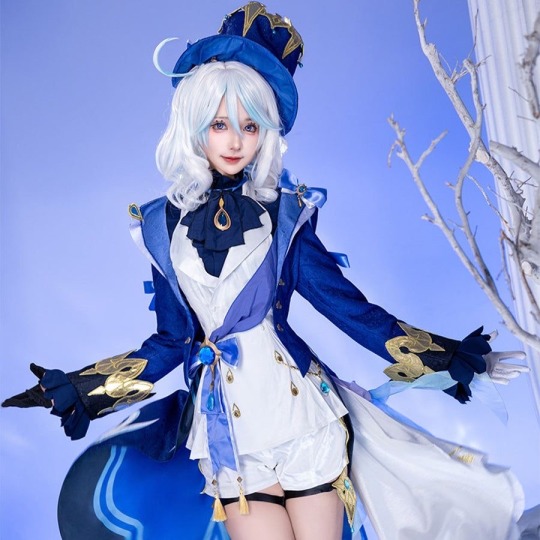
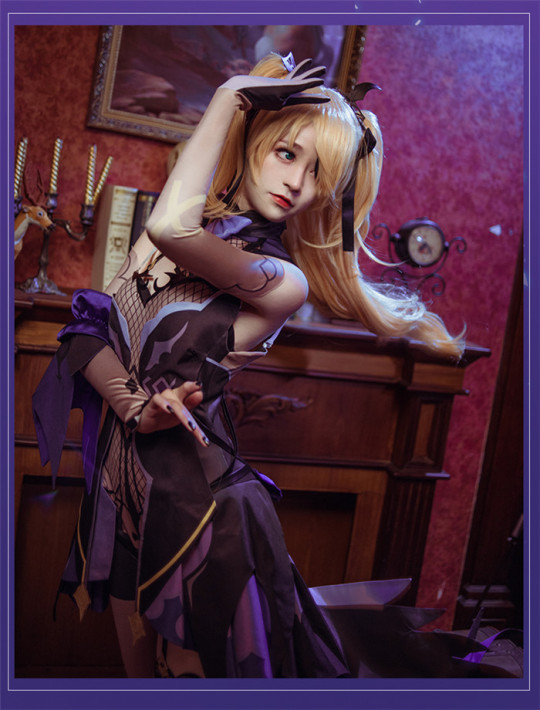
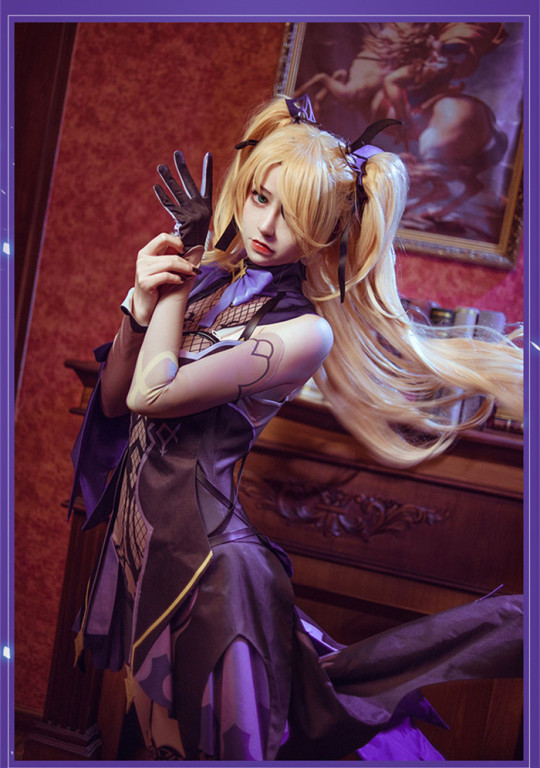
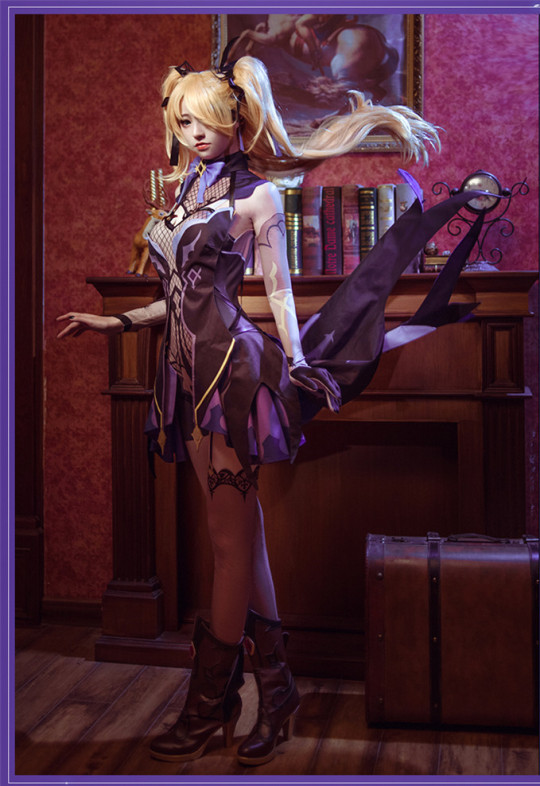
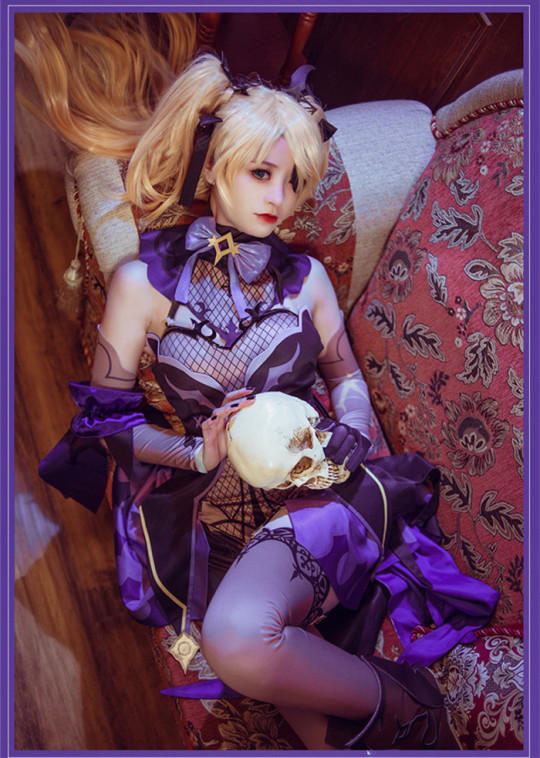
Get the Furina Genshin Impact Cosplay on killerlookz.com
#genshin cosplay#genshin fanfic#genshin imapct#cosplay girls#cosplay genshin impact#furina#furina character demo#genshin furina#cute outfit
35 notes
·
View notes
Text


Séance photo de Bennett de Genshin Impact
Album complet: https://flic.kr/s/aHBqjAEeeC
Modèle: https://www.instagram.com/sayitwith_smile/
Site Web: http://capitainebarbeblonde.fr/bennett-genshin-impact/
31 notes
·
View notes
Text


CONVENTION PHOTOS!! :3
It was so fun talking to and meeting people at Sacanime this year! ^^
It was like a dream come true getting to see tons of the English voice actors for Genshin!! I’m surprised I didn’t pass out on the spot.. (ˊᗜˋ*) ✩
#⟡ ethereal talks ⟡#EEEEEEEEEEEEEEEE#sacanime#genshin cosplay#cosplay genshin impact#genshin impact cosplay#genshin impact#dottore genshin#genshin dottore#il dottore#dottore#dottore cosplay
11 notes
·
View notes
Text
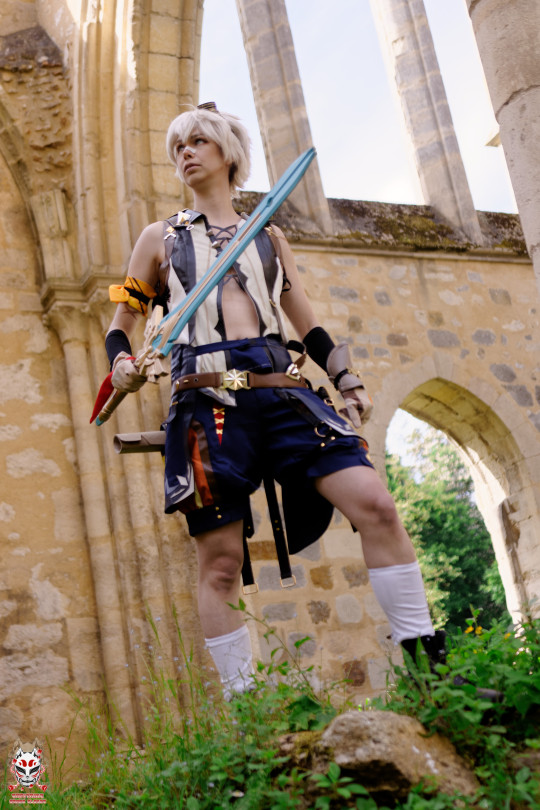
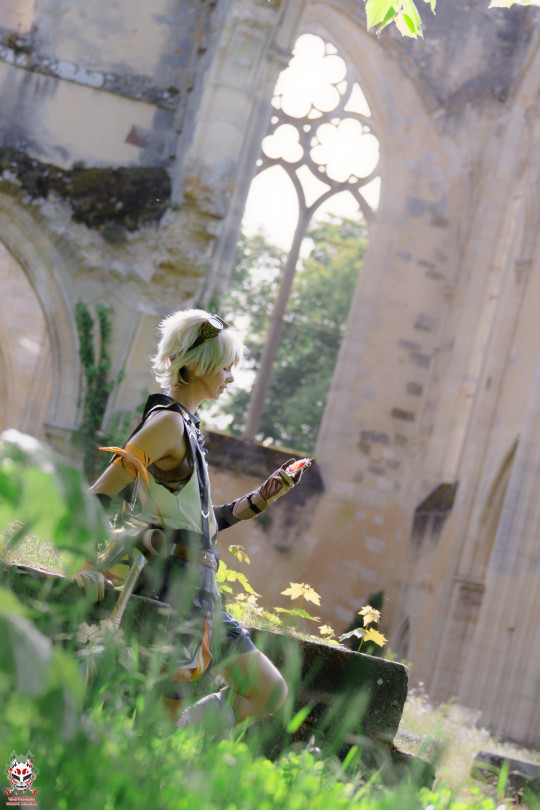
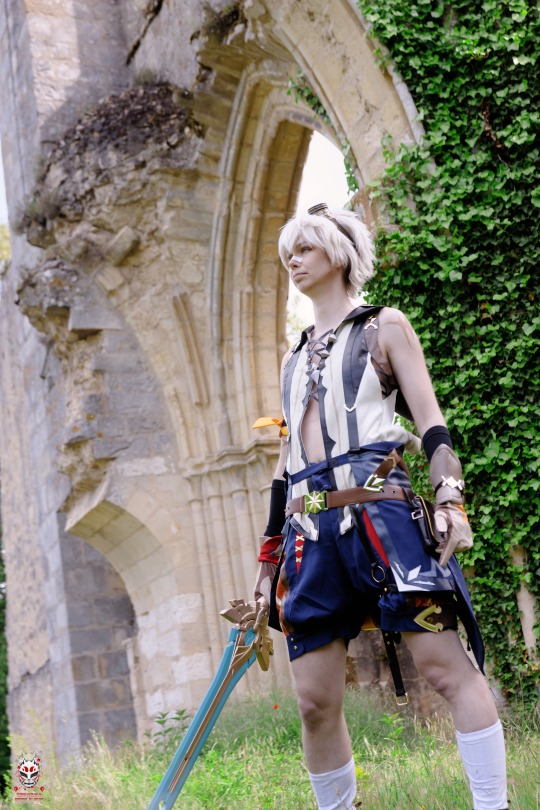
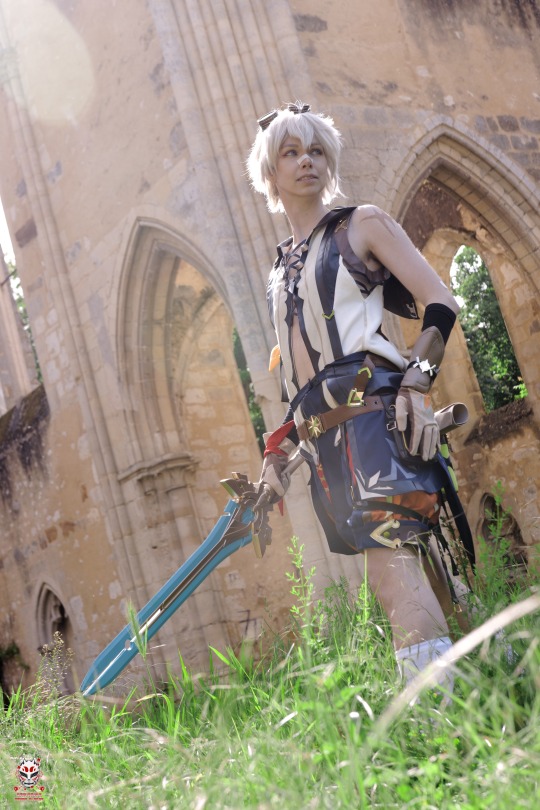
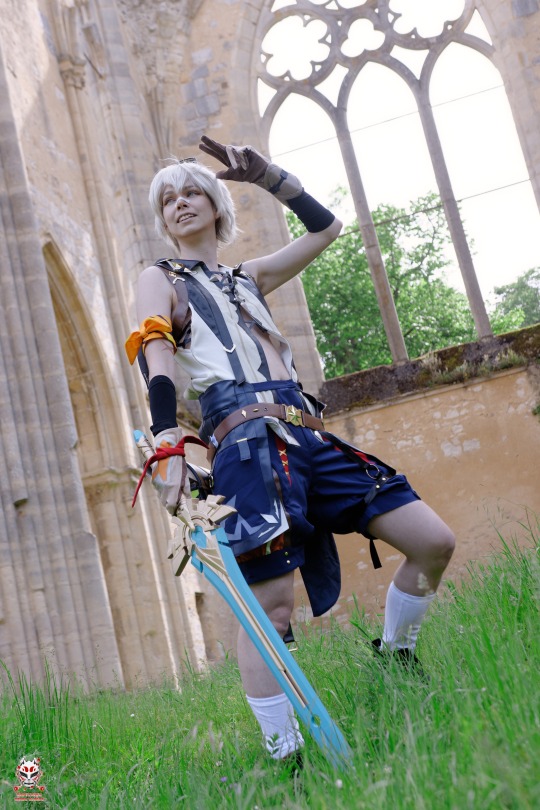
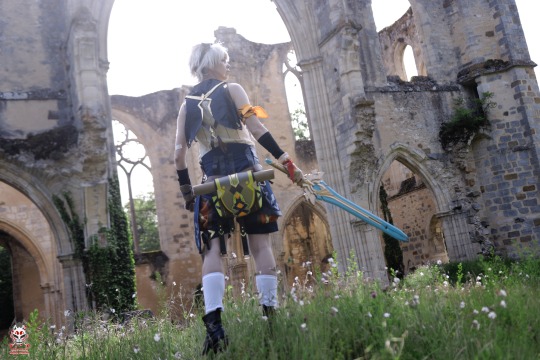
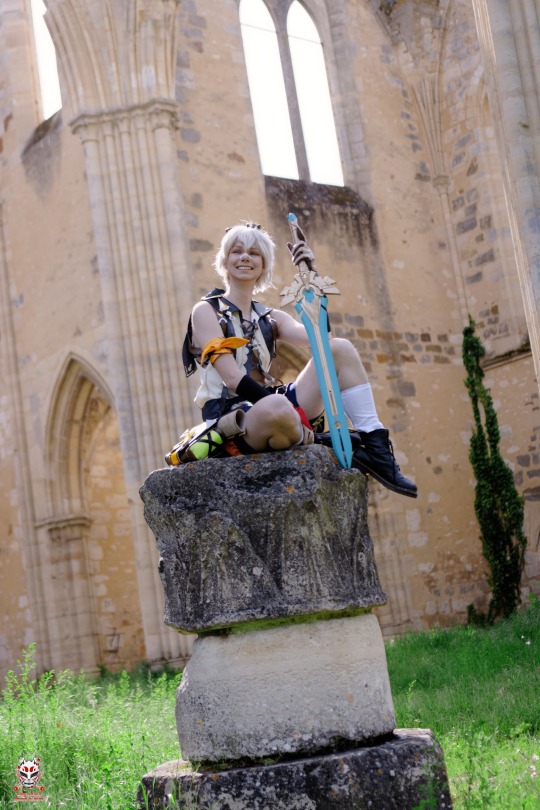
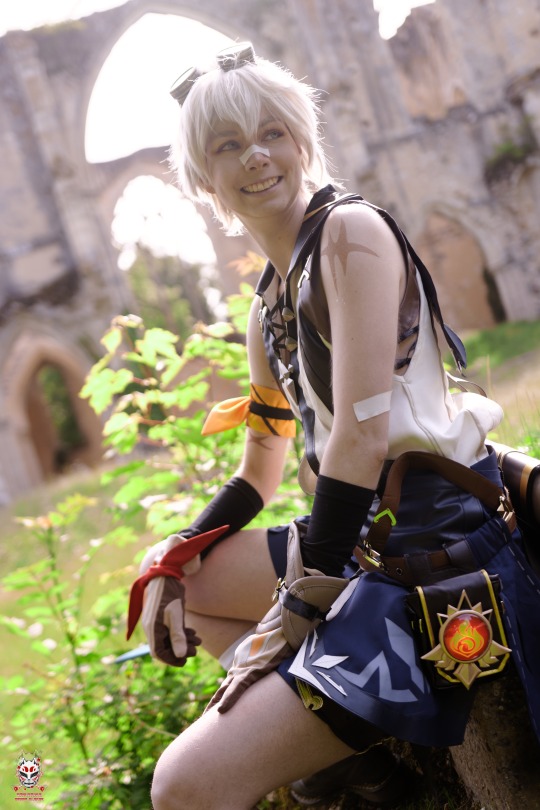
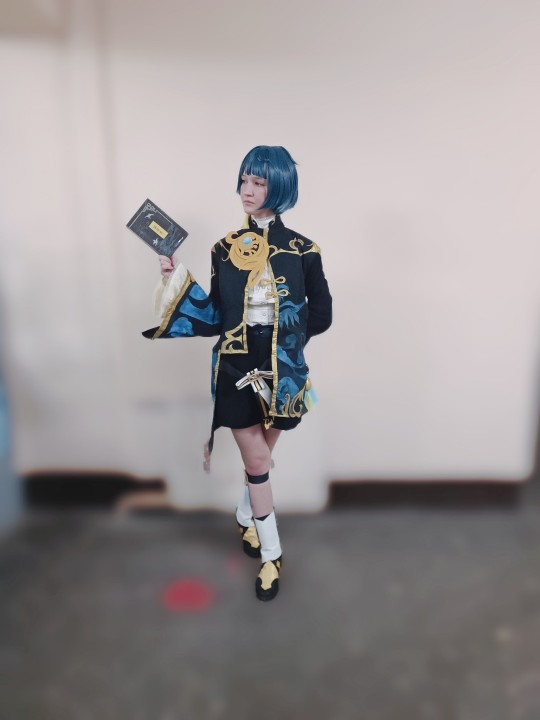
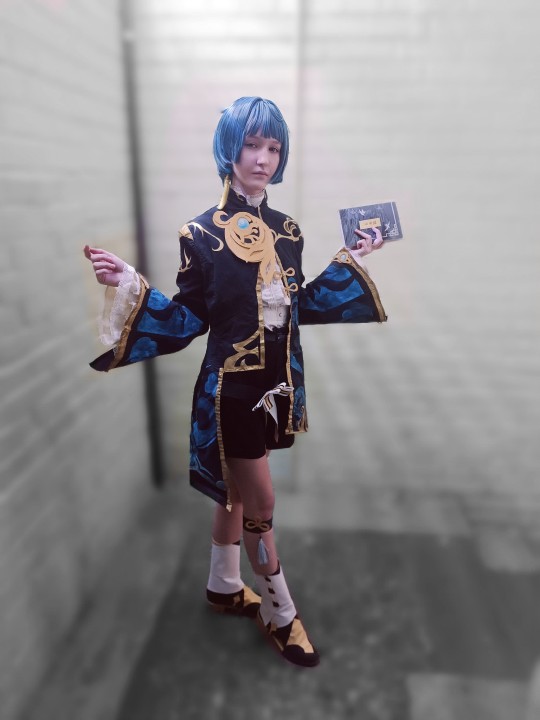
Nameless Bard Cosplay Breakdown
Why? Why not (I want to share my creation especially with seeing so many tiktok cosplays of them, but never any guides/posts about how people. did stuff for them /lh)
I..don't know how well screen-readers will handle such a long post. I hope it works out okay.
Note: final image does not have alt image text at the time of posting, but I intend to add it later on
add alt text to images (all minus final since that would be a picture from the morning of)
Cloak
This thing is LONG. I'm about 5'1/155 cm, and this thing goes down to my KNEES (& big hood too!)
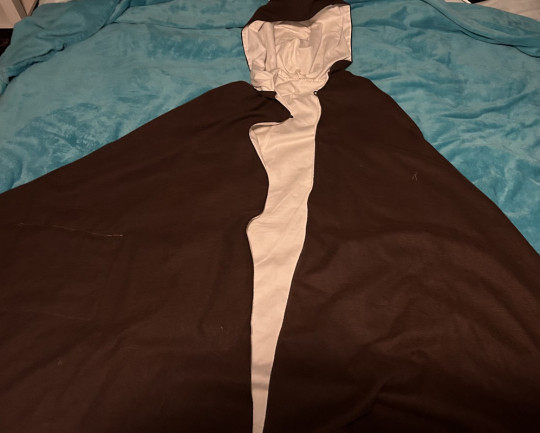
The inside fabric is from old off-white/beige bedsheets, and the outside fabric was from joann's (link).
I used a pattern from Aliceincosplayland on Etsy (link) (note: you don't need to buy a pattern to make a cloak- I bought it because of the different options between the lengths & hood sizes) ; for mine, I used the knee-length pattern & the larger hood size.
The large covered hook & eye also from joann's (link).
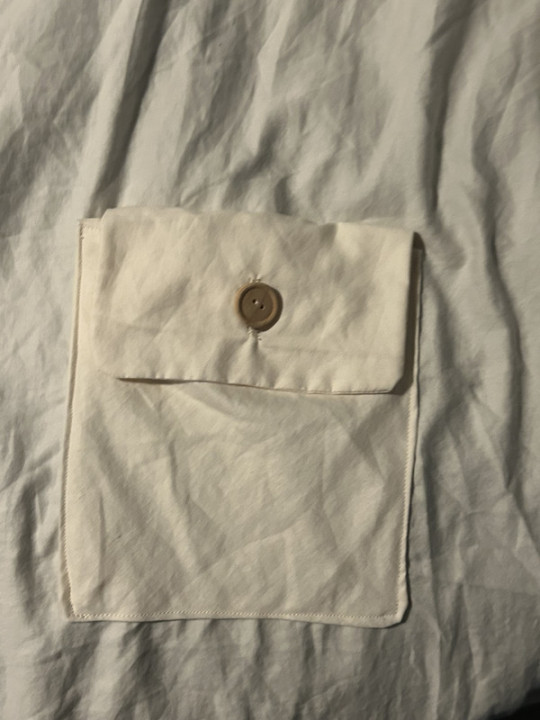
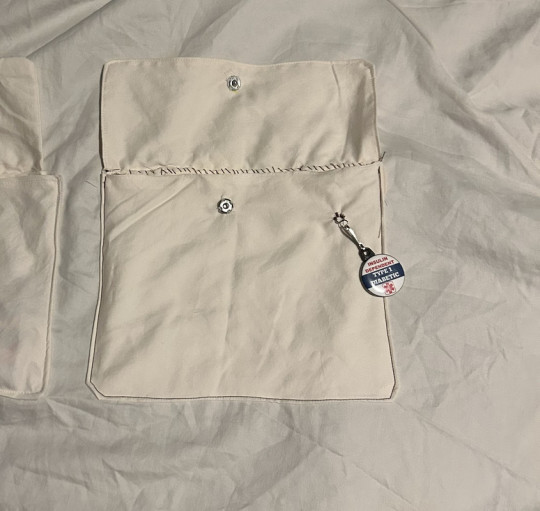
POCKETS! There's 2 small pockets close to the edges, & a bigger one I added this year to fit things like my PDM, testing kit, battery pack, etc. The smaller pockets have wooden buttons & button holes, the bigger one has a snap w/ a wooden button hot-glued on top because I didn't wanna tinker with the button hole foot.
Windblume Flower
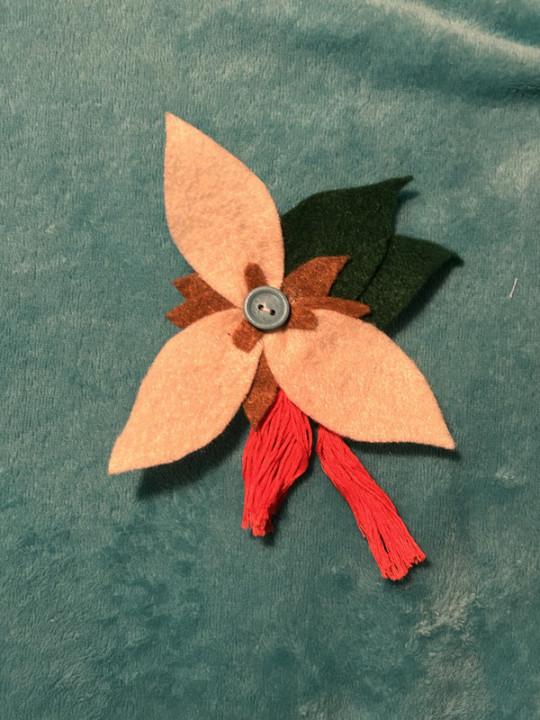
I forgot what I traced but I made patterns for the leaves and petals & used a tutorial to make the tassels with red embroidery thread.
It's made of felt, hot glue, and I hand-sewed some bits like the button in the middle. It's also removable & fastens via safety pin sewed into the back.
Shirt
I gotta be honest, I forgot to work on it and tried to finish it about a week before the con. It looked like it was going well, but little errors made it look not up to the standard I was holding myself to and I hated it. I didn't even add the finishing touches with the shirt's collar's closure, or the ruffles on the cuffs of the sleeves. Instead, I'm using the original shirt I got off amazon last year (link), which I'm glad I kept intact when trying t make the second version's pattern.
I wanted to make another variation that was closer to his canonical outfit and was not made out of that plasticky fabric material (not that it was uncomfy, I just thought it'd be better for a convention center with a lotta people). The arm holes were a bit too big, the neck hole was a bit snug, and I botched the collar almost entirely. Lesson learned, make mockups and do not procrastinate on your projects until the week before the event.
I have the picture of it in this post.
If it counts, last year I made a slight alteration to the original shirt in which I sewed part of the slit in the top so it didn't go as deep. That's about it, honestly.
Shorts
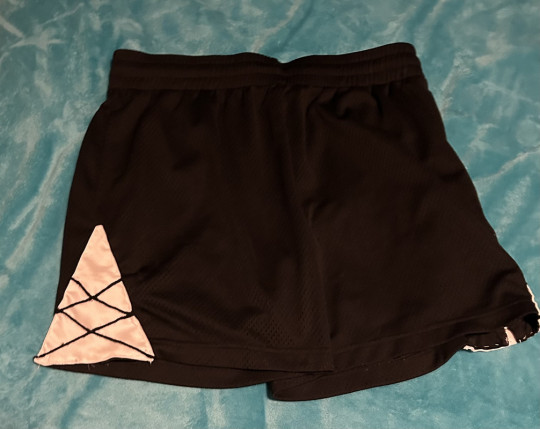
Honestly, these weren't too bad overall. I cut the triangle panels out of white fabric, used embroidery thread for the criss-cross bits, and hand-sewed said panels onto the shorts.
It's great 'cus it has pockets and it's adjustable with the drawstring on the inside.
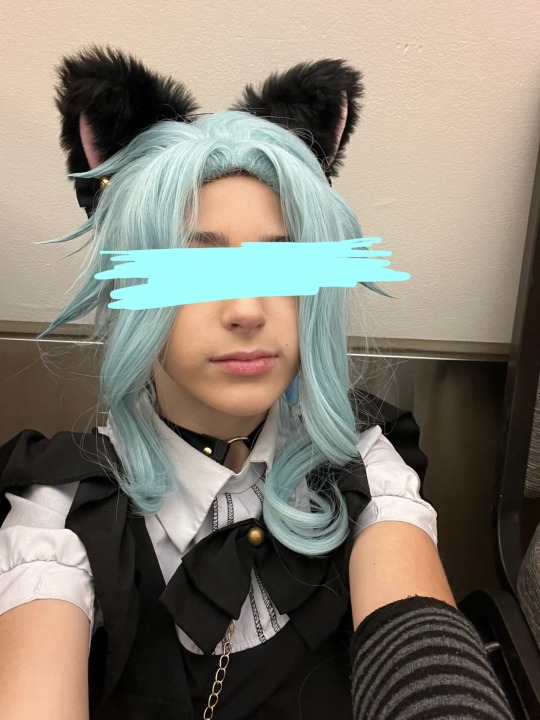
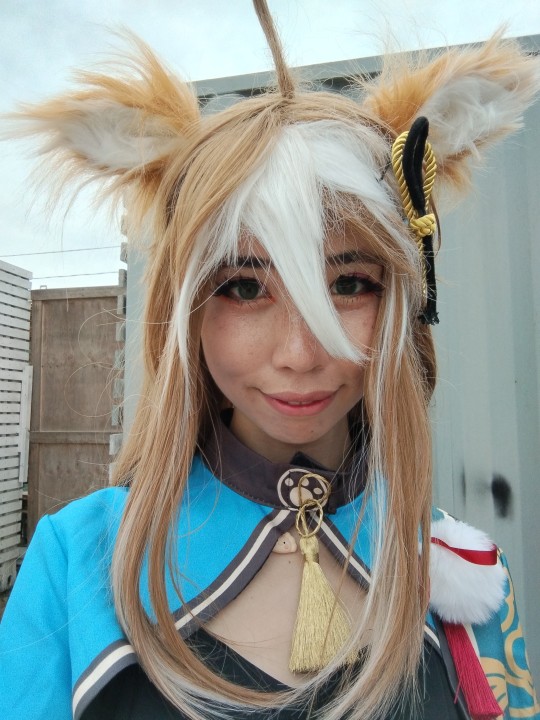
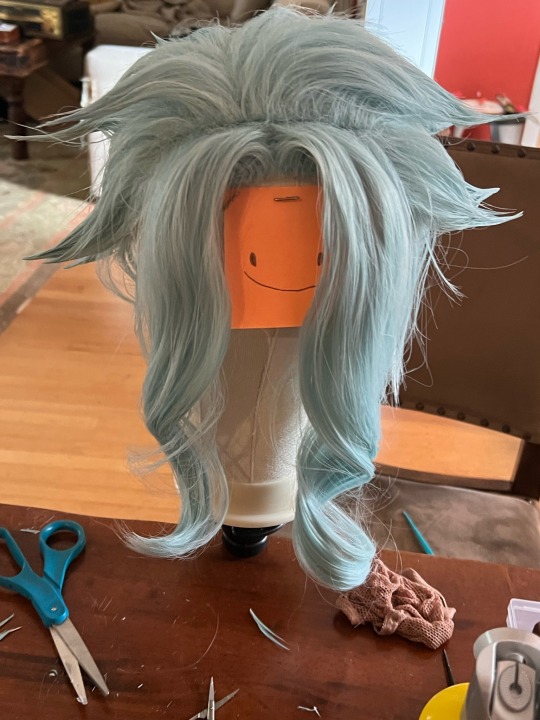
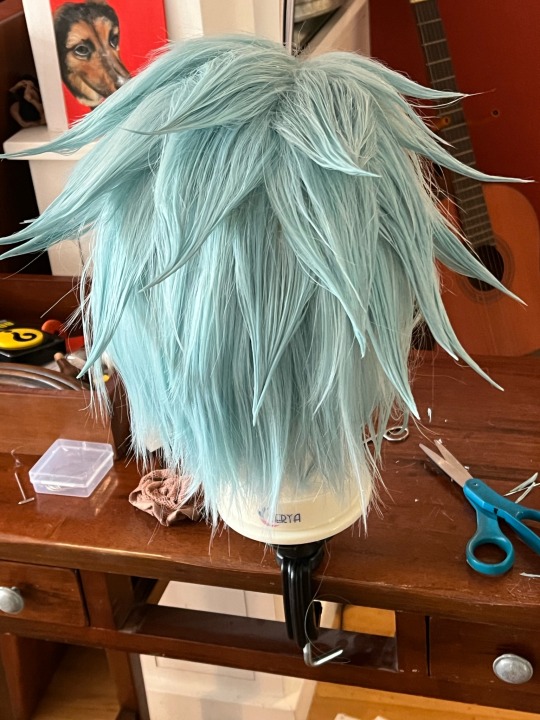
Wig
This fucker (part 2)
I combined a wig off Amazon (link) with wefts from hair extensions (link; though it comes with two I used just under one weft for both briads) to get the general shape
I went into detail on how I redid it here (also where the pictures are) but to sum it up: washed out hairspray/gel from last year, trimmed & rebraided the longer strands, used hairspray to do the bangs & gel to fix the ends.
Belt
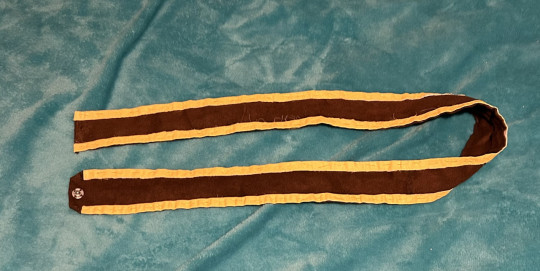
I had this old brown fabric from an old sewing class project that I used. I measured the length by putting the rest of the costume on and using a measuring tape, overlapping a little so there was room to add the snaps for a closure. I think I used the trim from an old bedsheet and put it on either of the longer ends, then painted it yellow to match the bard's. Semi-reliable snap closure sewn in later, then boom, belt!
Lyre Prop
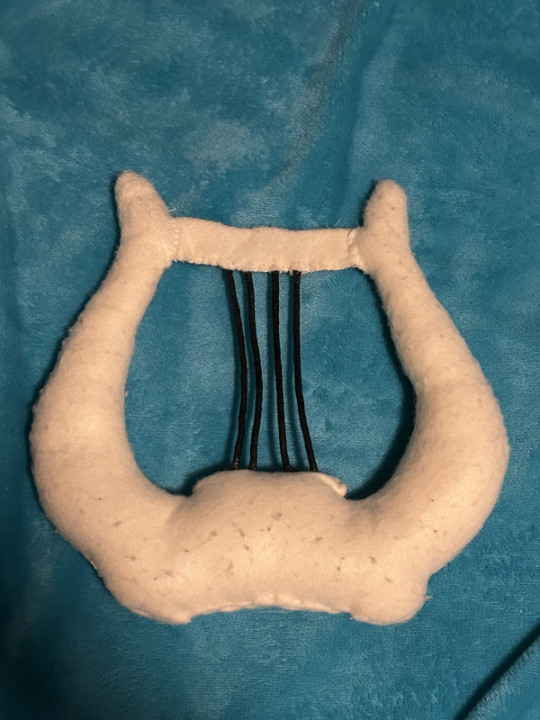
I forgot what I traced to make this pattern too, but I made it out of felt, essentially a stuffed toy. The little bar bit at the top is a separate pattern piece, as I tried making it all into one and was unable to turn it inside out. I forgot what kind of cord/string I used for the lyre strings, I just remember using mod podge to stiffen it as a finishing touch.
I used it last year as a prop, but I ended up just carrying it around so it might be best to leave home unless you plan to take a lotta pictures.
Miscellaneous Parts
Corset Belt: bought off amazon (link) ; It's comfy for the most part. liked the idea of a faux corset as opposed to the vest
Boots: last year I used a different set of boots that I've had for years, this year I'm using slightly newer boots that I got off my brother since they're small on him. They're timberlands I think? A li'l bit of height, lace-up, slight heel, feels 3% more badass /j
Makeup: I... know very little about makeup. I highly doubt the bard used makeup back then (/j). With that in mind, I really just use black eyeshadow & an eyebrow brush to fill my brows in and that's it. I use an old eyeshadow palette, but I also have an eyeshadow stick from the dollar store that works if you wet it slightly (mostly because it's a year old and is dried out by now..probably).
Wisp Prop: Touched on in this post, I like to take along one of my wisp dolls- the second one I've ever made, specifically. Made with my own personal pattern, he's easy to tuck away into a smaller pocket with just his head sticking out. I'll never forget the excitement of the Bennett and Fischl cosplayers I ran into last year when I took the wisp out to show them. 100/10, easily my favorite prop. The only real change made to him is that he has glow in the dark paint on his eyes, which probably won't do much in a convention setting but I still think it's cool.
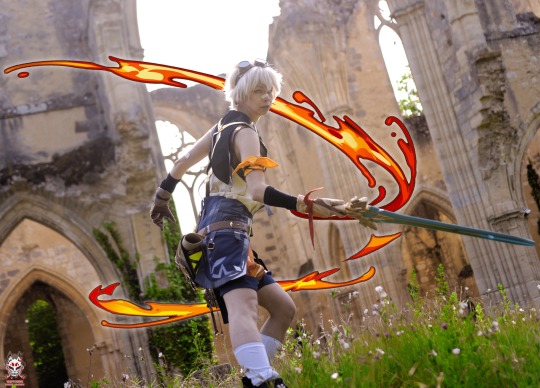
Sword Prop: Very unnecessary & impromptu, but also very fun. At last year's con there was a vendor selling foam game/anime weapons and I got a foam Freedom Sworn. At the time of writing this out, I'm unsure if I will be taking it with me this year or not, since I can't exactly store it under my cloak when I'm not holding it.
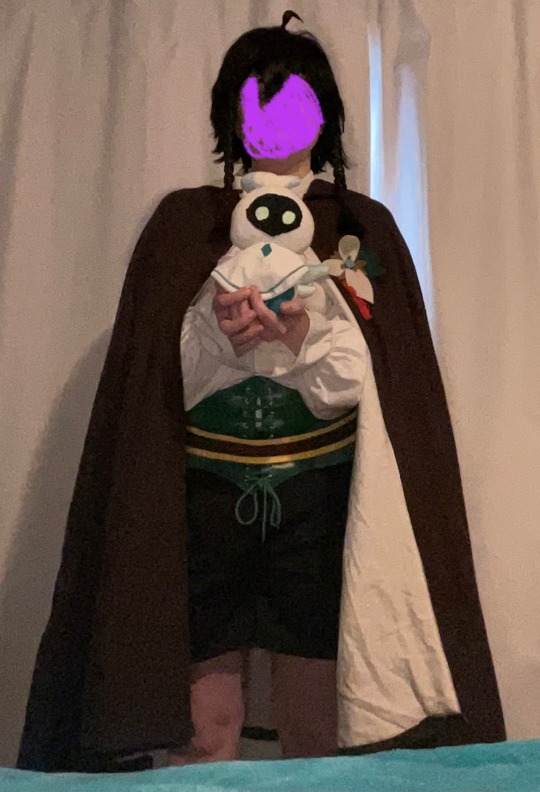
Final Reveal!
(like I said at the top, this image is the only one w/out alt image text; I'll add it later)
(face scribbled over for comfort reasons)
#genshin impact#cosplay#genshin#nameless bard#old mondstadt#genshin cosplay#nameless bard cosplay#og posts#cosplay genshin impact#long post#sewing#cosplay guide#today's the day of the con & I'm fuckin' pumped >:33
13 notes
·
View notes
Text
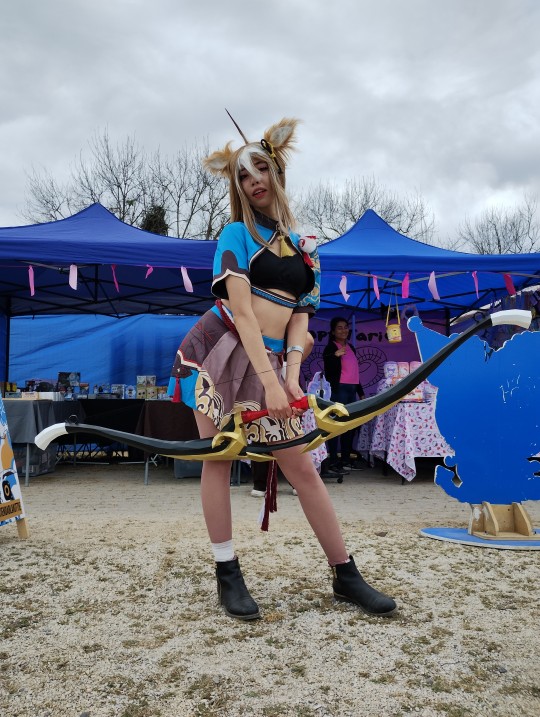
Holi! ¿Cómo estás?
Hace un tiempo participé de jurado en un evento Cosplay en mi región 🤭
Mi pareja trabajó fabricando el arco de Gorou en impresión 3D (ig: melancoli.store) le quedó con un acabado precioso 💓 Desde la impresión hasta el pintado.
Ojalá puedan pasarse por la página de Instagram 🥺🙏
#genshin impact gorou#gorou cosplay#cosplay genshin impact#kawaii#cosplay#cosplaygirl#3d#3d printing
9 notes
·
View notes
Text
It's finally ready! I did it by my own hands ✨ I don't believe it T_T
Hope it's not looking bad or so cheap 😅


#new costume#cosplay process#cosplay#my cosplay#genshin#genshin impact#genshin cosplay#cosplay genshin impact#xingqiu#cosplay xingqiu#genshin xingqiu#genshin impact xingqiu#handmade cosplay#my crafts#crafting#i did it#handmade#handmade costume
20 notes
·
View notes
Photo
The Most Popular: Genshin Impact Fischl Cosplay Costume
Shopping It >> https://www.cosplaylight.com/Genshin-Impact-Fischl-Cosplay-Costume-p3379716.html
13 notes
·
View notes
Text

pov: you’re alhaitham and you look at kaveh’s back... and not only at kaveh’s back
#genshin impact#genshin kaveh#kaveh genshin impact#genshin cosplay#kaveh cosplay#cosplay genshin impact#cosplay
9 notes
·
View notes
Text

My Kaeya cosplay♡ (I literally just created this account to post my stupid stuff, what else should I write here... T.T)
#cosplay#genshin impact#kaeya#kaeya alberich#kaeya cosplay#cosplay genshin impact#genshin impact cosplay
4 notes
·
View notes
Text
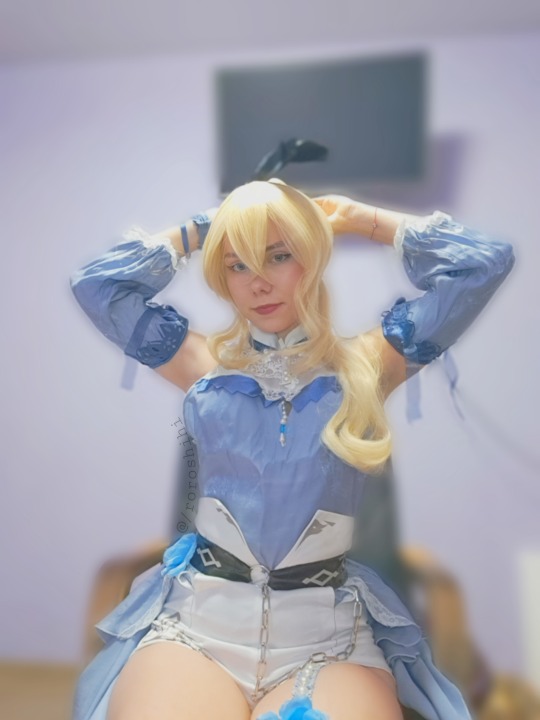
🍃I am Jean, the Dandelion Knight, requesting approval to join your party. From this day onwards, my honor and loyalty lie with you.🍃
Character: Jean
Fandom: Genshin Impact
2 notes
·
View notes
Photo

Photo of my cosplay Katheryne from Genshin Impact.
Lucca comics and games 2022
if you enjoy my work leave a like,reblog this photo with credit or follow me,o if you want support me on ko-fi you are welcome! thank you so much!
ko-fi.com/giulianoel
#genshin impact cosplay#genshin impact#katheryne#katheryne genshin impact#ad astra abyssosque#adventures guild#handmade cosplay#luccacomics2022#italiancosplayer#cosplay#sumeru#lyue#inazuma#monstadt#nahida#cosplay genshin impact
4 notes
·
View notes
Text
Furina Genshin Cosplay on killerlookz.com
#genshin furina#furina#cosplay genshin impact#kawaii#cute#genshin cosplay#cosplay girls#animehoodie#anime gif
8 notes
·
View notes
Photo
More photos in cosplay)
3 notes
·
View notes
Text
CONVENTION COUNTDOWN: 2 days!!


Before After
(just the tops of the pigtails)
(I didn’t have a photo from the start)
I’m almost done with my Dottore wig, and I’ve completely finished fixing my friend’s old (and very matted) Miku wig! ⸜( ᵔ ᗜ ᵔ )⸝♡
Neither are the greatest things in the world, but it’s the best I could do with my beginner level knowledge..
#⟡ ethereal talks ⟡#I’m totally not under any stress at all!!!!!#(sarcasm)#it’s fine honestly I live to do crafts#I like working on stuff even if it takes hours and makes my back hurt#little bit terrified of the deadline but I’m sure it’ll be fine#dottore genshin#dottore#dottore cosplay#genshin dottore#il dottore#genshin impact cosplay#genshin cosplay#cosplay genshin impact#hatsune miku cosplay#hatsune miku#miku#mikuhatsune#vocaloid miku#miku cosplay
4 notes
·
View notes
Text
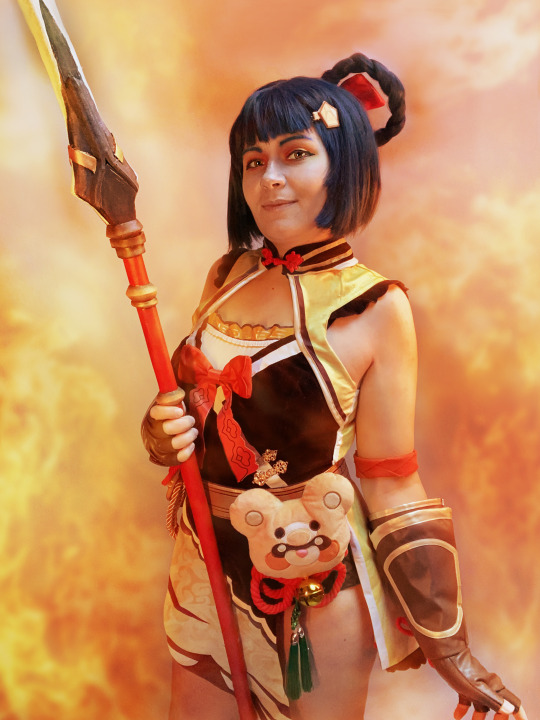
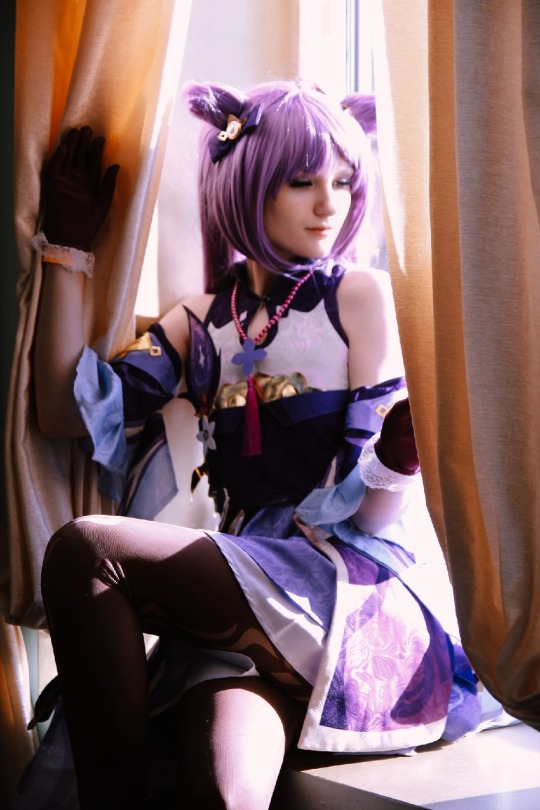
Happy Birthday Xiangling !
"I'm much better at cooking than navigating... but if you do go out, definitely take me with you !"
1 note
·
View note
Last Seen Blogs

magicgalatica
Welcome To Galatica

jungemitherz21-blog
😍😍Kuscheln 😍😍

limitlesscrowdfound
Limitless Crowd Fund

communeuk-blog
Commune UK

duhsty1
uh hey