#genuinely i dont know if those are separate words or not. either way LDJKGLHSDJG
Text
adventures in bookbinding: making the negret colophon playing card book!

it's diy girl summer and i am Bored. time to attempt a completely new craft with zero research except for like. 3 youtube videos!
so, to start off, i suppose i will ramble a wee bit about my plans/goals/reasoning. truth be told, i just really really like my blorbo who book binds and i think it would be very fun to become Just like him for real. therefore we will be embarking on a journey!! to become my blorbo and also find something crafty to do today. quick psa that this is not a real tutorial because i have absolutely zero experience, but more of a general guide and/or craft with me! let's do this in sectionssss!!
1 - the plan!!
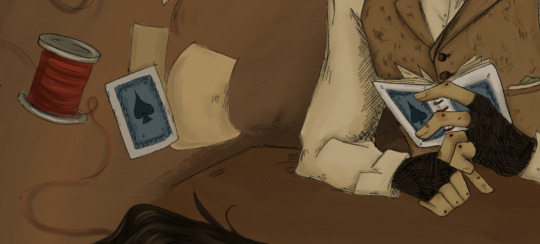
so for my first bookbinding project we are going to do something small, starting out by being silly and taking a page (lol) out of negret colophon's book (lol....) when he makes a tiny book and uses two playing cards as the covers. this will give me a little tiny trial run so i can learn the basic skills and use easily available materials around my house!! afterwards i think i'll sketch out a more ambitious journal idea - i have lots of fabric lying around that would work perfectly to cover a cardboard cover. wow, that's wordy! so! without further ado let's begin :) negret's little bookbinding project is described in the first chapter of raconteurs in this little excerpt here.
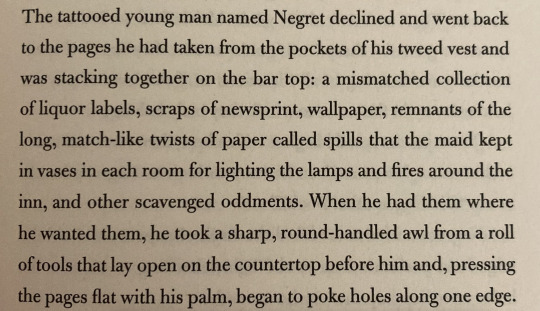
seems simple enough!! also the absolute perfect beginner project. it is tiny and the materials consist of Literally Anything. let's get groovy!!
2. materials!!

here's what we're working with:
playing cards! i found a deck lying around in a random drawer somewhere and chances are you have one laying around too. i chose the ace of spades and diamonds, because the text specifies a pair of aces but i couldn't find a matching pair, lol. i was also very tempted to choose one of the king cards as an homage to maisie's story later on (and because the king cards are absolutely gorgeous and detailed) but we're sticking to canon right now. we'll use the other cards for a future project.
needles!! a lot of the tutorials i see use very big or thick needles but i don't have those and this is also a very small project, not a huge journal, so any can work.
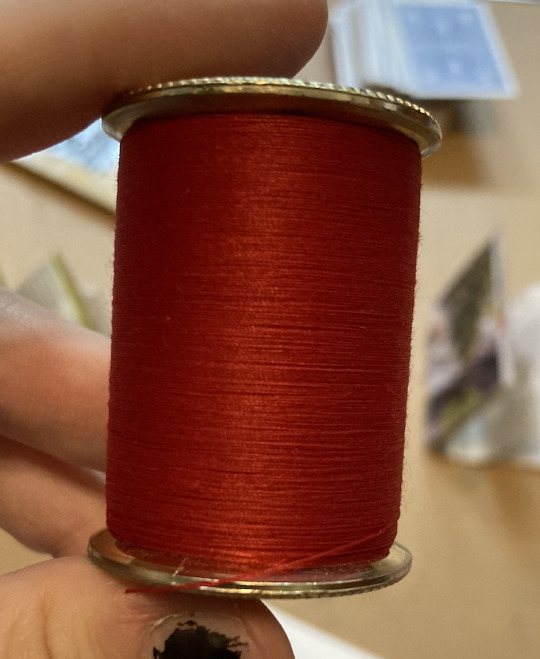
thread!! use whatever color you would like! at this point i was very indecisive because i have a lot of options and they're all quite pretty colors, but i settled on red later.
an assortment of papers!! use literally whatever you have lying around. for me, i managed to dig up the one scrap of newspaper in my house, since that's specifically listed, but most of my pages were from a book i sacrificed for an old art project, magazines and flyers, a lot of which were college mail because we're at that point in my life, lol. this is a recycling sort of project. choose anything! the more variety the better :)
i didn't display these in the photo, but if you have an awl, use an awl! i do not have one so i improvised, which i'll elaborate upon later. also, scissors! to cut the pages to scale. a ruler also came in handy :)
alright, now that we have all our tools in order, it's time to get into it :)
3. creating the pages!!
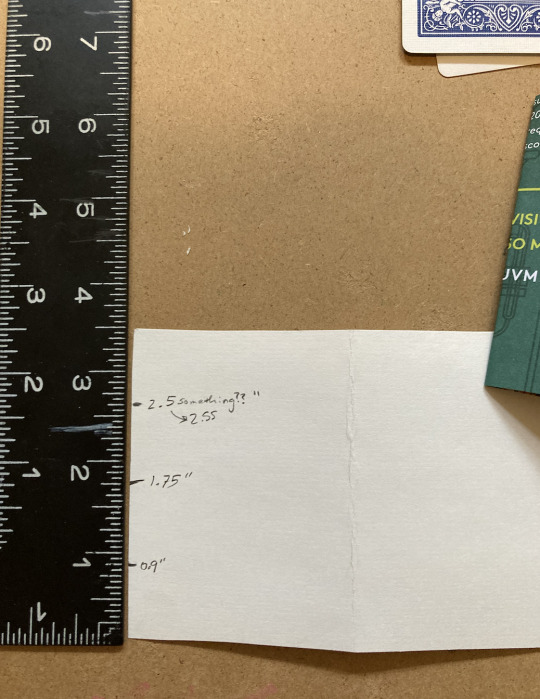
our first step is to measure our playing cards! you might not have to do this step because i'm fairly certain most cards are uniform in size/make, but check just in case, lol.


my cards measured to be 2.5" wide and 3.5" tall. i am no mathematician but using my singular brain cell i deduced that the papers should be twice the width of our cover, since those will fold to be the same size. so, using my Expert calculations, i made a little template cut from an index card measuring 3.5" x 5".

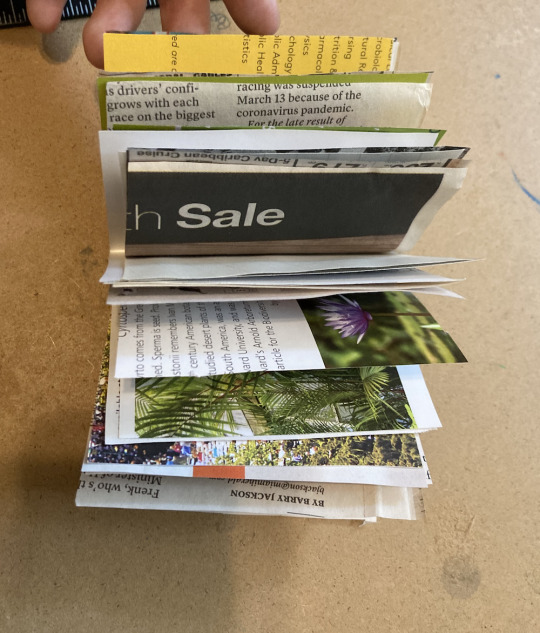
now we get to cutting!! using your various materials, cut out a bunch of papers to the size of your template. i just cut around it because i could not be bothered enough to waste time tracing, lol. i didn't go in with a plan, but i cut 16 papers to this size, which ended up being perfect. here are all my pages !! look at all the colors and textures!! the fun thing about the project being so small is that you can specifically cut the pages as the most interesting photos or sections, or you can even do it at angles too. as long as it ends up the right size, anything is fair game

now, we're going to make the papers into signatures! i just learned this word today lol. essentially, we will be grouping our papers and then folding those in half to become little mini books/pages. since i had 16 papers, i made 4 signatures with 4 pages each.
at this point i was tempted to go cut up more and make a fifth signature, but i decided against it since i didn't want the book to become too thick, and 4 sets with 4 papers each ended up being just about right. one of the tutorials i watched suggested that you group your signatures with paperclips or bobby pins, and at the time i waved off the suggestion but i totally agree now. i didn't have any clips to work with and i managed fine without them, but it definitely would have been easier if i had. so if you have them, use them! it'll make your life better lol. at this point you can stack your signatures together and itll look like a book!
oh yeah now we're cooking!!
4. preparing for binding!!
it was at this point in the process where i ventured out from knowing what i was doing to completely balling, but everything turned out okay and i'll walk you through it! our next step is to create the holes with which we will sew our signatures together. we're going to mark those off. once again i have zero clue how to do math but i managed to use my giant incredible smooth brain one more time to mark my template with a few equidistant points with which we can mark our signatures.
in case it's not clear, i kind of just counted the lines and then had to look up how much that was, but you can also just eyeball it if you're good enough. side note, i added two more holes after this, with one just below the very top and one just below the very bottom.

pardon my very unsightly nails, lol - here's how i used my template to mark the very center of each of my signature. you'll want to mark the point on the center line where you folded it while keeping the pages of each signature together. HOPEFULLY WITH A PAPERCLIP. and without further ado it's time for the stabbing!
now...here's where i got a little bit sacrilegious. you'll recall that earlier i mentioned how i don't have an awl in my possession yet? well, i managed to improvise a solution...

yes that is a sewing pin. IN MY DEFENSE it's all i had, and functionally it's basically the same as an awl! just on a much smaller scale. it worked out though - i imagine that if i'd been using thicker paper it would have posed a bit of a problem but for this project specifically, it was fine. do not kill me book binders. now it's time to get serious...
5. the binding
everyone stay calm! stay calm! it will be okay. i was lowkey intimidated by this part as this was Truly out of my depth of expertise, but i promise it's not that complicated. you're going to get your needle and thread now - i settled upon this gorgeous red color because it contrasted nicely with the playing cards, and there really wasn't much red in the papers i chose.
gorgeous!! tbh i always knew i'd go with the red because i've always envisioned the book with red thread anyways. like come on look at my very first drawing of negret WITH it. literally the exact same materials. i simply had to.
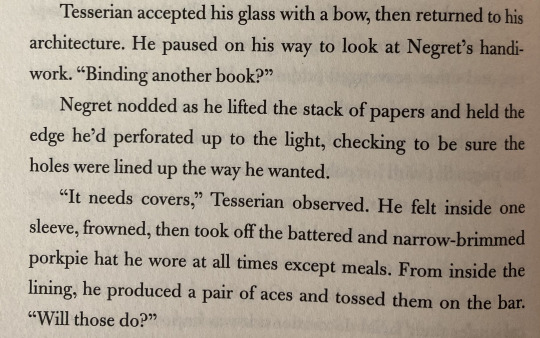
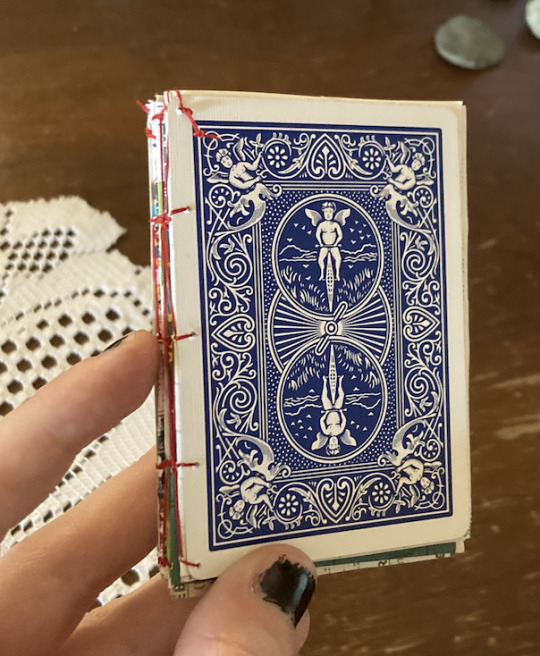
okay. now to the binding part. i don't have any real photos or insights or instructions for this whole stage because 1. i was deep in focus mode and 2. entirely relied on a tutorial for this part. here's the tutorial i used - massive shoutout to this lovely lady ! my spine didn't turn out nearly as neat as hers because i did not properly follow directions for the first bunch of knots (and i had to kind of improvise with the cover) but here's how it turned out!
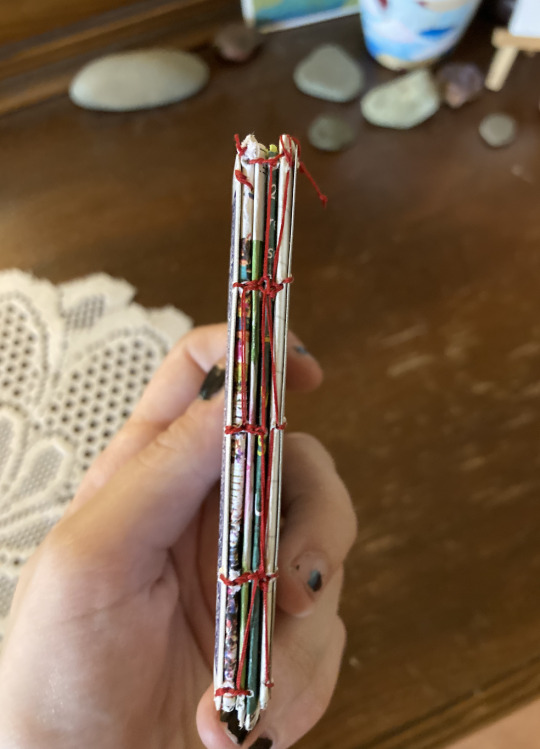
not too bad for my first book, lol. try not to stress out about it being perfect because this book is not supposed to be perfect! the imperfections give it character. worst case scenario, if you really mess up, your eclectic book is just a little more eclectic than intended. and that's never a crime :)
now the one problem i had to figure out on my own was how to attach the covers, since most tutorials explain how to attach actual big separate covers and not - essentially paper. i ended up just... attaching them as if they were another page or signature to the front and back. my holes on the covers were a few millimeters away from the edge, though, since there's no crease or fold to align them with. what i did was essentially do the first knots/stitching on the signature like the tutorial said, but for each hole i sewed through in the first/last signature, i also made an additional loop through the adjacent hole on the cover. you can kind of see how i passed my needle through like instructed and then took a little extra detour to stitch the card as well. in some places i ended up making new holes in the signature too that were closer to where the cards' holes lined up?? try not to do that but it worked and it looks fine so really whatever makes it attach and hold is perfect.
6. bask in your glory!!!
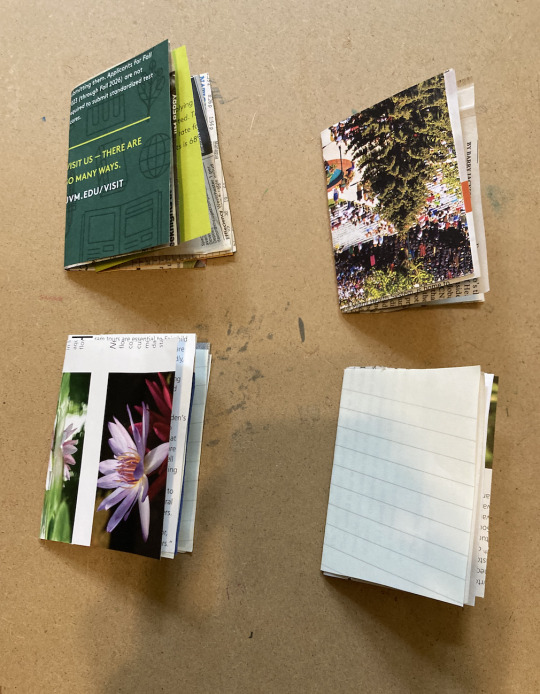
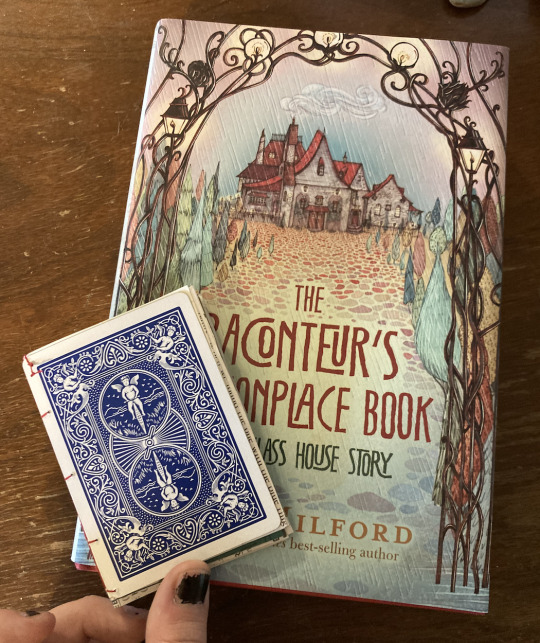
aaaand that's it!! you did it!! this was a ton of fun to work on and i absolutely loved making this little adventure into a new craft with something so near and dear to my heart. if you make one please be sure to tag me!! i would love love LOVE to see :) here's an additional picture of my little monster (+ next to the legend himself. art credit to me lol. look the books are twinning!!)

#the raconteurs commonplace book#raconteurs commonplace book#green glass house#nagspeake#roaming world#uhhhh#bookbinding#book binding#genuinely i dont know if those are separate words or not. either way LDJKGLHSDJG#crafts#crafting#arts and crafts#yippee this was actually so much fun#to quote alex of vfdiscord fame “the self blorbofication of quill”#it's too late i'm in too deep i'm literally him now#quill crafts
51 notes
·
View notes
Last Seen Blogs

furyrisen-archived
* DEATH'S HANDMAIDEN .
vaatars
𝔤𝔦𝔤𝔦

squidflavoredsoup
💿Squidflavoredsoup💿

miladzarei
Milad Zarei

rms-despair
Titanic Despair