
NQ Photography - Group C - Bubble B
Rogan Kelly - 19
71 posts
Don't wanna be here? Send us removal request.
Last Seen Blogs

withered-rose-unbreakable-lotus
anywhere but here

rattataprincess2007
The Rattata Princess

fini-a
✿ FiniA ✿

briebysabs
Sabris II
Text
Reportage Photography - Finals / Decomposing Time


45 notes
·
View notes
Text
Geometric Landscapes - Photoshop
Original
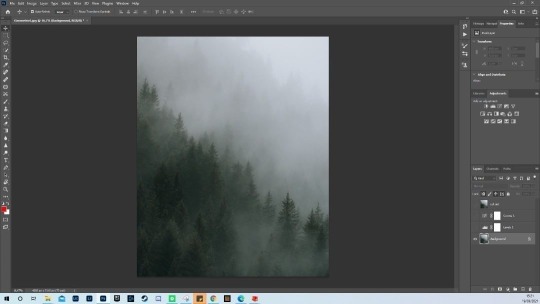
Final
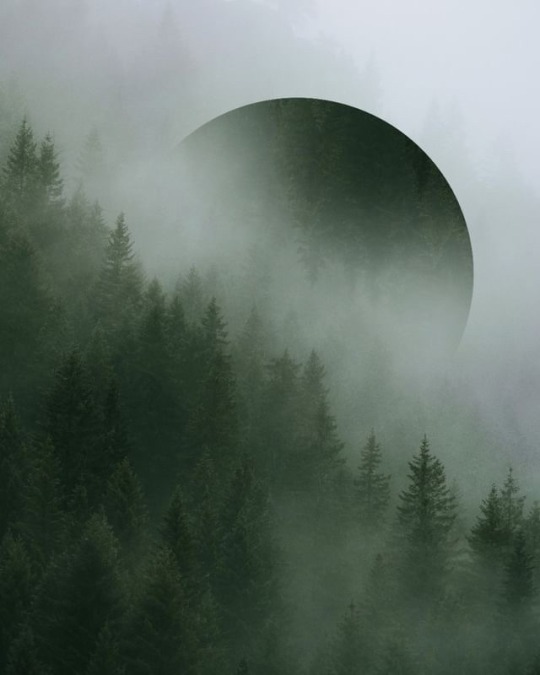
Original

Final

1 note
·
View note
Text
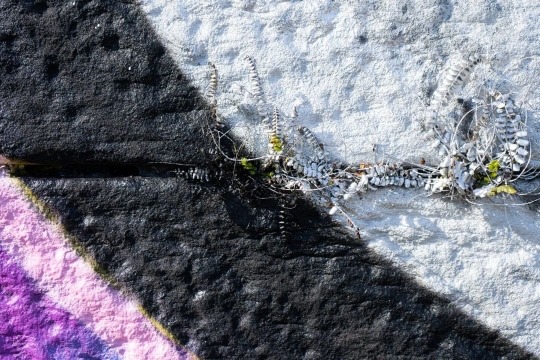
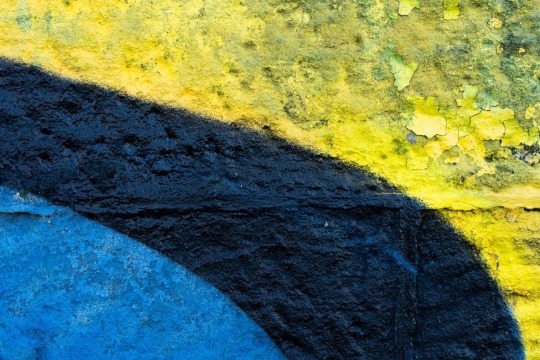
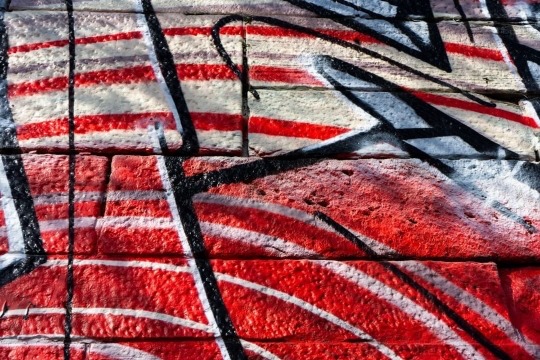
Nowhere magazine - From here to there
-I made a rainbow style contact sheet showing the use of shapes, lines and colour through pattern in graffiti.
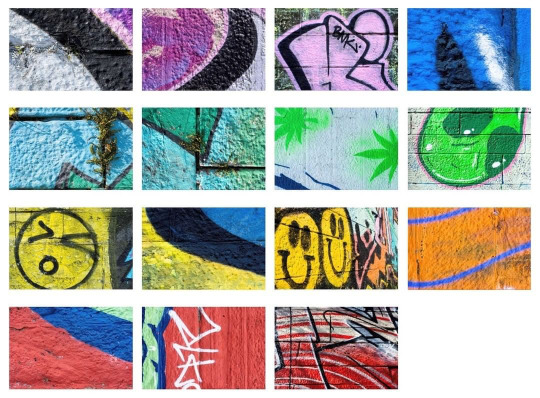
Best images


3 notes
·
View notes
Text
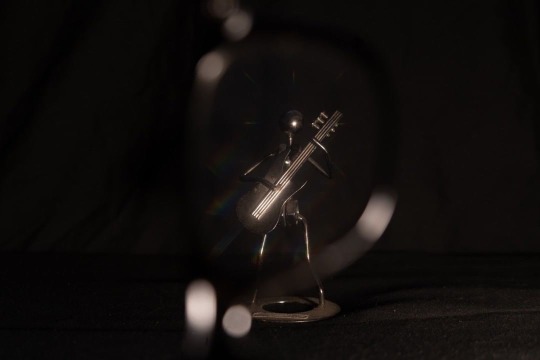
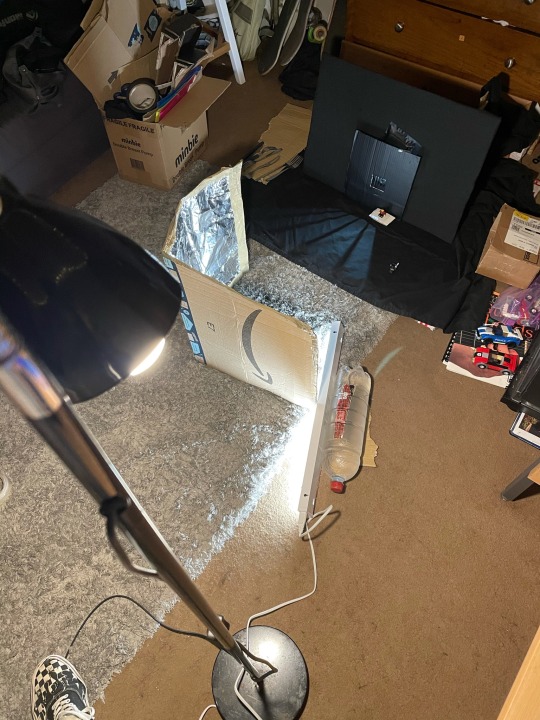
-DIY Filters Task-
Materials used
-glass bottle
-plastic bottle filled with water
-plastic bag
-coloured pop tubs
-coloured reflective sheet
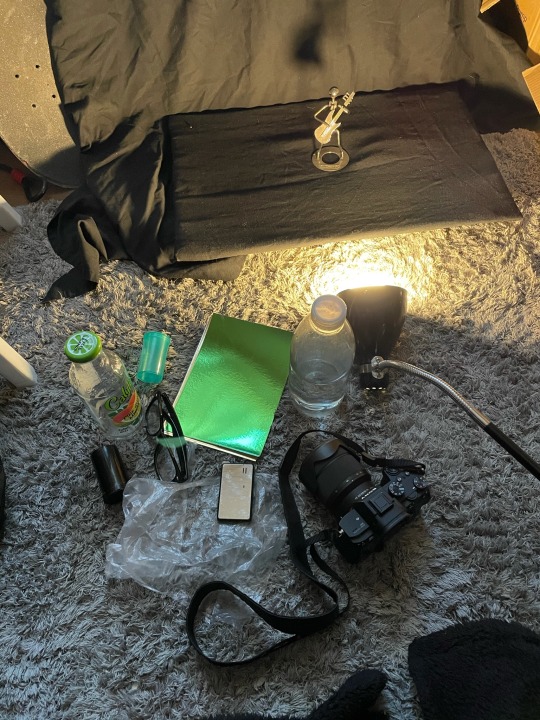
Contact sheet

Best shots


3 notes
·
View notes
Text
Barbara Kruger - Task 3

I chose to give the left half of the image a toxic waste vibe to enhance the viewers perception of the mass quantity of trash. When people litter many will think 'its just one piece', 'it will degrade', 'someone else will pick it up' but it all adds up to the point where not a single area of the photo I took has clear water. 9 billion tonnes of litter end up in the ocean each year.
3 notes
·
View notes
Text
Barbara Kruger - Research
Barbara Kruger is an American artist who was born on 26th of January 1945 and is known for her visual art and graphic design. She is famous for laying aggressively directive slogans over photographs she finds in newspapers, they are consistently black and white and she will normally edit them in a recognisable manor. Kruger also has received rewards such as Leone D’Oro Venice Biennale and Goslar Kaiserring.
*What font did she use?* - Barbara primarily uses slogans written in oblique Futura bold type or sans serif in caps.
*What are selections in photoshop?* - A selection is an area of a photo that you have chosen to select, it is made up of hundreds or thousands of pixels and will enable you to change the level of each colour.
*What tools are used to make selections* - There are multiple tools provided for different kinds of selections. An example of this is the Elliptical Marquee tool that selects circular and elliptical areas, the magic wand tool can select an area of similar colours with one click.
*What does the invert layer do and where can it be used?* - The invert adjustment layer will invert the colours in the selected area which creates a “negative” of the image. It will invert all colours to the colours opposite value. It can be used from opening ‘image’ > ‘adjustments’ > ‘invert’ or press ‘CTRL-I’ to access the invert command from the keyboard.
1 note
·
View note
Photo

Barbara Kruger - Photoshop Task
3 notes
·
View notes
Text
Wet Plate Collodion Research Task
*Wet plate collodion process*
This is a photographic process that was invented in 1851 by Frederick Scott Archer and by the end of 1860 had almost entirely replaced the first announced photographic process, the daguerreotype. The collodion process involves the photographic material to be coated, exposed and developed within the span of fifteen minutes. There was a number of manual steps involving cutting the glass or metal plate; wiping egg-white along its edges; coating it evenly with a syrupy substance called collodion; making it light-sensitive by dunking it in silver nitrate for a few minutes; loading the wet plate carefully into a “dark slide” which is inserted into the camera; taking the picture; then developing it, which is rather like processing black and white print. Photographers from the 19th century had to take chemistry labs with them everywhere, in black tents. There are a lot of steps and many of these can easily go wrong.
*What does the channel mixer do?*
The channel mixer is a tool in photoshop that allows the user to mix different colour channels mainly consisting of RGBA (Red, Green, Blue, Alpha).This features allows you to repair channels and produce grayscale images from colour images. You can also create tinted images and special effects.
*What are blending modes?*
Blending modes in photoshop are used to determine how layers can be lapped on two each other until they are mixed together and submerged. It can achieve a realistic and natural look to the brush strokes. The tool allow you to blend and vary your wetness within a single brush stroke. You can also choose your desired foreground colour from the tools panel.
Each section:
Normal - “Normal” is the default Blending Mode for Photoshop layers. Opaque pixels will cover the pixels directly below them without applying any math or algorithm applied to them. You can, of course, reduce the opacity of the layer to reveal the pixels below.
Darken - The result darkens the image. White is invisible on the Blend layer.
Dissolve - The dissolve mode takes random pixels from both layers. With top layer opacity greater than that of the bottom layer, most pixels are taken from the top layer, while with low opacity most pixels are taken from the bottom layer.
Multiply - Multiply blend mode multiplies the RGB channel numbers for each pixel from the top layer with the values for the corresponding pixel from the bottom layer. The result is always a darker picture; since each value is less than 1, their product will be less than either of the initial values.
Colour burn - The Colour Burn Blending Mode gives you a darker result than Multiply by increasing the contrast between the base and the blend colours resulting in more highly saturated mid-tones and reduced highlights. The result is very similar to the effect you would get when you use the Burn Tool to darken an image.
Linear Burn - Linear Burn decreases the brightness of the base colour based on the value of the blend colour. The result is darker than Multiply but less saturated than Colour Burn. Linear Burn also produces the most contrast in darker colours than any of the other Blending Modes in the Darker group.
Darker Colour - Photoshop checks to see if the colours are darker than 50% grey or lighter than 50% grey. If the colours are darker than 50% grey, a darkening Blending Mode is applied. If the colours are brighter than 50% grey, a brightening Blending Mode is applied.
Lighter Colour - The opposite blend mode to Darken is Lighten, and with the Lighten blend mode, if the pixels on the active layer are lighter than the ones on the layers below, they are kept in the image.
Screen - The Screen blend mode works exactly the opposite. With Screen, anything on the layer that's pure black will disappear from view. Anything that's pure white will remain unchanged, and any shade of grey between pure black and pure white will become lighter.
Colour dodge - The Colour Dodge blend mode divides the bottom layer by the inverted top layer. This lightens the bottom layer depending on the value of the top layer: the brighter the top layer, the more its colour affects the bottom layer. Blending any colour with white gives white. Blending with black does not change the image.
Linear dodge - This Blending Mode looks at the colour information in each channel and brightens the base colour to reflect the blend colour by increasing the brightness. Blending with black produces no change.
Soft light - In the case of the Soft Light blending mode it is similar to using the dodge or burn tool. In other words, every colour that is lighter than 50% grey will get even lighter, like it would if you shine a soft spotlight to it. In the same way, every colour darker than 50% grey will get even darker.
Hard light - “Multiplies or screens the resulting colour depending on the original colour. If underlying colour is less than 50% grey, the layer lightens it as if it were screened. If underlying colour is greater than 50% grey, the layer darkens it it as if it were multiplied.”
Vivid light - The Vivid Light Blend mode is a mixture of Colour Burn and Colour Dodge and interacts with your image differently based on the selected layer. Because Vivid Light uses Colour Burn and Colour Dodge as its base, it makes for some beautiful colour graded images.
Linear light - The Linear Light blending mode is a combination of Linear Burn and Linear Dodge — but similar to Vivid Light, the combination gives slightly different results. … Linear Light: Burns or dodges the colours by decreasing or increasing the brightness, depending on the blend colour.
Pin light - Photoshop defines this blend modes function as, … “Pin Light replaces the colours, depending on the blend colour. If the blend colour (light source) is lighter than 50% grey, pixels darker than the blend colour are replaced, and pixels lighter than the blend colour do not change
Difference - One of the fastest ways to get amazing looking images is by using Blending modes. Each blending mode changes the way that a layer reacts with the layer underneath it. You get a small inkling of this by adjusting the opacity of a layer. Using blending modes opens up an entirely new world
Hue - The Hue Blend mode is pretty straightforward: Hue Mode: Creates a result colour with the luminance and saturation of the base colour and the hue of the blend colour. … Setting a new, blank layer to “Hue” means that you can “paint over” any part of your image and change the colour.
Saturation - The Saturation blend mode preserves the luma and hue of the bottom layer, while adopting the chroma of the top layer. The Colour blend mode preserves the luma of the bottom layer, while adopting the hue and chroma of the top layer.
Overlay - Blend modes (or mixing modes) in digital image editing and computer graphics are used to determine how two layers are blended with each other. The default blend mode in most applications is simply to obscure the lower layer by covering it with whatever is present in the top layer (see alpha compositing).
*Explain what layers and masks are*
Layers control the transparency of the layer which is on top, the areas of a layer that are hidden by a layer mask actually becomes transparent allowing image information from lower layers to show through. Layer masks are greyscale so you cant add colours.
1 note
·
View note

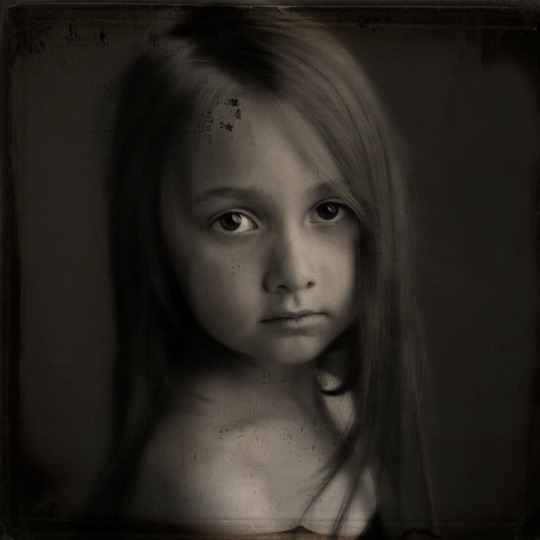
Text
Wetplate Collodion - PhotoShop


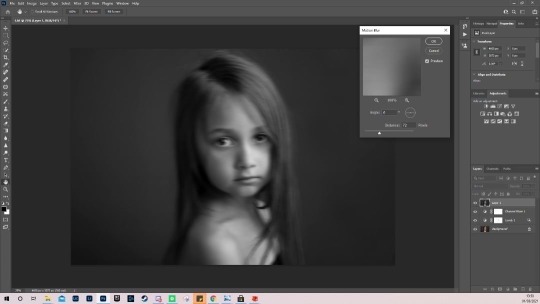
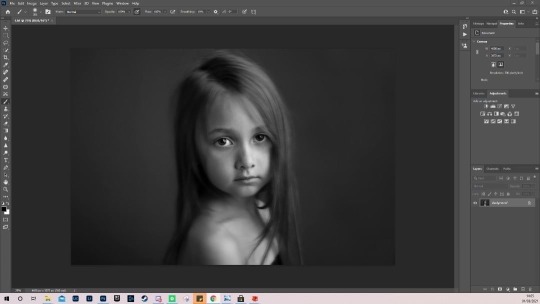


Insert photo > workspace is set at photography > adjustement layer > lesser the highlights ok histogram > brush tool set at 55% > channel mixer > b+w w blue filter preset > go to filter then create motion blur 72 pixels > layer mask > soft brush 300 > flatten image > square > wetplate collidion > resize > save
3 notes
·
View notes
Text
Visualising the project - concept 3 (light pollution)
For concept number 3 I would be talking about light pollution. My aim would be to show how light pollution could have negative effects on ecosystems and disrupts astronomical research. I could possibly show this from showing photos of the sky compared to what we should be able to see form areas that are not effected by light pollution as much. This would mean I would have to travel to an area far enough from the city. This could be a problem during Covid as there may be restrictions in place to make sure I don’t leave to far from where I live but if so I would only go as far as I was allowed to go to show the difference even from a short duration.
I would have to do this shoot at night as it would give the best outcome in the photos and would probably travel to parks/ country side and the City Centre to show the difference in light pollution more noticeably. I should have a good few hours to complete this shoot but would not want to stay out too late as it could get dangerous. Some equipment I would need is my Sony a7 III, tripod, standard lens, 50mm lens, DIY telephoto, flash, glow sticks. Some camera techniques I could use are zooming and long exposure just to highlight the sky light more.
I will be shooting on location but can possibly do from home as well for a practise shoot and I will use led lights or glow sticks for lighting. I can socially distance although I would be bringing a friend with me as it could be too dark to be in a park alone at night, if I couldn't travel to the country side due to Covid I would do the shoot in the city centre and from my garden as they are both abiding by lockdown regulations. I am confident with my camera techniques for this shoot and know how to set the camera up for taking long exposure shots effectively. An idea of the images I would want to produce would be using the glowsticks to create patterns or leading lines to where I wanted the viewer to look. This concept is practicable and achievable and I could make this project stand out by showing my expression of how negative light pollution can be.
1 note
·
View note
Text
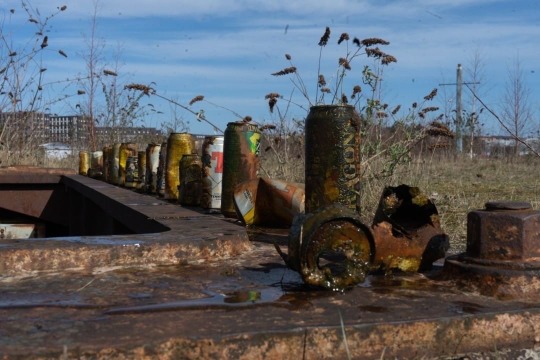
Visualising the project - concept 2 (recycling)
Concept number two consists of recycling. I would aim to show what recycling can do for the environment including ways such as reducing the need to grow or extract materials from the earth and how in turn it lessens harmful disruption and damage being done to the natural world. To do this I could use recycling from my own house by showing the quantity that a household can produce and in turn how much we use can be reused. An example of this is polypropylene which is the compound in plastic has a reuse time of 2-3 times as the chain grows shorter the quality decreases but being able to use something more than once will still make a greater difference than a one time use. I would want to draw attention to the quantity of recycling that can be produced in a specific time frame and that there is a lot more people can recycle than they may know.
For equipment I would use my Sony a7 III, tripod, standard kit lens, 50mm lens, cello tape, string, gloves and the recycling in my household. I can do this shoot 24/7 although would aim to do it during day for the best light source. I could split the recycling into sections to show how much of each there is such as plastics, cardboard, cans. I would be doing this shoot at home but may go outside to get better lighting during mid day. Camera settings will be a huge factor as I want to create a shallow depth of field to draw attention to the subjects.
I would like to focus on quantity of recycling as my theme as it shows a greater mass. The only possible hazard I can think of is cutting myself on some cans by mistake but will wear the appropriate clothing such as gloves. I could use some props to enhance the subjects such as hanging them from string or using tape to number each of them. It is much easier than my first concept as I don't have to travel anywhere but it still involves a fair amount of time and effort. I can make the project stand out by trying to come up with my own individual ideas.
1 note
·
View note
Text
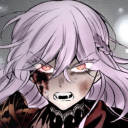
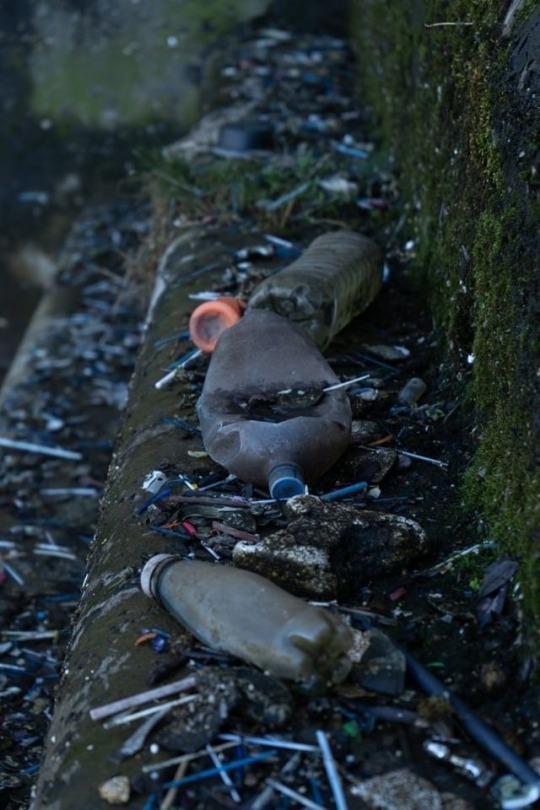
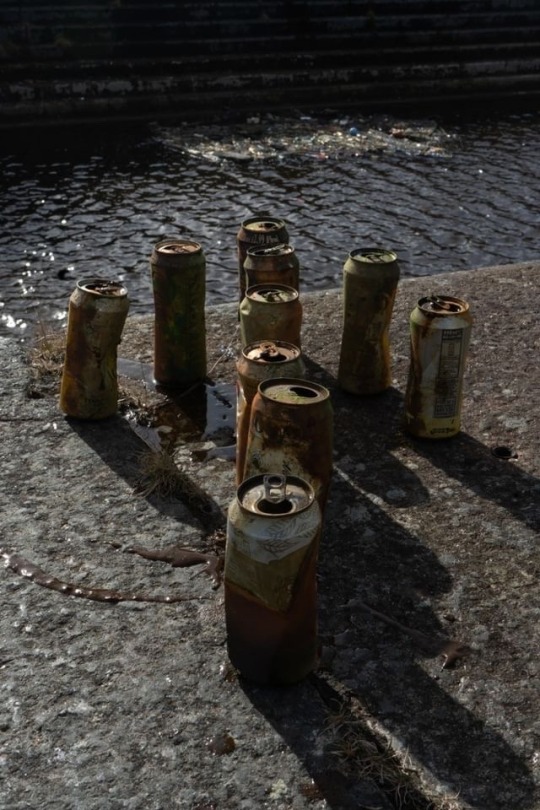
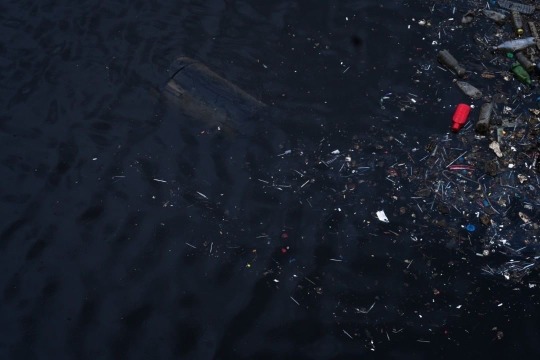
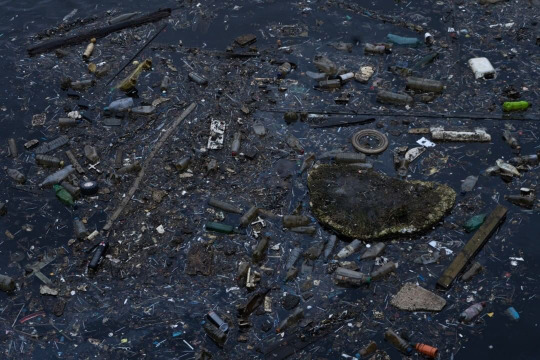
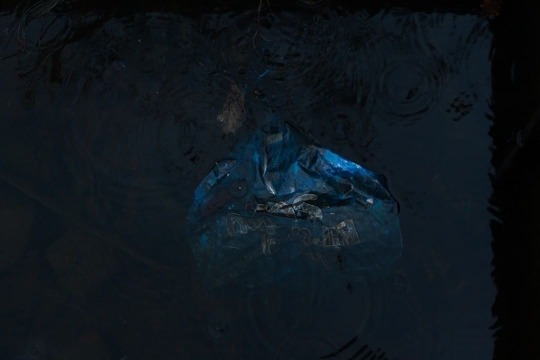
Visualising the Project - concept 1 (water pollution)
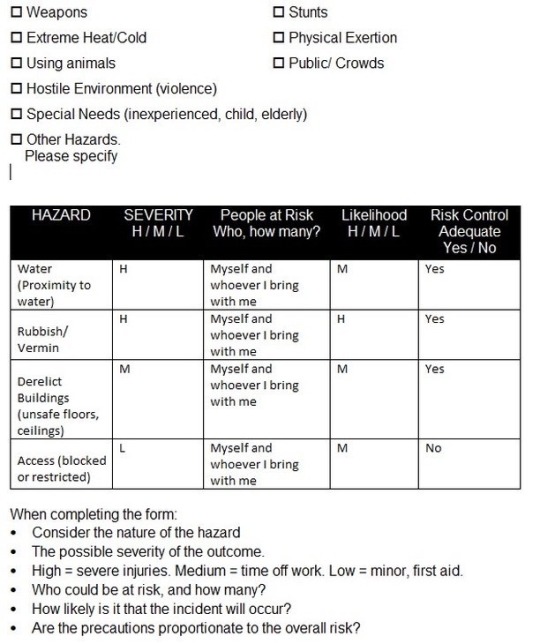
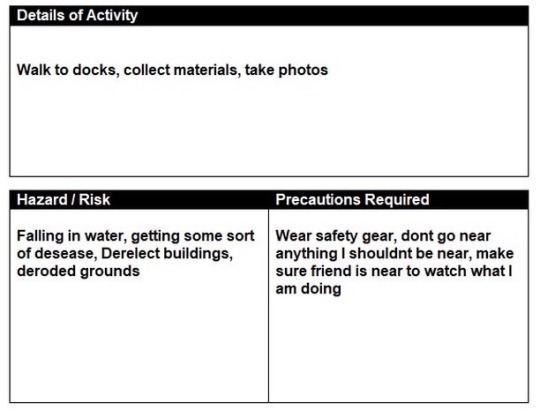
For my first concept I plan on showing how litter can pollute the water, I will be taking the images at the docks near my house as it is very noticeable there how humans have effected that area. My objectives will be to spread awareness on how we are destroying and causing hazards for our marine life and the long term effects it can hold. I could do this by taking samples of the water and comparing it to fresh clean water. I will be able to access the docks 24/7 but I will aim to go during day as it can be sketchy at night. The docks are fenced off although it has became a place for dog walkers and explorers so I should not need permission to take any photos there especially if I am not disrupting anyone’s personal space. I will have to collect or reform some of the subjects I want to shoot to convey it in the most epiphanic way for spreading awareness. I will start this soon as It may take a while to collect all the materials I need.
Some equipment I will need is my Sony A7 III, tripod, standard lens, 50mm lens, long stick or net to pull in materials from the water, trash bags, litter picker or gloves so I am not touching it with bare hands. I will be using light sources carefully to emphasise my point which could enhance the perception viewed. A theme I could do is putting the litter I find in assorted piles to show how much of one object I can find e.g. make a pile of bottles, cigarette buds, general debris.
I will be shooting at the docks so I will have to walk there whenever I do my shoot but I will aim to go there around mid day so I have time to collect resources and have the best possible light source for my intentions. I can travel there very easily although I should be weary of people walking their dogs and exploring so will wear a mask in case I have any unintentional interactions with anyone. I am confident that I know what to bring with me and how to set up my camera once I have arrived at the location but will go to the spot before to do a trial shoot. I want to show how much rubbish is in the docks so yes I have a very clear idea of what I want to convey, if done correctly it should show great effects. Some hazards I could face could be diseases from the water or interaction with the trash but If I wear all the safety clothing I know I can prevent that. I will also bring a friend so If anything unexpected happens I will have help. My project will take a great amount of effort so it should stand out more than others if it goes to plan.
1 note
·
View note
Link
Tiny worlds 2 - Final images
1 note
·
View note
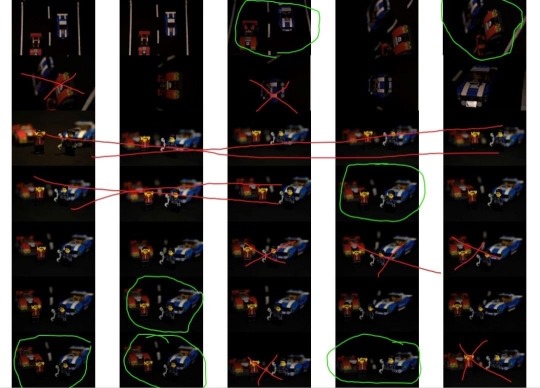
Text
Tiny worlds 2 - Contact sheets


1 note
·
View note
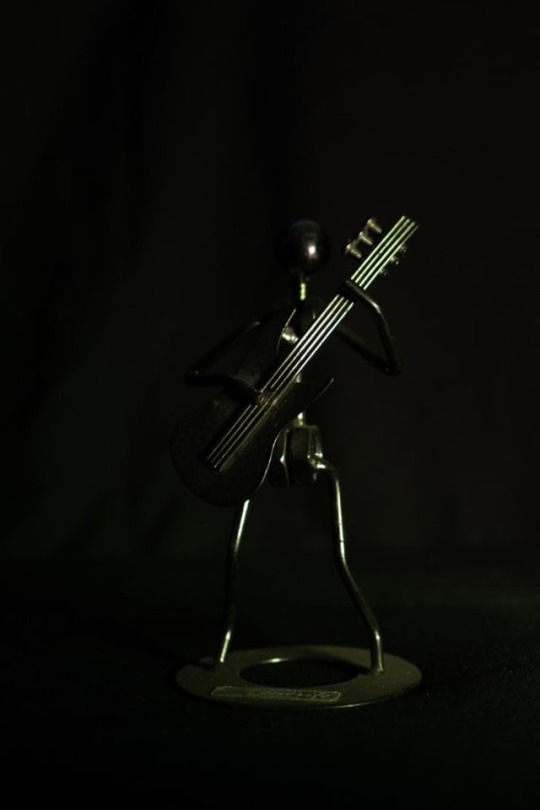
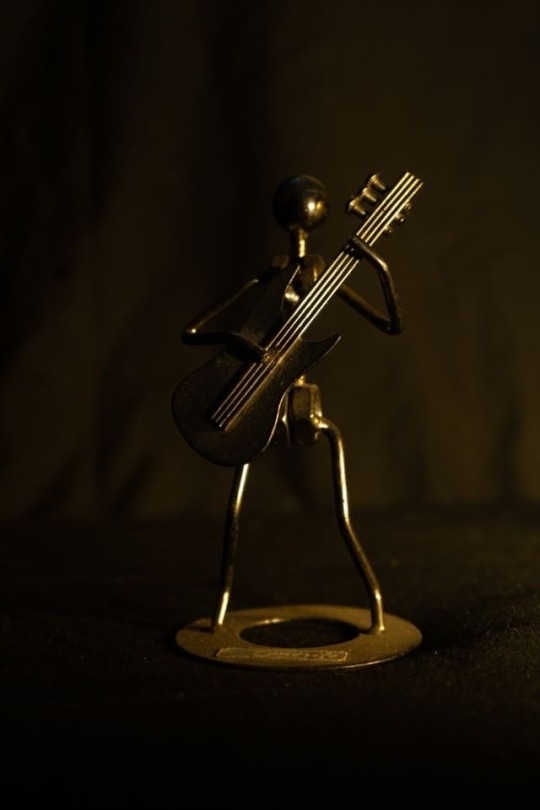
Text
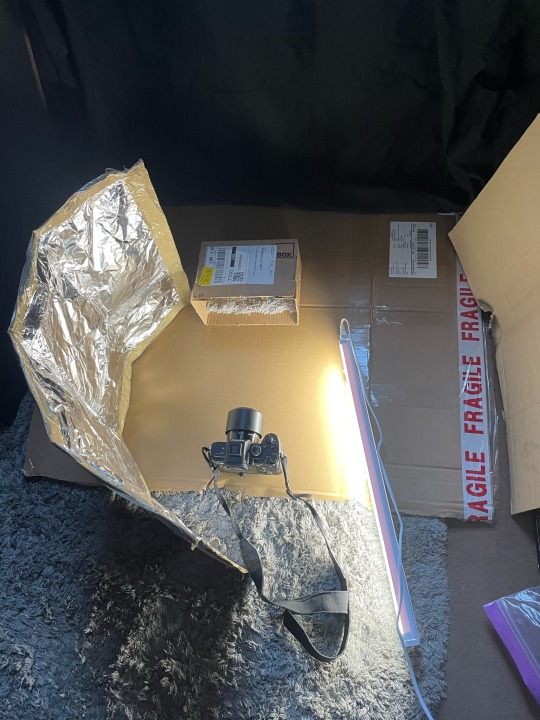
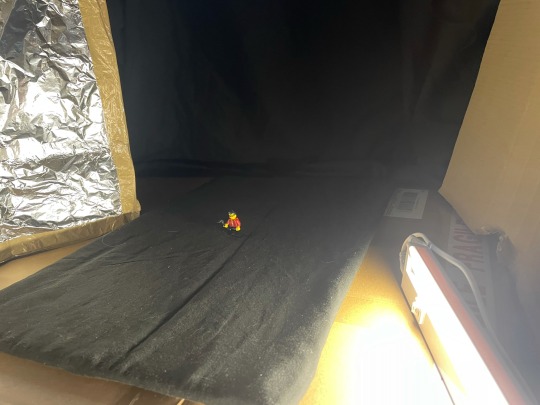
Tiny worlds 2 - Behind the scenes


3 notes
·
View notes
Text
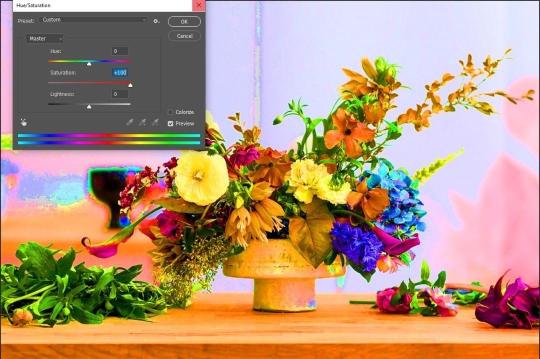
Saturation Task
Click image/ adjustments/ hue & saturation/ then change to desired liking
Original

Saturation 100
Original
Saturation 0

3 notes
·
View notes