swirlpuffy
the heart of zodiark
Veronica┊21┊She/her┊ Multifandom┊Reblog heavy┊Carrd ┊ The rains have ceased, and we have been graced with another beautiful day.
10624 posts
Don't wanna be here? Send us removal request.
Last Seen Blogs

mrrobertforeman
Robert J. Foreman Tumblr

criminalmindskink
Criminal Minds Bitch

thegreatkeymaster
SocietyofDeadArtists

voices-in-the-fog
Welcome to the Fog

mintyghostbreath
lumi
Text
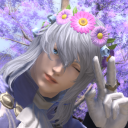
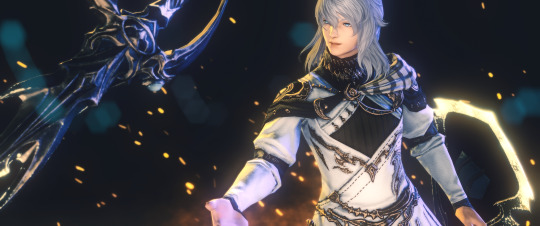
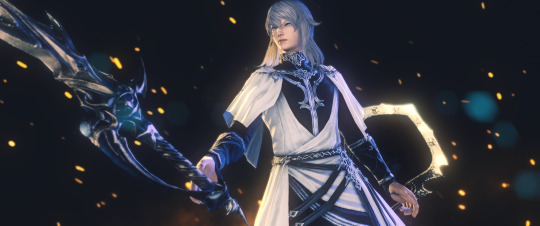
FF14 Battle Portrait Tutorial
For the past few weeks I was trying to find a way to recreate the battle portrait from FF14 as there was a few characters that I want to see in that style but don't officially have one yet. I think I got it down more or less (see image below) so I thought it's a good time to share what I did.

First of all, I made a few files that would help make life a little easier. They can be grabbed here .
Note: I did use Reshade to do a bit of work at the screenshot stage to help speed up the process but the same effect can be recreated in Photoshop with a vanilla screenshot. There are a lot of tutorials on how to do comic/cartoon effect in photoshop and those would make good bases to work off of.
Step 1: Take the screenshot with the PortraitBase Shader on. I usually take two screenshots. One with "Comic" on and one with it turned off. This is so that I have more to work with if needed.

Step 2: Drag all the screenshots into photoshop and remove the background. In photoshop, arrange the layer so that the screenshot with the Comic lines visible is on top of the one with the effect off.
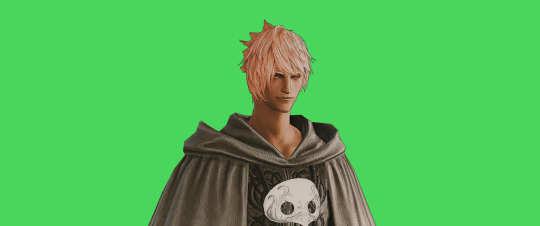
Step 3: Duplicate the the layer with the "comic" effect and apply Blur->Gaussian blur (radius 0.5)
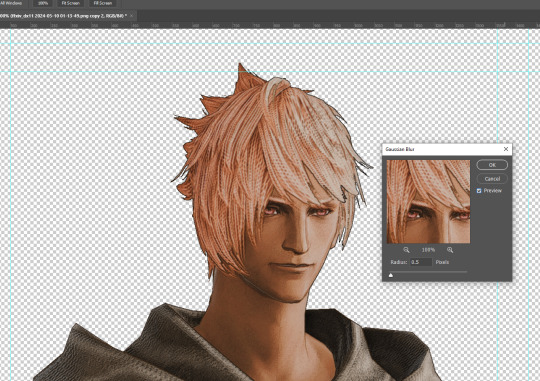
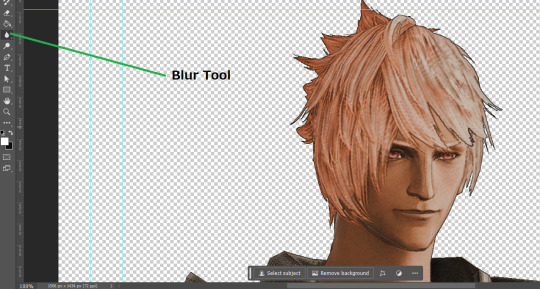
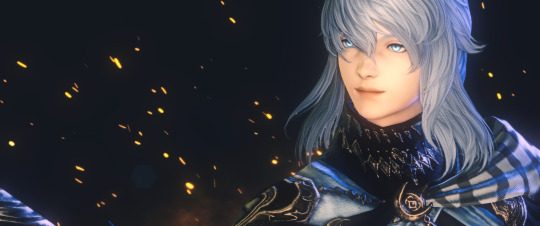
Step 4: Take a look at the hair. In Eric's case, It still doesn't look blur enough to me so I used the blur tool and blurred it a bit more
Step 5: Create a new layer above the layer in the previous step and use the brush tool to start outlining the edges. Where to outline is up to you but the idea is to make edges defined so that it looks more like a drawing.

Step 6: Duplicate the outline layer and then hide that layer.
Step 7: Merge everything under the outline layer.
Step 8: Drag and drop the "Texture.png" into the project and Clip it to your character layer. Set the blending of the texture to "soft light".
Step 9: Drag and drop the "stroke Texture.png" into the project and Clip it to your character layer. Adjust the size till you are happy then set the blending to "overlay".
Step 10: Adjust the opacity settings of both texture layers until it looks good to you.
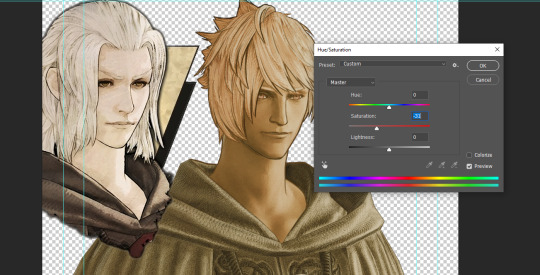
Step 11: Click on your character layer and go to image->Adjustments->Hue/Saturation (note: you will see I dragged in the official Hades portrait as a point of reference to work off of). Adjust the saturation till you are happy.
Step 12: Go to image->Adjustments->Color Balance and adjust the color till you are happy. In this example, since Eric is also wearing the Sophist robe, I tried to match that color to Hades' Sophist robe color.
Step 13: Once you are happy, drag the "Template.png" into the project and scale that to the size you want. Make sure it is completely covering the character. If it's not, you can just use paint more of it with the brush tool to extend it till it covers everything.

Step 14: Hide the "template.png" layer and select your character layer. Use the magic wand tool to select the outside of the character.
Step 15: With the selection still selected, click on the "Template.png" layer and press delete on your keyboard. You should now be left with a blank in the shape of your character.

Step 16: Drag the"Template.png" layer to be below your character layer. Then click on your character layer and clip it.
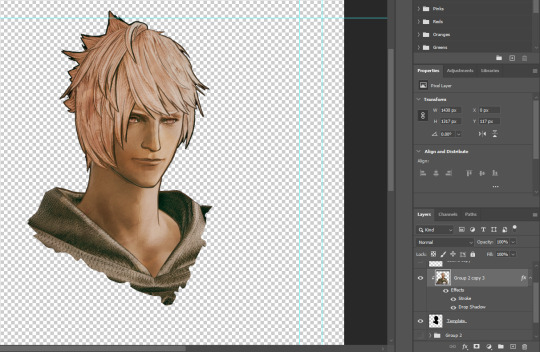
Step 17: Click on the "Template.png" layer and add a 2px stroke and shadow to it.
Step 18: Drag "Back_Deco.png" into the project and place it behind your character. Scale it till you are happy with it.
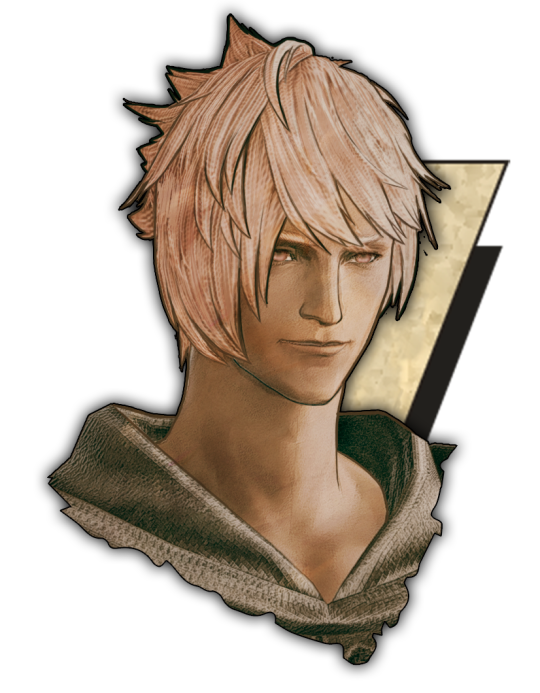
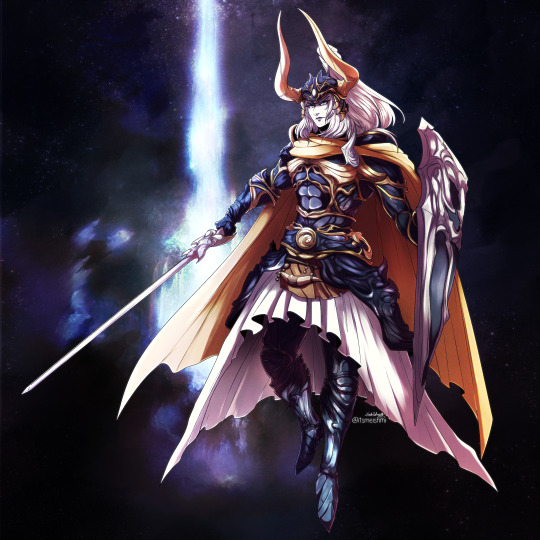
And that's it! Now you can recreate portraits for any NPCs that you want (in theory). A lot of it is also fine tuning to what you want but this should at least give you a decent base to work off of :)
550 notes
·
View notes
Text
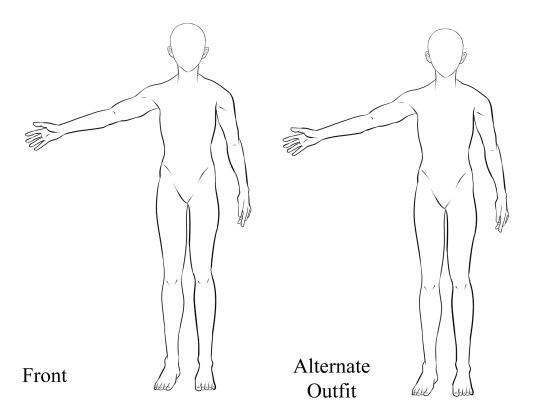
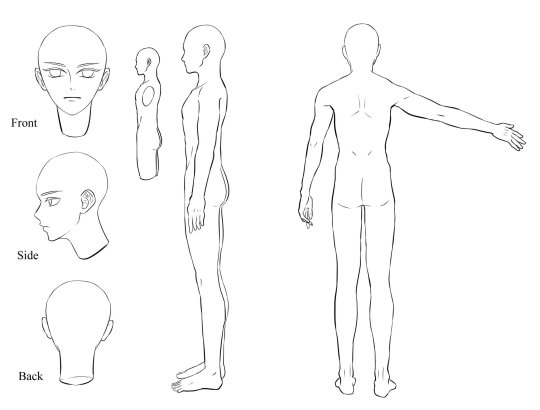
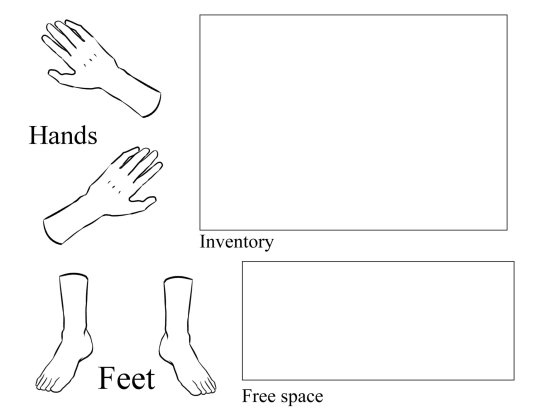
✨Ultimate character reference sheet for struggling artists✨
Please view under read more for permissions etc! (The drive includes the transparent version!)
Character Reference Template
YES ✅
trace/use/color lineart provided
post characters drawn with this base
edit proportion/body types/features on the template
giving me credit is not required, but appreciated! Just link this google drive for other artists if they need it
in the second picture, I gave the two heads a face, but you are free to erase them and redraw them however you'd like. I only drew them to give an approximation of where the facial features Could be located at
although I have things labeled like "alternate outfit" feel free to deviate from it/erase the caption and replace it with something else
NO🚫
do not repost the blank base by itself or claim to have made it
do not use for commercial purposes!(EX. selling ocs and including this in the bundle) this template was made w the help of CSP models! I do not claim rights to those 3D models nor do I make money off of it
That's all have fun everyone 🥳 if I missed anything abt what you can/can't do with the reference pics then just ask and I'd be more than happy to answer ✨
143 notes
·
View notes

Text
characters whose philosophy is “if i cannot be wanted, i will be needed and if i cannot be needed, let me be used until there’s nothing left of me.” thank you for everyone’s attention. falls off stage and dies
82K notes
·
View notes
Text
leitmotifs never get old to me like holy shit dude there’s this melody that corresponds to this one guy and if you hear the melody it means the guy is there. holy shit. and sometimes it refers to ideas too not just guys. has anyone heard about this
79K notes
·
View notes
Text
stop drawing for others. don't draw for yourself either. play video games
44K notes
·
View notes
Text
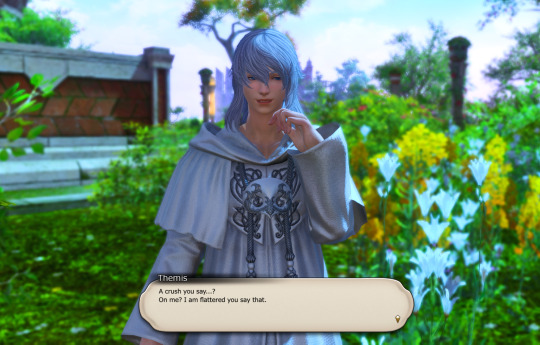
i want to make an Otome where you can give all the Ancients a little kiss and be nice to them thats how i slapped this together, something indulgent with Themis today >-<
33 notes
·
View notes


Text
unsundered.mp4
[Music]
1K notes
·
View notes
Text
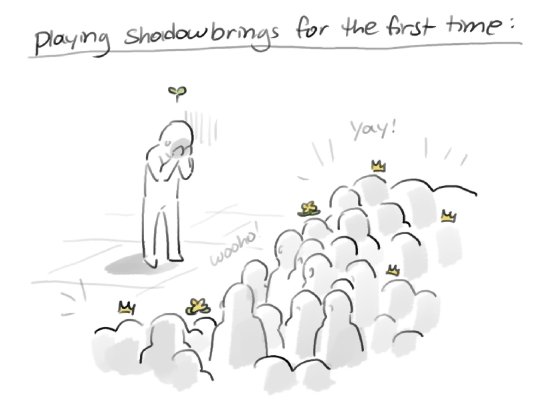
So apparently I had reached "that" part of shb everyone was APPARENTLY waiting for me to get too 😭
658 notes
·
View notes