
Last Seen Blogs
vebrendos
Everyday nonsense

sceezy13
S-ceezyMadness

howfararewefromjannah
salam
plsetski
hello darling
plutoniumdecay
peace love an RANCHIN'
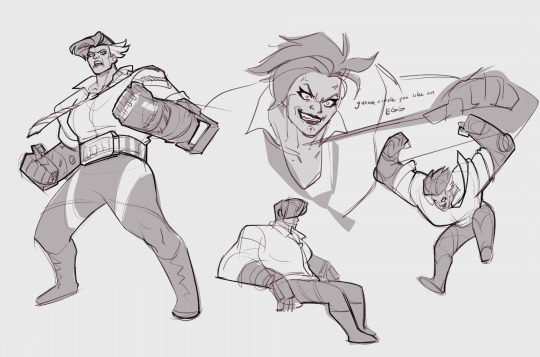
Text
palette doodles during the work break
104 notes
·
View notes
Text
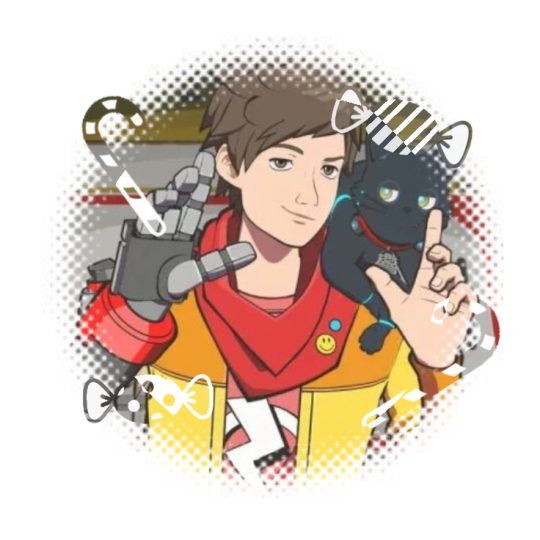


[ fourth icon frame credit ]
[ Chai (Hi-Fi Rush) icons with star and candy themes ]
Here you go, my dude ! Thank you so much for your request and patience !
13 notes
·
View notes
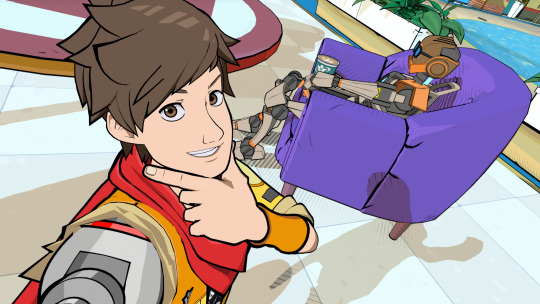
Text
Hi-Fi Rush: OVERDRIVE | TRACK 0 / PAGE 01
Here we go, we're hitting the ground running! Or I guess in this case, we're just hitting the ground.
...too soon? :)
🎵First (you are here!) | 🎵Next
181 notes
·
View notes
Text
Hi Hi-Fi Rush fandom *Drops this and dissapears*
Based on this really silly stupid image I found on Pinterest that reminded me of Chai below the cut:

200 notes
·
View notes
Text
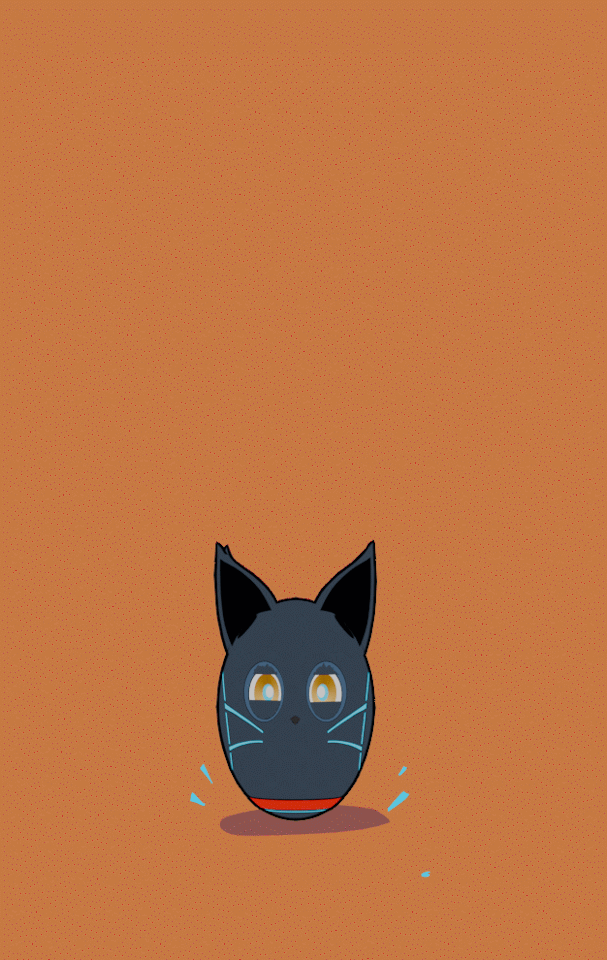
cat bounce!
111 notes
·
View notes
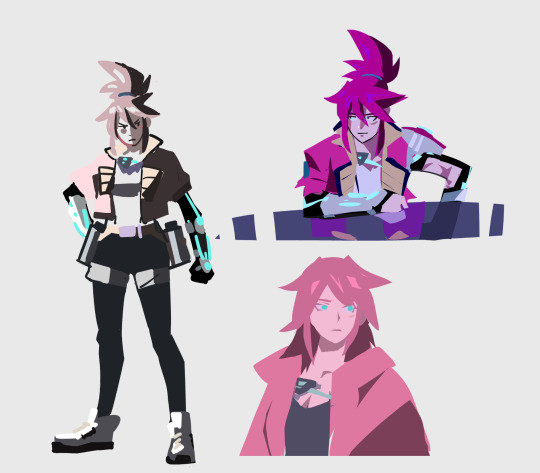
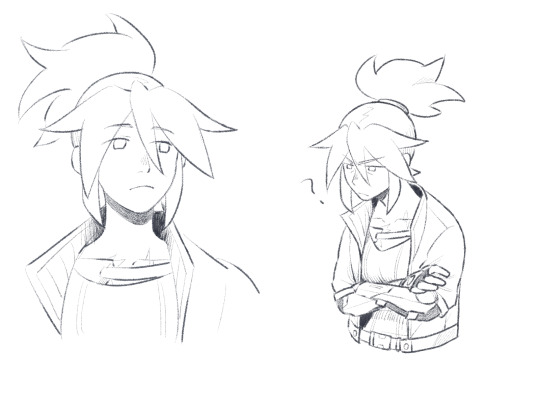
Text
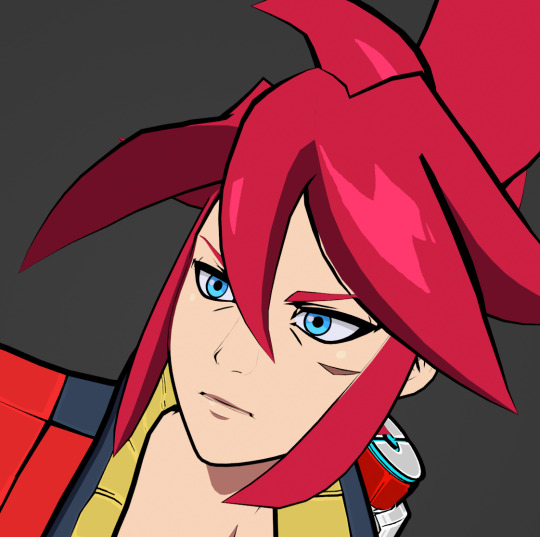
Rekka's shape language is actually one of my favorites to draw, so here's some sketches!
211 notes
·
View notes
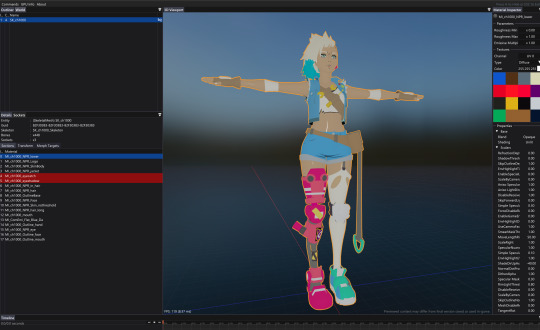
Note
Oh! Again, it seems so simple now that you said it lol. Thank youuuu
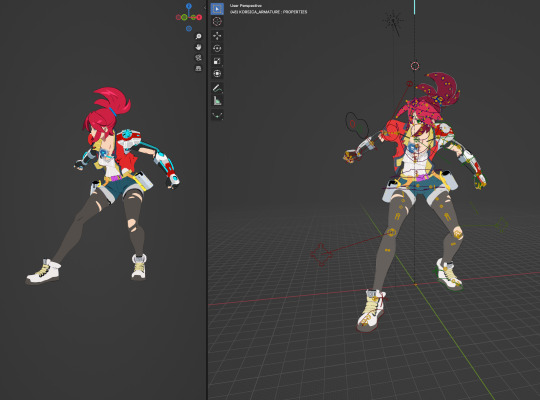
Your Korsica model looks really good, and the outlines are great! I was wondering how you did her outlines since the models don’t come with them when you download them into blender.
While there are methods to outline models in blender, I found out that unreal engine actually uses a whole separate mesh that is the outlines of the character. I personally haven’t figured out how to make an outline through making a whole new mesh like the unreal engine, but your model looks so good!
I just had to ask if you made a new mesh over the model for the outlines or used another method like geometry nodes or the inverted hull method.
Also, if you did figure it out by making a whole new mesh, could you share that secret? I’ve been trying to find out how to replicate the outlines by making another mesh, but the closest I’ve got was a vague and unhelpful post about it years ago. And even if you didn’t use a new mesh, I’d still like to hear how you went about making the outlines.
good news: the outlines do come with the models
I have tried everything you've described initially but I got lucky and figured this one out one day after a really good nap (ngl i've been pretty happy about it ever since).
The outlines are already here.
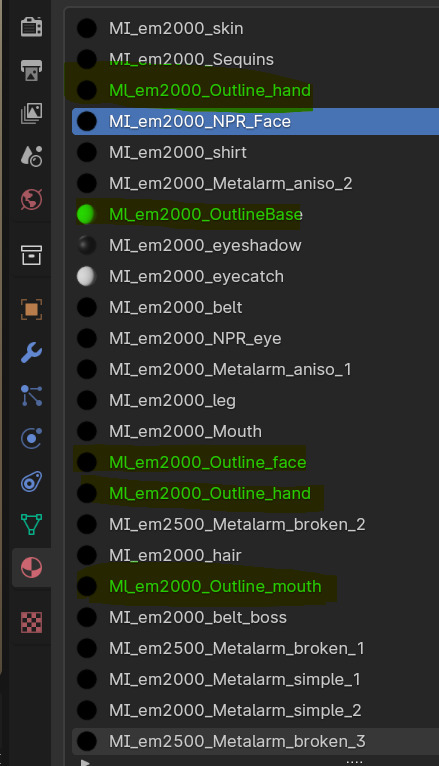
Select the mesh and go into Edit mode.

Go to the materials, click the material with 'outline' in its name and press Select, down at the bottom circled in red. It should select the corresponding mesh that is meant for the character/object's outline.

Right-click on the mesh, select Separate > Selection. Do that for all the materials with outline in its name.

I rename the separated meshes for cleanliness.

Then at this point you can add either a geonode or a Solidify for each of those objects. I do prefer geonodes but they both work. I use the one from Komikaze's shader pack because it's an easy drag and drop, then tweak settings like flipping normals, increasing the thickness and whatnot.

There you go :) I kept the outline on my Korsica model thin because they were a little distracting while I was doing my rigging lmao. But when I start learning 3D animation and rendering things, it's good to be able to adjust the outline thickness to whatever your needs are. Maybe even make a driver for the outline thickness to adjust based on camera location?
It's not a perfect solution. When you zoom into the character, there may be areas where the outline leaves gaps when thickness is set high, or there's an unwanted stray line (particularly in the face but I've also seen it in hair). But it's a great start. If you find anything about it to clean it up some more, feel free to dm me.
10 notes
·
View notes
Text

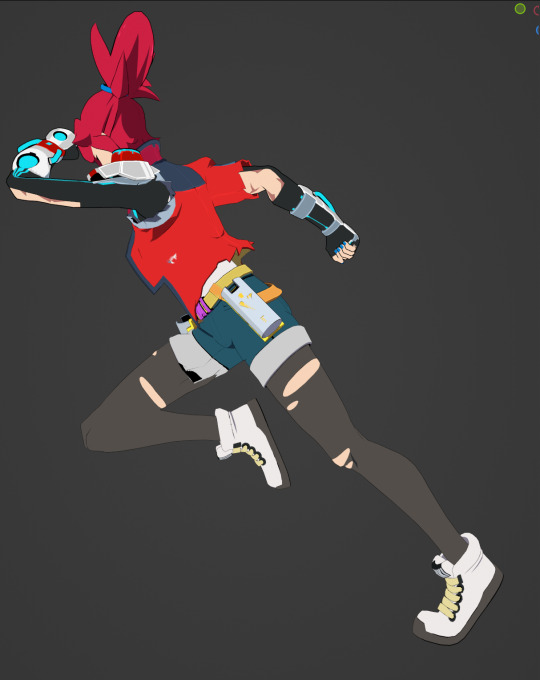


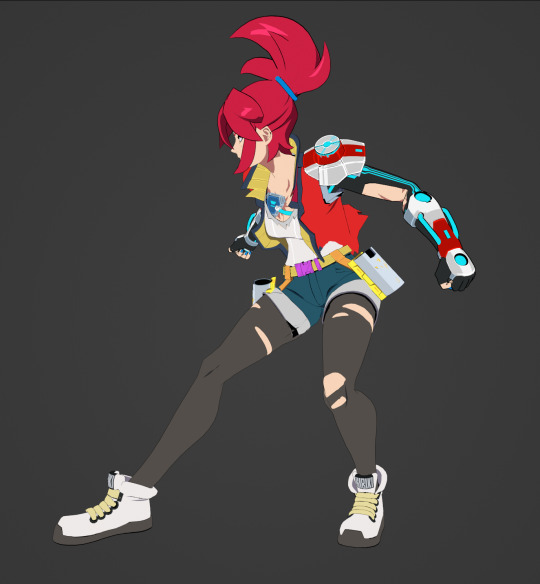

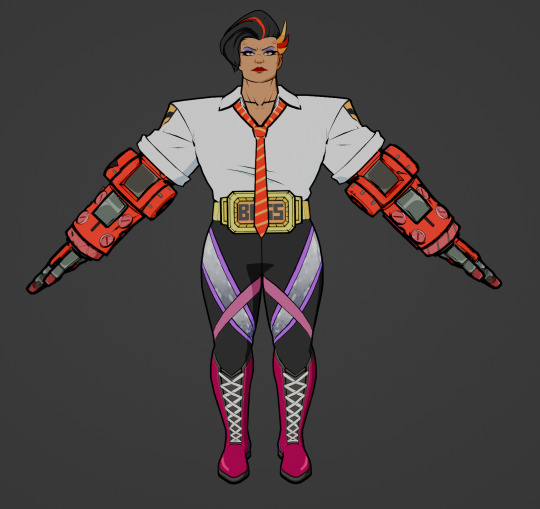
Posing my korsica rig from d unmeshi clips I have saved. just like playing with action figures lol
still haven't rigged everything (weapon, jacket, mouth and holsters) since I'm working on my comic lately. But this was a nice little break to have, and also gives me some insight on what areas I need to tweak down the line. Note to self her thighs clip through her shorts when she bends, maybe go in and adjust vertex weight values to match shorts.
78 notes
·
View notes
Note
Wow, it was that simple! Well, I guess I should’ve played more with the program, and I would’ve eventually got there. Thank you for the help though!
I know you posted it a while ago, but I was finally able to download fmodel, but I can’t find a way to view the animations. I’ve searched it up, but can’t seem to find anything about viewing the animation in fmodel. The wiki even said it’s not even a feature yet, so I’m in desperate need of help because how did you get your animation viewer to work in fmodel?
Sure! Instructions under the cut.
On the top left it says 'Commands', the 3. Outliner has the relevant instructions.

Choose a mesh, in this case, I picked Peppermint. I double click on SK_ch1000.uasset to open up the 3D Viewer.
Right Click on the name of her mesh on the top left Outliner and Choose Animate.

You'll get this window.

Now under her Animation folder I can pick what animation to view.

Double click on any of the animation files and it should show the animation!

If the model ends up being too close, the navigation shortcuts are under the Command button. And scrubbing the timeline should be in the green line at the bottom of the window. You can pause and go frame by frame.
If you want to view another animation. Right click on her mesh in the outliner once again and repeat the steps.
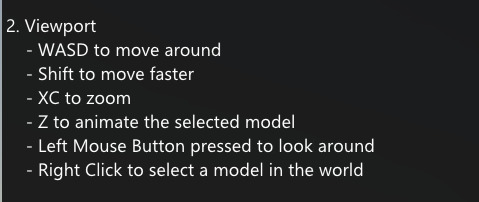
There you have it! Enjoy.
#hi fi rush#whoops#should’ve just looked around for more information on the program itself#I feel a little silly now#but the show must go on!
6 notes
·
View notes
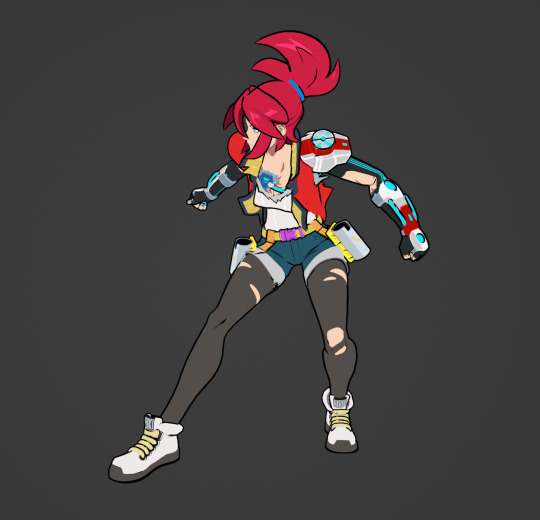
Text
The first piece I drew using csp! Thanks to @toxiciw the grant!
164 notes
·
View notes
Text
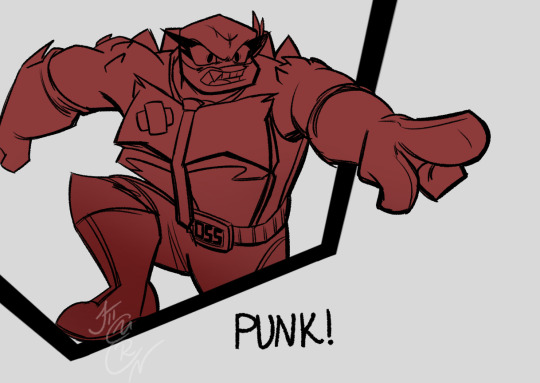
Hi-Fi RUSH X RotTMNT CROSSOVER

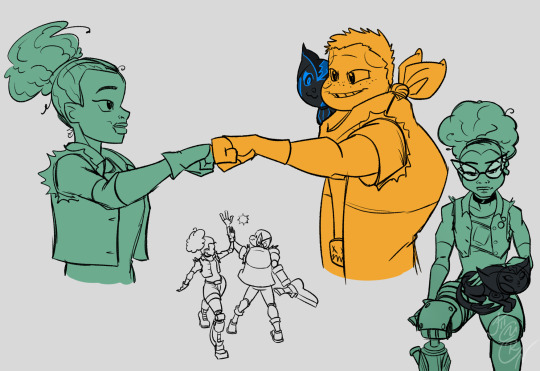

It's not a well thoiught out AU. I don't have a story or something. just some colored sketches that I had some fun with :)
Raph as Rekka was of course the first to click in. look at him •́ ‿ ,•̀♥️
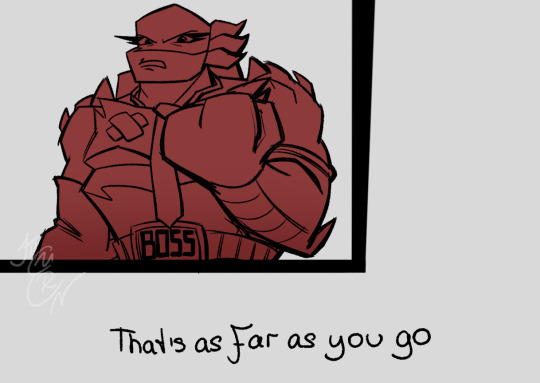

Donnie as Zanzo. I mean OBVIOUS.


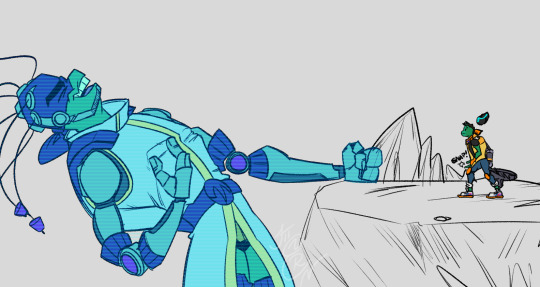
I debated on what role should Leo have. one could say, the guitar, the robotic arm - it's obvious. he's almost begging to be Chai.
but (* ゚∀゚)ノシ just hear me out.

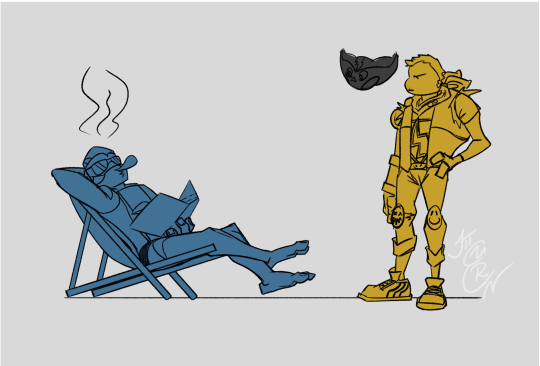

the sunbathing bot. give the boi the day off that was robbed from him!
42 notes
·
View notes
Text

So I finally managed to get all the new shirt's done.
Then separated the Chai's from the text for use of window clings/stickers etc.
All be in the drive.~ In a seperate folder no less!
#hi fi rush#chai hi fi rush#oooooh this is cool for some stickers#is there a chance you could share that google file?
16 notes
·
View notes
Text

I can't think of a funny caption for this one, uh-
Sorry if it's kinda messy. I had a rough day today, so I tried to draw this to cheer up a little but it's not my most polished!
#hi fi rush#lgtbqia+#kale vandelay#rekka hi fi rush#hi fi rush mimosa#roquefort hi fi rush#hi fi rush zanzo#this is so cuteeee#I love their poses#this brings me so much joy
71 notes
·
View notes
Text

*to the tune of TMNT* cringe ass nae nae l-g-b-t's
#hi fi rush#not my art#chai hi fi rush#korsica hi fi rush#peppermint hi fi rush#hi fi rush macaron#hi fi rush cnmn#these are so cuteeee#these could totally be stickers or keychains
81 notes
·
View notes
Text
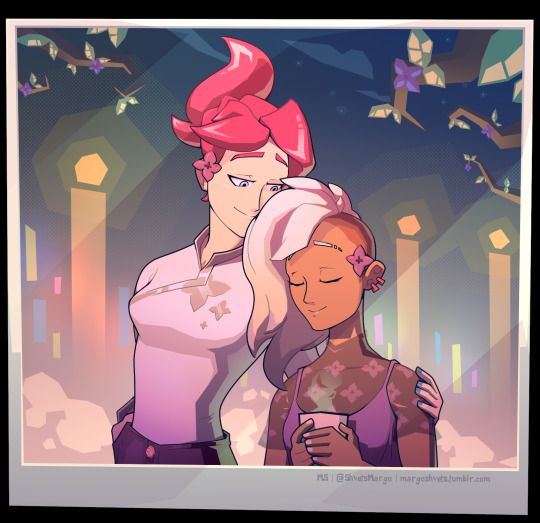
"The Love Flowers"
62 notes
·
View notes
Text
Korsica is sad (blender animation side angle)
Here's the same animation from the side angle if anyone was interested in seeing it.
Just in case anyone missed it, here's the front angle of this animation.
#hi fi rush#hfr#hi-fi rush#korsica#korsica hi fi rush#my animation#my post#For something so small I loved doing this lol#blender
19 notes
·
View notes
Text
Korsica is sad (blender animation)
This is obviously not thorough in that there's little to no in between frames, easing, and all that, but I wanted to get the idea out that Korsica's hair goes down when she's sad lol.
Her hair also looks wet when downturned like this.
Here's a link to the side angle of this animation if anyone is interested.
#hi fi rush#hfr#hi-fi rush#korsica#korsica hi fi rush#my post#my animation#blender is so fun when it works lol#blender
75 notes
·
View notes