#diy pattern
Text
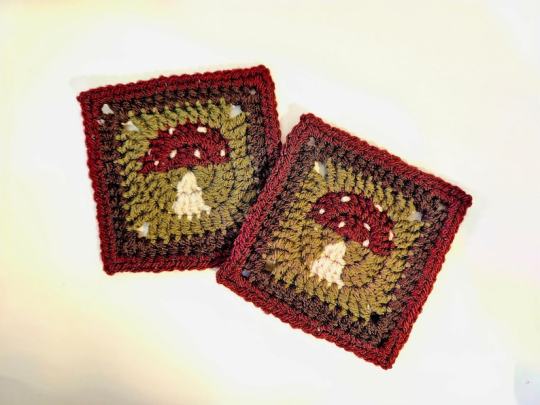
Toadstool / mushroom crochet granny square pattern // TashHag
87 notes
·
View notes
Photo


Cute Knitted Plushies + PDF Patterns by sachiyoishii
#sachiyoishii#knitted#knitted plushie#plushie#cute#diy#knitting pattern#diy pattern#pdf#pdf download#pdf pattern
469 notes
·
View notes
Text
DAYCARE ATTENDANT BERET PATTERN
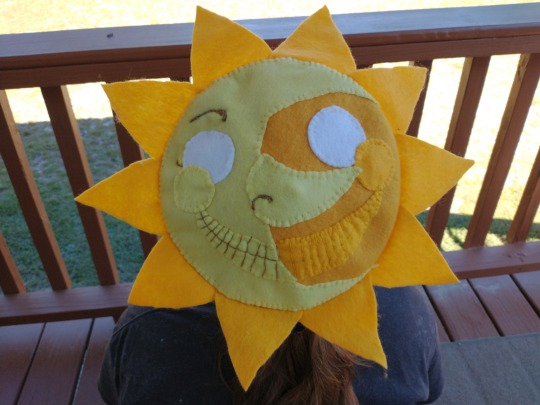
This pattern is made to modify an 8 inch wide beret and print on US letter paper, PDF and instructions under the cut. Takes approximately 4 hours.
Don't want to make one? I can make one for you.
PDF
This pattern is intended for basic knowledge of hand sewing, and uses (though you're welcome to go for something else) the blanket stitch and back stitch.
You will need:
A golden felt beret
Gold felt (1 standard sheet should do)
Cream or pale yellow felt (You will need something at least 8 inches wide, you can find felt by the yard, but you will have a lot of excess)
White felt
Embroidery floss in gold, cream/pale yellow, white, and light brown/straw
It's important to get the order of appliques right when making this, I started with the ring of rays (1) around the widest part of the hat, pinning them down to be evenly spaced and sewing them with the blanket stitch, the stitch facing the head hole of the beret. I did ten to make an even ring, but Daycare has 9. It's up to you.
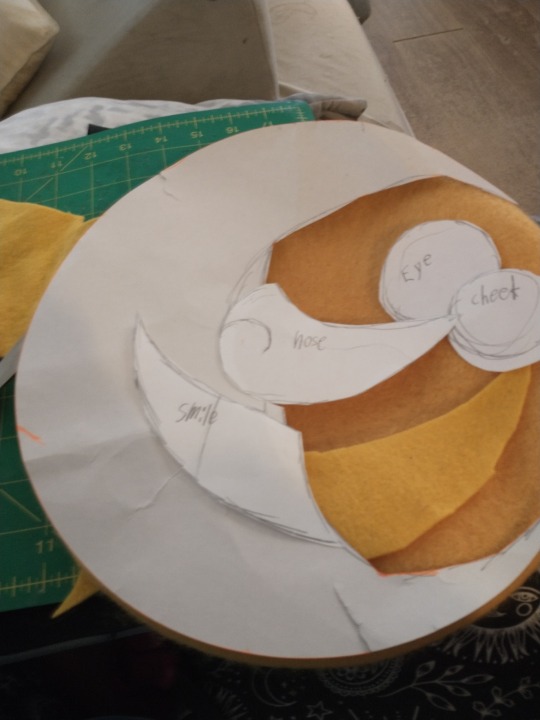
Lay the face pattern piece down (4) and place the gold smile (2) half (to match where the cream smile will be, stitching it down.
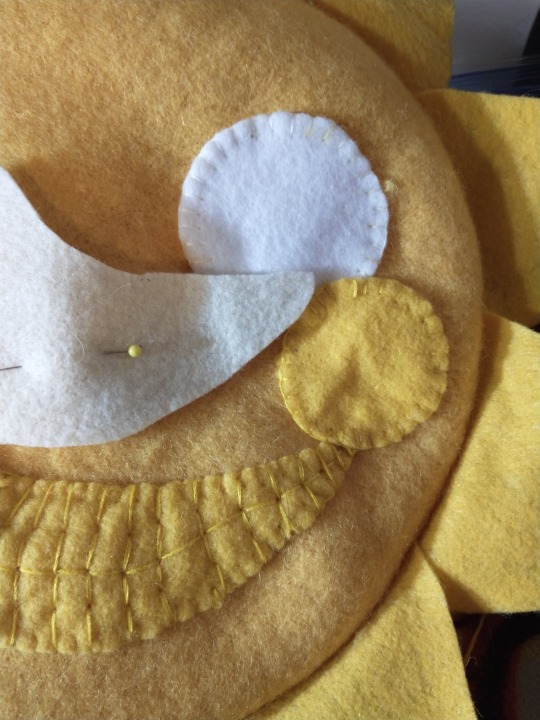
Per next photo, do a back stitch in gold thread that's 1/2" long, this will be the center line of the teeth.

4. At each center line stitch, meet with more back stitching along the height of the smile, doing 4 stitches at the tallest parts, and 2 otherwise.

5. Use pattern piece 4 once again to determine where to place the eye (3) on the right side of the face, appliqueing it down
6. Repeat placement to find where to put the right cheek (5), and applique.
7. Applique the face (4) down, being sure to align it with the rest of the face.

8. Applique the cream half of the smile, and use the brown/straw thread to embroider the mouth as before.


9. Applique the eye in place.
10. Applique the nose (6) and cheek
11. Embroider the eyebrow, nostril detail, and eyelash as shown.

You have completed the beret! Congratulations.
#fnaf#fnaf sb#diy#diy pattern#applique#beret#custom beret#free pattern#felt#sewing#crafts#daycare attendant
61 notes
·
View notes
Text
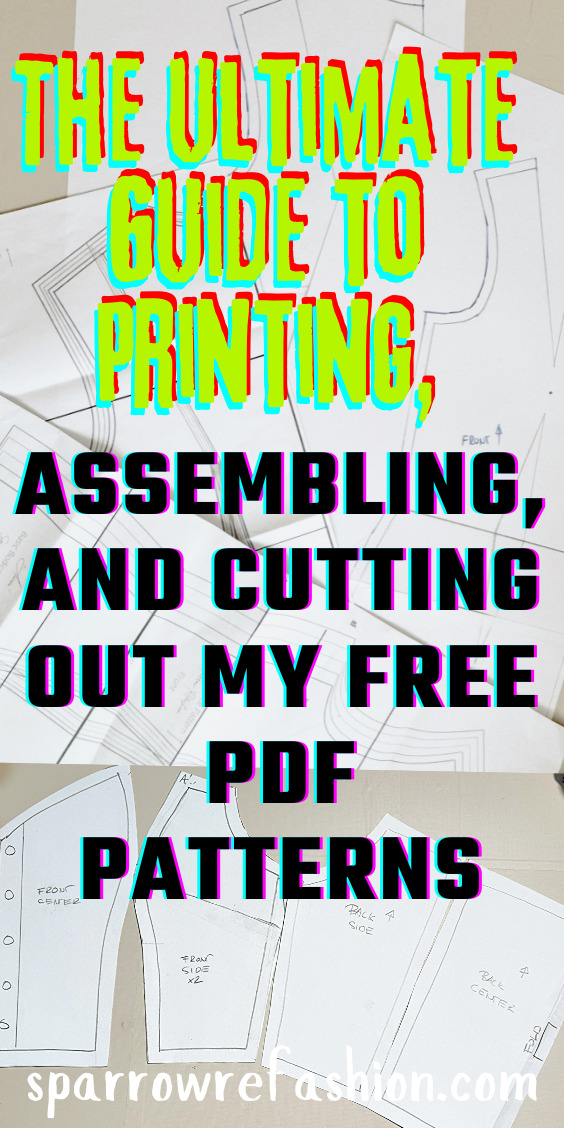
link
#sewing#diy#diy fashion#fashion#easy sewing#pattern#sewing pattern#diy pattern#assembling#sewing patterns#pdf patterns
21 notes
·
View notes
Photo
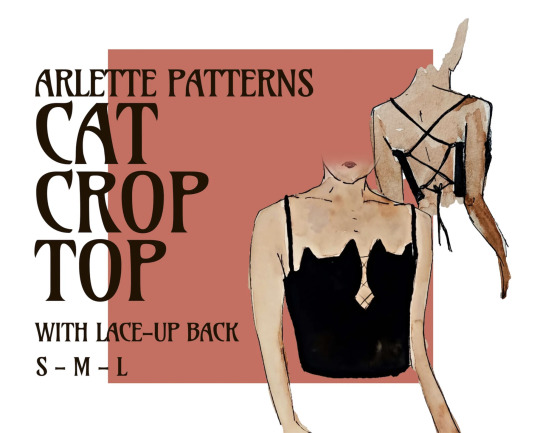

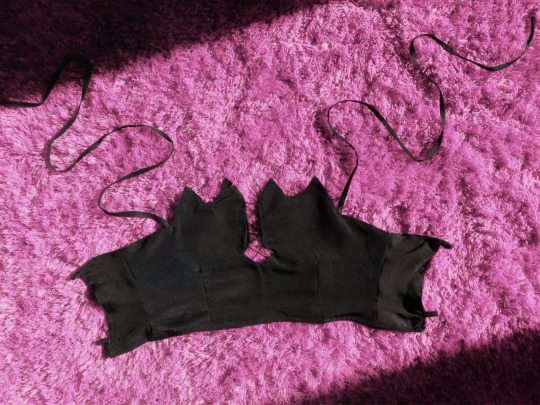
Cat Crop Top Sewing Pattern from ArlettePatterns
#crop top#shirt#tops#sewing pattern#pdf pattern#sewing#diy pattern#diy#cat#clothing#fashion#crafts#crafty
333 notes
·
View notes
Text
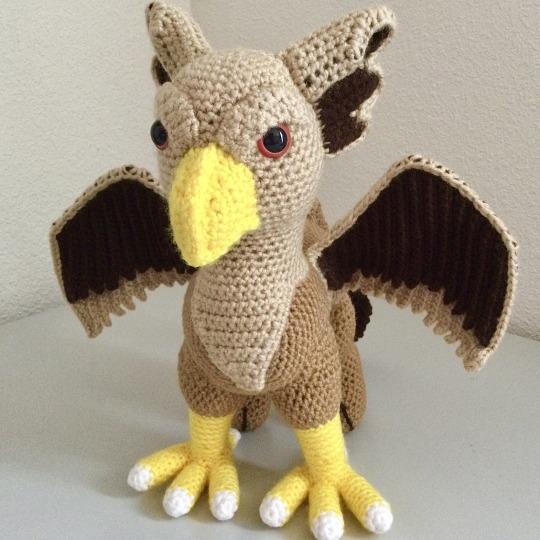
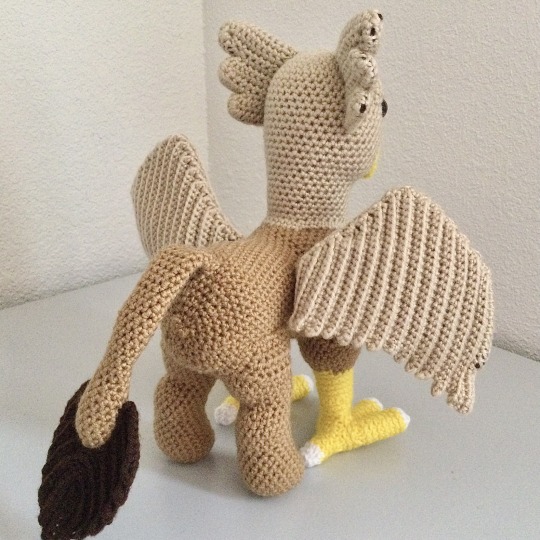
Griffin crochet soft sculpture! Finished project measures 11” H x 6” W (not including the wings) (28 x 15.3 cm). Gauge used is 5 stitches and 6 rows = 1 inch using the single crochet stitch and worsted weight yarn.
Amigurumi pattern is available on Etsy and Ravelry
#griffin#crocheted#soft sculptures#gryphon#amigurumi#art doll#diy pattern#gryphon art#doll#mythical#lion#eagle#mythological creature#mythology#yarn crafts#amigurumist#crochet designer#jbcrochetwizard#doll artist
12 notes
·
View notes
Text
Need more color
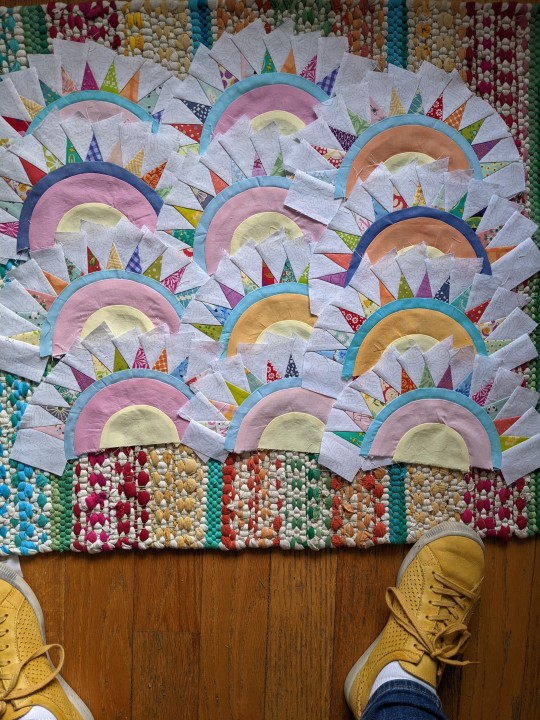
#quilts#quilters of tumblr#makers#diy pattern#diy#gimme some sunshine#quilt#i made this#sewing pattern
20 notes
·
View notes
Text

get our latest free cross-stitch pattern,
download and happy stitching
https://shorturl.at/bBDFP
2 notes
·
View notes
Text


Happy New Year, Tumblr! It's my resolution this year to get more on top of my shit and actually post here. Part of my resolution is to also have more of the "& Crafts" to my Pop Arts.
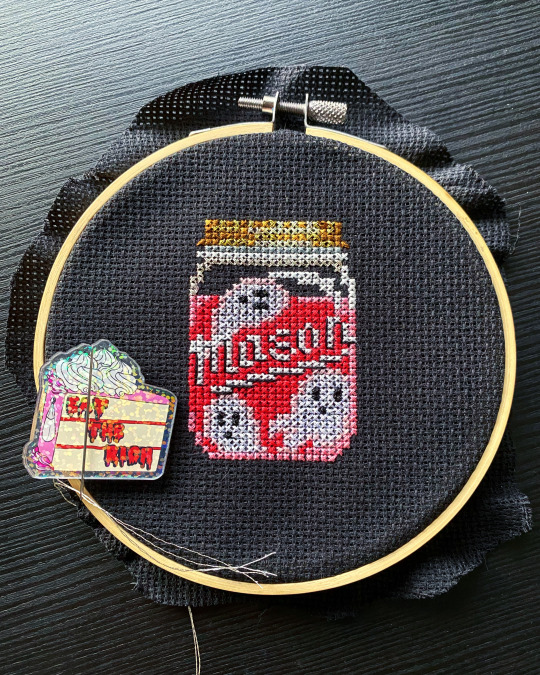
This is a cross stitch I made as a gift. It was super weird to find an amazing pattern that fit so well with an inside joke. My bestie and I became friends over joking that old houses are full of ghosts (or particularly haunted looking thrift store items) and we had quite the time canning this season so, honestly, this pattern by Lola Crow Cross Stitch was creepily on point.

I made a few changes from the original pattern and those basically all dealt with color. My bestie loves pink and shiny things and her office is pink so I did some bold color changes - Blues became pinks. White became shiny metallic white. Gold became metallic gold. (And if you've never worked with metallic thread... it's not for the faint of heart.)
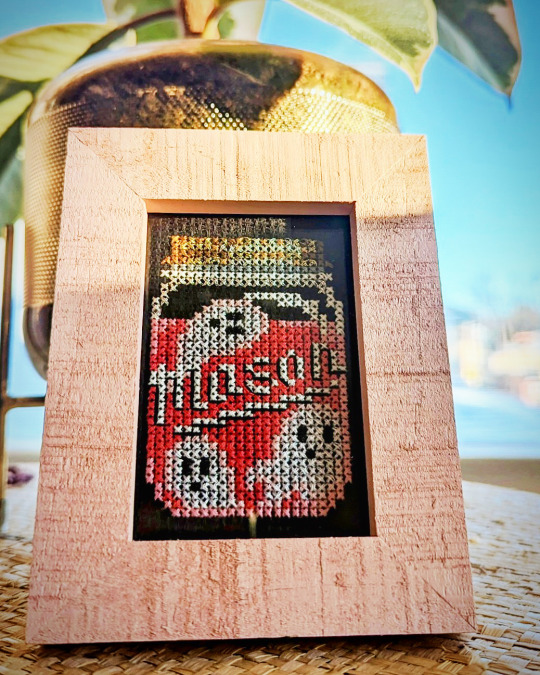
I'm so happy with how this worked up and that I found the perfect frame in the clearance section of Michael's.
You're going to be seeing much more "& Crafts" from me in the coming future. So stay tuned.
Also, if you've never used a needle minder while stitching, you really should. They're life changers. Instead of finding a needle in your foot, it's stuck to the magnet on your piece.
For this project I used one of my Eat The Rich Needle Minders.
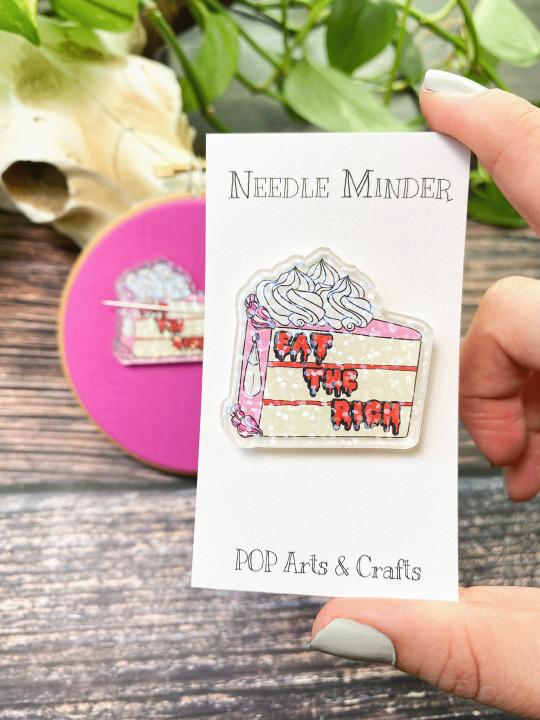

Because what goes better than a pink mason jar full of ghosts than a pink cake based on the French Revolution?
If you want to find or follow me in more places, you can find me here!
Talk soon, babes 🖤
#cross stitch#crossstichlove#modern cross stitch#ghosts#crafts#crafting#craftastherapy#diy craft#arts and crafts#diy#sewing#needlework#needle minder#fiber arts#fibre arts#diy pattern#x stitch#handcrafted#embroidery#creative#hot pink#pink aesthetic#sparkles#pastel goth#creepycute#creepy cute#etsysmallbusiness#etsylove#etsyseller#etsyshop
13 notes
·
View notes
Text


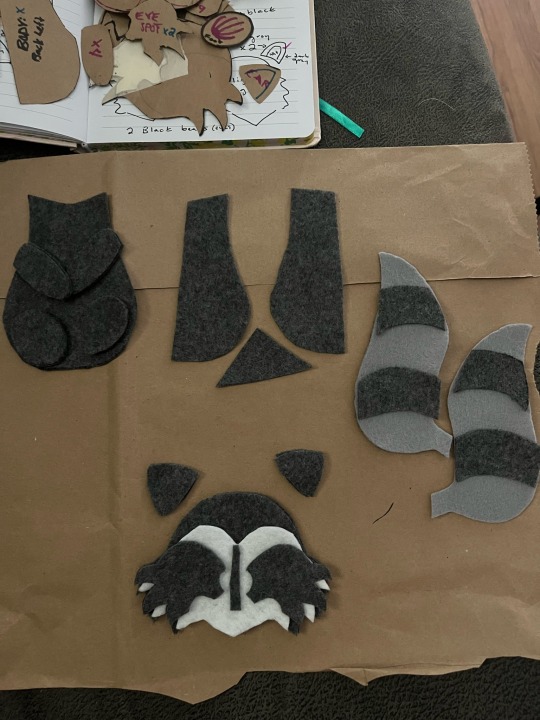
been having a rough recovery from the semester so am going to stop trying to Do Things I’m Supposed To Do and make a cute lil raccoon friend who has been named Ranny
I’m doing to do a trial/prototype then make one that will be a gift for a little girl (who was the whole inspiration in the first place)
I drafted myself a pattern and wrote the instructions on the pieces to make it easier now that the brain fog is back so badly
stay tuned
6 notes
·
View notes
Text
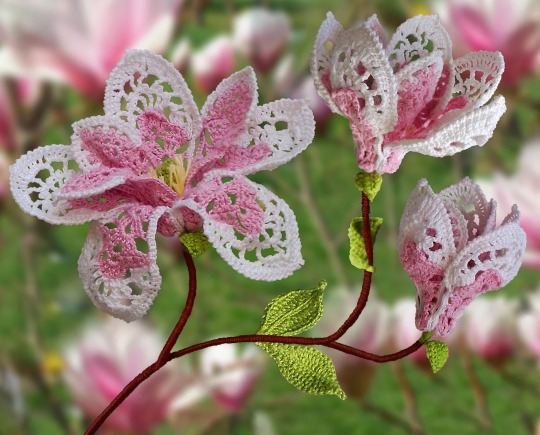
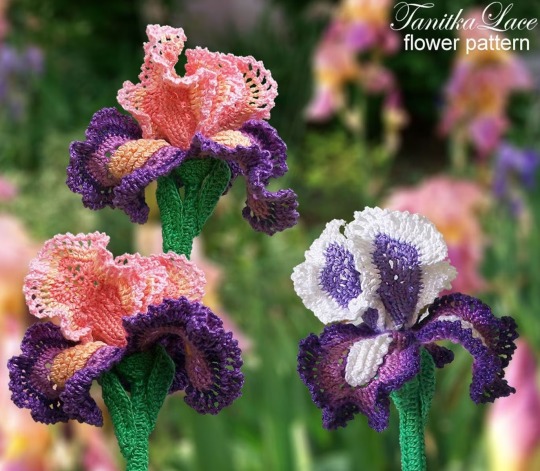
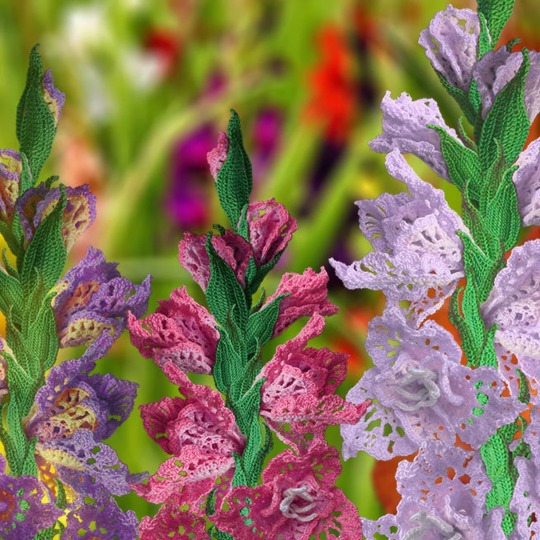
Crochet Flower Patterns // Tanitka Lace
12K notes
·
View notes
Text
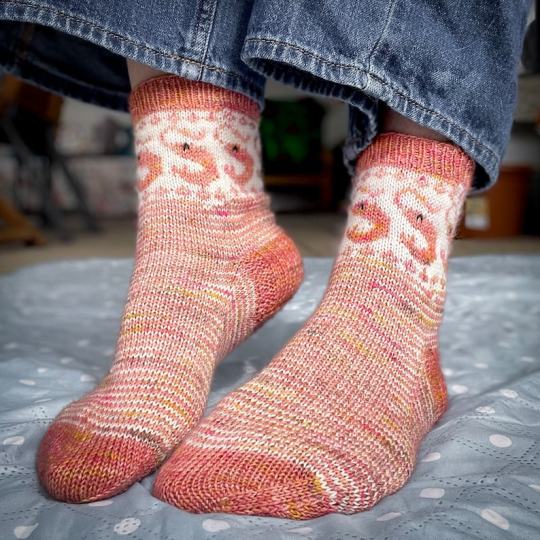
Shrimply the Best socks PDF knitting pattern // StoneKnits
1K notes
·
View notes
Photo
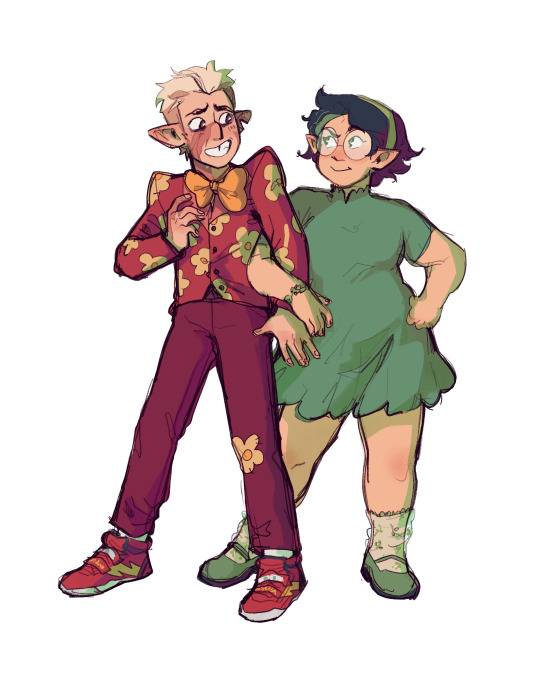
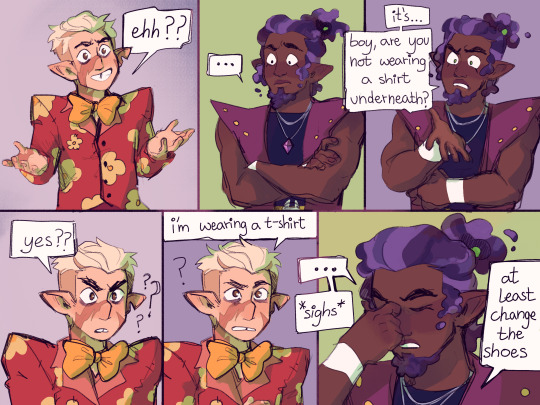
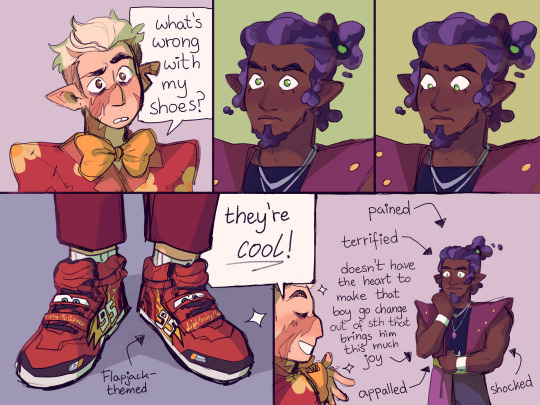
grom losering
#the shoulder pads the giant bowtie the diy suit the flowery pattern the lack of shirt- it's CAMP!!!!#the owl house#toh spoilers#hunter toh#toh hunter#toh#toh art#fanart#my art#hunter#willow park#darius deamonne#huntlow#my comics#hunter deamonne#hunter noceda#hunter wittebane#darius#willow#he's so cringefail godbless
40K notes
·
View notes
Text
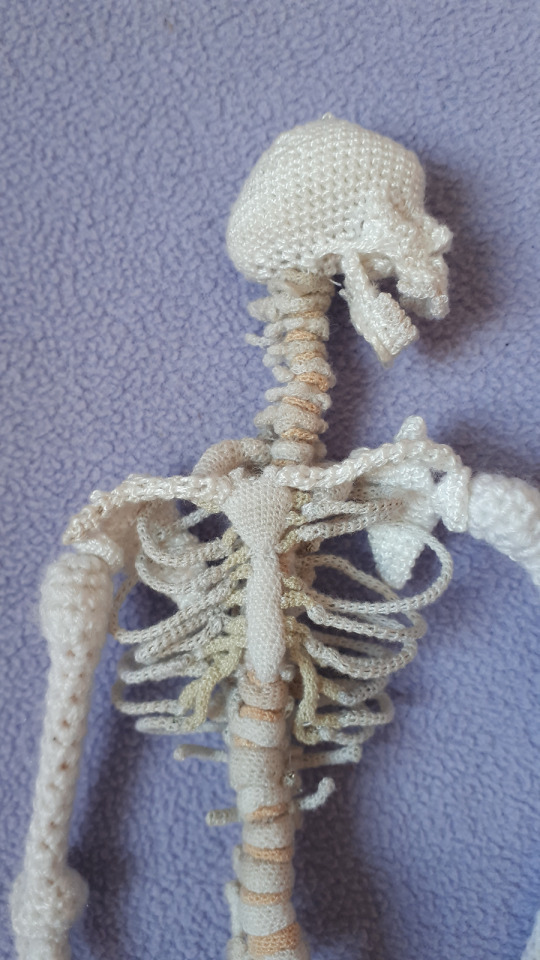
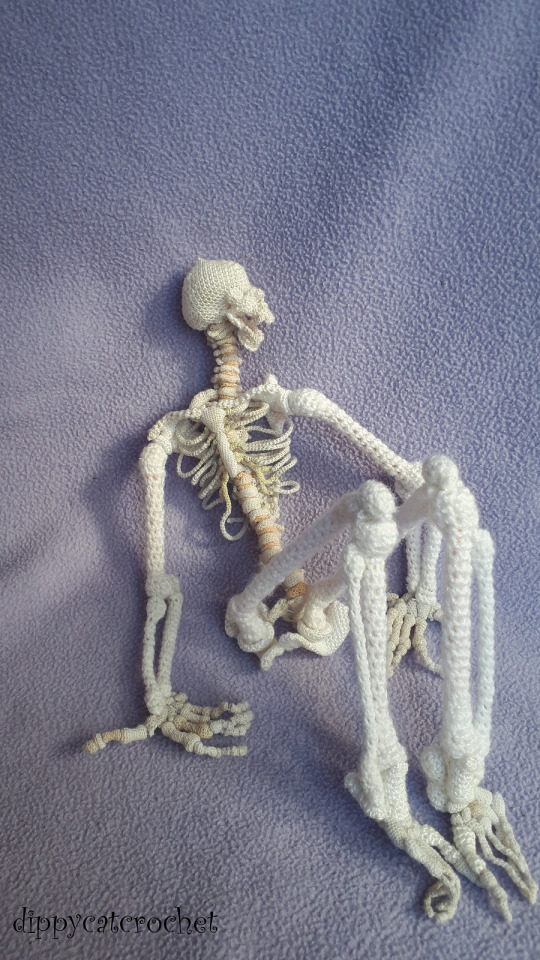

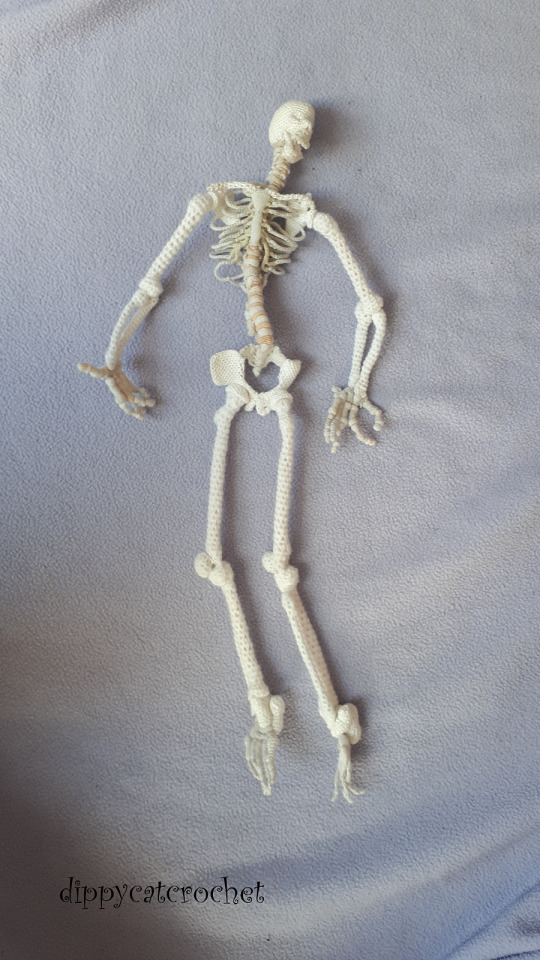
Crochet an Anatomically Correct Skeleton - FREE Pattern Includes All 206 Bones, 1/5th Size Scale Model! 👉 https://buff.ly/3sxUOW6 💀
11K notes
·
View notes
Photo
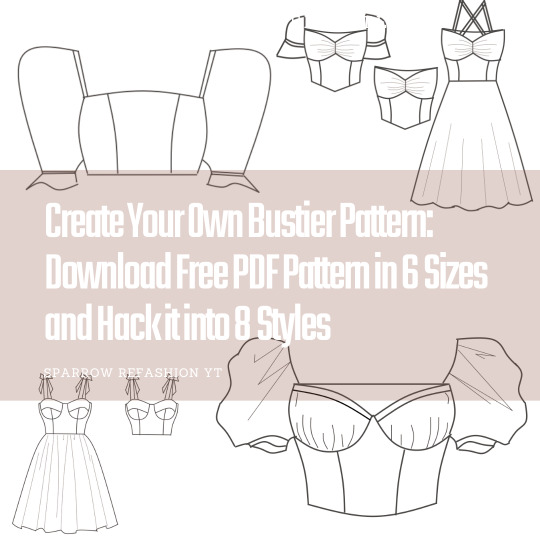
Are you ready to create your own stylish and fitted bustier? Whether you're new to sewing or a seasoned pro, creating a bustier can seem daunting. But fear not! In this tutorial, we'll show you how to create your own basic bustier pattern or download my free printable PDF pattern in 6 different sizes, and hack it into 8 different styles!
Our step-by-step tutorial will guide you through resizing the pattern to fit your measurements perfectly and adding perfect sleeves. You'll also learn how to modify the pattern to create various styles, including a bustier with cups, a milkmaid top, a bustier with sleeves or without sleeves, and even a stunning bustier dress!
This tutorial is perfect for beginners and experienced sewers alike. My easy-to-follow instructions will take you through the process from start to finish, making it easy to create a beautiful, fitted bustier that you'll be proud to show off.
Don't forget to download our free PDF pattern and share it with your sewing friends. And be sure to subscribe to our channel so you never miss a new tutorial.
In my next video, we'll be showing you how to sew a perfect bustier dress using my free PDF pattern, so stay tuned!
youtube
#diy fashion#diy sewing#diy pattern#sewing patterns#sewing patterns for free#pdf pattern#sewing pdf#bustier top#bustier dress#buster top with cups#sewist#modern fashion#modern sewing#easy sewing#sewing for beginners#beginner sewin#printable sewing pattern
22 notes
·
View notes
Photo


Digital Sewing Pattern 18th Pair of Stays from Lunneth
#corset#stays#sewing#sewing pattern#pdf pattern#digital pattern#diy pattern#crafts#crafty#18th century#18th century fashion#clothing#fashion#diy
316 notes
·
View notes
Last Seen Blogs
the-binding-of-omega
The Binding of Omega

void-mori
the Thing John Carpenter made a movie about

sourprom
# 𝚂𝙾𝚄𝚁𝙿𝚁𝙾𝙼 :

thinkdifferent20
Fábio Marinho

tranz-pup
Tranz Pup