#busy bee bindery
Text
A nice, shiny rebind of The White Road, by @perverse-idyll! Also in honor of @harryjamespotterweek, for today's trope prompt of "enemies to lovers", which Snarry always is! 😉 One of my favorite fics of all time, and beloved by me for many, many years!
It's not much different from version one. Same leather, same book corners! The most important difference to me is I got some thicker chipboard which holds the thicker leather much better than the previous chipboard I used. I also used a black paint pen for the cover and spine titles, rather than "rosewood" as I used previously.
This version is much neater and sturdier and I'm very pleased with it! Though I definitely foresee myself rebinding this time and again as my skill improves. A gal can never have too many copies of her favorite fic, right?? 🥰


29 notes
·
View notes
Text
SEXPOSITION!!!! :D @danpuff-ao3!!!!
Sorry not sorry about the capitals screaming because this stuff is lit. It's 630 pages single bookbinding!!!! OMG. Danni really said go big or go home!!
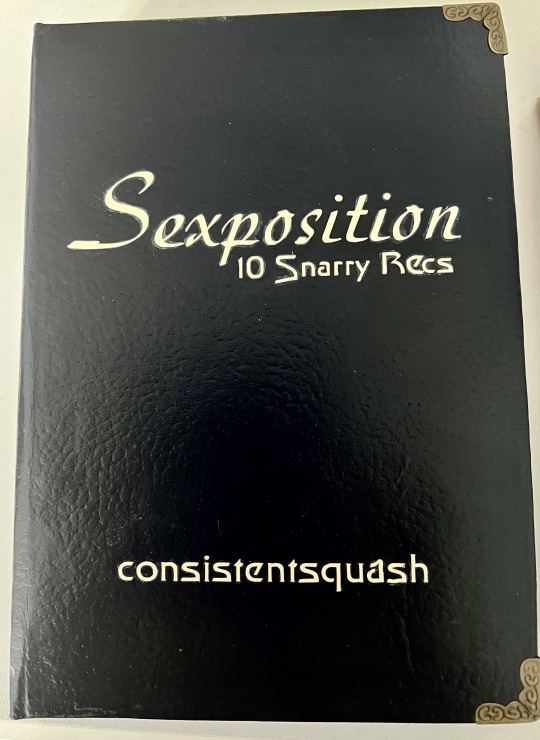
Original rec list on Tumblr - The goal of this list was to rec Snarry fics great about using sex for exposition with a huge dick to word count ratio. The Big Dick Energy of these fics are totally 110% matched by the Big Dick Energy of the bookbinding Danni did :D Also I probably am the luckiest reccer and maybe one of the top 1% (suck on that Bernie!!!) because Danni bound my rec list and whoa total honor :D :D Better than getting into Library of Congress :D
lots and lots after the cut :D :D it took me forever because my roof was like 50% roof and needed to fix that but pic time now :D :D
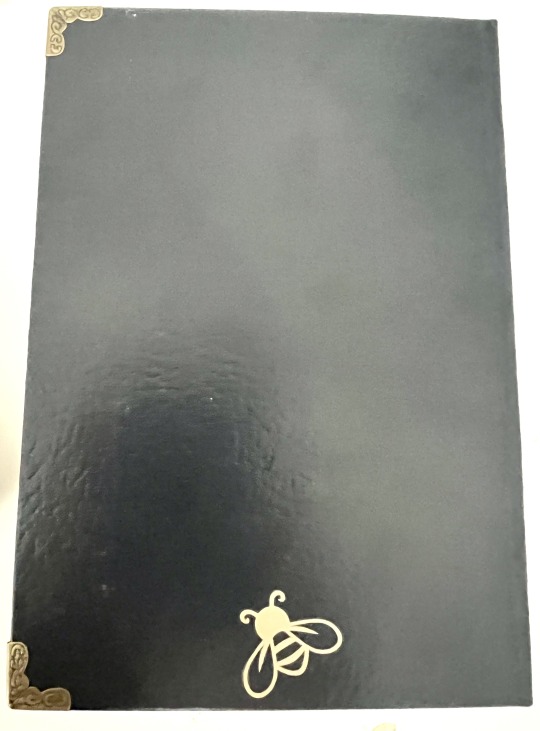
Ok, this book is from Busy Bee Book Bindery! It's got the coolest seal ever :D :D Also look at the special guy on the right :D we are flying :D

Also from the side
Also check out The Table of Contents!!!
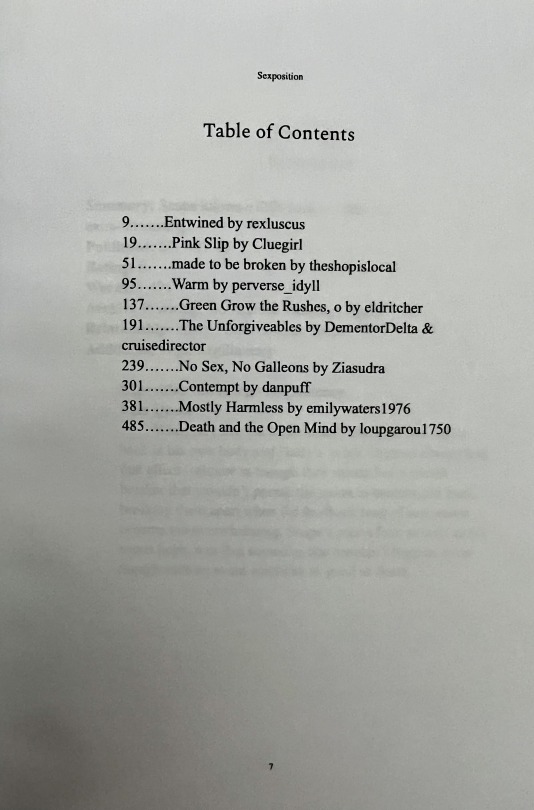
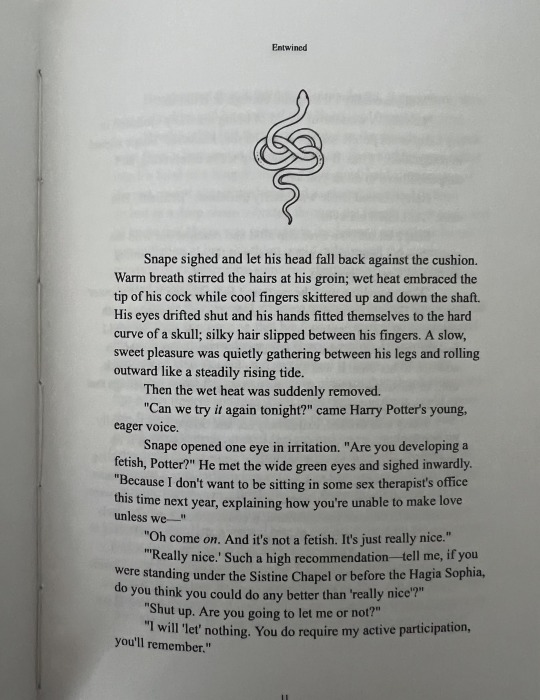
1. Entwined by rexluscus
Danni picked the perfect symbol for this fic. It's dirtyhotbadwrong and its really really codependency :D
2. Pink Slip by Cluegirl
To be honest the corset is the One Image which just stays in my brain forever about the fic. I mean Voldemort one and the Order folks are now "fosterlings" and things are really dirtybadhotwrong but the corset imagery lives in my head rentfree :D Danni really got that one right :D :D

3. made to be broken by @theshopislocal
Really love the feather/light/vulnerability vibes of the symbol. It totally matches the beautiful fic with vulnerable Snape written in classic Snarry slash vibes.

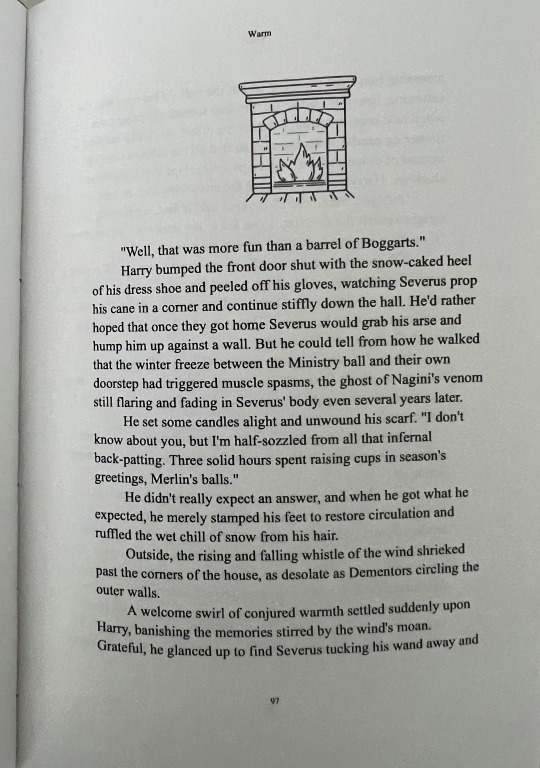
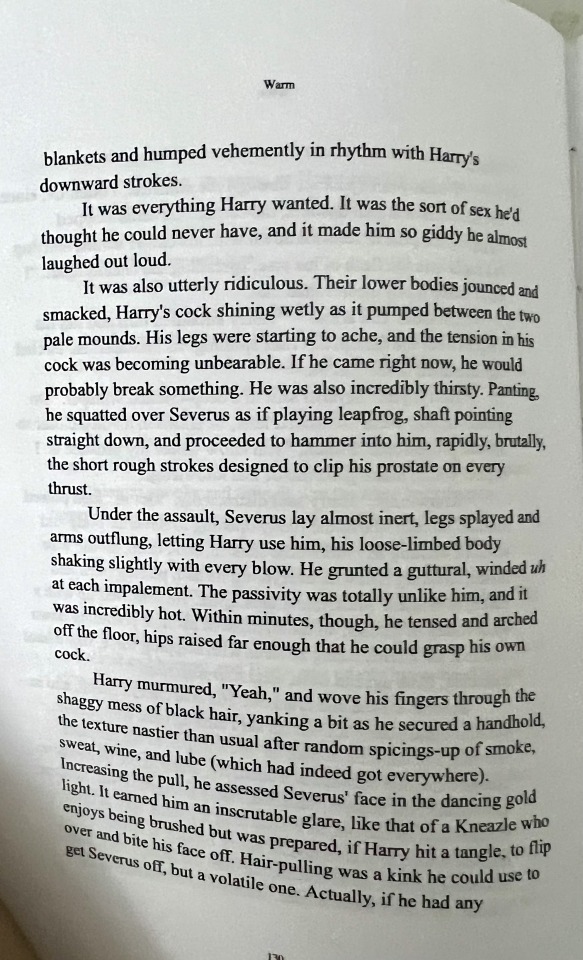
4. Warm by @perverse-idyll
Warm :D Total vibe match for the PWP established relationship comfort read vibes of the fic. Because this is the Snarry PWP and established relationship fic as far as I am concerned :D
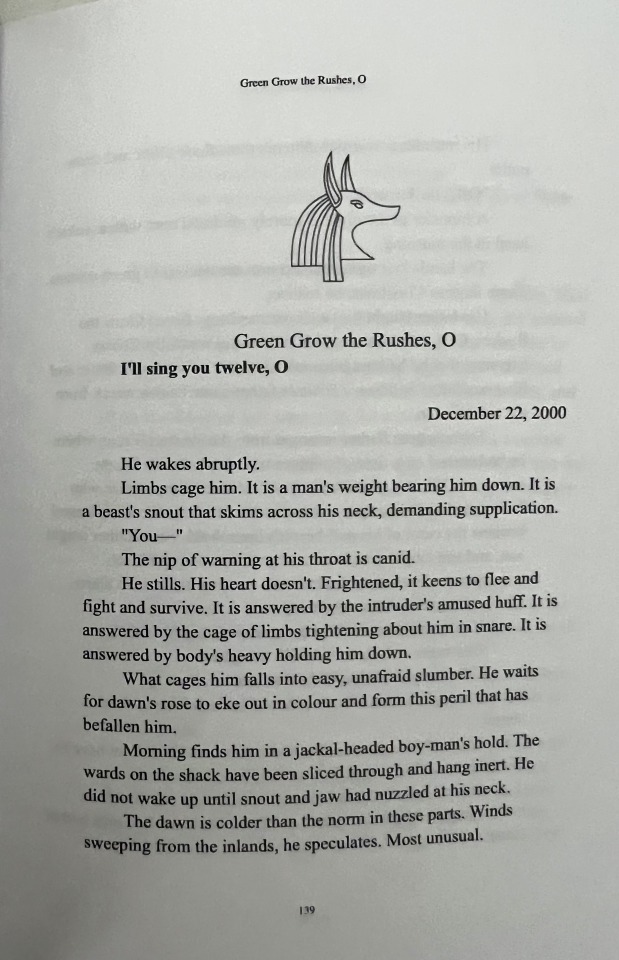
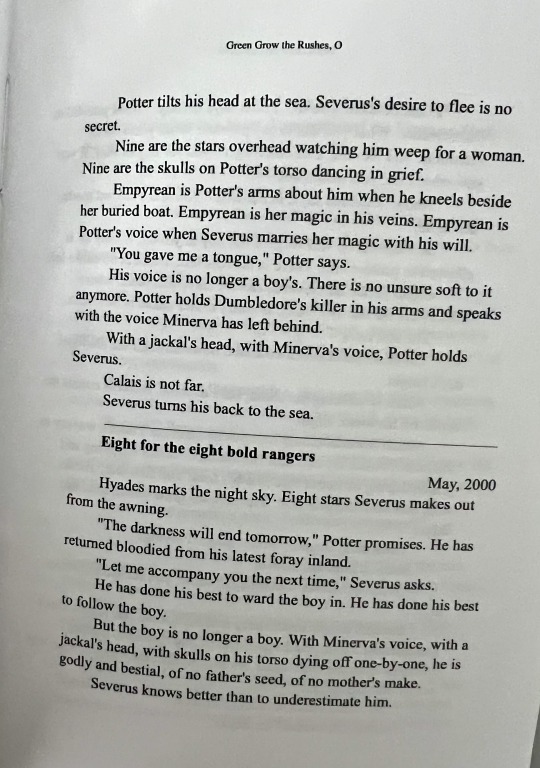
5. Green Grow the Rushes, O by eldritcher
I mean this one really is the perfect symbol again :D Harry has a jackal's head like Anubis because he is that good bad at Animagus stuff. The Snarry bestiality fic/creature fic as far as I am concerned :D
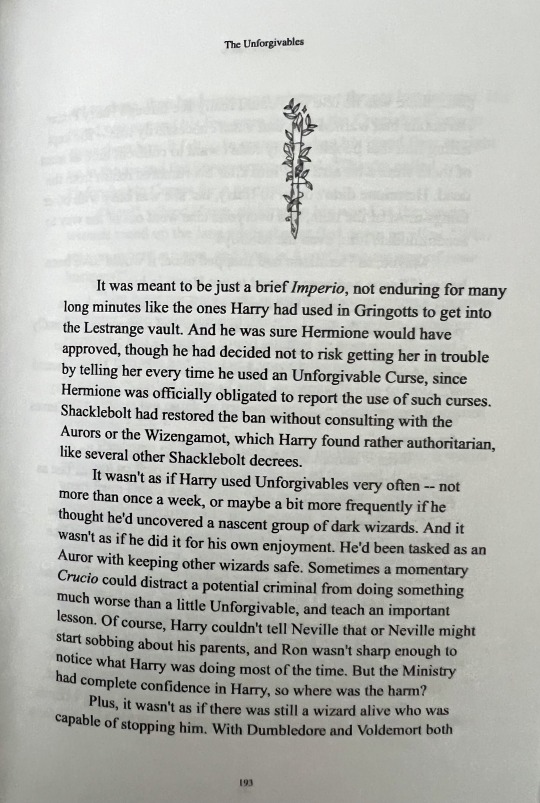
6. The Unforgivables by Dementor Delta and Cruise Director
I love love love the super direct symbolism of the wand in this fic :D It's just like Harry :D Kind of Slytherin and sneaky, kind of Gryffindor and risktaking :D Also lots of dumb luck and it works out :D
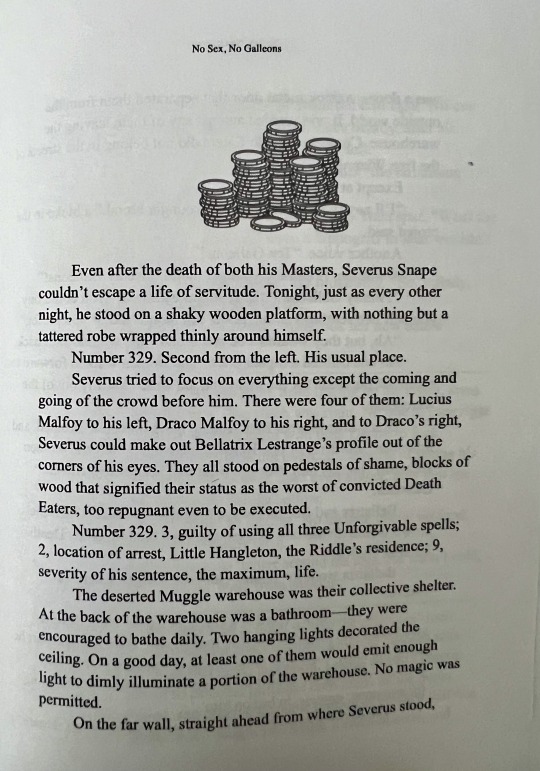
7. No Sex, No Galleons by Ziasudra
I mean literally nobody is paying Snape a ton of Galleons for his services :D Bad joke but I really love the symbolism of that for the fic which has a ton of characterization and dynamics around the concept of worth <3
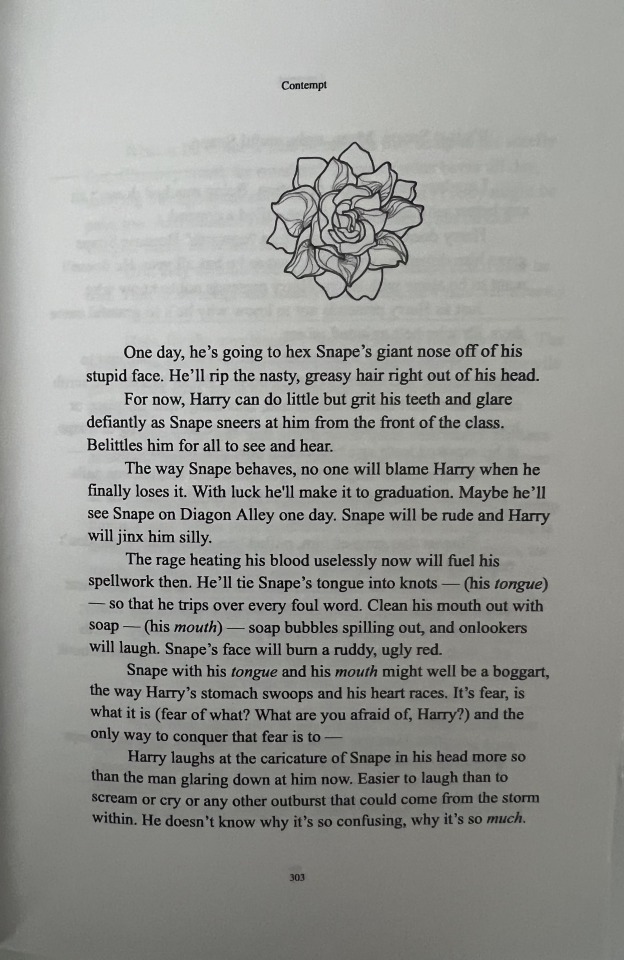
8. Contempt by @danpuff-ao3
The most Snarry fic of 2020s for me <3 I am pretty much totally burned on Snarry because I feel satisfied and a big reason for that is Contempt. It was so brilliant, perfect and I don't really feel like reading new Snarry at the moment :D Also a perfect image for the fic. Innocence, guilt, beauty, ugliness, imperfection, flaws, penetration lots and lots of symbolism in that <3
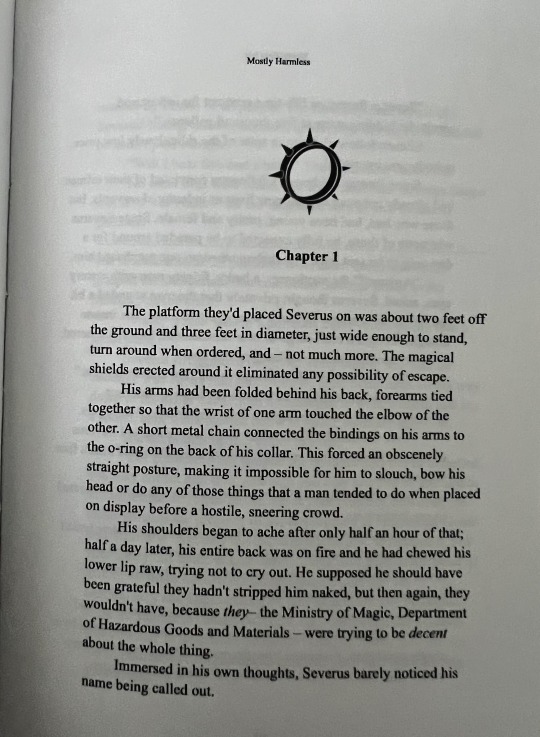
9. Mostly Harmless by EmilyWaters1976
The imagery of the manacle is super on point for this fic which is dark, dubcon bittersweet with a happy ending :D
10. Death and the Open Mind by Loup Garou.
The final fic is super long at like 43000 words. I mean!!! That's like 150 pages!! 150 pages!! Danni is insane and brilliant. I really love the skull rose imagery which is perfect for the fic which is dark, dirtybadhotwrong and really really beautiful.

Also the intro :D
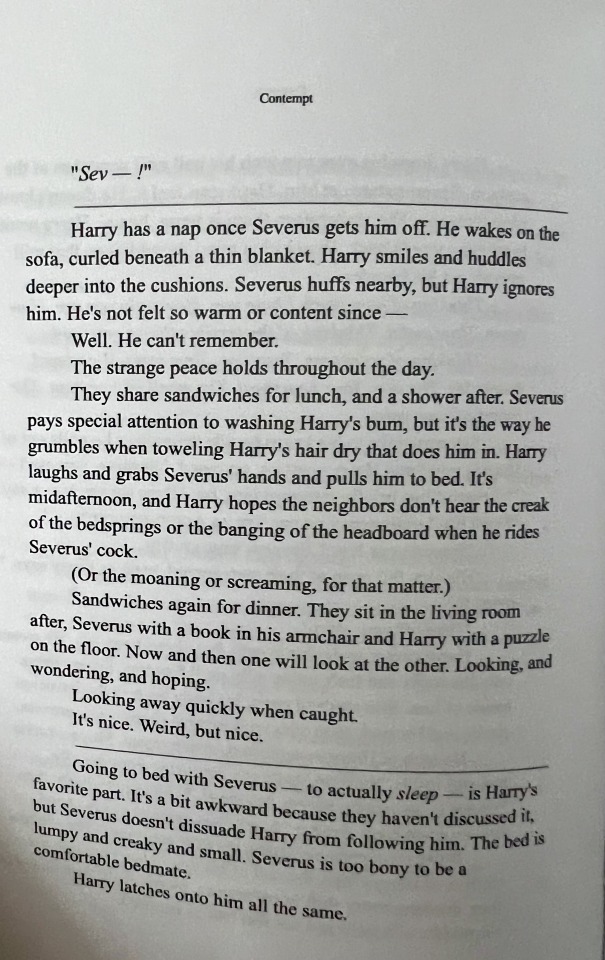
Also one of my fav parts from Contempt
Going to bed with Severus — to actually sleep — is Harry's favorite part. It's a bit awkward because they haven't discussed it, but Severus doesn't dissuade Harry from following him. The bed is lumpy and creaky and small. Severus is too bony to be a comfortable bedmate.
Harry latches onto him all the same.
Also one of my fav parts from Warm
It was everything Harry wanted. It was the sort of sex he'd thought he could never have, and it made him so giddy he almost laughed out loud.
Also one of my fav parts from Green Grow the Rushes, O.
He has done his best to ward the boy in. He has done his best to follow the boy.
But the boy is no longer a boy. With Minerva's voice, with a jackal's head, with skulls on his torso dying off one-by-one, he is godly and bestial, of no father's seed, of no mother's make.
Also of course back of the book
Also This got here by OWL POST


#snarry#hp slash fics#hp slash recs#danpuff fic#snarry snarry snarry#sexposition#book binding#hp bookbinding#hp slash bookbinding#omg danni you literally bound 630 pages#you are unreal#also incredible#also omg#hp#pics pics pics
36 notes
·
View notes
Text
Fanbinding 2: Signatures (Print & Stitch)
Current project: A Choriambic Progression
Previously: Part 1
Disclaimer: still new at this. Please don't judge me. And also this is just what I do and really when it comes to some of the smaller details, that's personal choice and stuff you'll decide once you get going and know what you wanna do with it!
Step 1.) Signatures will print 4 story pages on 1 copy paper. I decided more or less early on to do signatures in sets of 20 pages. Though I know to print it by 20s, I still write it all out to try to keep track as I go. I write the total number of pages from Acrobat in the corner, then sort out each signature like so:

Obviously we won't always get a number divisible by 20, so the last signature might be off. But this tells me which pages to set when printing, and how many signatures I should have at the end.
Step 2.) CTRL + P aaand these are my printer settings:

Page Sizing & Handling set to "Booklet." Make sure booklet subset is set to "both sides." Binding: Left. Orientation: Portrait. Then up at "Pages to print" I click "Pages" and set the first one from "1-20" then once that gets to printing I go CTRL+P and set the next signature for "21-40" and so on and so forth.
Step 3.) I grab each signature when they finish and set them aside and group each signature together and easy to tell apart.

Helpful hint: I can tell a signature is done when one side has 2 page numbers side by side that go together (i.e. 68 & 69.)
Another helpful hint: you might need to do a few trial prints to make sure everything prints the way you like. I'd recommend choosing a shorter fic, between 3 and 10k maybe, and making a test signature to see that the font is how you like, what size you want to cut it to, that you're good folding it, etc. Also to get a feel for how to print it and make sure the print settings are right! That's what I did when I first started (I used my own fic Orange Blossoms as a trial run, then In My Veins In My Blood for a slightly longer one.)
Step 4.) Fold! I have bone folder & creaser tools I use for this. Have the side by side pages (i.e. 68 & 69) face up and fold them into each other signature by signature. You should be able to, once folded, flip through and see the pages all in order!

Step 5.) Smush the folded signatures. I keep them stacked and place some heavy books on top of them for a few hours. They need weight on them to settle down and flatten out a bit. You want to get it as tight and small as it's gonna get. I usually keep them under weight whenever I'm not working on them, but I give them a few hours under the books before moving onto the next step.
A note: I try to pick out my endpapers as early as possible and fold and cut and smush them along with the rest of my signature stack!


Step 6.) Cut paper. My copy paper is 8.5 x 11 inches. I know that how my signatures come out, the size I like to cut them to is 5 x 7.5. So with my paper cutter I cut one end down to 8 inches, then the other end to 7.5 inches, then lengthwise down to 5 inches. Again, whatever size works best for you, do that! Just make sure you know what the size is so you can keep it even across the board. (Or if you're like me: as even as you can get it.)
Step 7.) If I have time between cutting and poking, I smush them again, but if not I go right to poking holes!
Or...well, measure first. First you take one signature and mark on the edge where the center is. Then you make 3 marks on either side of it, spread out evenly. (I usually mark an inch apart for each mark outward.
Then you can stack the signatures and use a ruler and mark down so each signature has 7 marks for where you'll poke the holes.

Step 8.) Actual hole punching. I keep cardboard boxes around and use those to cut on top of. I grab a stretch of cardboard and place my signature unfolded on it and use an awl to poke a hole at each point I marked.

Step 9.) I like to give them more smush time before stitching, but after the holes you can stitch them. For this...I give you this Sea Lemon video: How to Stitch a Text Block for Case Book Binding. This is the method I use. I prefer unwaxed thread (I specifically use one I ordered from Hollander's) and I prefer to use a curved needle. I also use clamps to hold my "to do" pile of signatures together while I work, but that's because I like to stitch while laid out in bed or on the couch watching true crime videos LOL.


Not going to lie: stitching the text block is my favorite part. I find it very soothing! (Even if I'm watching true crime while doing it.) (Though for this one I was watching Wendigoon instead...weird/creepy stuff is just as fun as true crime ig 🤷♀️)
Note: a lot of sources I found have you glue the endpapers towards the end, but I prefer to stitch mine into the text block. I favor pretty sturdy endpapers, which is good since I basically have to do a row of stitching them alone, which might be too much stress for thinner paper.
Step 10.) yep...time to smush those signatures again!
Step 11.) Once they're pretty smushed, I do some gluing. I like to use headbands (which is decorative) and then you need to put down book cloth for extra stability. You need enough bookcloth to go down most of the spine, and a little bit on either side of the papers. Then you let it all dry while you work on the case, which I'll show you in Part 3!

I use PVA glue (I use Lineco brand which I ordered from Amazon) to put it all down. Normally I only glue down the spine, but for whatever reason I also 1.) used excess of the headband that I glued around and then I glued the bookcloth to the endpapers instead of leaving the excess out to glue down to the case later. Oops. Guess we'll see how that goes.
Also, while I didn't get a picture of it...
Step 12.) SMUSH. I put wax paper all around it so the glue wouldn't stick to anything else, then I stuck them back under weight. I've never smushed them again once I got to the gluing but I discovered the magic of wax paper a little late in the game last time, so we'll see how this goes!
17 notes
·
View notes
Text
Fanbinding # 2: Fragile Hearts (series)
My second binding had to be another of my favorite fics, which is this lovely work by @writcraft!

I used the Cricut brand faux leather and LET ME TELL YOU, this was much easier to use than the leather used on The White Road. Thinner, lighter...cut and glued like a dream!
The titles on this and the other 2 I bound came about in the most ridiculous way. My idea was to use my Cricut Joy to create stencils to then write/paint the titles on.
Well, scratch that. My original plan was to foil them on. But the Cricut Joy is too small for that. My next idea was to create stencils. So I used cardstock. However, that's still a bit flimsy and in my test runs I was using double sided tape to stick them down.
But THEN I bought a sample set of Cricut vinyl. So my next thought was to use vinyl. However, the vinyl letters weren't sticking down to the leather very well, which I feared.
But do you know what DID work?
Using the VINYL as a stencil. More surface area on the vinyl made it stick down better. It was good enough for what I needed it for, anyway! So I stuck the vinyl down where I wanted it (on the covers and the spines) and then used acryllic paint pens. Google research assured me they'd be fine for faux leather, but there was still a bit of bleeding. Less bleeding with the vinyl stencils than my cardstock stencils. So I left the vinyl on until the paint dried, then peeled them off. Works well enough for now!
Besides, we're not supposed to judge books by their covers, right? 👀


All the title pages were made in Canva! I'm extra fond of how these turned out!
28 notes
·
View notes
Text
Fanbinding # 1: The White Road

It took a few tries, but I got there! My first ever fanbinding had to be one of my favorite fics: The White Road, by @perverse-idyll. Truly, I love that fic so much. (You can see my ravings about it here.)
After much trial and error, I finally have a useable, not super embarrassing copy to show! It's still not perfect. The leather I got, while pretty, is too soft and not easy to work with. By the end I had to cede to a bit of unevenness and weirdness if it would only for the love of Merlin stick to the dang chipboard. (My partner did have the idea of trying it on thicker chipboard, which I might do, if only because I have a seriously alarming amount of this type of leather.)
Also: leather was probably not the best thing to start with, but I'm a Taurus and we are cursed with stubbornness and a love for luxury, so what can I say?
Oh and the acryllic paint was a real pain in the backside on this leather specifically. (The other leather I used on other bindings went slightly better, but holy moly does this leather personally hate me, personally.) (It's faux leather, btw, it can't even say I killed it's mother or anything!!)
So basically: super soft leather does not cut easily, does not glue down easily, nor does it accept my paint pens easily.
But it's still a pretty leather, I must say. And! At least it's like...existing. That's pretty cool!! And I made this with my own hands!! I put all my time and effort into creating a bound version of one of my favorite stories of all time???? How is that not mega-awesome????
Some extra pics of my very sorry product. (I should stop being so mean to myself, cuz like...I'm still a novice, this isn't half bad!! And I like DID THE THING!!!! That's huge!! Things don't have to be perfect, right??) (It has CHARACTER.)


One day, when I've honed my skills, I'll rebind this one. This fic is much too beloved to me to not want a pristine copy of it! But I'll always hold this one near and dear to my heart, as well. As the first. As the start of my journey. And as one piece in a long history of loving this ship. (And also being a PI fangirl.)
28 notes
·
View notes
Text
Fanbinding 4: Cover
Current project: A Choriambic Progression
Previously: Part 1, Part 2, Part 3
Disclaimer: still new at this. Please don't judge me. And also this is just what I do and really when it comes to some of the smaller details, that's personal choice and stuff you'll decide once you get going and know what you wanna do with it!
This is the most...personal/particular part of the whole process! A lot of what I do here is making stencils with my Cricut Joy.
1.) I go into Cricut Design Space, start a new project, and throw down the title and author name. I know my machine is small and my mat is 4x6 inches so I make sure the font fits within that space.
2.) Select a font and size...Not gonna lie, Cricut Design Space has very...frilly fonts. It's hard to find fonts that are dramatic enough that I also know will cut the way I need it to.

I have to do this twice, once for the cover and once for the spine. The spine will obviously need different dimensions!
3.) Then I cut out a bit of permanent vinyl, then load it up on my mat, and run it through my machine!


4.) Once that's done, I cut around the title and name so I can better see the size and decide where best to stick it.
5.) then I peel and stick!
6.) From there, I choose a paint pen I like (for this I used copper) and I trace the stencils. (I also had to use a Cricut tool to pick out some of the vinyl that got stuck between letters)
7.) I give it a few minutes to stay in place and dry.
8.) then: peel!
9.) I also use a Modge Podge spray to protect it.
10.) Once it's all dry (or in this case, I got impatient and did this part while waiting for the paint to dry lol), I pick out my book corners and fit them around the corners and hammer them down!


And that's done!
I'm no pro or anything but hey...I can make a book! 😁
12 notes
·
View notes
Text
Fanbinding 3: Case Binding
Current project: A Choriambic Progression
Previously: Part 1, Part 2
Disclaimer: still new at this. Please don't judge me. And also this is just what I do and really when it comes to some of the smaller details, that's personal choice and stuff you'll decide once you get going and know what you wanna do with it!
I don't have pictures of the initial measuring and cutting because this part is the most finicky for me.
1.) Measure & cut chipboard. The case needs to be slightly bigger than the text block, and I had to rewatch this video by Sea Lemon a few times to get my measurements sorted. Honestly, my brain hates numbers so I'm not gonna bother redoing all the math to tell you what measurements I used 😂 Just know I spent way too much time looking at my measurements, rewatching the video, and trying to decide how large each section needed to be. I marked out the front and back cover on the chipboard, then measured the width of the textblock to cut out the spine.
2.) With my chipboard cut out, I grabbed my leather, which is what I use as book cloth. I do not recommend this for people, leather is soooo finicky to work with. Especially the leather I chose for this project, which is pretty thick and requires extra work. BUT ANYWAY I turned the leather side down and laid out my chipboard and measured it out. I needed one inch of extra cloth on all ends. So I marked one inch along all the edges of the leather, and marked where my chipboard should go. I also needed a quarter inch between the spine and each cover, so I marked that out. I used a pencil to mark the cloth, but then as an extra step I laid down washi tape to have a better visual of where my chipboard needed to go.
3.) I brushed PVA glue on the chipboard, then laid it down on the leather in my marked sections. THEN I spread wax paper over it, and stacked weight on top of that. It takes about a day for the glue to dry so I just left it there.
This is what I had when it was all dry!
4.) After that, I had pulled off the tape and marked where I needed to cut the excess leather off. Remember: one inch on all ends! Then I used my knife to cut the leather.
5.) More PVA glue on the leather edges, more wax paper on top, then weight.


As I said, this leather is pretty thick and won't stay down with the glue, so I had to get it even and press it down and very quickly slide a book overtop to hold it in place. I had to do this on both ends, then had to finagle it a bit to flip the top and bottom edges down, then get THEM weighed down. NOT FUN. (The leather is so pretty though, what can I say.)
Anyway yeah another day for this to dry!
6.) Time to glue in the text block! I grab the case and the text block, put them over a stretch of wax paper. I also put wax paper on the opposite side of the endpaper I'm going to glue to protect the other pages.

7.) With the textblock positioned within the case, I painted PVA glue on the endpaper and closed the cover over it and pressed down. Then I peeked in to make sure it was all positioned to dry properly. then I flipped it over to glue the other endpaper to the back cover. I made sure the endpapers were neat and tidy within, then closed the book with the wax papers still inside to let it all dry! No gluing the spine!
Next up....all the decorative bits!
14 notes
·
View notes
Text
So....I bound The Curse of Anteros!
It's the first of my own fics I've bound and I'm all in my feelings about it! 🥰 It's not the cutest. I'm still a novice with bookbindng. But it's not half bad, I don't think! And there's something so special about having this...this work of my mind and my hands. A tangible result of my time and effort!!!! Also: makes me feel way more legit as a writer, ngl.


12 notes
·
View notes
Text
Fanbinding Process (Compilation)
Typesetting
Signatures
Case Binding
Cover
This outlined my process of binding the fic A Choriambic Progression, for those who were curious about progress photos and how I go about binding!
Again: not a pro! Very much a novice still. But I can bind a book! 😁
9 notes
·
View notes
Text

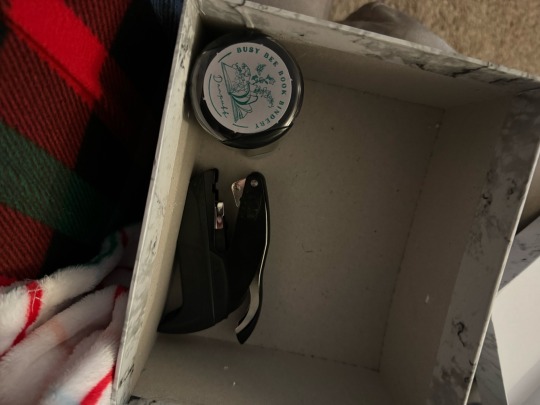
My sweetheart had a stamp and embosser made for my book binding 😭😭 I seriously cried and I still can’t believe it!!
5 notes
·
View notes
Text
Fanbinding # 3: Chrysalis
I cannot tell you how many times I've read Chrysalis. Oftentimes back to back. And now I can flip through its pages?????

Green imitation leather from Hollanders, and it was a dream to work with! I'm in love. It's also the longest fic I've bound thus far and I'm not gonna lie...Chrysalis was high on my to-do list, but it got higher when I realized my love of stitching signatures and I really wanted to have more to do at one time. 😂 I put on a true crime video and just went to stitching and had a great time, honestly.
Anyway I'm super pleased with how this one came out. Other than me realizing way too late I have an error in the copyright page. Oops. I'm gonna be thinking of the best way to fix/hide that but other than that I love it so much.


15 notes
·
View notes
Text
More Adventures in Bookbinding
My Aries Mercury + Mars really does a gal no favors
Being both a perfectionist but also stubborn + impulsive?? A nightmare.
Following instructions is wise but why be wise when you just know you can figure it out?
Many faux leather sheets and much glue was lost to the cause
I stabbed my finger with my utility knife because of course I did
Eddie was like "yeah I was worried about getting that for you."
(Sir, I am GRACEFUL, DELICATE, WHAT DO YOU MEAN YOU KNEW --)
Measuring stuff is the worst, but that's because my brain really hates numbers. The actual math portion is Big Suck. Thank god for Google home who can answer all of my questions when I'm sitting in the middle of chaos, covered in glue, and have lost my phone.
Oh yeah my house is chaos. RIP my super nice and pretty office space, hello madness.
I did however find the white fold up table I knew we had but couldn't find for days. My next project I'm doing on that instead of my desk + cube organizers. And my lap desk. And a stool.
My paper cutter/guillotine has been living in my kitchen because while it technically fits beside my printer, it's best used standing, and I have the best height at the kitchen counter. Hopefully the fold out table will work for this but we shall see.
My "first" technically bound book is done, but it hurts me to call it the first, so I'm calling it the test run. But for the sake of transparency I'm saying "hey I did all steps but I don't want to count this one, please and thank you."
Now it is being used as a way for me to test putting a title on the cover via stencils made with my Cricut + dye markers. So far not so good, but I'm getting closer!
Oh yeah and faux leather? Not the best place to start. It's like I decided to learn a new hobby on hard mode. But on the plus side maybe this means I'll get the hard part out of the way and have an easier time with other fabrics? If I choose to use them because really, I probably spoiled myself with the idea of leather bound books.
That is the reason my tester copy turned out as bad as it did. By the end I was so desperate to get the leather to stick AND have the case fit the text block, that I went overboard and cut my chipboard too wide. Oops.
First rounds with the case (following a tutorial), the cover was a teensy bit too short.
Then by the end I was fighting too hard with the leather to care about much else.
I'd probably be happier with the test run if my measurements hadn't been so off.
Also...wax paper??? I wish someone had told me about wax paper sooner. Now I'm not getting everything stuck with glue.
I'm going to have to buy TWO boxes of wax paper today. One for baking and one for crafting.
I am really bad at gauging how even things are. I think that's ruled by the same bit of my brain as Math Hatred. Further hindered by overthinking and perfectionism. (Nothing is ever straight/even enough 😭)
Oh remember how the first copy is the "test run"? I decided the smart thing to do was to after one failure do two at a time. (Not actually smart, but ah well.)
Current stage: waiting for the leather to dry along the top/bottom edges of the chipboard. Then I get to do it all over again with the side edges.
With luck I'll have measured everything properly this time but we shall see.
Oh yeah: the multiple sources recommending waxed thread?? Bad idea. Or at least buying pre-waxed thread was a bad idea. That stuff is THICK. Easy to work with, but THICK and not pretty at all.
Round 2 I used regular thread and double threaded my needle. Less easy but a better result all around.
On that note: stitching the signatures is my FAVORITE part??
Also poking the holes. Poking holes in paper is very satisfying.
Stitching the text block is very therapeutic. Just me on my couch watching true crime videos and stitching signatures together. A great time was had.
Also, minor complaint, I got leather sheets in a variety pack. Bad idea. One won't fit everything the right way. I ended up having to glue my chipboard to two sheets but the "matching shades" are slightly off from each pack. Most noticeable and horrifying with the white leather. 😭 Will be getting proper rolls next time.
Also new hobby has confirmed that my partner is 100% into my obsessive nature.
100% Eddie is very affectionate when I'm hyper focused on writing, and also when hyper focused on binding. Causes mild annoyance at the disruption, but I choose to be happy about it.
Like hell yes my partner fully appreciates me in my element and is super into me being super into what I love. Like...isn't that precious?? I can put up with disruptions to be loved for doing what I love.
Also: when I stabbed myself with my utility knife? Eddie didn't get home until after I went to bed. So when I woke up due to my finger throbbing, he was in his office unwinding after work. And I was high on sleeping meds and exhausted from a long day of working hard. So I just sorta shuffled all zombie-like into his office and held up my bandaged finger. He very quickly deduced what happened, jumped to attention, examined my wound, re-bandaged it, fed me pain meds, and tucked me back into bed. This probably matters not a wit to you but I adore this man with my whole heart and as I was already gushing about him...why not gush more?
Hopefully my next update will have a success story, but y'know...one thing at a time!
#danpuff stuff#bookbinding#fanbinding#busy bee bindery#should have called it CHAOS BINDERY#or “aries fucks my life up” bindery
10 notes
·
View notes
Text
Following my office tour from yesterday, and my fanbinding adventure from Thursday, I figured I'd show y'all my extra space and another fanbinding update!

It's just outside of my office area. By my shoe rack because we really are running out of space ����
On Friday, my partner placed an order for the bulk of my binding needs! Plus: the Cricut Joy! It might be a teensy bit too small for what I wanted it for, but we'll see if I can make do. Even if not, it's still a neat thing to have!
Most of what he ordered came in yesterday, but there are a few more items coming in within the next few days! Nothing worth showing off, but all the supplies are in that blue bin!
So with that: it was time to get my first big project ready! And thus the main source of this update, which is "silly mistakes." And was mostly me screwing around in Scrivener and Adobe with vague ideas because I'm stubborn and like to figure things out on my own. 🙄
What I learned is: I need to figure out a setting for viewing pages in Scrivener. Which I'm fairly sure is doable. And in the meantime do this sorta work in Google Docs.
There were 2 main sources of trouble I believe. The first being: this is a bigger project than the 2 small test prints previous, and so more room to find trouble areas. The second being...I exported the projects differently 🫣 In my defense, the setting I printed my test runs in was "paperback" and I realized yesterday that...that needs to be setup, or else it exports "default." So I went with "default."
Turns out: there are differences between "default" and "paperback" but it was such a relatively small detail compared to others, that it wasn't immediately apparent. As in: I spent all night fixing other problems and got to the end, thinking myself a champion, only to realize: the text here is way too small. Like tiny.
Before this, I'd had to shift a few things between pages (not fun), add blank pages (which screwed up my page numbering), and spent way too much time trying to figure out how to fix the page numbering before I realized: I have to manually update the page numbers, because all I can do in Adobe is fix how the pages are labelled in Adobe. And it was after all that I realized my text size issue.
I'm not sure how or why because Adobe tells me the text is the same font and size as I had it in Scrivener. But the "paperback" export option 100% will print bigger. Someone more familiar with all of this than me is probably laughing but oh well.
Also did I mention I only noticed this after printing all of my signatures?
Yeah.
I was checking that other issues had been fixed. And the way the text printed is as tiny as it looks in Scrivener. And I originally shrank the text in Scrivener because of previous test prints. 😒
Scrivener is great for writing, but not for fanbinding apparently. Or maybe it's fine and I just need to know what the heck I'm doing haha.
Anyway, basically I exported from Scrivener into a PDF like 20 times yesterday adjusting various issues in Scrivener. Then played around in Adobe Acrobat for hours. And even then, I still had to renumber my pages again. Manually. But I finished that this morning! By like 5 AM because I wake up absurdly early.
Which means: I can print today! Maybe I'll even stitch the signatures together, that way I can focus on new skills once all my other supplies come in!
My next step will probably be to learn whether I can use the Cricut for foiling the way I wanted, but I have to wait for my foil transfer kit to come in. Once I know whether I can or not, I'll be able to move onto the rest!
Also, like, why do I have to work this week when I have a new hobby to learn?? 😭
Bonus: the painting I have above my printer!
My mom, sister, and I did some paint class thing together a few years ago. We were all painting a "street lamp in New Orleans." I wanted to give the street a Harry Potter-esque name, but my brain came up with "Blood Dr." and I'm still to this day giggling about it. It also amuses me how gloomy and morbid it is against the brightly colored backdrop.
5 notes
·
View notes
Text
I threw a bunch of ideas at my partner and these were his 2 favorites. He has a preference but I'll not say just yet 😉 I'm curious which you guys like better!
4 notes
·
View notes
Last Seen Blogs

thesettingsun
knife wife

novelty-f00l
Just Another
26 Year Old FOOL

thebeautyofnct
the beauty of nct

lecoinduforex-blog
LeCoinDuForex
spider-roommates
Spider Roommates