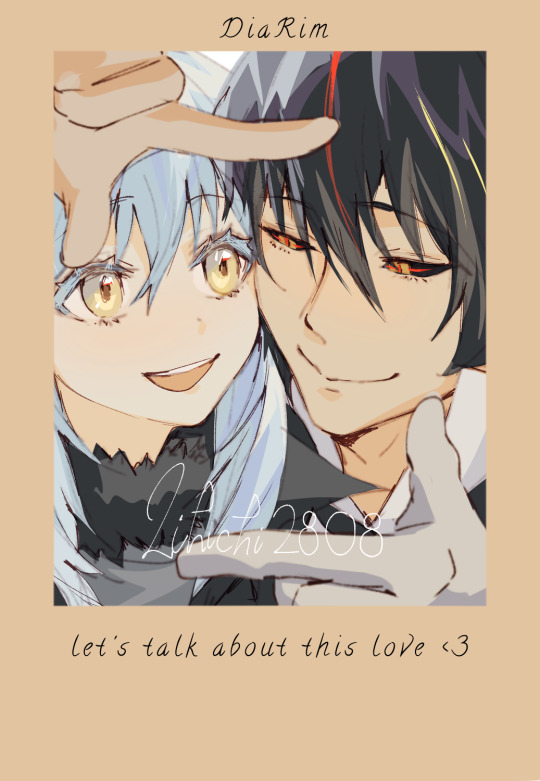
#diarim
Text

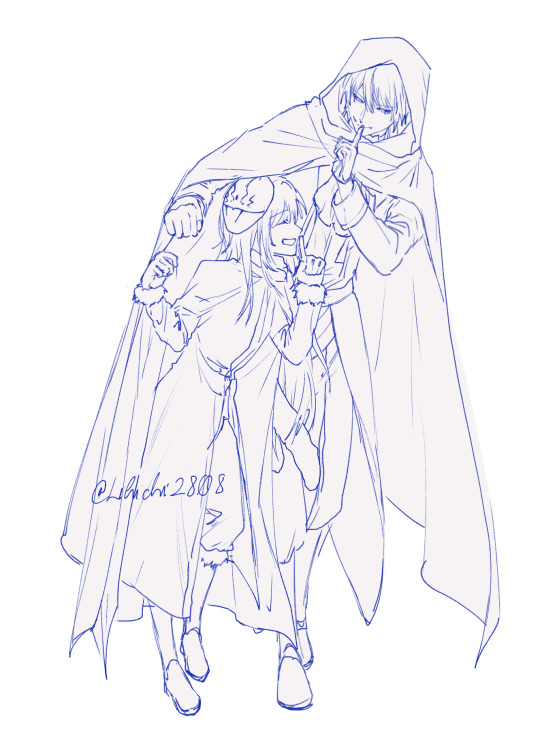
🤫🤫
#that time i got reincarnated as a slime#tensei shitara slime datta ken#転スラ#転生したらスライムだった件#tensura#fanart#rimuru#rimuru tempest#リムルテンペスト#リムル#ディアリム#diarim#diabloxrimuru
570 notes
·
View notes
Text
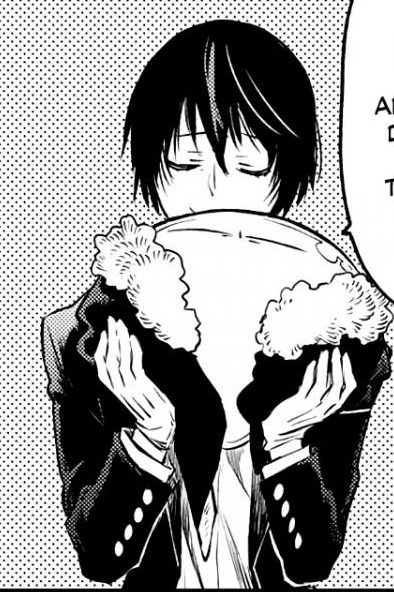
current mood: obsessed with this image
#that time i got reincarnated as a slime#tensura#diarim#tensura diablo#rimuru tempest#im at a loss for words#get you a demon thatll coddle your slime form so affectionately#there is no brain only this one picture rotating slowly#thank u mangaka for this blessing#tensei shitara slime datta ken#tensura manga#tensura spoilers#diarimu
439 notes
·
View notes
Photo

La placa de la inauguració del Mercat Central s'haurà de canviar per una errada ortogràfica.
#Etfelicitofill
via Ester Gomis
Tot i els anys que es va tardar a poder disposar del Mercat Central remodelat, al final i amb la data marcada des de l'Ajuntament, les presses finals van provocar una errada que per a molts ha passat desapercebuda.
A la placa que es va descobrir per a recordar el dia de la inauguració, que va ser el passat mes de març, hi ha una errada ortogràfica. Allí on hauria de posar 'inaugurar' hi posa en realitat 'inagurar'.
Està clar que els responsables d'Espimsa aquest és un detall que els va passar per alt, ja que, en cas contrari, si no abans, després de la celebració s'hauria solucionat l'errada. Però d'entre els molts visitants que van a fer les compres o simplement a visitar l'edifici del Mercat, n'hi ha que si van percebre l'errada.
Un exemple és un filòleg vallenc, Jordi de Bofarull, que a més d'evidenciar la presència de l'errada, també es qüestiona si cal afegir el nom de l'alcalde. Aquesta però, és una decisió d'àmbit polític i gens estranya en les inauguracions d'equipaments emblemàtics arreu.
Font i foto: Diarimes
1 note
·
View note
Text
Death End Re;Quest Chapter 10 Guide
The post Death End Re;Quest Chapter 10 Guide appeared first on Fextralife.
In this Death End Re;Quest Chapter 10 Guide, I’ll be going over the path to clear the tenth chapter of the game and its boss. Death End Re;Quest is a unique RPG game that merges the typical JRPG and allows players to convert it into a fighting game, shooter, or even a slot game. There are other subtle quirks that the game possesses that will be simple to execute but difficult to master.
Death End Re;Quest Chapter 10 Guide
For Chapter 10 of Death End Re;Quest, players will be heading towards the Mystical Sky Capital, Odyssia from the teleporter located in the Sanatheus Temple to fight 2 bosses.
Sanatheus Temple
From the Sanatheus Temple campsite, head right, then take a left to reach the teleporter. Activate it to reach Odyssia, the Mystical Sky Capital which is the the final area in the game.
Monsters in Mystical Sky Capital, Odyssia
Manimeio 16,800 Hp 25 SP ★ Stars Type
Chirips 47,000 HP 25 SP ★ Stars Type
Hyonuru 61,020 HP 25 SP ☾ Moon Type
Firicgalea 111,200 HP 25 SP ★ Stars Type
Norvoerma 135,000 HP 25 SP ☀ Sun Type
Anemo 35,520 HP 25 SP ☀ Sun Type
Pikorus 65,500 HP 25 SP ☾ Moon Type
Enansmigo 91,000 HP 25 SP Sun Type
Purcorsi 29,870 HP 25 SP ☾ Moon Type
Getis 75,400 HP 25 SP ☾ Moon Type
Gordia 146,560 HP 25 SP ☀ Sun Type
Bugurian Form 38 HP 25 SP ☀ Sun Type
Diarimal 81,000 HP 25 SP ☀ Sun Type
Amukamia 25,380 HP 25 SP ☀ Sun Type
Lancerhorn 55,480 HP 25 SP ☾ Moon Type
Hermes Air 95,800 HP 25 SP ★ Stars Type
Mystical Sky Capital, Odyssia (Lower Level)
From the entrance head straight around the bend to the left to find 1 Divine Buster (400 HP ,71 SP, 325 ATK) in the chest tucked away. Walk over to the glowing circle on the right side of the map to be moved onto the higher level. There will be another glowing circle that will send you to the area’s campsite. Save and rest before heading back down. Take the path on your right to reach the next area. Diagonally from where you are dropped off at will be 1 Nightmare Horn (300 HP, 60 SP, 295 ATK, 50 DEF, 60 MAT, 90 MDF, 71 AGI) Walk over to the ! marker to fight the Entoma Queen of this area.
Rafid 650,000 HP, 255 SP ☀ Sun Type 100 Corruption
Using healing skills in Rafid’s presence will cause her to auto counter during your turn. It will be best to attack Rafid with ☾ Moon type characters and skills to deal heavy damage. Try to avoid using ★ Stars Type characters and skills as they will receive more damage and deal less.
My team composition was Shina, Lucil, and Clea. If you trained Shina well she should have access to the ☾ Moon type skills Lunamispolo, Rokudein, Rokudian, and Lunamis Diapathy. Use Rokudein or Rokudian to get rid of the bug tiles quicker to be able to use Arata’s Codes. I opted to go straight DPS and use Trally Bloom followed by Lunamis Diapathy, Lunamis Diapathy. If SP gets low use Lunamis.
For Lucil she should use mostly triple Phoenix Ray to deal damage and Phoenix Tune to recover SP. Since Rafid will counter if she uses any healing skills, be careful taking damage early in the fight.
Clea should use whichever type (physical or magic attacker) you have trained her with and use her most powerful skills. For physical attackers use the various “Bullets” skills and for magic attackers use: Moon Flash, Moon Beam, Moon Laser followed by Quake Shatterer. Position Clea near Shina so Clea can recover both girls’ SP after her turn.
When the bug tiles are under 50% use Arata to summon Ephemera to recover and strengthen the team’s SP. Hopefully due to a heighten SP bar Shina should have enough to pull a triple Lunamis Diapathy and perhaps learn Lunamis Imization. If you want to know more about each characters strengths and weakness check out our Death End Re;Quest All Girls Guide. Defeating Rafid grants players 154,080 Exp, 16,000 Eni*, and 1 Ultra Ogre Brew.
*Since Clea was used in battle Eni received will be more than normal.
Mystical Sky Capital, Odyssia (Lower Level)
After defeating Rafid head back to camp to heal everyone and save if needed. Travel back to where Rafid was located and head North across the bridge. To the right will be a glowing circle that takes you to a higher plane that contains 1 Ruined Sword (100 HP, 256 ATK, 200 DEF, 90 MAT, 110 MDF, 142 AGI) located in a chest found there. Drop back down and obtain the ZPB-201 (201 SP, 180 ATK, 100 AGI) located behind the pillar. Take the path on the right side to reach another glowing circle taking you higher up. Pick up the Perfect Infinity (300 HP, 100 SP, 300 ATK, 70 DEF, 200 MAT, 50 DEF) on the right-hand side. Continue on this path to find 1 Deist Mana Cross at the end.
Take the first glowing circle while on the way back from the path to ascend one more plane. Watch the cutscene triggered by the ! marker, then save if needed before proceeding down the path to the next marker. Travel back to the lower level and approach the ! marker to enter the next series of fights.
Celica Clayton
Players will face off again Celica in two different modes:
Celica Clayton, the Monarch Adventurer in Glitch Mode 7,000 HP 50 SP ★ Stars Type 100 Corruption
Attacking Celica with ☀ Sun type characters and skills will deal heavy damage to her. She is somewhat fragile as a triple Phoenix Ray from Lucil, will be able to defeat her in 1 turn. In case this doesn’t happen to you, have your team members use ☀ Sun skills and she won’t be alive long. My team composition was Shina, Lucil, and Al. Defeating Celica grants players 57,600 Exp and 1 Code Salve 222.0.
Celica Clayton Redux 9,999 HP 50 SP ★ Stars Type 100 Corruption
For this fight, Celica will live up to her moniker of being the legendary adventurer. She is tanky, deals damage and recovers health almost in every turn. Unlike the first encounter with Celica, she will know to counter all ☀ Sun type characters and skills, so this means we will have to adjust our gameplan. Luckily Shina, Lucil, and Al all have ★ Stars type skills. Lucil has Starwell, while both Shina and Al have Stareig and Stark. Defeating Celica grants players 129,600 Exp and 1 Code Salve 222.0.
Mystical Sky Capital, Odyssia (Lower Level)
Once Celica has been defeated twice, approach the ! marker to start the final boss fight of this chapter. Be sure to equipped Shina with your strongest equipment as this will be important with the next boss as Shina will be fighting it alone.
Heaven’s Messenger 999,999 HP 255 SP ☀ Sun Type
Players will only have Shina to fight Heaven’s Messenger. Use Shina’s most powerful ☾ Moon type skills to quickly decimate Heaven’s Messenger. If players have enough SP proceed to use Trally Bloom, Lunamis Imization, and Lunamispolo. This will cut roughly 95% of the boss’ health pool. Simply use triple Lunamis to finish him off. Defeating Heaven’s Messenger grants players 180,000 Exp, and 99,999 Eni.
Heaven’s Messenger’s attacks:
Stomp ☀ Sun Type
Alpha Beam ☀ Sun Type
Following this guide you will have successfully defeated Celica and Heaven’s Messenger!
In this chapter you will be able to access new shop wares, below you’ll find the item, their cost and their benefit:
Shop Wares
Patch 1.o
Costs 200 Eni
Heals 100 HP
Patch 2.o
Costs 200 Eni
Heals 300 HP
Patch 3.o
Costs 6,600 Eni
Heals 600 HP
Patch 4.o
Costs 10,000 Eni
Heals 1000 HP
Elf Tonic
Costs 600 Eni
Heals 100 SP
High-Elf Draught
Costs 5,000 Eni
Heals 999 SP
Enolef’s Ether
Costs 12,000 Eni
Heals 999 SP to those in range
Ogre Cold Brew
Costs 420 Eni
Fully revives all units within range
Panacea
Costs 100 Eni
Removes all debuffs and status effects
Bug Tentacles
Costs 50,000 Eni
Bug Wings
Costs 50,000 Eni
Bug Exuvia
Costs 50,000 Eni
Red Fruit
Costs 50,000 Eni
Odd Flower
Costs 50,000 Eni
Ring Fragment
Costs 50,000 Eni
Palace Brick
Costs 50,000 Eni
Spiderweb
Costs 50,000 Eni
Sturfil Ore
Costs 50,000 Eni
Gowen Grass
Costs 50,000 Eni
Odd Candlelight
Costs 50,000 Eni
Elven Dust
Costs 50,000 Eni
Ancient Branch
Costs 50,000 Eni
Sanatheus Stone
Costs 50,000 Eni
Sanatheus Ironware
Costs 50,000 Eni
Crimson Ash
Costs 50,000 Eni
Scarlet Dragonscale
Costs 50,000 Eni
Blaze Stone
Costs 50,000 Eni
Knight’s Sword
86,000 Eni
250 ATK, 200 DEF, 78 AGI
Oldia Sword
Costs 62,000
245 ATK, 140 DEF, 90 MAT, 110 MDF
Rain Sword
Costs 38,600 Eni
200 ATK, 100 MDF, 60 AGI
Limit Sword
Costs 17,200 Eni
150 ATK, 100 DEF, 60 MAT, 10 MDF
Levon Sword
Costs 12,000 Eni
145 ATK, 50 MAT, 100 MDF
Zirconia Magia
Costs 8,400 Eni
102 ATK, 40 MAT
Spinal Sword
Costs 7600 Eni
87 ATK
Calcolsmagear
Costs 600 Eni
9 ATK, 40 MAT
Mirage Fang Drive
Costs 98,600 Eni
211 ATK, 50 MAT, 80 AGI
Sage Mana Cross
Costs 76,000 Eni
199 ATK, 30 MAT, 90 MDF
Yuonis Bow
Costs 53,600 Eni
177 ATK, 30 MAT, 100 MDF
Petro Wing Bow
Costs 35,400 Eni
133 ATK, 60 AGI
Sister Mana Cross
Costs 36,400 Eni
111 ATK, 30 MAT, 60 MDF
Alpha Wing Bow
Costs 14,800 Eni
77 ATK, 40 AGI
White Fang Drive
Costs 11,000 Eni
100 HP, 66 ATK, 50 MAT
Alba Bow
Costs 7,400 Eni
100 HP, 66 ATK
Green Fang Drive
Costs 6200 Eni
70 HP, 33 ATK, 50 MAT
Bulti Bow
Costs 1000 Eni
150 HP, 22 ATK
Succuhorn
Costs 88,000 Eni
280 HP, 410 ATK, 64 AGI
Evil Quartz
Costs 65,000 Eni
300 HP, 250 ATK, 60 MAT, 90 MDF
Cyan Quartz
Costs 48,000 Eni
200 HP, 170 ATK, 60 MAT, 60 MDF
Grim Horn
Costs 39,000 Eni
200 HP, 166 ATK, 42 AGI
Branch Phonspear
Costs 16,800 Eni
200 HP, 132 ATK, 60 MAT, 60 MDF
Fifty Degrees
Costs 9,400 Eni
150 HP, 117 ATK, 60 DEF
Yellow Quartz
Costs 8,000 Eni
125 HP, 45 ATK, 60 MAT, 60 MDF
Sakuhon Spear
Costs 6200 Eni
50 HP 20 ATK, 60 DEF
ZPG-200
Costs 40,000 Eni
200 SP, 180 ATK, 100 MDF
Manaflint
Costs 30,000 Eni
250 SP, 120 ATK, 100 MAT
Viostar II
Costs 26,000 Eni
150 ATK, 100 DEF, 60 MAT, 10 MDF
Goldfinger
Costs 8,400 Eni
150 SP, 180 ATK
Akari Iron
Costs 5,200
125 SP, 48 ATK
Viostar
Costs 5,200
150 SP, 5 ATK, 5 DEF
ZPS-100
Costs 5,200 Eni
100 SP, 35 ATK, 100 MAT
Anz Enze
Costs 90,000 Eni
300 ATK, 200 MAT, 180 MDF, 110 AGI
Fun Evil
Costs 48,000 Eni
600 HP, 234 ATK
Passable Enze
Costs 37,000 Eni
50ATK, 110 MAT, 145 MDF, 60 AGI
Fun Evil
Costs 48,000 Eni
600 HP, 234 ATK
Passable Enze
Costs 37,000 Eni
50 ATK, 110 MAT, 145 MDF, 60 AGI
Stella Evil
Costs 22,000 Eni
500 HP, 172 ATK
Dementation
Costs 19,000 Eni
200 HP, 100 ATK
Mid Ilune
Costs 91,000 Eni
312 ATK
Beast Fang
Costs 70,000 Eni
262 ATK
Proto Infinity
Costs 54,000 Eni
85 HP, 52 SP, 178 ATK, 45 DEF, 62 MAT, 35 MDF
Royal Buster
Costs 36,000 Eni
32 SP, 103 ATK
Magic Bracelet Lv MAX
Costs 250,000 Eni
110 DEF, 320 MDF
Magic Bracelet Lv 10
Costs 100,000 Eni
100 DEF, 200 MDF
Magic Bracelet Lv 9
Costs 70,000 Eni
90 DEF, 180 MDF
Magic Bracelet Lv 8
Costs 50,000 Eni
80 DEF, 160 MDF
Magic Bracelet Lv 7
Costs 40,000 Eni
70 DEF, 140 MDF
Magic Bracelet Lv 6
Costs 31,000 Eni
60 DEF, 120 MDF
Magic Bracelet Lv 5
Costs 20,000 Eni
50 DEF, 100 MDF
Magic Bracelet Lv 4
Costs 12,000 Eni
40 DEF, 80 MDF
Magic Bracelet Lv 3
Costs 9,200 Eni
30 DEF, 60 MDF
Magic Bracelet Lv 2
Costs 5,300 Eni
20 DEF, 40 MDF
Magic Bracelet Lv 1
Costs 1,750 Eni
10 DEF, 25 MDF
Guard Bracelet Lv MAX
Costs 371,000 Eni
250 DEF, 110 MDF
Guard Bracelet Lv 10
Costs 150,000 Eni
200 DEF, 100 MDF
Guard Bracelet Lv 9
Costs 84,000 Eni
180 DEF, 90 MDF
Guard Bracelet Lv 8
Costs 69,000 Eni
160 DEF, 80 MDF
Guard Bracelet Lv 7
Costs 39,000 Eni
140 DEF, 70 MDF
Guard Bracelet Lv 6
Costs 39,000 Eni
120 DEF, 60 MDF
Guard Bracelet Lv 5
Costs 28,000 Eni
100 DEF, 50 MDF
Guard Bracelet Lv 4
Costs 16,000 Eni
80 DEF, 40 MDF
Guard Bracelet Lv 3
Costs 11,000 Eni
60 DEF, 30 MDF
Guard Bracelet Lv 2
Costs 7,000 Eni
40 DEF, 20 MDF
Guard Bracelet Lv 1
Costs 3,000 Eni
25 DEF, 10 MDF
Brawn Ring
Costs 40,000 Eni
300 HP
Magic Ring
Costs 6,000 Eni
50 SP
Attack Ring
Costs 35,000 Eni
100 ATK
Will Ring
Costs 25,000 Eni
50 MAT
Defense Ring
Costs 25,000 Eni
50 DEF
Mindful Ring
Costs 7,500 Eni
50 MDF
Rapid Ring
Costs 3,000 Eni
50 AGI
Shop Sidequests
No New Sidequests
To see this guide in action see it here:
youtube
To see the cutscenes from this chapter watch them here:
Part 1:
youtube
Part 2:
youtube
If you enjoyed our guide be sure to find out what we thought of the game in our Death End Re;Quest Review. You can also check out further guides with our Death End Re;Quest Starter Guide & Tips as well as our Death End Re;Quest Trophy Guide to learn how to platinum this game! Read our step-by-step chapter guides in Prologue Chapter 1, Chapter 2, Chapter 3, Chapter 4, Chapter 5, Chapter 6, Chapter 7, Chapter 8 and Chapter 9. If you want an aid to help you get through each chapter as well as guide you in DLC chapters and more be sure to check out next Death End Re;Quest 100% Strategy Guide.
The post Death End Re;Quest Chapter 10 Guide appeared first on Fextralife.
Death End Re;Quest Chapter 10 Guide published first on https://juanaframi.tumblr.com/
0 notes
Text
my serotonin 🖤🩵
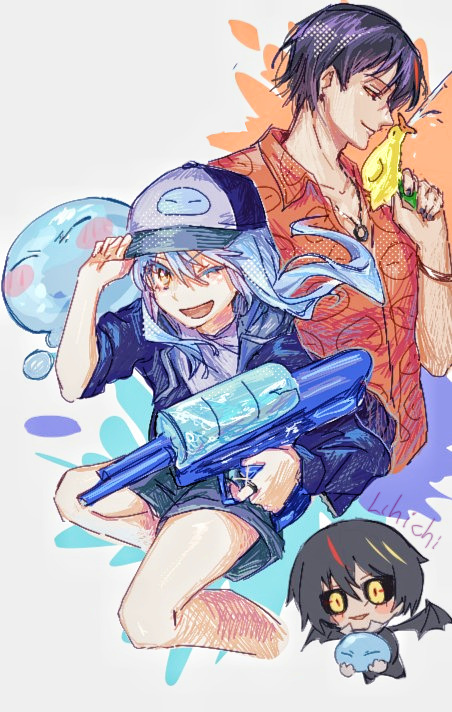
#that time i got reincarnated as a slime#tensei shitara slime datta ken#tensura#rimuru#rimuru tempest#diablo slime#fanart#リムル#リムルテンペスト#転スラ#転生したらスライムだった件#diarimu#diarim#ディアリム
315 notes
·
View notes
Text
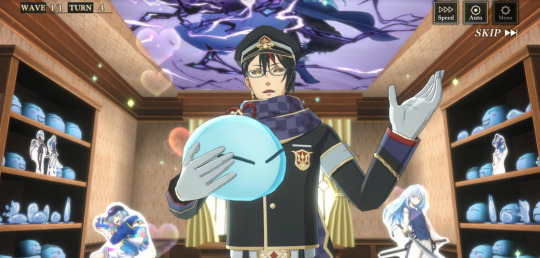

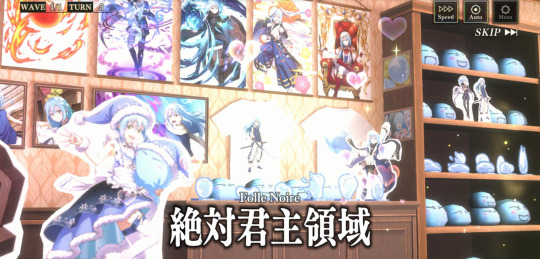
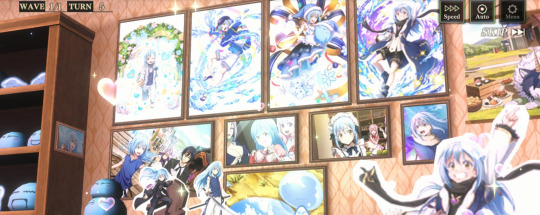
reminder that this room exists. i think about it all the time.
#that time i got reincarnated as a slime#tensura diablo#rimuru tempest#diarim#slime isekai memories#they really did this and i think thats so sexy of them#this is from the mobile game#cloverstnsra
20 notes
·
View notes
Text
hug 🫂🫂🫂

#that time i got reincarnated as a slime#tensei shitara slime datta ken#tensura#rimuru#rimuru tempest#fanart#diablo slime#diarim#diarimu#転スラ#転生したらスライムだった件#リムルテンペスト#リムル#ディアリム
140 notes
·
View notes
Text
2/2/2022-> 2/2/2023
not only skill stonk but also horniness, too💀 damn i-


#that time i got reincarnated as a slime#tensei shitara slime datta ken#tensura#転スラ#転生したらスライムだった件#rimuru#rimuru tempest#リムルテンペスト#リムル#diabloxrimuru#fanart#ディアリム#diamuru#diablo slime#diarim
168 notes
·
View notes
Text
💋

#that time i got reincarnated as a slime#tensei shitara slime datta ken#fanart#tensura#rimuru#rimuru tempest#diablo slime#diabloxrimuru#diamuru#diarim#転スラ#転生したらスライムだった件#ディアリム#リムルテンペスト#merry christmas
174 notes
·
View notes
Text
👅

#that time i got reincarnated as a slime#tensei shitara slime datta ken#tensura#rimuru#rimuru tempest#diabloxrimuru#fanart#リムルテンペスト#転スラ#転生したらスライムだった件#リムル#ディアリム#diarim#diarimu#diablo slime
120 notes
·
View notes
Text
sudden hug🖤💙

#that time i got reincarnated as a slime#tensei shitara slime datta ken#tensura#転スラ#転生したらスライムだった件#fanart#rimuru#rimuru tempest#diablo slime#リムルテンペスト#リムル#ディアリム#diabloxrimuru#diarim
133 notes
·
View notes
Text


someone please tell me how exactly im supposed to go about my day being Normal after seeing these
#that time i got reincarnated as a slime#tensura merch#diarim#rimuru tempest#tensura diablo#theyre so so so so so so so soooo cute i cant stand it#not me almost tagging diablo tempest dfghjhgfd#we all know hes That Guy in a hs au who would go around writing his name with his crushs last name in a heart
13 notes
·
View notes
Link
Fandom: That Time I Got Reincarnated as a Slime
Relationships: Diablo/Rimuru Tempest
Summary:
Rimuru. A lovely name for a beautiful person. Diablo now knew what he should call the one that lit up his formerly dark world. His pulse quickened the moment their hands touched. What a delicate size. Perfect for receiving the gentlest of kisses. And when Rimuru smiled, Diablo felt warmth unlike anything he’d ever known blossom in his chest.
He was sure he’d heard a choir of angels singing. Time itself could freeze right now and he’d be happy for the rest of forever. Beauty, talent, and a smile that’d bring entire armies to their knees? There was no doubt about it, Rimuru was the only one for him. If soulmates were real, he’d certainly have just found his, Diablo was sure of it.
“Your eyes,” Rimuru said as he looked up into them. His grin widened and he chirped, “they’re so cool! I’ve always liked the look of inked sclera.”
Right through the heart. That was it. Diablo could die on the spot now that he was happier than he’d been in a very long time. His grin mirrored the one directed at him and he put a hand over his heart then hummed, “Ahh, such kind words from you of all people. It was well worth the risk of going blind to get them tattooed, then.”
♡
I don't want nobody but you
Kissin' on my tattoos
I don't want nobody but me (Talkin' to you)
Until you fall asleep
#that time i got reincarnated as a slime#diarim#rimuru tempest#tensura diablo#diablo x rimuru#tensura fanfic#ah the tattoo artist au... one of my favs X'D#my fics#hello yes they make me insane#diarimu
24 notes
·
View notes
Text
very watercolor thingy
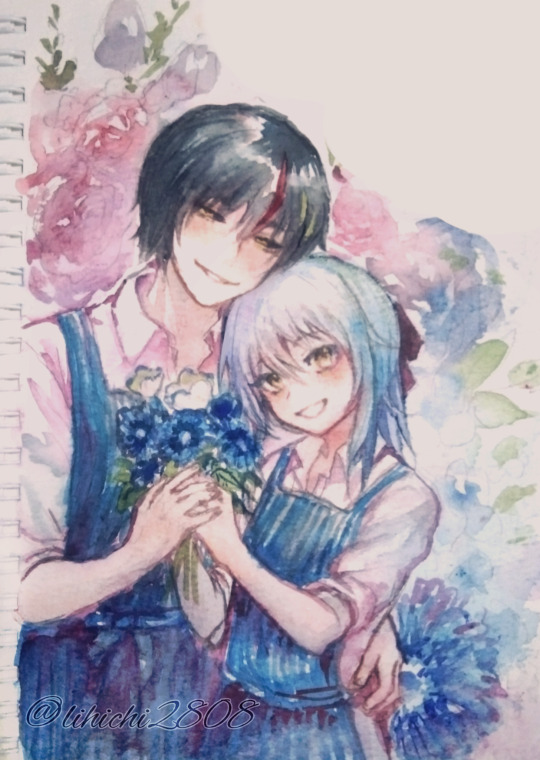
#that time i got reincarnated as a slime#tensei shitara slime datta ken#fanart#tensura#転スラ#転生したらスライムだった件#diabloxrimuru#rimuru#rimuru tempest#diamuru#ディアリム#diarim#watercolor#traditional art
112 notes
·
View notes
Text
birds and waves.
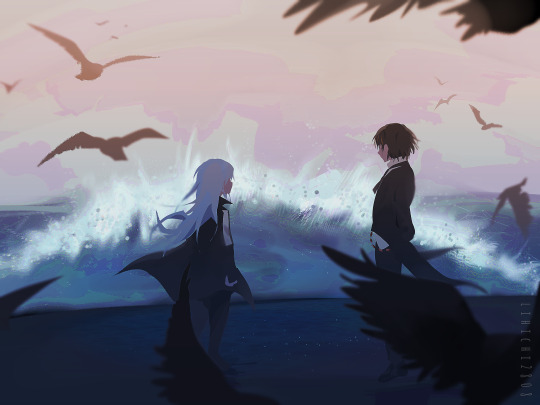

i'm lazy to update on my Tumblr hhhh
you can search for me on twitter.
#fanart#tensei shitara slime datta ken#tensura#that time i got reincarnated as a slime#anime#rimuru#rimuru fanart#diabloxrimuru#diablo#リムルテンペスト#ディアリム#転生したらスライムだった件#転スラ#diamuru#diarim
313 notes
·
View notes
Text

theyre here!!! im !!!!
#that time i got reincarnated as a slime#diarim#tensura diablo#rimuru tempest#so stoked that this collab happened#ive got them both in game and now in person <3<3#together in every universe!!!#theyre also a little bigger and heavier than expected#not your standard prize fig !#im impressed
10 notes
·
View notes
Last Seen Blogs

monfavoritethings
Things
tendou-satori-chocolatier
tendou's chocolate icecream

southparktexts
tobi

glossglamour
pathetically cuntstruck

tattooideas123
Tattoo Ideas