#i didnt do it in an animation program i just exported a bunch of layer groups and hoped they made an ok sequence 😭
Text
nice window you’ve got there. it’d be a shame if someone were to…. fall out of it
#cowboy bebop#spike spiegel#i told you guys i’ve been on a space dude kick recently#my art#this is my first animation (that isn’t just a blink) in a looooooong time lol#i didnt do it in an animation program i just exported a bunch of layer groups and hoped they made an ok sequence 😭#i’ve never rlly found an animation program i really loved so instead i’ve doomed myself to layer hell#feel free to make your phone background or something i think that’s what i’m gonna do :))
58 notes
·
View notes
Note
Hello! Same anon from before!!! Could you give a quick tutorial on how to apply those coloring things to gifs in photoshop? Also, did you download photoshop for free? If so, how? Bc I've done it a bunch of times from many youtube videos, but every time I do it and try to convert videos to frames it says something like dynamiclink not available. Sorry for all the questions. If you can't answer them all, I understand. No biggie!!!
kay i hope this helps!!! im not a pro so this was prob a little off
hey! luckily, i have photoshop (cc 2018) for free with my school because of my photography class, but there are TONS of resources on tumblr!! i once downloaded ps6 from completeresources, which is my favorite blog for resources and tutorials. dynamiclink doesn’t work for me as well, so i use a program called kmplayer (also available for free download at completeresources!) that converts my videos into frames. tbh, this way takes more time, but i’ll try to explain as well as i can. i’m not completely sure if my steps are completely correct, but hey it makes good gifs lol
so after using kmplayer, my frames are saved like this in a file

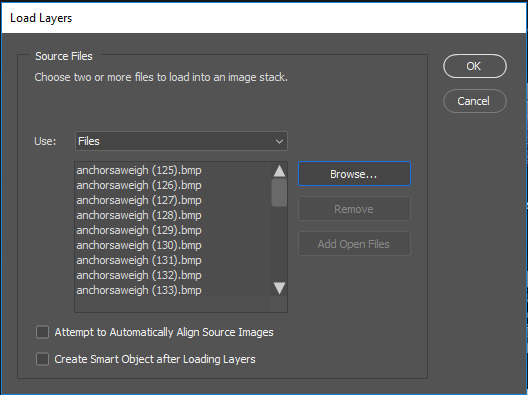
in photoshop you’ll click file > scripts > load files into stack > browse and select the frames you want to use (for this im using 32) and then it should look like this then press ok
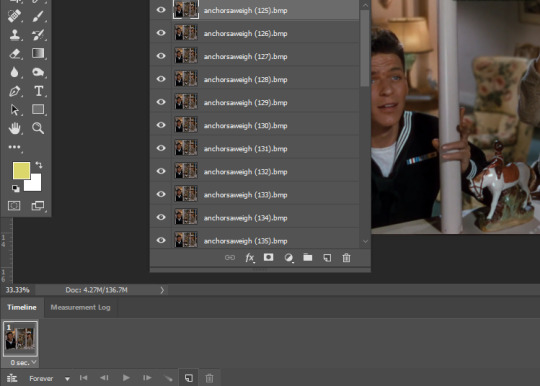
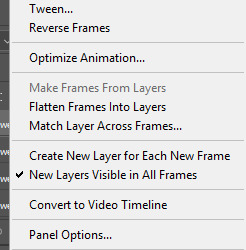
once the layers are loaded in, click create frame animation


now, you’re gonna need all 32 (or whatever amt ur using) frames so, this is the paining part. for the first frame on the timeline, i keep all the frames visible.
but for the rest, you match the second frame with the second layer only, third frame with the third layer, and so on. you create a new frame by clicking that button next to the trashcan on the timeline
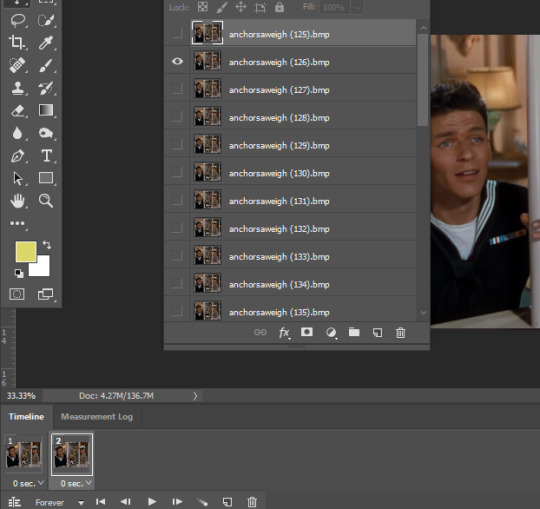

you see how the second frame only has the second layer visible? and third frame only has the 3rd layer? do that for each new frame. notice how the timeline looks in the pic below after ive completed that (i just was to quick to screenshot it while the crop was rendering so thats why the pics are not showing).
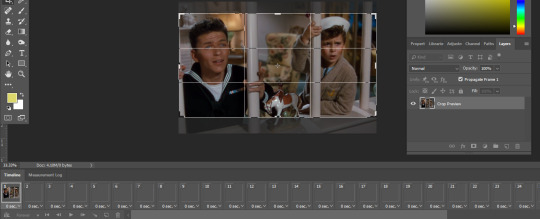
so now we’re gonna crop. this one is set to 500 x 263

and the same is for the image size. (image > image size) and here’s my gif:

now, we’ll apply the psd. again, im using this one. you go to file > open and get the psd you wanna use
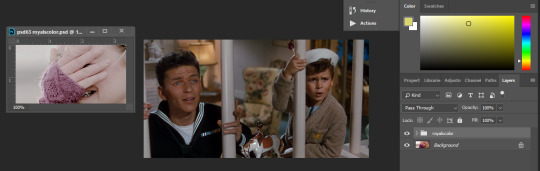
and drag it out like that so you can see all of your gif and the psd. next, you’ll drag the the folder from the layers tab onto your gif. (make sure the first layer on your gif is selected so the psd covers all frames)

and now the gif will look like this:

you may be satisfied with the color, but i’ll add adjustments. you can do that by going layer > new adjustment layer and choosing what u wanna do. but you can also go to window > adjustments and use (its the same thing) it easier there. they’re really fun to play around with! and if you ever dont like one, you know to go edit > undo or edit > step backward after ive added the adjustments i want, my gif looks like this:

a little more pink and cool than i wanted, but i did this from scratch and not from the adjusted psd i already have saved. so now, we’ll sharpen the gif. there’s probably an easier way to do this, but i sharpen each layer one by one. so you click your first layer, then go filter > sharpen > smart sharpen

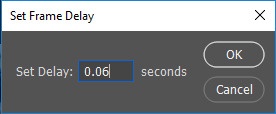
that’s the settings i use. then i do the same for the second layer and so on. when you’ve done that, adjust the speed of your gif. at the far right of your timeline, click those three little lines and hit select all frames
and adjust the speed to what you’d like. i’m using 0.06
after that, we’ll save the gif! file > export > save for web

and these are my settings
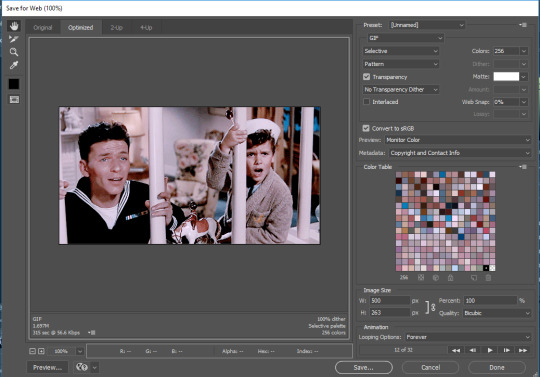
and it’s done!

this as pretty roughly done.. im no pro so there might have been some weird things i’ve done lol but it works! haha i hope this helped :) if you didnt understand something or want to know more, i dont mind you coming back!
4 notes
·
View notes
Last Seen Blogs
captaint-b0
T-b0

shotabarista
kawaii barista

grape-v1nes
Edward Wong Hau Pepelu Tivrusky IV

midzelink
トワプリ

latestgcamstore
GcamStore