#11/2022
Text

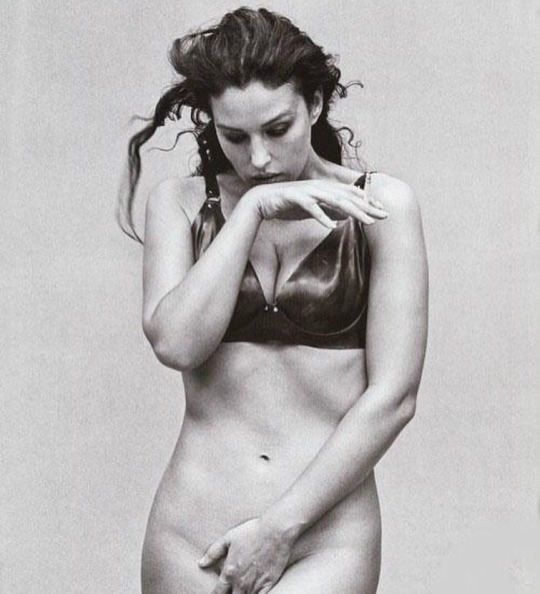
Good morning (Monica Belluci in Paris på Peter Lindbergh, 1999) 🖤
#monicabellucci #queen #morningmotivation #peterlindbergh #gqmagazine #90saesthetic #rocknrolllifestyle
#iminluv #this #passion #leidenschaft #intimité #aesthetic #bwaesthetic #bw #bwphotography #fashioncore #fashionaddicted #storytellers #soulcatchers #soulphotography #softcore #artposts #photographer #motions #emotions #erotique #fantasy #girliwannaeatya
Soundtrack: i am gonna get You by Nina kraViz 🖤

𝙼𝚏 𝚌𝚛𝚎𝚍𝚒𝚝𝚜 🆎𝚘𝚟𝚎
#l o v e#monica bellucci#peter lindbergh#11/2022#90s aesthetic#rocknrolllifestyle#soul photography#emotions#e motion#sex drugs and socks with holes#sex drugs and rock n roll#fashion editorial#editorial#fucking favorite#x-heesy#music#now playing#spotify#music and art#contemporaryart#girl i wanna eat ya#bw photography#gq magazine
230 notes
·
View notes
Photo


judgement
90 notes
·
View notes
Text

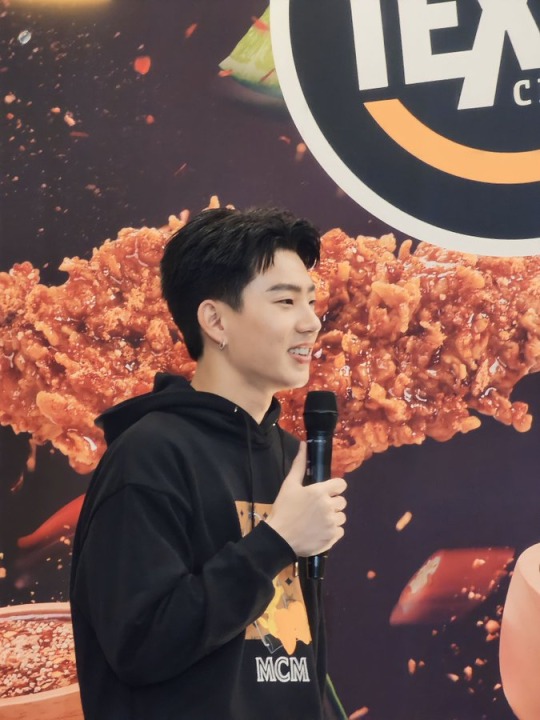
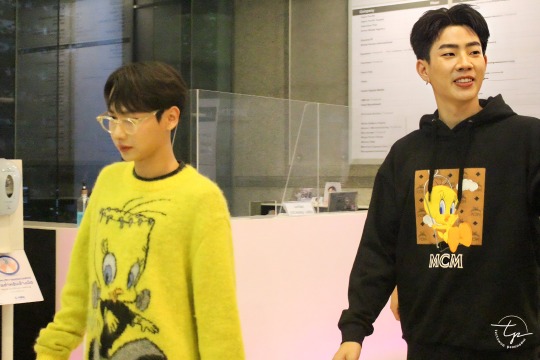

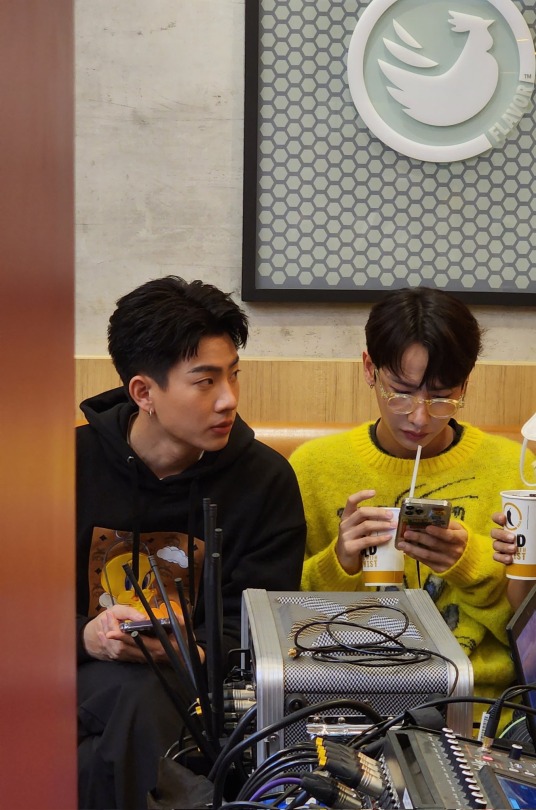

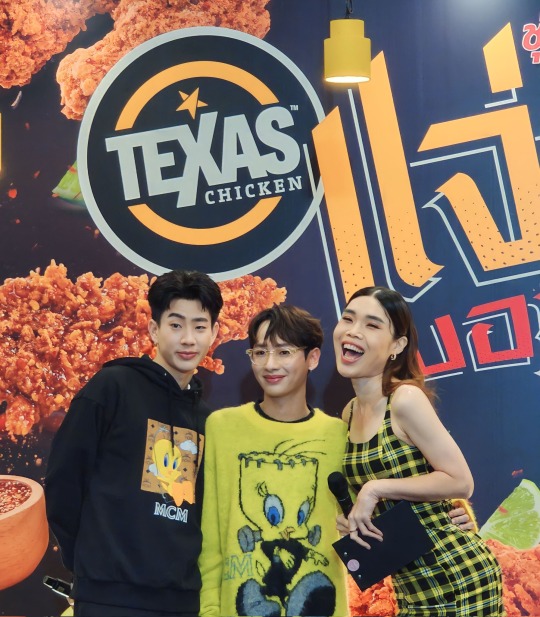


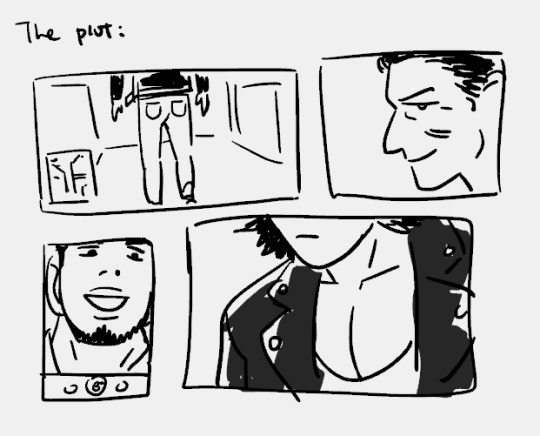
#thai bl#thai series#youtube#thai drama#boys love#gmmtv#not me#not me the series#offgun#gun atthaphan#not me series#off jumpol#offgunxTexasChicken#11/2022
21 notes
·
View notes
Photo

L'agitation s'est calmée jusqu'à l'aube,
Les lanternes sont allumées.
Le voici... Soir serein, calme,
Pour notre âme fatiguée.
Comme nous avons besoin de ces moments
Où nous pouvons être nous-mêmes.
Ou nous rappeler le natif, le passé,
Ou nous taire devant une bougie silencieuse.
De combien de temps avons-nous besoin ?
Pour secouer la fatigue de l'âme.
Asseyons-nous sur le porche ajouré,
Voir comment l'étoile flamboie.
Ou écouter, comment d'un fleuve tranquille,
Une vague portera un léger murmure.
16 notes
·
View notes
Quote
Wiem już, jak człowiek zaczyna gardzić samym sobą - kiedy wie, że robi źle, a nie potrafi przestać.
Kwiaty dla Algernona, Daniel Keyes
2 notes
·
View notes
Text
"Bist die Liebe meines Lebens, aber es gibt kein Happy End für uns."
2 notes
·
View notes

Text

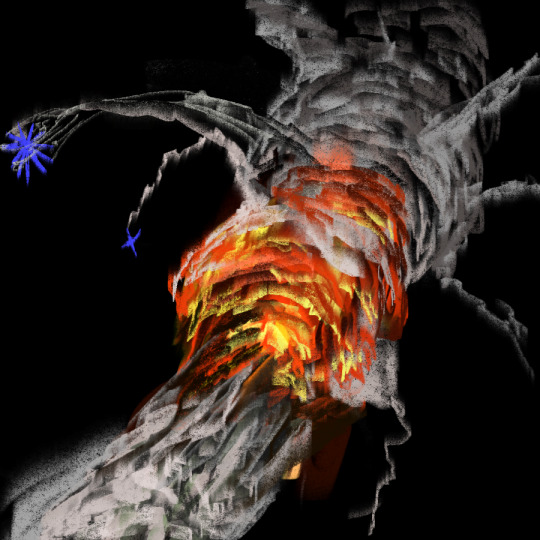
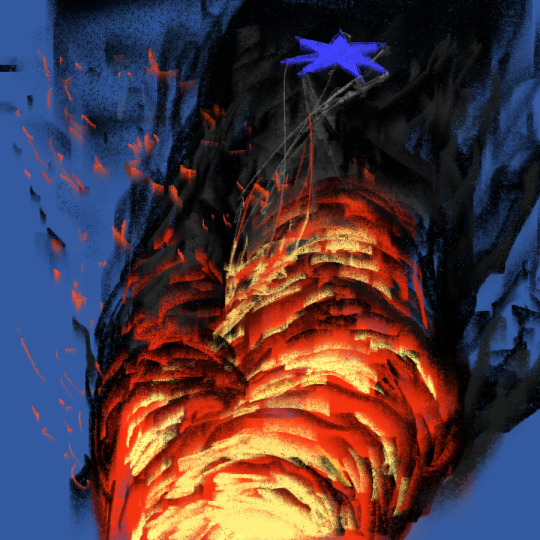
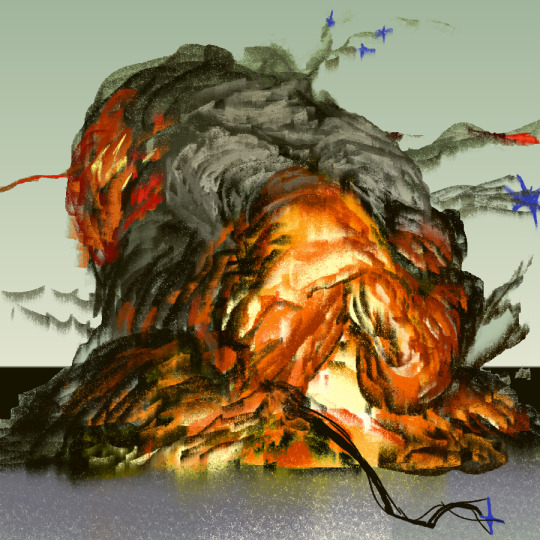

'Gone Cuckoo' - January 5, 2021.
&
four explosion studies from March 11, 2022.
11K notes
·
View notes
Text
ghost3dee A well known and established alien female shoggoth named Lucy, returns home from her daily…
#3D#3dmodel#octane#octanerender#mdcommunity#noface#3dart#surreal#maxon#cinema4d#c4d#artwork#psychedelic#post @frenchpsychiatrymuderedmycnut er#photoshop#illustration#smoker#graphism#graphic#art#digitalart#otoy#3dillustration#overthinking#3dartist#overthinking#420#visualatelier8
Soundtrack: Fables & Fairytales - (Deniz Kurtel remix) by Na, Rosina, Deniz Kurtel
#fucking favorite#ghost3dee#11/2022#3d sculpting#3drender#3d charms#3d work#3d artist#3d cgi#3d render#3d artwork#3d model#art post#newcontemporary#new contemporary art#contemporaryart#octopus
181 notes
·
View notes
Note
Can you make a gif of Anne Neville coronation gown from the white queen?
Yep!!
0 notes
Text
30/11/2022
Chi phí đi về mắc quá. Con tiếc, kiểu có thể để bản thân chịu khổ chút nhưng ko muốn bỏ tiền ra vậy á. Con có phải là đứa keo kiệt ko.
Mai con xuống ca đêm làm rồi. Tháng tới thoải mái hơn nhưng lại không tốt cho sức khỏe.
Con nghĩ có thể chỉ được 1 năm thôi. Con đang rất cố gắng để qua ngày. Ko dám nghĩ sẽ kéo dài hơn 1 năm được. Để trải qa một ngày hay yên ổn sống cho hiện tại con phải bấu víu vào quá khứ tươi đẹp khi còn ở Nhật, lại phải an ủi bản thân rằng ráng đi sẽ về sớm thôi, tương lai sẽ ko phải chịu như vậy nữa. Thật đáng thương, yếu đuối quá.
0 notes
Text
Non c'è notte o problema del genere che l'alba e la speranza non possano superare.
—Bernart Arthur Owen Williams
8 notes
·
View notes
Quote
W głębi naszych umysłów nic nigdy nie ginie.
Kwiaty dla Algernona, Daniel Keyes
0 notes
Text

28/11/2022
NaNoRenMo word count: 10,255
Long time, no write! Hey, at least I accomplished a lot since you last heard from me.
Most of those things was just a lot of the writing. As you can see, I've pretty much doubled the word count since my last post. That's the biggest reason I haven't updated really.
I don't want to talk much about the different stuff I've been writing. I just wanna focus on my code.
The reason I finally decided to update here is becos I figured some coding stuff out that had me asking not one but two people for help for and it took us like two days to figure the bullshit out.
In fairness to the people I asked for help from, though; they didn't know anything about Ren'py or how to code visual novels. But, they code other things so I thought might as well.
So, the first easier thing I figured out was how to do a blink animation for when you want to do a first person point-of-view blink. Basically, I used this topic but, instead, I added more stuff and made it more complicated LOL.
My reply is that last one by nyeowmi so you can just read that. I also included like the images I used and stuff! Nice!
Here's what it looks like.
The second thing that I had the hardest time figuring out was the layered image stuff for character images.
I don't know if it's just becos I'm the worst researcher known to man but there was literally no documentation for the layered image that my two brain cells could understand?
The easiest one was the guide by BáiYù where they make a whole game out of it. Unfortunately, as of Ren'py 8.0.3, the game doesn't play anymore.
At least, not for me. It says something along the lines of 'file' not defined? I'm not sure but, in the comments of their itch.io, someone also had the same problem and BáiYù said they'd figure it out as soon as they could.
So, maybe, this journey will be much easier for you, dear reader in the future, than I, a poor unfortunate soul.
Either way, I couldn't figure out the layered image thing through the tutorial. BáiYù suggested just getting familiar with the layered images through browsing the code of the game (which you can access, even if the game doesn't work).
However, I'm illiterate when it comes to reading code so none of it made a lick of sense to me. Honestly, that one's truly on me becos, unfortunately yet again, Ren'py's coding language (or rather, whatever you use to code Ren'py) is like the only coding language I know well enough to recognize some of.
Anyway, I tried it out despite not knowing what the hell I was doing.
I renamed all my images the same exact way you're supposed to when you use layered images. Which is, of course:
[charactername]_[facepart]_[emotion].png
I also stored all of the files in like a lot of folders. The file path looked something like:
images/felix/[emotion]/[imagefile].png
Anyway, I think that was my downfall. I don't know if it truly is? But I did browse through some of the LemmaSoft forums and some people mentioned that nested images (images stored in folder after folder instead of just in the images folder) got fucked up and it didn't work properly.
That being the exact problem or not didn't matter becos my character image just wouldn't work. I don't remember what exactly was the errors I was getting at this point but I know like some of the parts wouldn't come up or the game just wasn't able to find the files, etc, etc.
Another problem that I was trying to figure out at the same time was how to make the character speak while their character sprite was showing.
I saw a forum post by zmook (not linked becos I absolutely can't find it) where they were directed to the Ren'py cookbook where it wrote about the config.speaking_attribute.
Basically, it's an attribute that gets shown when the character is talking and then stops getting shown when the character stops talking.
Then, in another forum post, zmook asks about the speaking attribute being combined with the layered image stuff.
However, at this point, despite knowing all of this stuff, I was still struggling with getting the image to show properly at all, much less having it show up speaking and then not speaking.
Did I stop and try to figure out the basics first before trying to figure out the talking? Absolutely not.
So, I continued seeking out knowledge. Eventually, I figured out that you have to animate the mouth using Ren'py and not a gif. I figured that out through this post by Argent Games.
I tried coding my character image exactly like that but, unlike that, my character had a lot of expressions and my code ended up looking cluttered while still not working completely.
At this point, what was happening was that everything was showing up properly except the mouth.
In the end, my special friend's brother cleaned up the code for me. It was honestly trial and error at that point where we all didn't know what we were doing, we were just moving stuff around.
My code ended up being something along the lines of:
default felixemote = "smile"
image felixmouth:
"images/felix/[felixemote]/felix_mouth_[felixemote].png"
0.2
"images/felix/[felixemote]/felix_mouth_[felixemote]_half.png"
0.2
"images/felix/[felixemote]/felix_mouth[felixemote]_open.png"
0.2
"images/felix/[felixemote]/felix_mouth[felixemote]_half.png"
0.2
repeat
group mouth if_any "speaking" auto:
attribute smile default:
"felixmouth"
group mouth if_not "speaking" auto:
attribute smile default:
"felix_mouth_smile"
That code has like a lot of code in between but that's pretty much the gist of it all. After we did that for the mouth and then exactly like what we're supposed to for the rest (basically copied from the layered image documentation from the Ren'py cookbook).
It worked! Of course, it didn't follow the words exactly? The character would just keep speaking even if the words were completely loaded.
However, a victory is a victory and, becos I'm not even gunna think about the voice acting yet, I don't care. I was so tired and annoyed by this entire thing that I just figured this is good enough.
Then, of course, when I went and stress tested the code (as in, showing off the characters numerous expressions), nothing happened.
The expressions didn't change. That was when I screamed and then screamed and then rewrote my code.
This time, I removed all of the auto stuff on the layered image codes. Instead of just having the layered images going through all of my images, I would just force feed it my images.
So, I declared each image with a specific file path that had variables in it I could change based on what emotion I wanted them to display.
For example, instead of just letting layered images figure out what eyebrows I wanted, I wrote out:
image felixeyebrows:
"images/felix/[felixeyemotebrow]/felix_eyebrows_[felixeyemotebrow].png"
I did that for the base, for blush (except that one was just blush and a blank png named noblush), glasses (same as blush), the closed version of the mouth, etc.
For the eyes, I wanted to have a blinking animation so I declared the image like this instead:
image felixeyes:
"images/felix/[felixeyemote]/felix_eyes_[felixeyemote].png"
choice: #choice is so that ren'py can randomly choose between the three cus blinking tends to be random and not in the same intervals
4.5
choice:
4.5
choice:
4.5
"images/felix/felix_eyes_closed.png"
I specifically made all of the variables different so that I could control each variable to be different. Like, for example, if I wanted the angry eyebrows but the sad mouth.
My variables ended up being the following:
default felixemote = "smile" #this is to control the mouth
default felixeyemote = "smile" #this is to control the eyes
default felixeyemotebrow = "smile" #this is to control the eyebrows
default felixbased = "regular01" #this is to control the body/base
default felixblushed = "noblush" #this is to control the blush
default felix_glasses = True #this is to control the glasses
The glasses variable is different becos the code for that one ended up being:
if felix_glasses:
"images/felix/felix_glasses_glasses.png"
else:
"images/felix/felix_glasses_noglasses.png"
The full layered image code ended up looking exactly like this:
layeredimage felix:
zoom 0.85 #i needed to do this becos my character images weren't the right size
group base:
attribute regular01 default:
"felixbase"
group blush:
attribute noblush default:
"felixblush"
group eyes:
attribute smile default:
"felixeyes"
group eyebrows:
attribute smile default:
"felixeyebrows"
group mouth if_any "speaking" auto:
attribute smile default:
"felixmouth"
group mouth if_not "speaking" auto:
attribute smile default:
"felixmouthstop" #remember that this should be a declared image with the file path but the variables should be the same as the variables you use with the file path in the speaking animation
if felix_glasses:
"images/felix/felix_glasses_glasses.png"
else:
"images/felix/felix_glasses_noglasses.png"
Convoluted? Pretty much.
Each of the images underneath each attribute is it's own declared image with the variable-riddled image paths.
I've already tested it and it works, both fortunately and unfortunately.
I'll put some example gifs down below so that you can see it in action. I'll also put a screenshot of the script where I call all of that stuff so you can see what that looks like too.


I tried to show off the fact that the dialogue would stop loading but they'd continue talking and the fact that you can interrupt mid open mouth and they'd still transition to the closed mouth.
Thank god this long ass post is finally fucking done. Thanks for sticking with me til the end and hopefully this helps making your game a little bit easier.
If you have any questions about this at all, send me a message on discord at nyeowmi#6969 or send an anon/ask here on tumblr! I'll do my best to help
0 notes
Last Seen Blogs

memoirs-of-a-petty-bitch
Cicely Aurelia
badass-earl-blog
The finest badass

gloomycrayon
Anna Luisa

esconapartment
Untitled