#magicessentials
Text
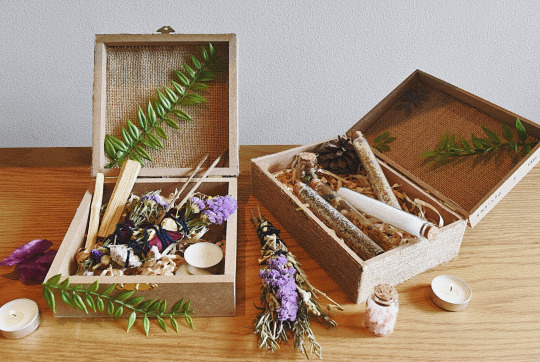
Magic Boxes
Hi guys! So today I wanted to share a more crafty post with you. I did three magic boxes where I keep my essentials. I made the boxes a few months ago, but didn’t had the time to decorate them. I’ll show you step by step, long post with picture!
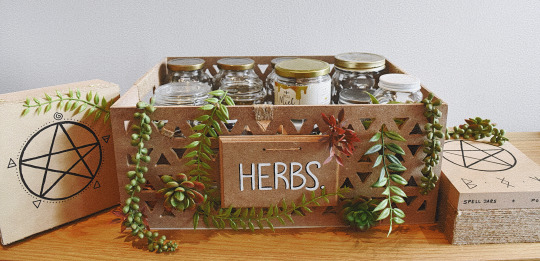
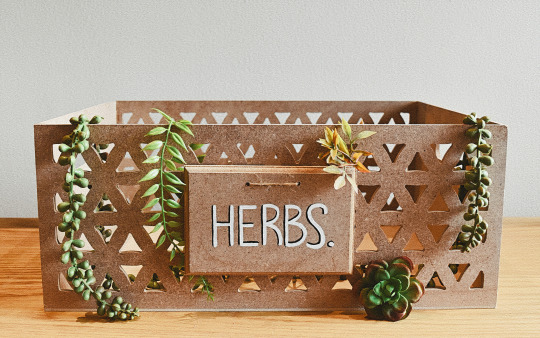
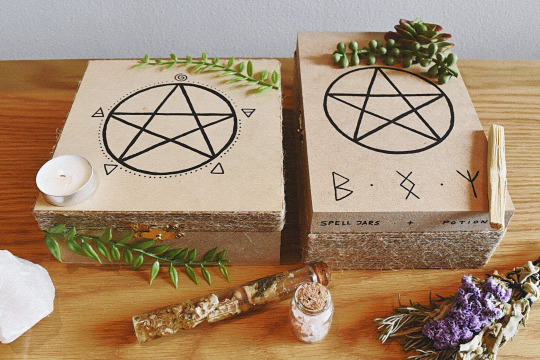
The bigger one (41x30cm) is where I keep all my jars full of herbs and dried flowers, pretty much any essentials. The one to the left (20x20cm) is where I keep my smoke cleansing kit. The one to the right (18x27cm) is where I have my potions and spell jars. Be sure to have a space big enough to make a disaster, lol.
WHAT YOU’LL NEED
- 3 wood boxes (mines are .5mm MDF)
- Wood rectangle for the sign
- String or rope (any color you want)
- Craft cold silicone
- Black and white paint (or any color you like)
- Paint brushes
- Pencil / sharpie
- Fabric or craft paper
- Pine cones
- Plastic plants
- Drill
- Two small drill bits
- Crafting sawdust

STEPS
Box number one
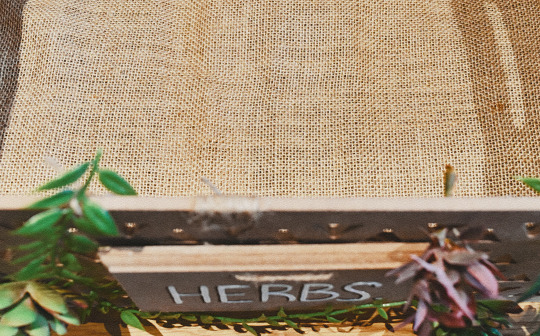
1. The sign
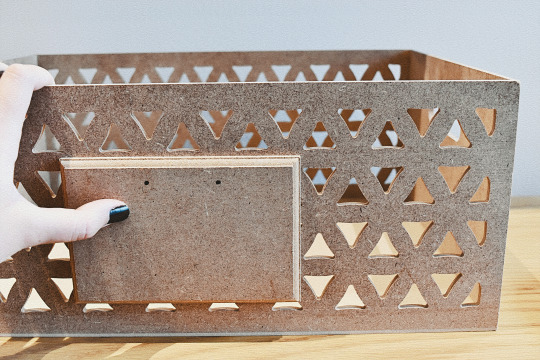
Visualize and measure where you want your sign to be. I decided to put mine in the middle of the front part. Then use a pencil or sharpie to draw two tiny dots to drill the holes later.
2. Use the drill
Carefully drill over the points of the previous step. I recommend using a small drill bit first, then move to the next one that is similar in size to the string or rope you’re using. I used a 7/64″ drill bit first, then proceed to a 1/8″.


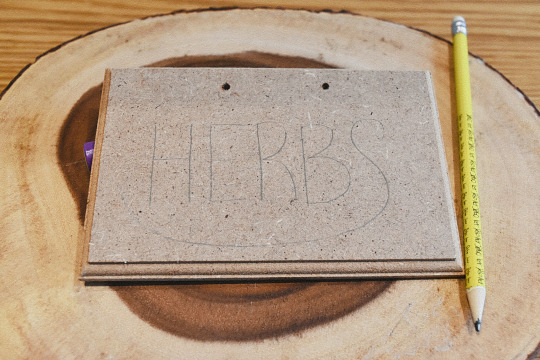
3. Pencil
Use a pencil to draw what you want for your sign to look like. I decided to do it plain and simple, just “herbs” because it goes better with my apartment’s mood. But you can get as creative as you want!
4. Paint
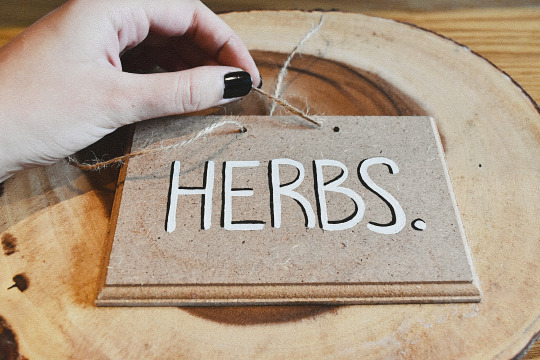
Using a tiny brush, go over the pencil with some paint. I used white first and then black, to add some dimension to the letters.

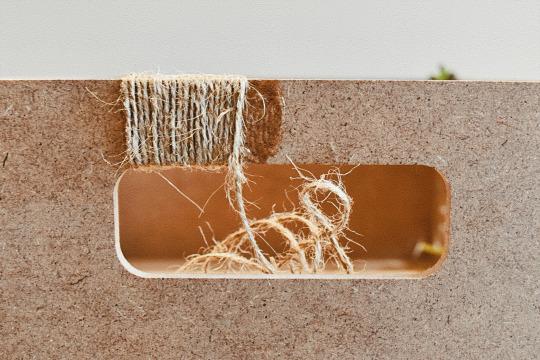
5. String
Put the string through the holes you made. I started from the back side of the sign, so it would be easier and more aesthetic when hanging.
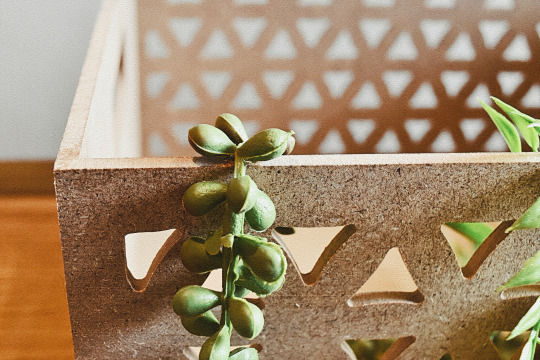
6. Decide the plant’s layout
This step might be tricky because you’re not using any glue yet. But kinda visualize where you want every plastic plant to be. Use clips or rubber bands if you need to! Just remember to be happy with how it looks!
7. Cold silicone
Use little drops of silicone in strategic points to keep the plants in place. You can also use the string or rope if it goes with your aesthetic!
8. Handles
While the plants dry completely, use the silicone and string to decorate the handles. This will made it more confortable for you to carry the box when needed!
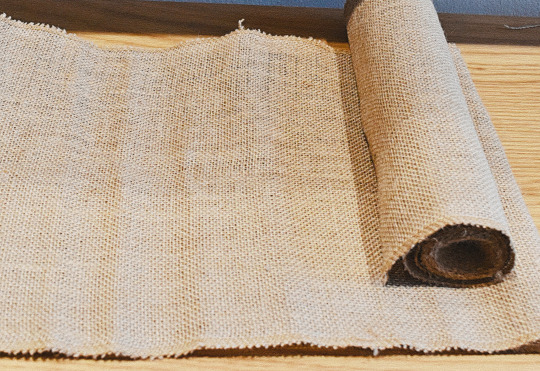
9. Fabric or craft paper
Cut a piece of the fabric to use at the bottom of your box. We don’t want the jars to break or damage. Remember that it will normally be about .5mm smaller in each side, thanks to the thickness of the walls your box is made of. For example, my box total length is 41x30 cm, but the piece of fabric is 40x29cm.
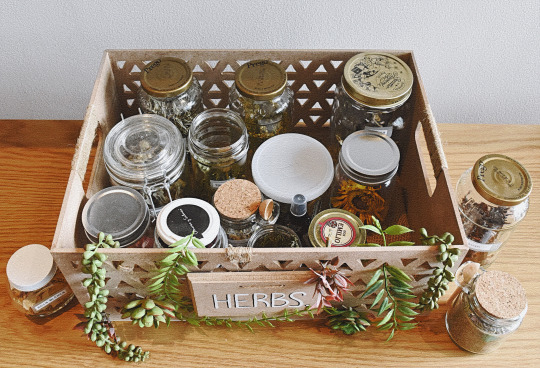
You now have a lovely carry on box for all your jars and magic essentials! I’ll show a picture from the top, so you can see how many jars I can fit inside. Also keep in mind that sometimes I put smaller jars on top. The three that are outside, also fit perfectly inside :)

Box number two
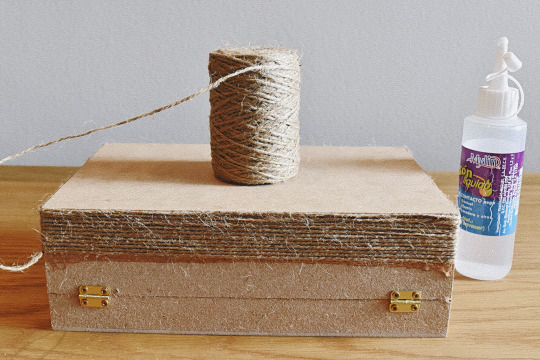
1. String
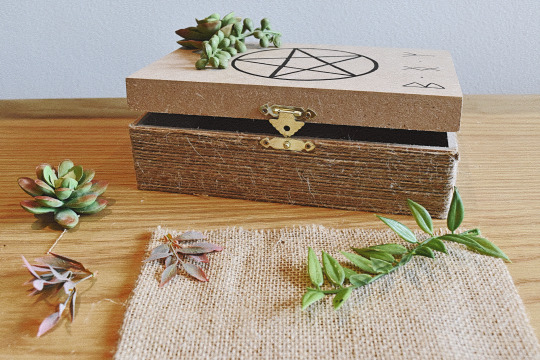
Use the string or rope to decorate the outside of your box. It will be more confortable to pick it up, and it will make it more pleasing. I decided to go all around the bottom part of the box. Use the silicone to keep it in place. When you get to the back hinges and front lock, cut the string in pieces to go around them. It’s easier that way.
2. Pencil, paint and layout
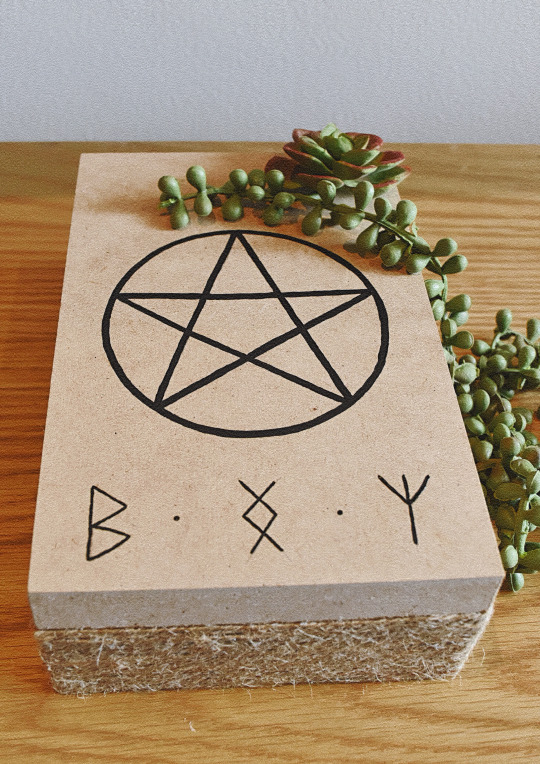
Just as you did for the previous box, draw the design first then go over with the paint. I decided to go with a big pentagram for protection and three smaller runes. For the plants layout I used a few plastic succulents. Use the silicone to keep them in place!
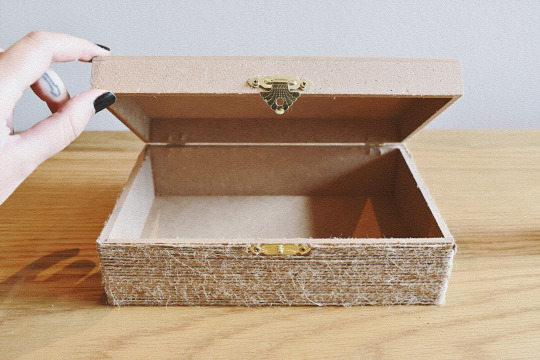
3. Inside upper part
Cut a piece of fabric to glue inside. I added some plastic plants as well, but you can make a drawing, a sigil, or even glue some crystals! Get creative and enjoy the process!
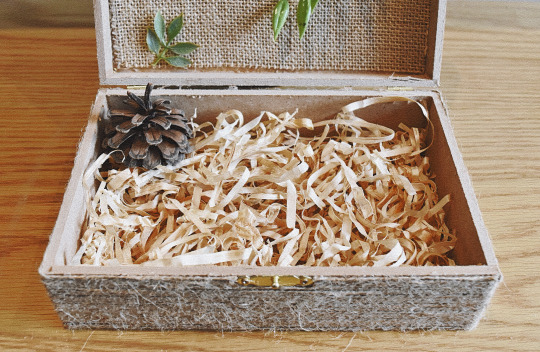
4. Inside bottom part
Use some of the sawdust to make it more “comfy” for your potions. We don’t want anything to break or spill everywhere! I used a pine cone in a corner as decoration.
Repeat the same steps for box number three! There you have it! Another two beautiful and magical boxes to keep all of your witchcraft essentials safe! You can use them for your tarot cards, your book of shadows, runes, or a quick carry on altar!
I really hope you liked it, and find it useful! Let me know if you would like to see a post on how you can make the boxes from scratch before decorating them!
Image source: my camera
Blessed be,
- May xo.
48 notes
·
View notes
Photo
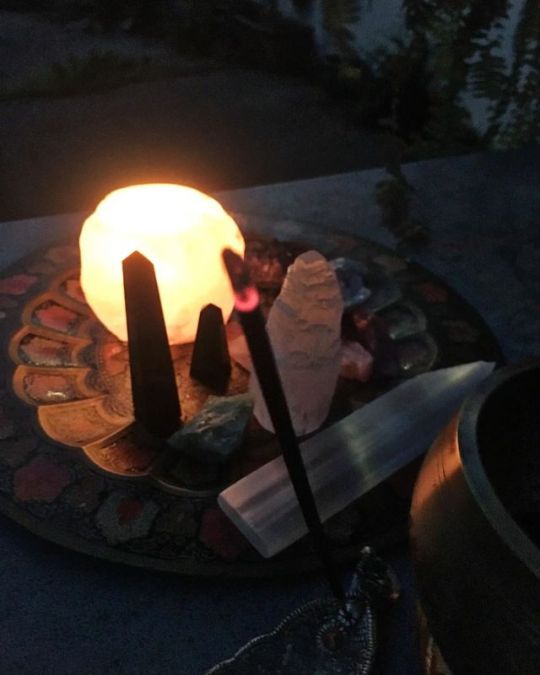
Meditation pyramid, rose quartz pyramid. Ancient traditional practice on a Friday 💜 . Pyramids stabilize energies of the earth while enhancing and projecting energies off the apex. . Experimenting with my newest #rosequartz #pyramid on the #ajnachakra . Cleanest with selenite and #frankincenseoil . . . #highfrequency #healingcrystalsandoils #oilerlife #yogalifestyle #mediation #chakramediation #gratitude #yogipreneur #magicessentials #naturalsolutions #physics #geodes #earthtreasures https://www.instagram.com/p/BxBh7ZuF1GD/?utm_source=ig_tumblr_share&igshid=p129hyh1on4u
#rosequartz#pyramid#ajnachakra#frankincenseoil#highfrequency#healingcrystalsandoils#oilerlife#yogalifestyle#mediation#chakramediation#gratitude#yogipreneur#magicessentials#naturalsolutions#physics#geodes#earthtreasures
2 notes
·
View notes
Photo
Blame it on the moon! . . . . . #chandrakrama #rituals #goddesses #witchesarewisewomen #easternphilosophy #magicessentials #earthtreasures #chakrameditation #yogalifestyle #plantbased https://www.instagram.com/p/BxlhqNFnFLw/?igshid=192t7vx9teq1k
#chandrakrama#rituals#goddesses#witchesarewisewomen#easternphilosophy#magicessentials#earthtreasures#chakrameditation#yogalifestyle#plantbased
0 notes
Last Seen Blogs

chillona-satx
La Luna


lolitapremiummmm
@lolitapremiummmm [T3L3GRAM]

incorrectavengersalliance
Incorrect Avengers Alliance

derryqueenx
Ya Ballbag