#my furbs!
Text
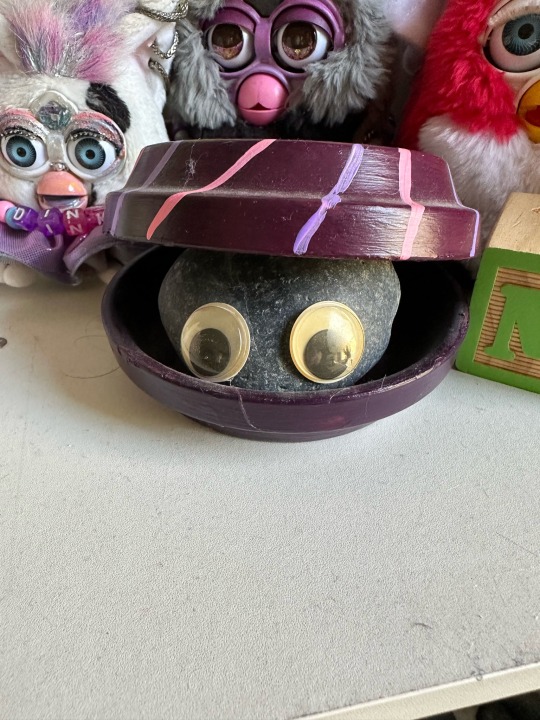
Homemade Shelby....
Everyone be nice him he's insecure...
223 notes
·
View notes
Text
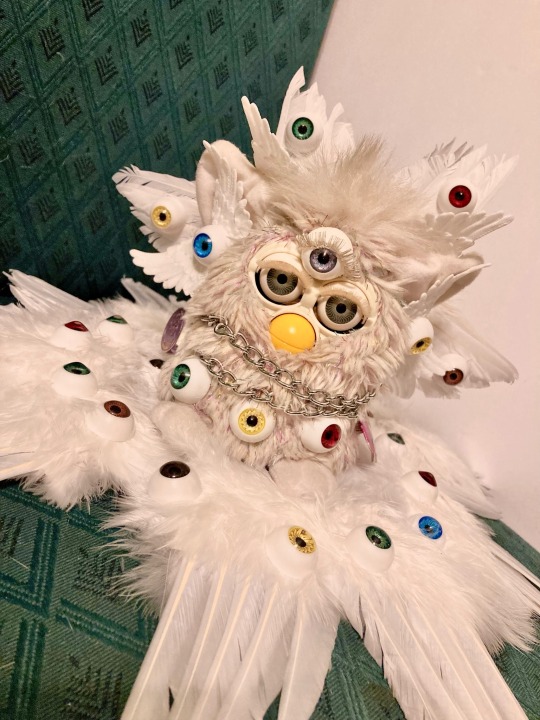
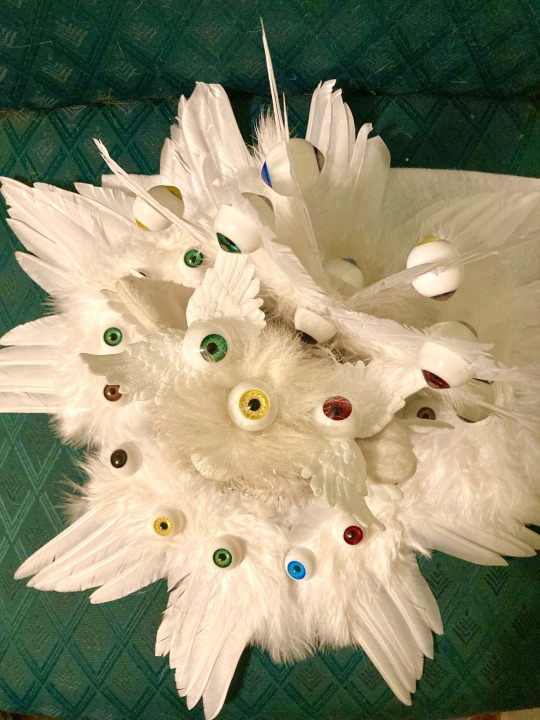
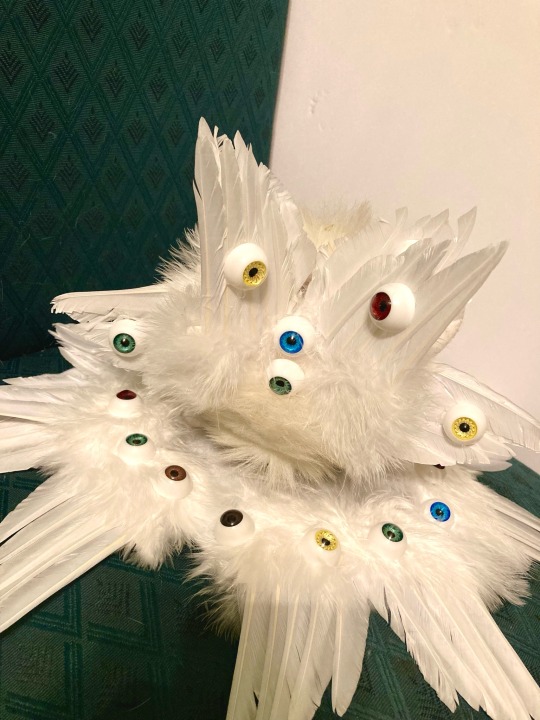
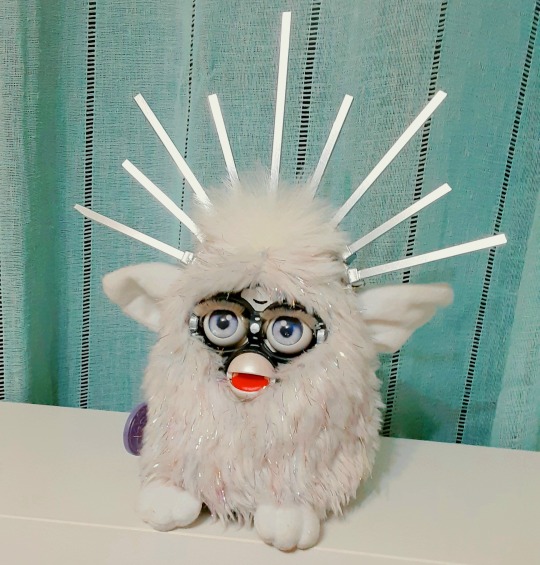
it’s kind of hard to make out the shapes in these but I guess that’s kind of the point? I’ll do a more fun photoshoot later but I finished Confetti Amadeus!!
#furby#furbys#furby time#custom furby#my furbs#furb: confetti amadeus#furby 1998#furby 1999#weirdcore#trippy#trippy art#eyes#angelic#biblically accurate furby#my art
12K notes
·
View notes
Text

Oopsies I forgot to share this wittle guy here, because of course I did...
Anyway I present to you the custom Furby I made for the winner of the giveaway ( @ejfurbish ) I held over on IG. Btw there's still a couple hours of my birthday left (at least where I live) sooo Idk maybe there's something you want to say... to mee???? :3c
#furby#safe furby#all furby#furbies#furby blog#furby community#furby fandom#others furbs#furby love#1998 furby#custom furby#furblr#furby 1998#furby custom#my furby
248 notes
·
View notes
Text
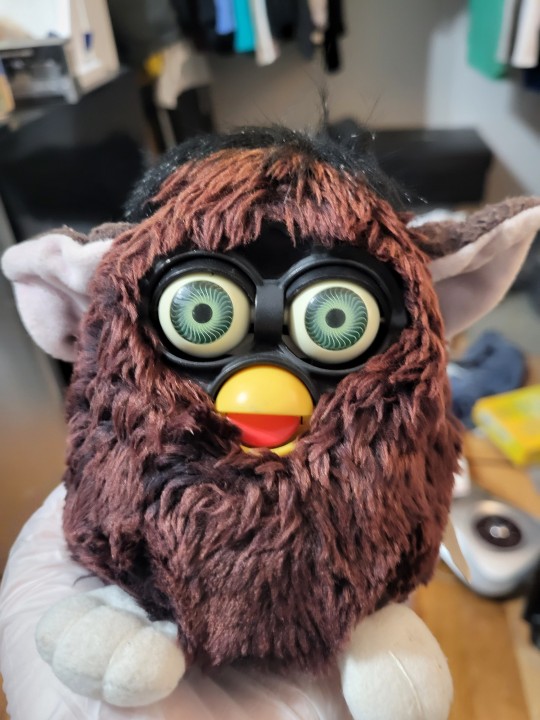

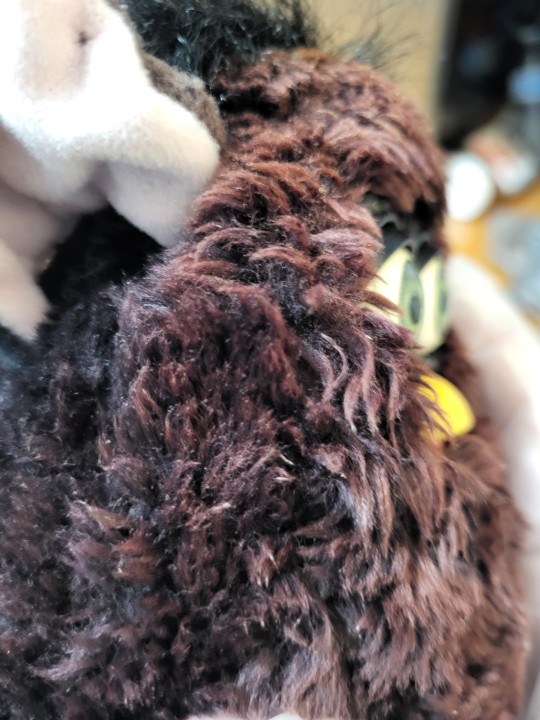
Before and after of a furby I saw online and IMMEDIATLY had to buy.
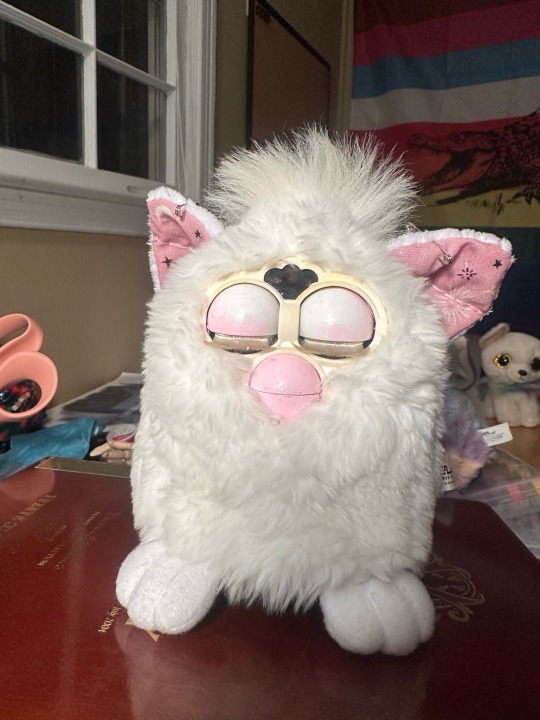
It was listed as a Gorilla which I KNEW wasnt right but I couldnt tell what it WAS, as it didnt match any known furb. So I knew I had to get my hands on it to get a closer look.
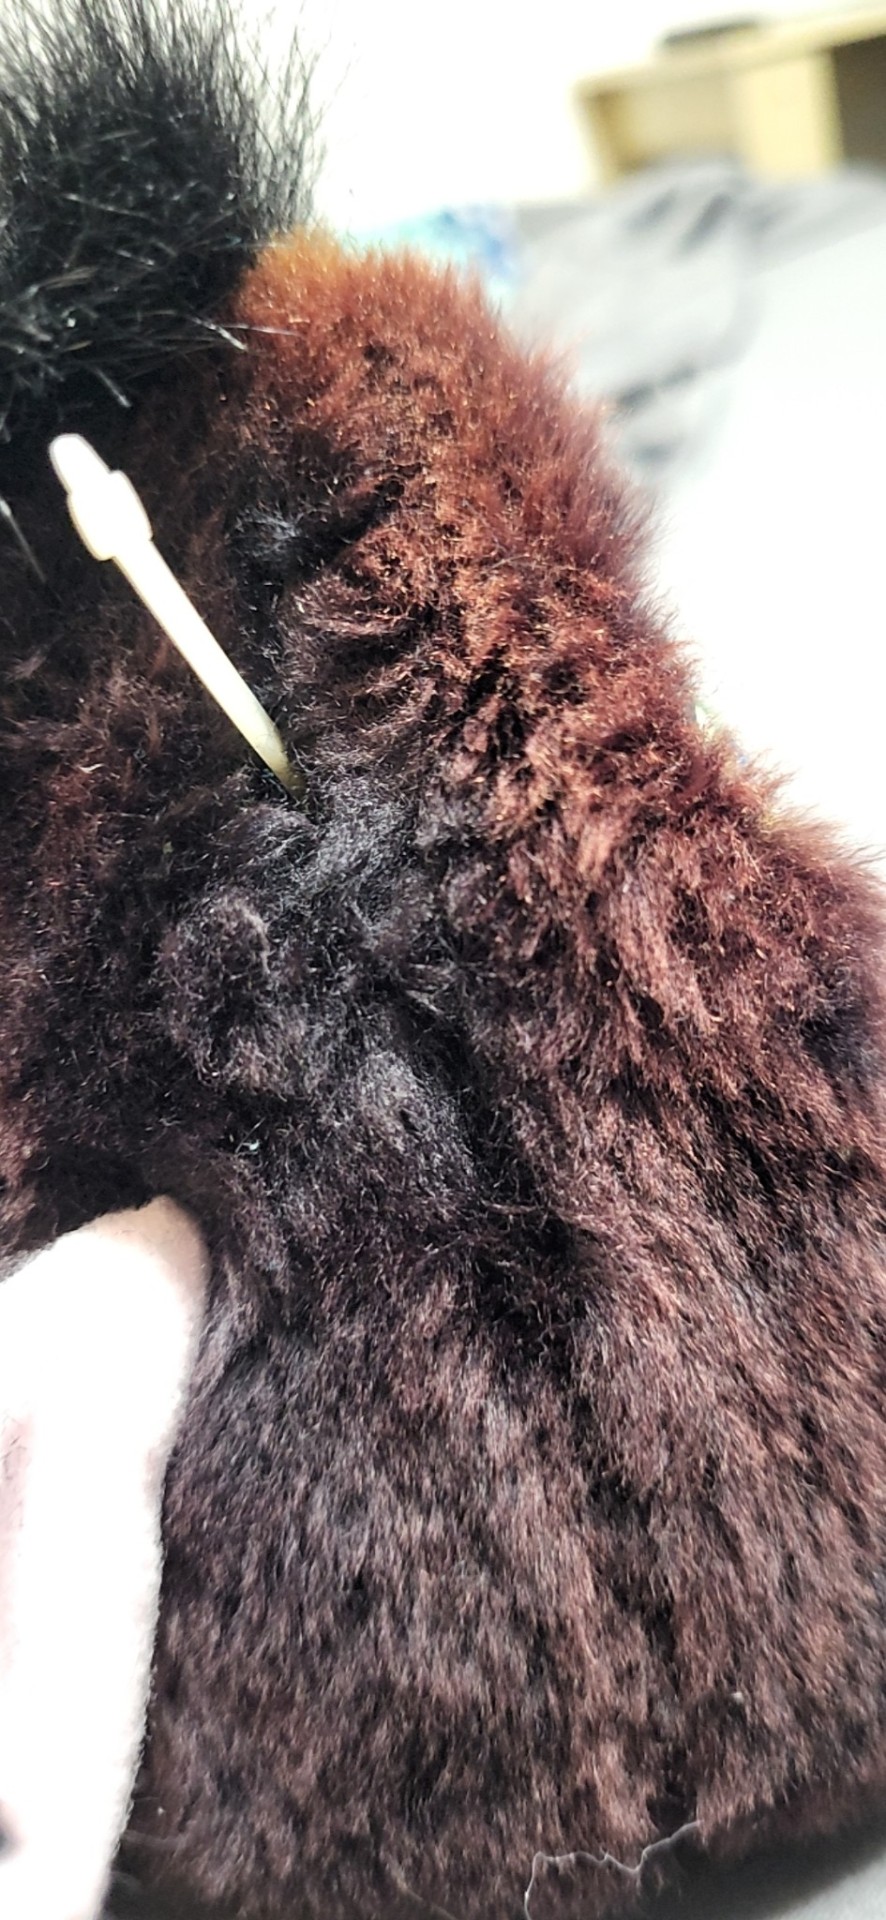
Upon further examination, I've come to the conclusion that this is a SEVERELY sun-damaged witch's cat, poor thing must have been left outside somewhere for who knows how long :(
But they're safe now and home with me! Everyone welcome Sunburn :)
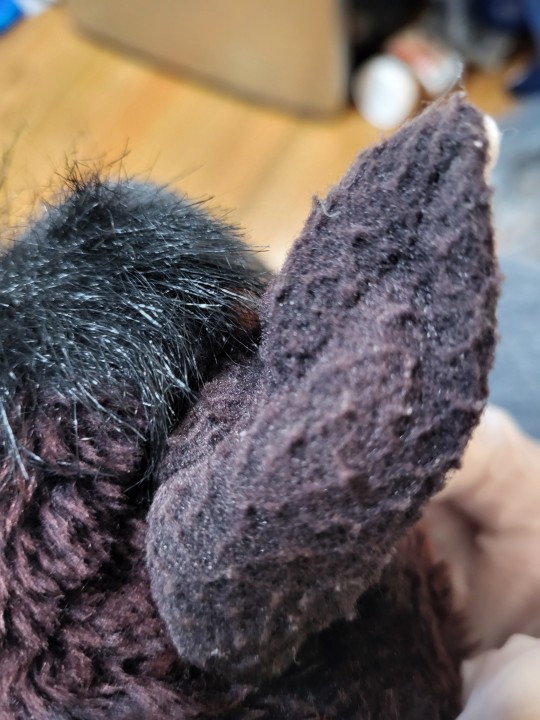
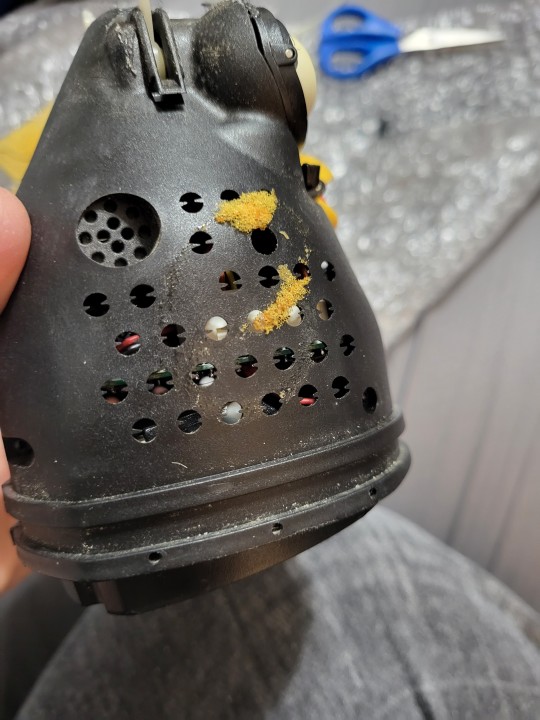
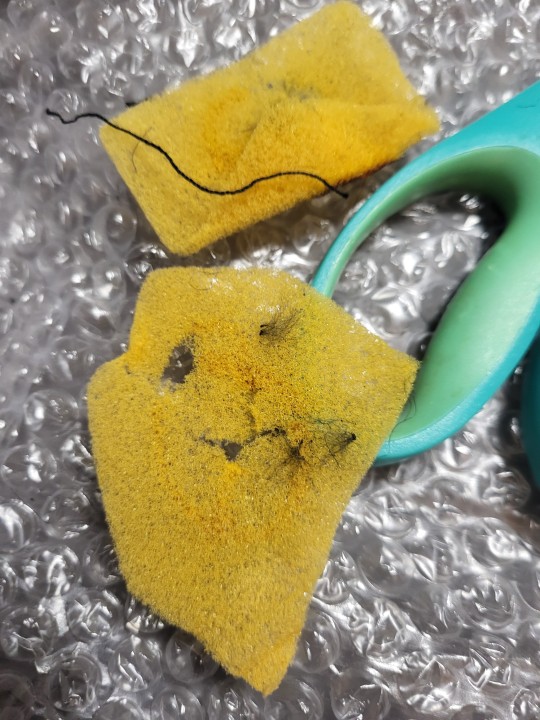
Some close-up photos of the fur under cut, as well as their shell, which I found odd compaired to my other furbies.


#furby#furbies#furby 1998#furby 1999#furblr#furby fandom#furby community#all furby#safe furby#furbs#Sunburn#my furbs
151 notes
·
View notes
Text
Little update on Moss!
First of all, massive thanks to everyone who sent any suggestions to help out with his clips! I really liked the idea of gluing fake moss on them, so that's what I decided to try - and what I managed to get was this dried out moss-like plant that should be okay to use for this kind of thing (and hell, I've already seen another furb with this stuff glued directly onto the fur, and funnily enough my reblog of it was queued to post before this one).
So here's what I did with that!
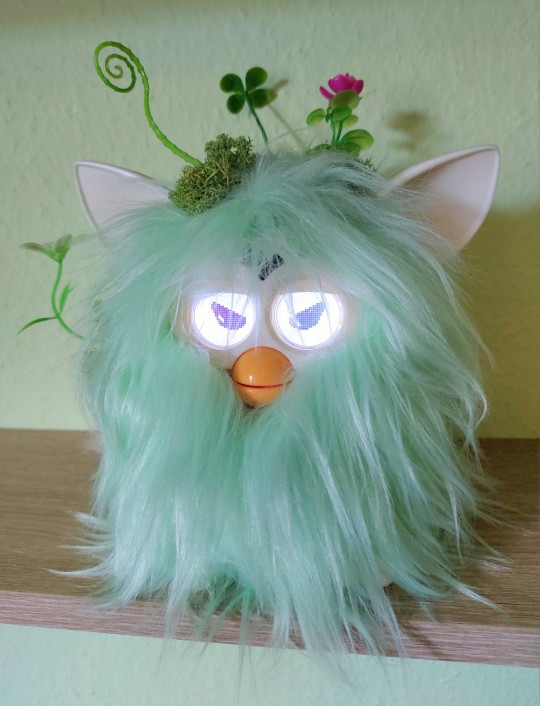

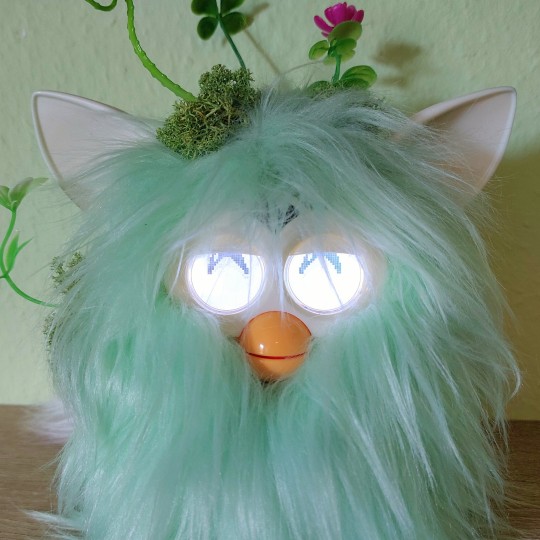
I love the look, honestly. And it hides the clips really well!
He does seem to have a bit of an issue with his tilt sensor, causing him to constantly switch back into this grumpy personality, hence the full name being Mossball Bastard. But hey, we love him anyway c:
#also i have another custom furb i worked on recently!#i'll post that one sometime later#furby#furblr#furby community#furby fandom#2012 furby#furby custom#custom 2012 furby#my furby#f: moss
284 notes
·
View notes
Text
y’all wanna see sum shi—
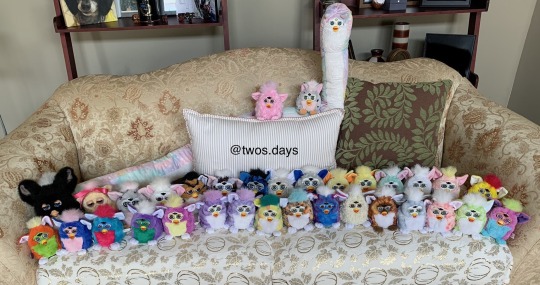

it’s my whole fam!
($20 says my pic gets corrupted and looks even more crazy)
#furby#furby fandom#furbys#my furby#furby blog#furby photography#furby buddy#furbies#furby love#all furby#safe furby#furby 1998#furby baby#furbycore#furby family#oddbody furby#long furby#furbs#furblr#furby community#furby collection#furby collecting#cursed furby#early 2000s#90s toys#90s nostalgia#f: all of them
361 notes
·
View notes
Text
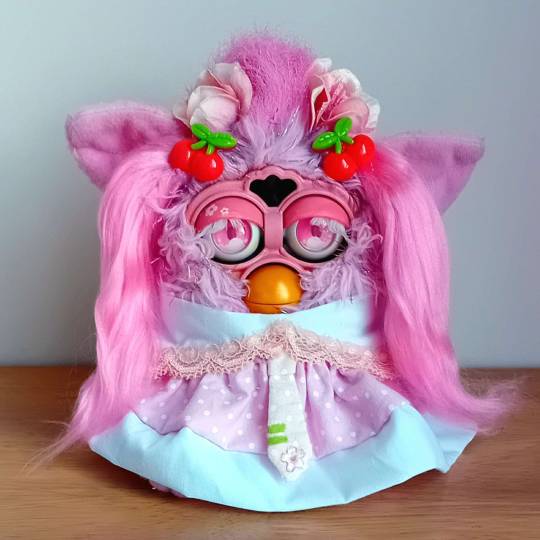
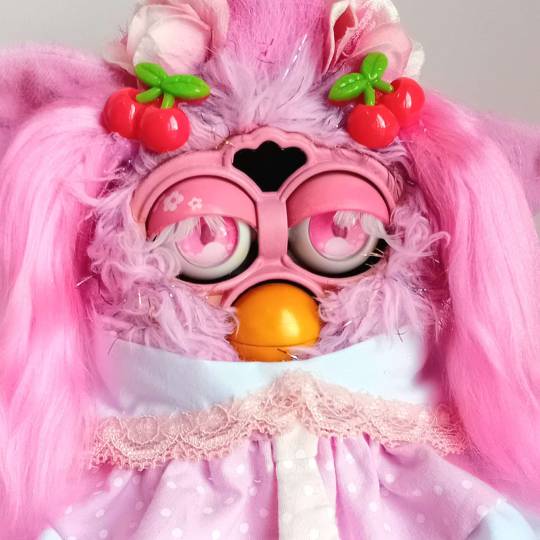

sakura miku furby 🌸
55 notes
·
View notes
Text
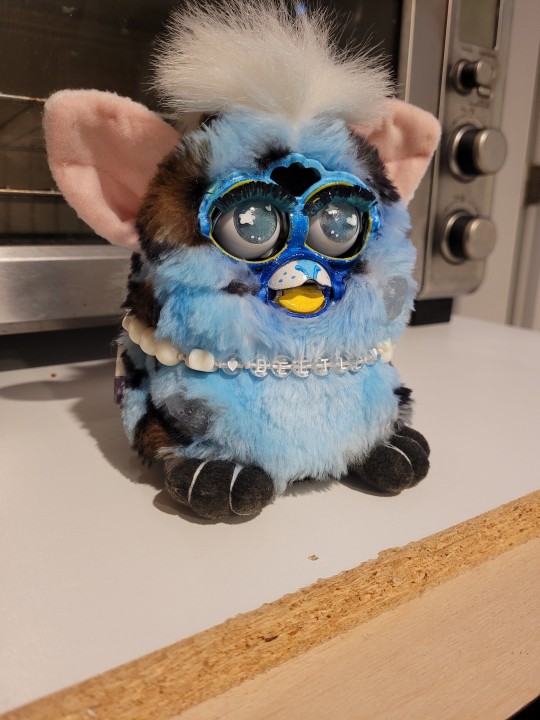


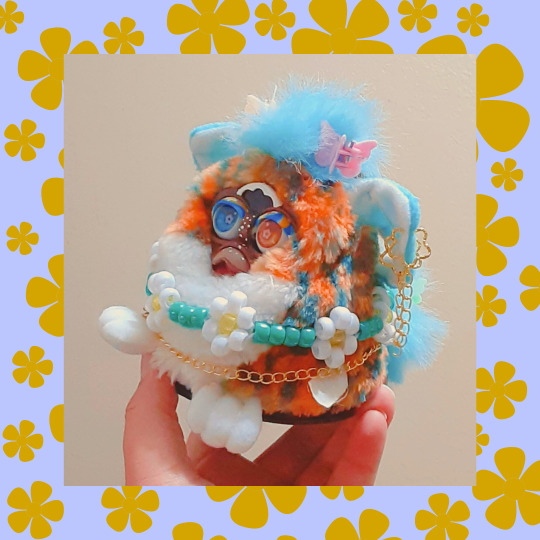
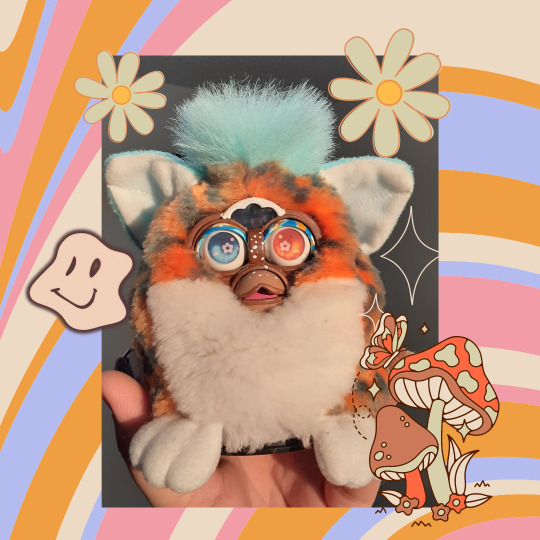
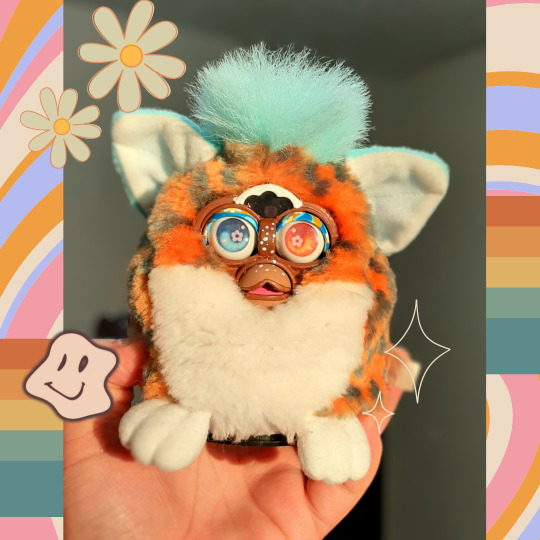
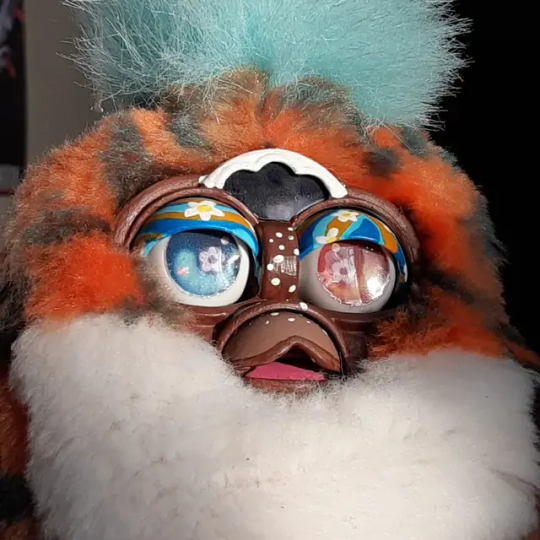
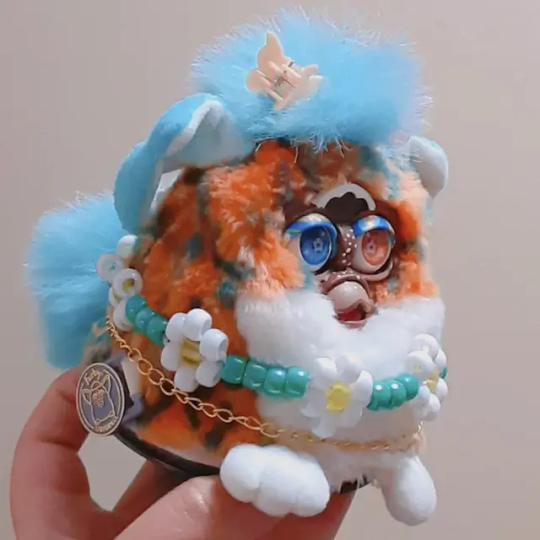
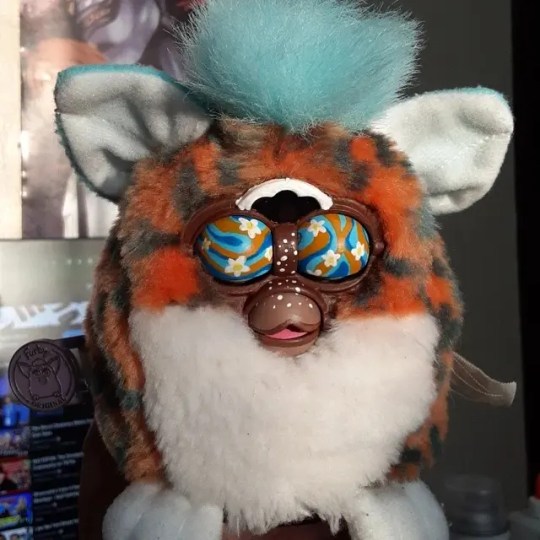
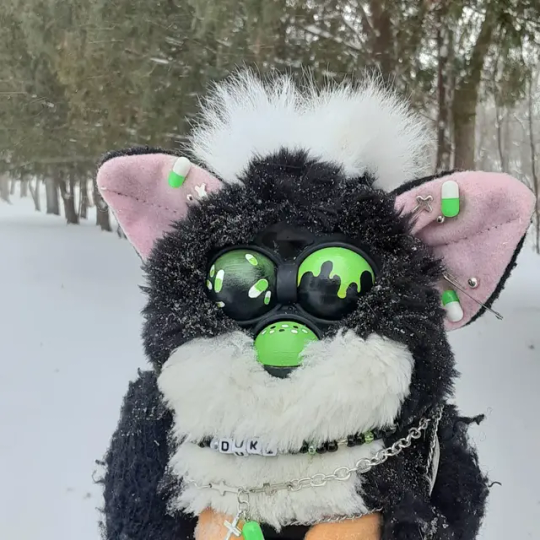
Before I say anything else about him I just wanna say his beak carving, foot dye, necklace, eyes, and the dark tips of his lashes were all done by his original owner, not me!! So credit goes to them! Their owner listed him on mercari already very customized (last picture) but sadly were not happy with the results so I took him as I didn't have a snow leopard yet. I did not mean to Stray so far from the original, I was only going to make minor changes, but somehow we got here and now he's fully blue- but I like how he came out! Also pictured: my Flamingo, Breakfast! She was also a pre custom bought on mercari and is my next project hopefully (unless I get distracted by another one of the furbs. Always possible!)
One day I'd like to snag a cheap snow leopard and maybe do a custom job closer to the original lol but for now, this is my newest boy!
#all furby#safe furby#custom furby#furby fandom#furby#furblr#furby community#food for the fish#it was only supposed to be a little bit of blue to make the staining around his face a little less jarring but then i just went crazy#but i do love me a blue furb#also shoutout to my toaster oven in the background
75 notes
·
View notes
Text
✨pls reblog or comment if you’re still active in the furby fandom/community✨
I wanna follow you 👀
#furby#all furby#custom furby#furby fandom#furby 1998#furblr#furby 1999#furby blog#furby community#furby art#furby photography#furby collecting#furb#furby love#furby baby#safe furby#my furby#furbycore#long furby#furby mother
176 notes
·
View notes
Text
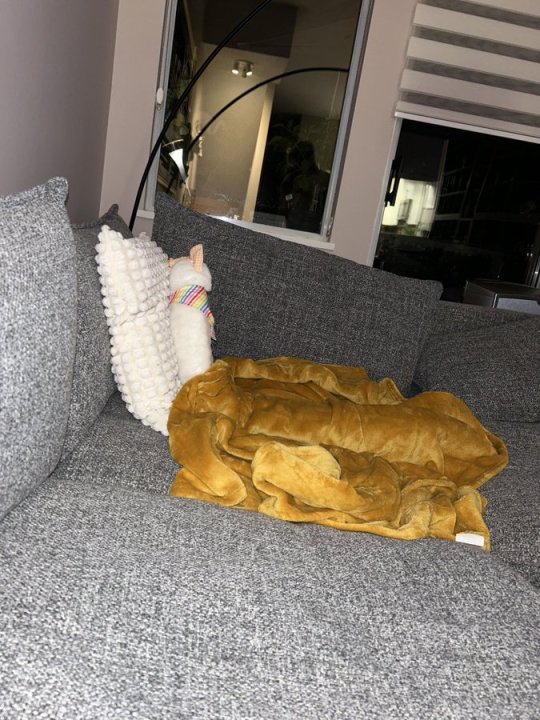
I accidentally forgot Orange Sherbet over at my friend's house yesterday, and they texted me this last night

177 notes
·
View notes
Text
Some pics it's been a while lol

#furblr#custom furby#furby#furby fandom#all furby#safe furby#my furbs!#funfetti sprinkles seraph galvin 💝💖💝🤍❤️🧡💛💚💙💕💓💕#skittles! ❤️🧡💛💚💙💜
297 notes
·
View notes
Text

new ears AND new paint! he’s gonna get his faceplate painted white soon to cover up her sun damage, as well :3
the backing fabric i use for my ears is this very soft minky fabric that is so nice to pet and rub, 10/10 definitely recommend using minky fabric for custom ears
#my furbs#furby: zuriel#project progress#all furby#furby fandom#furblr#furby#1998 furby#custom furby
172 notes
·
View notes
Photo


Brisa got to visit the garden today!
163 notes
·
View notes
Text
I don't think I ever shared here the other part of my Furby trade I did with @strawberryhospice !!
This is the Furby I designed and created for Saoirse:
And here's Duke, the Furby she created for me:
I absolutely adore Duke!! Thank you again Saoirse it was so fun trading with you, and I'd do it again in a heartbeat!
I'll post more pics of Duke later, maybe tomorrow.
#others furbs#furby#furby art#safe furby#all furby#furbies#furby blog#furby community#furby fandom#furblr#my furby#1998 furby#custom furby#furby custom
90 notes
·
View notes
Text
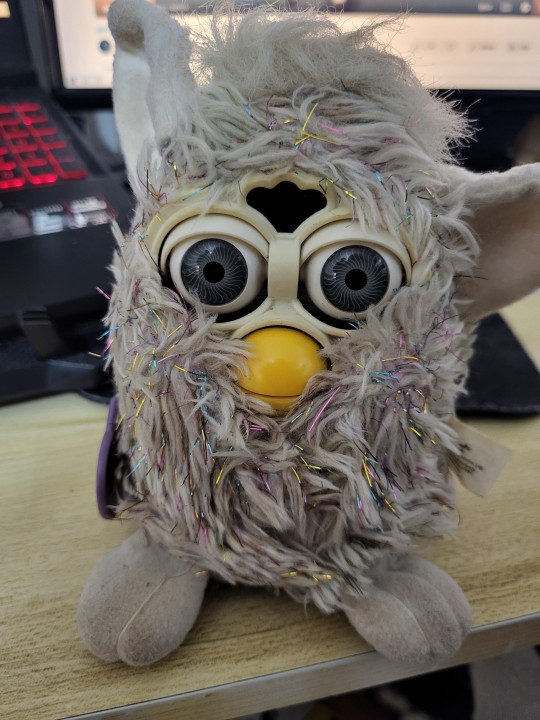

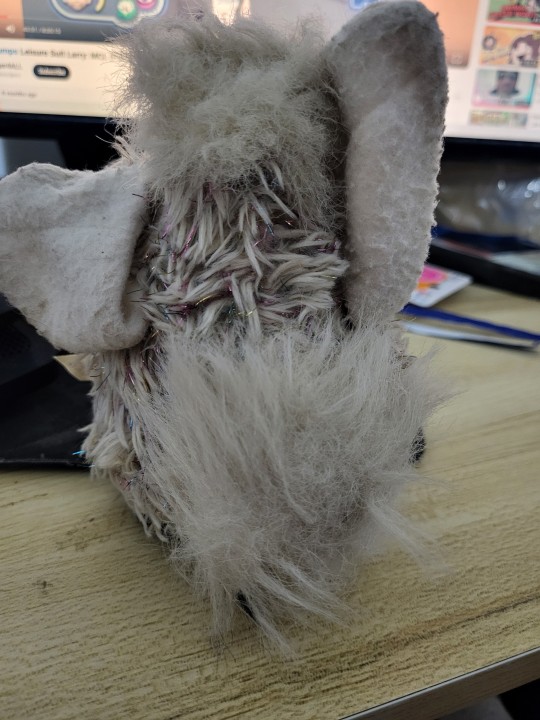
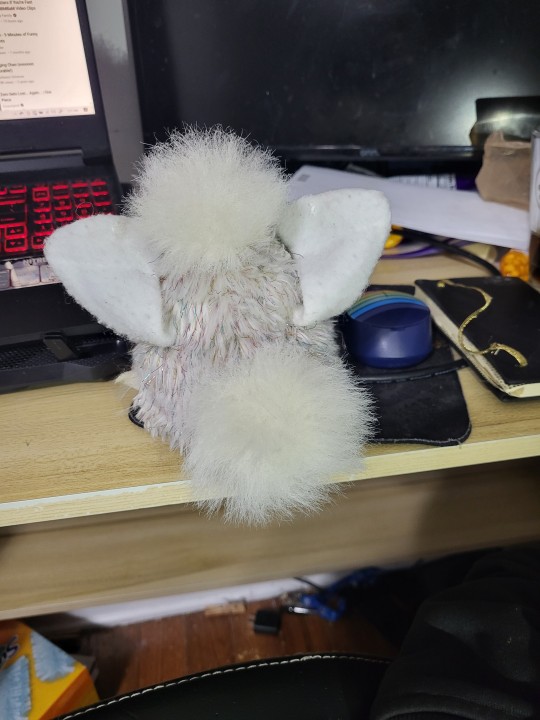
Before and after of the nastiest scrungliest furby ive ever seen
Amazing what a bath and a little brushing can accomplish :)
(Special thanks to my partner for providing some improvised lighting on the after pics 😆)
#furby#furblr#furby 1999#all furby#furby 1998#safe furby#furbies#furby fandom#furby community#scrungly#my furbs
76 notes
·
View notes
Text
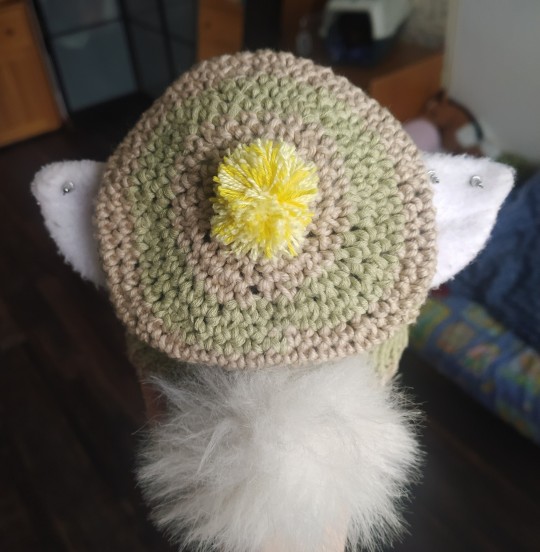
~ furby beret - crochet pattern ~

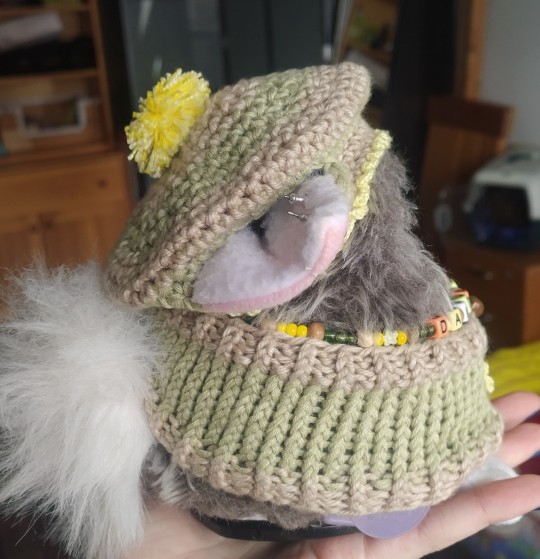
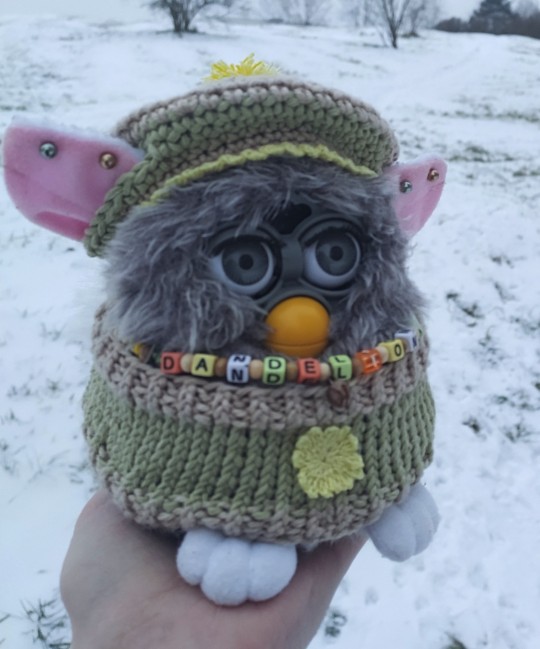
I´m new to actually writing patterns up for others to use, so please tell me if there is anything that´s hard to understand or if you find any mistakes. Also, if you do make your furb a beret, please send me a pic or tag me in your post, I would love to see what you make!
ꕀꕀꕀꕀꕀꕀꕀꕀꕀꕀꕀꕀꕀꕀꕀꕀꕀꕀꕀꕀꕀꕀꕀꕀꕀꕀ
Gauge: 10st X 5 rows -- 6,5 cm X 2,5 cm (I used a 3, 5 mm hook)
Finished size (fits a 1998 furby): total diameter - 11cm, head hole diameter - 9 cm
Abbreviations
sc - single crocet
ss - slip stitch
inc - increase (two into one)
dc - invisible decrease (go through only the fron loops of two stitches, sc as one)
[] - nuber of stitches in the row
() - repeat sequence
ꕀꕀꕀꕀꕀꕀꕀꕀꕀꕀꕀꕀꕀꕀꕀꕀꕀꕀꕀꕀꕀꕀꕀꕀꕀꕀ
Main hat - stripes not included, I changed color every 3 rows
R1 - chain 50, ss into first stitch [50]
R2, R3 - sc all aroud [50]
R4 - 10sc, (chain 9, ss into 10th stitch from hook), 14sc, (chain 9, ss into 10th stitch from hook), sc rest of the round [50]
R5 - sc all around [50]
R6 - (9sc, inc)x5 [55]
R7 - sc all around [55]
R8 - (7sc, dc)x6, sc [49]
R9 - (3sc, dc, 3sc)x6, sc [43]
R10 - (5sc, dc)x6, sc [37]
R11 - (2sc, dc, 2sc)x6, sc [31]
R12 - (3sc, dc)x6, sc [25]
R13 - (2sc, dc)x6, sc [19]
R14 - (sc, dc)x6, sc [13]
R15 - 6dc, sc [7], bind off and leave a longer tail
Take your taill and your needle and "pick up" the remaining 7 stitches (just whip stitch around), pull on the tail to close the hole
Weave in your tails
Pompom - please look up a separate pompom-making tutorial, i suck at making pompoms. After you make one, just use the same thread you used to tie the pompom together to sew in to the beret on top
The trim - entirely optional, I used a crochet thread and a 2mm hook
(ss, 5sc, ss) into each [50]
ꕀꕀꕀꕀꕀꕀꕀꕀꕀꕀꕀꕀꕀꕀꕀꕀꕀꕀꕀꕀꕀꕀꕀꕀꕀꕀ
Decorating ideas
different trims! just look up "crochet trims" and find one you like
more stripes! crazier stripes! center-out stripes!
replace the pompom with someting else - a flower, or a bow maybe?
crochet emroidery
add some lace or a ribbon
#my furbs#furby resources#furby 1998#furby#furblr#furby fashion#furby community#crochet pattern#allfurby#safefurby
496 notes
·
View notes
Last Seen Blogs
doomgays
I MISS MY GIANT SWORD...

clean-bands-dirty-stories
Ned Chicane: Superhero

iiryoku
endless sky.

chercheemploi1
Les meilleures offres d’emploi à découvrir !

north-land-rich-blog
Long Winters and Short Summers