millie-cheery
Trash Factory
I'm Millie my main is fuzzy-father • Requests are open (no OCs)
260 posts
Don't wanna be here? Send us removal request.
Last Seen Blogs

finita--la--commedia
- The Reader -

chaea
viq
therealafrikantruth
TheRealAfrikanTruth

voidghsts
MADS!
Photo

Nice
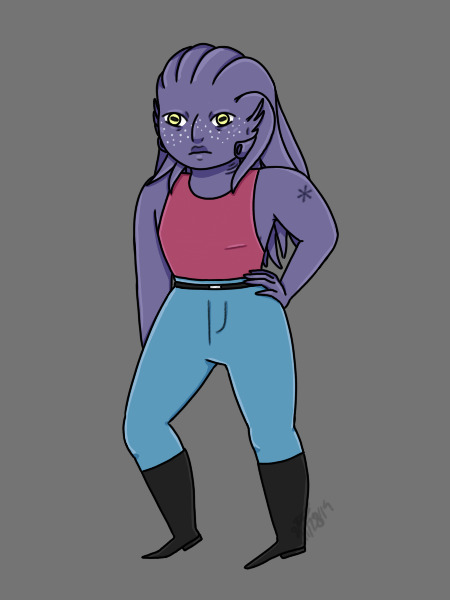
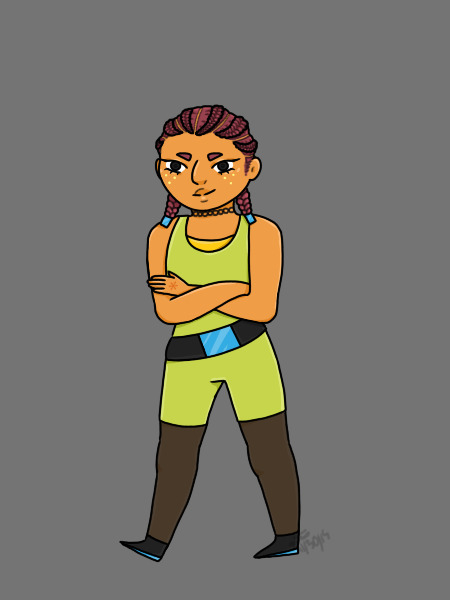
#my art#8/17/20#8/18/20#my ocs#ocs#ok so. the first one doesn't have a name#but the others are some OGs#we been knew them#Gingersnap#Violet
2 notes
·
View notes
Photo


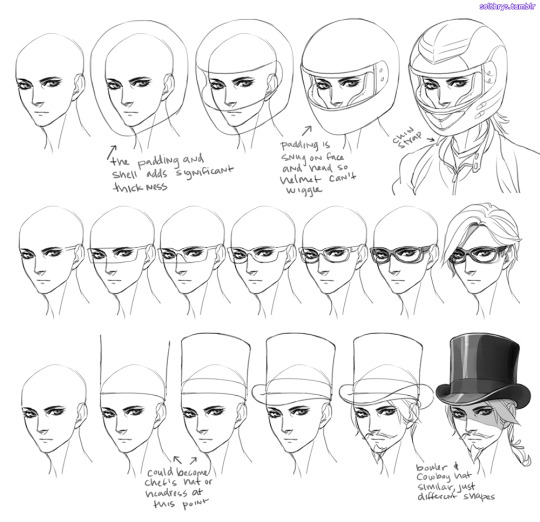
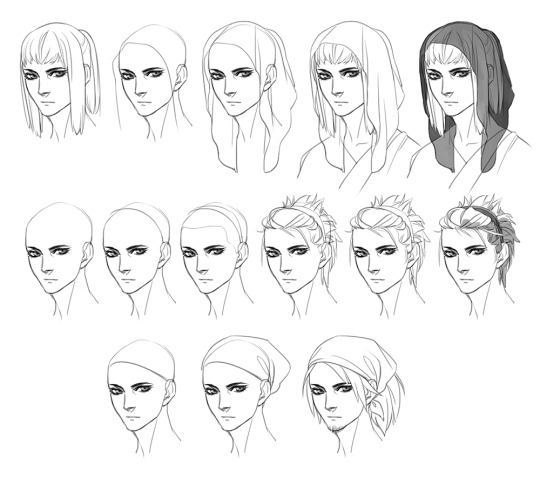
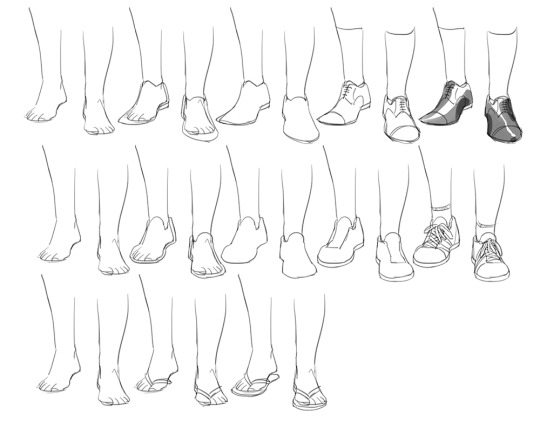

No more melted tomblerones or mising skulls, yyeann!
This is my basic process for pretty much everything I draw. The key is understanding the shape of the garment you’re trying to draw and the shape of the body part you’re putting it on.
Drawing the body first forces you to make the shoe, hat, or clothes fit that body. With practice you’ll be able to skip some steps. This method works the same no matter the perspective or pose. It just relies on your knowledge of what a hat looks like from above, or what the bottom of a shoe looks like. When in doubt, just google refs. Don’t necessarily need the exact angle you’re trying to draw. Look at different pics to give you an idea of how it works in 3d.
Shoes are always a bit tricky because feet are a stupid ass shape.
It might help if you think of hats as a cylinder fitted to the person’s head to help you get the perspective right before you push in detail. note: heads aren’t circles. they’re kind of egg shaped if you look at them from the top.
76K notes
·
View notes
Photo

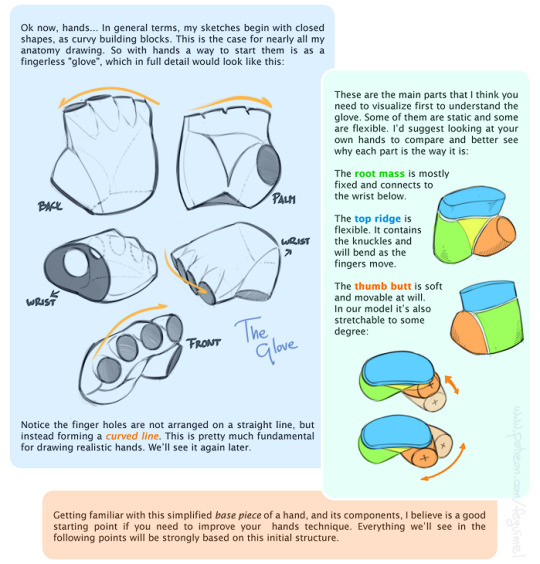

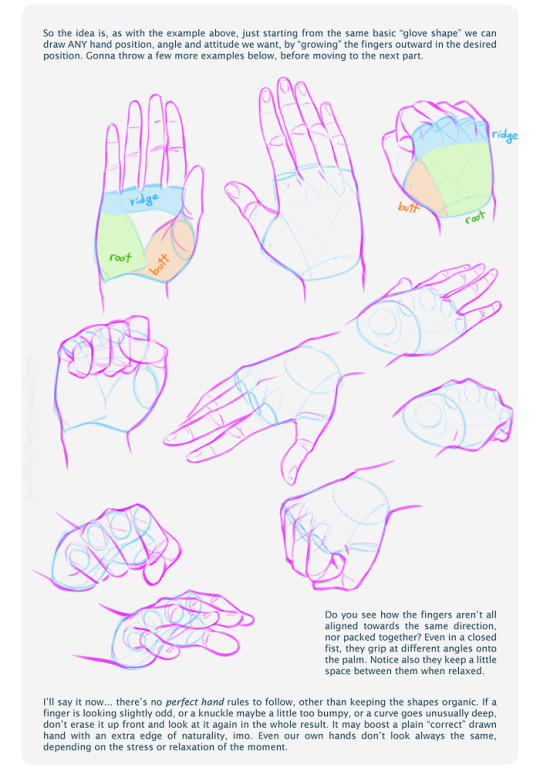


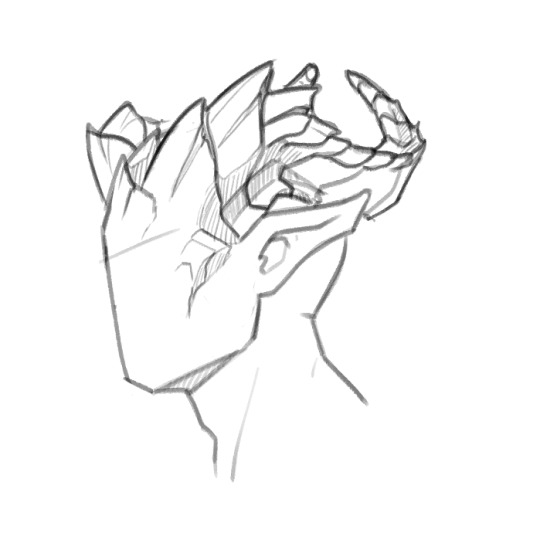
My first shot at creating a sort of tutorial/guide, telling how I do things. On this initial chapter we’re going over the handy matter of Hands.
Not meaning to be an encyclopedic explanation, only showing my own methods and self-taught clues. Hoping somebody finds it useful! :3 I’ll do more if this one is received well. So let me know~
My thanks also to the supporters in my Patreon campaign, who helped me decide which themes to focus on for a start. And are actually allowing this to happen. :D Cheers!
114K notes
·
View notes
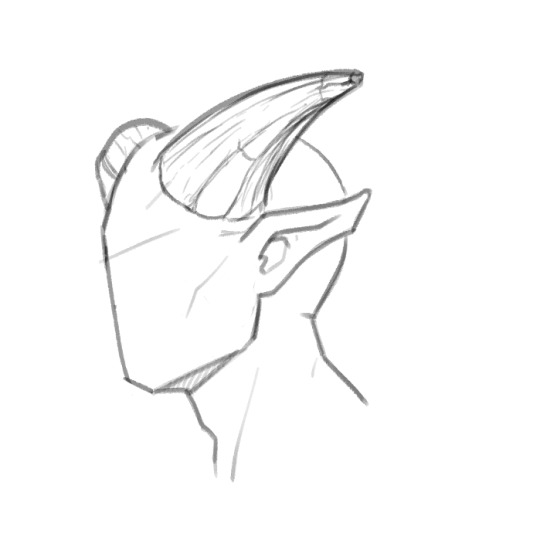
Note
Do you happen to have any tips for drawing horns?
Hi, Anon! I’ll definitely try my best. Horns are a little tricky since they’re so subjective and the styles/textures vary so drastically.
Mostly I’m going to be talking about texture here and I’ll try to keep it simple since they’re time consuming to draw.
Smooth horns are great and easy, can come in any and all shapes, but if you want to add more interest and character to the horns, it all comes down to how you texture them. Here’s a simple smooth horn. It’s okay, it’s basic, but it works and will especially work better once it’s colored if it has a sheen or a matte look.
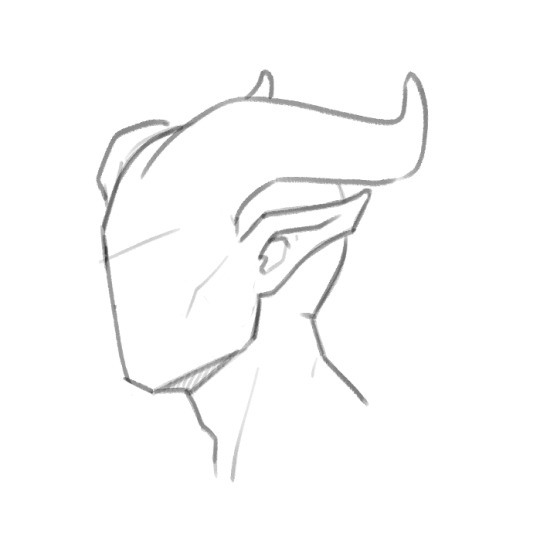
You can add simple lines to it to give it a bit more interest, but you can take it farther than just the cylinder look like drawn here. The lines give it the easy, quick illusion of being more dimensional, but it’s not the most interesting or dynamic.
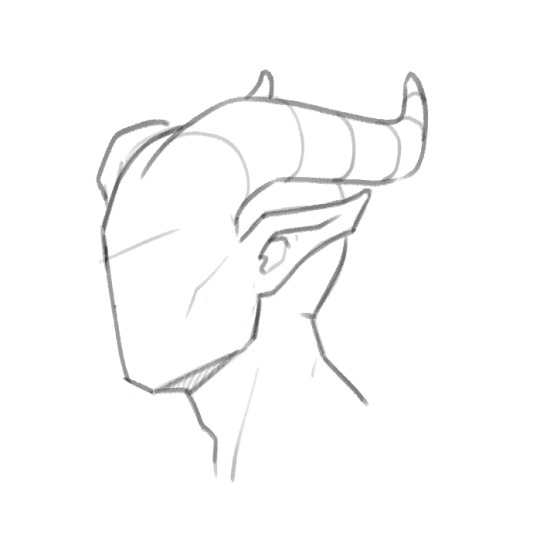
You can play with the lines however you like to give the horns more uniqueness, such as a line down the center to sort of pinch it inwards. Still more dynamic than the smooth horn, but more interesting than the rounded one.
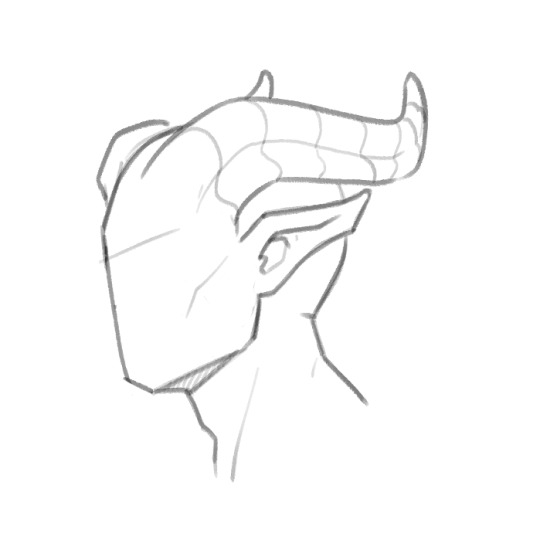
You can leave the lines as they are for an easier horn, or take it a step farther and use them as guides to texture them. This is where it gets fun, but time consuming. Definitely look up references of what you want to go for if you’re not sure. I highly recommend Ram, Ibex or Antelope references, Antelope being my favorite. They have so much texture to them in the forum of smaller and larger ridges, so here’s a horn based loosely (artistic liberties taken) off a mix of Ram and Antelope.
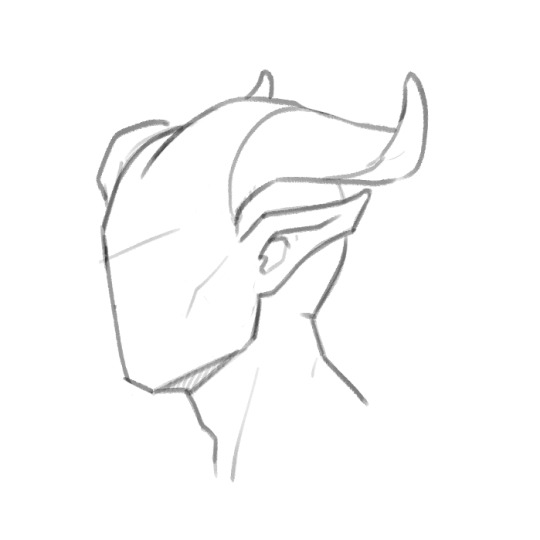
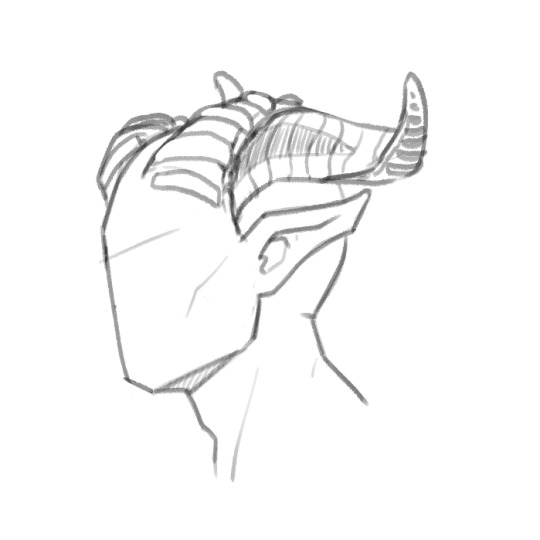
Getting into plates which are my favorite, there’s little to reference off of. Here’s a more dynamic, spiky look with plates using the guide lines as a base to get an ideal direction you want the horn to shape into.

Just take your guide lines and then extend outward. Add as little or as much wear, tear and damage as you want. Horns can get dry and crack, they can take a hit and break, age can cause grooves, your imagination’s the limit.
Outside of plates, you can look up any horned animal to get ideas for texture, anything from steer to deer and elk (if you want to get more into the antlered look), or mix and match textures from a few horn styles you like. Hope this helps! Sorry I can’t go more in depth, but I tried to explain it as best as I know how. Good luck with your horns!
19K notes
·
View notes
Photo

another art project !!
3 notes
·
View notes
Photo

Did you ever hear the Tragedy of Darth Plagueis the Wise?
#5/12/20#art#star wars#star wars III#Star Wars Revenge of the Sith#chancellor palpatine#Anakin Skywalker#PULPATINE IS MY FATHER#im going to do more things like these later#because PULPATINE is absolutely popping#also i had an actual drawing of him but thats not getting posted#ALSO this was another art project lmao
6 notes
·
View notes
Photo

art project for Cinco de Mayo
1 note
·
View note
Photo

second art project since quarantine, not posting the first one its trash
#4/21/20#art#oc#same story as queens from before#actually like this one#ignore those trees tho#wait i dont mind them now
1 note
·
View note
Photo
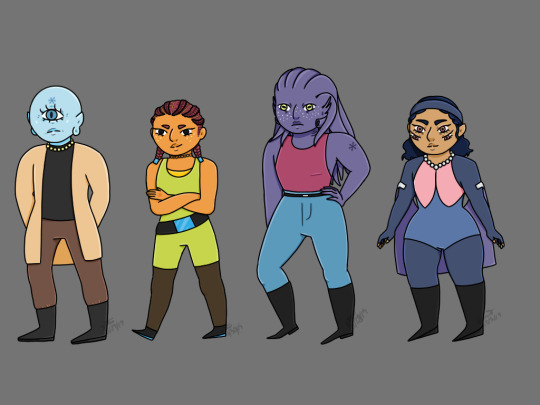

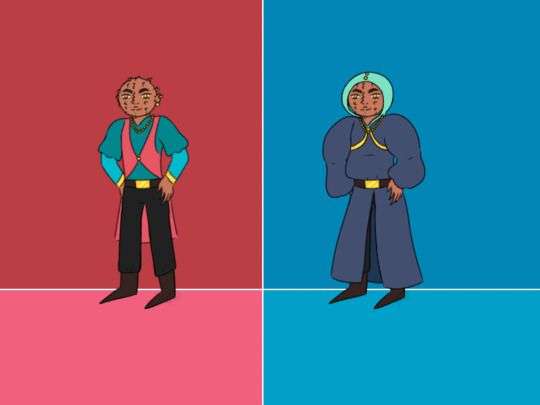
actually these are my favourites
#11/29/19#11/28/19#11/30/19#12/5/19#in that order#art#oc#ok so the only one who has a name is the last one. get ready#Shakikini Daloriousi#kiki !!
2 notes
·
View notes
Photo
this guy again except in bad quality! :)
1 note
·
View note
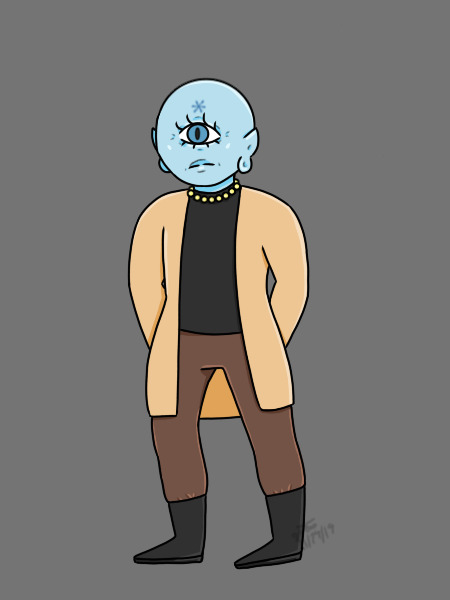
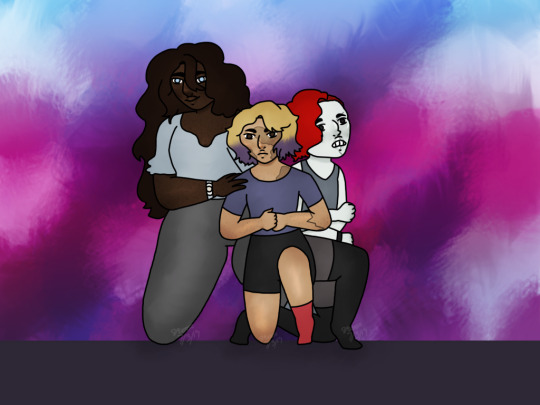
Photo

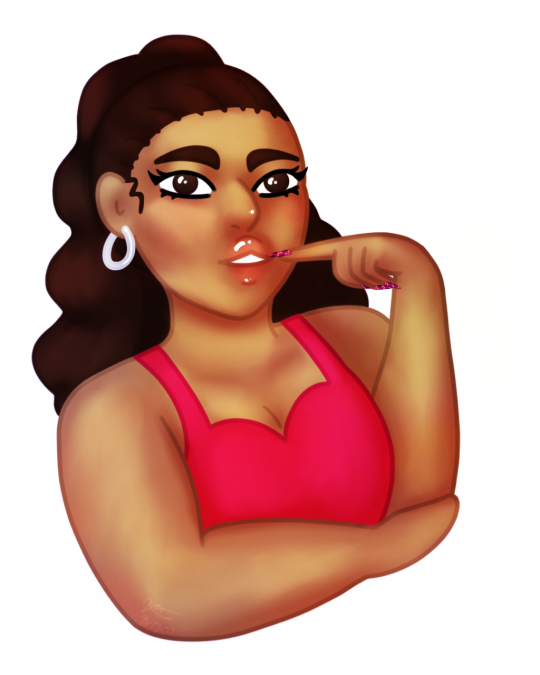
We love characters with no names! :)
#11/25/19#art#oc#aha im never doing this queuing shit again :))#Guess ill just have to upload my art on time aha
1 note
·
View note
Photo

im really getting tired of writing these things......
1 note
·
View note
Photo


OK SO THERES A REASONABLE EXPLANATION FOR THIS.
#8/23-27/19#8/24-27/19#art#oc#no names again ahah#1st ref is from dersketchie on deviantart#2nd ref is from mircoelisa on patreon#ok listen.. if i had of uploaded these when they were made i couldve got the actual links for the refs
1 note
·
View note
Photo

my favourites
#7/27/19#7/29/19#art#oc#aha they dont have names#also look at those boys coats#what is this.#especially the second one UM
3 notes
·
View notes
Photo
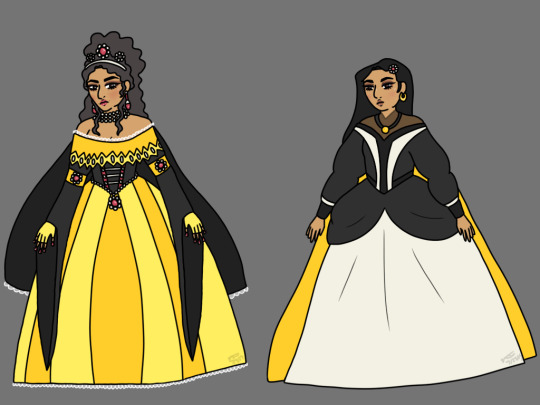
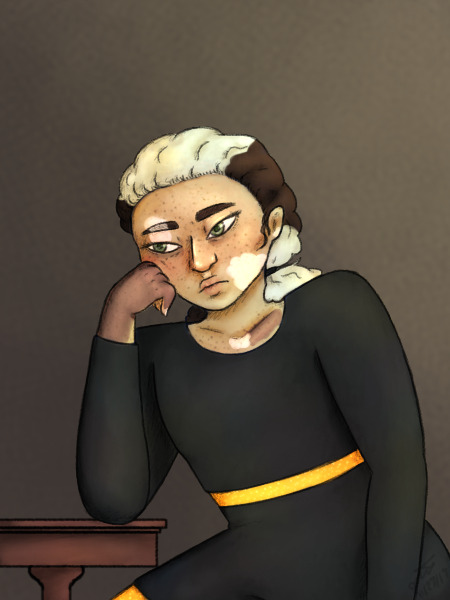
Queens
1 note
·
View note
Photo
okay.. this would look better with a background but thats not going to happen.
1 note
·
View note
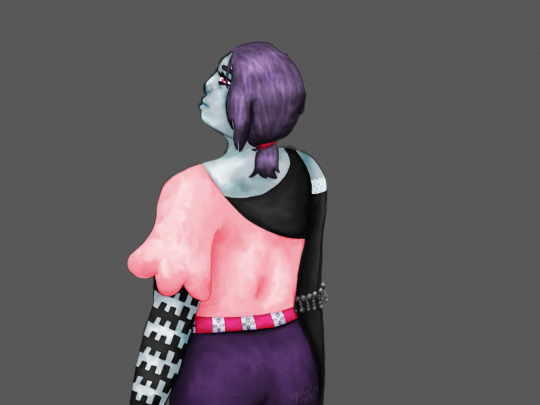
Photo
she said stop doing those poses im tryna look decent
#7/3/19#art#oc#millie bombo#okay so obviously sam but the ladys Devoria#but she has a last name but it is getting changed.#you would know why if you saw it.#t pose vibe#disgusting
1 note
·
View note