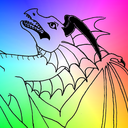
#erasing speech bubbles and narration and drawing things back in is my enemy but it's worth it for her (lian)
Text

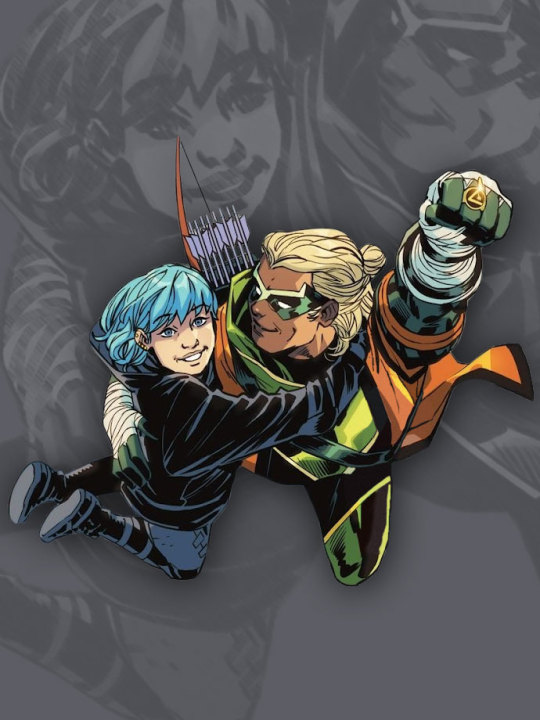
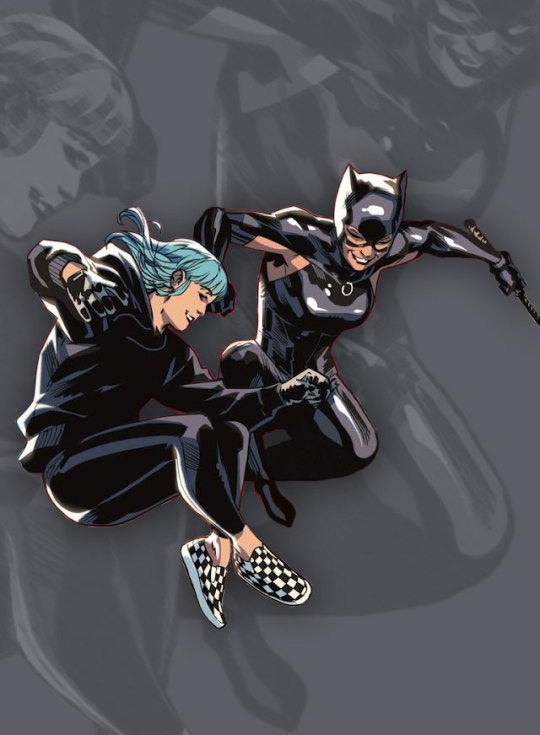
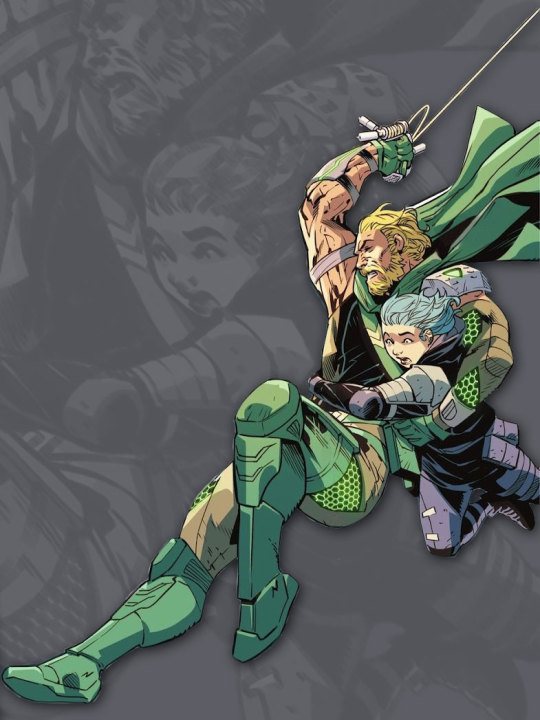
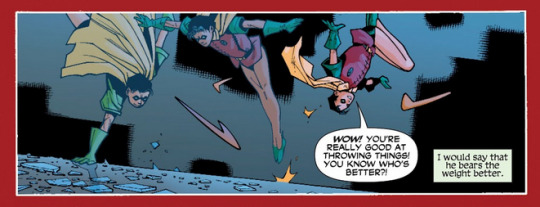
Lian Harper + her various caretakers in Green Arrow Vol. 7 (2023)
Bonus:
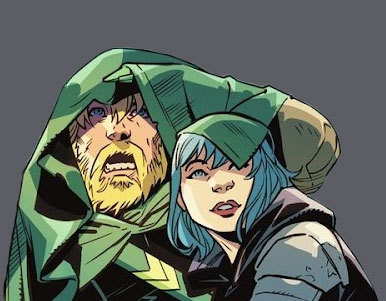
#oliver queen#lian harper#ollie queen#connor hawke#selina kyle#roy harper#arrowfam#green arrow#arsenal#speedy#cheshire cat#catwoman#SHE HAS A FAMILY SHE'S A DAUGHTER !!!!#god this one was a pain in the ass lbnkjbjkngn#if anything looks weird or not right or out of proportion. no it doesn't <3 keep scrolling <3#erasing speech bubbles and narration and drawing things back in is my enemy but it's worth it for her (lian)#also for ollie and connor and roy#selina i suppose also gets that nod by virtue of being here with lian#anyway they're all cute and i love them the end!#cannot wait to get to add mia and emi and dinah and cissie to this edit later--#green arrow vol 7#tbedits
500 notes
·
View notes
Note
do you have a guide to making your animated comic edits?
i don't, actually! in part because i'm relatively new to these parts and no one has asked for one, and in part because every gif i do is kind of a unique little adventure into teaching myself a new skill, so there isn't just one approach. but! i'm delighted that you want to know! so i'll try and walk you through a couple of them.
we'll start with this guy, because he's a favorite of mine and showcases a lot of the steps that i usually have to do:

tools you'll need: photoshop CS6; digital versions of the comics you'd like to edit.
(i assume you can use any version of photoshop or any editor capable of creating gifs, but CS6 is my preference. photopea is a fantastic free alternative, but figuring out timing and transitions is a lot harder there and requires more effort.)
step one: find your panels and elements
it's worth noting here that i cannot - and i mean this - cannot draw. at all. a lot of my life would be easier if i could, but here we stand. as such, nearly every element of these gifs is pulled from the comics themselves.
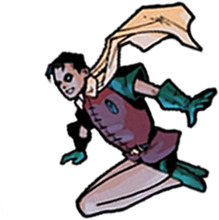
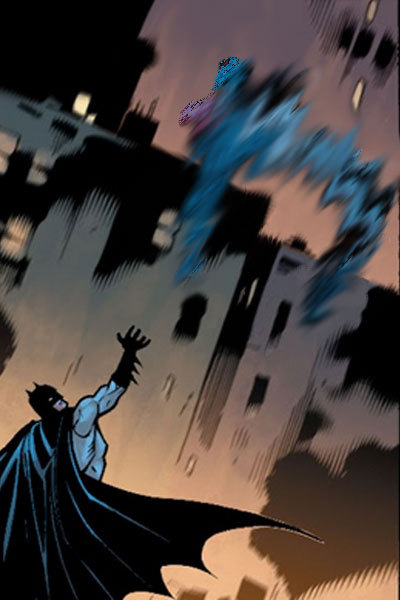
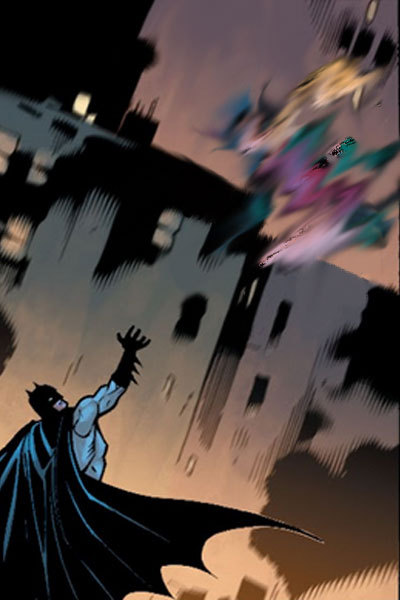
for this particular gif, which is admittedly on the simpler side, i needed two things: the initial panel, of jason leaping into the air, and a still image of jason as robin. preferably from the same run with the same artist, because that way, the art matches. i found these:

and that's all i needed for this one. sometimes i need to pull several panels for the vibe i want, or for specific things -- leaves to drift through the frame, magical elements, text and sound effects, speech bubbles, etc -- but adding those in follows pretty much the same processes either way.
step two: prep them!
easier said than done, really. what i needed to do here was make myself a blank canvas around the elements that i would be messing with. this varies from project to project, but for this one, it goes as follows: remove the narration box and jason from the first panel; create an isolated version of jason that can be pasted back in; create an isolated version of robin that can be pasted in the same place at a similar angle.
this is a lengthy process, because i work off my laptop and have a touchpad and no artistic skills. here, it requires drawing in a lot of building and making a successfully blurry, ombre sky. and, because robin!jason's toes are cut off, i have to draw those in and try to match the shading.
(there's also some work here with color balance and photo filters to match coloration; i had to add some highlighting and change the colors on robin!jason a bit to match the background lighting of the overall image, but not by much. sometimes, this step is more involved.)
after some fiddling, i usually end up with things i'm happy with. for this gif, those are as follows:


(this is done through the blur tool, the magic wand selection tool, refining the edges of a selection, or -- in many cases, because comic lineart is my enemy - erasing every pixel of the background or character by hand. yes, there are easier ways to do this, but i like my time-consuming methodologies. they're soothing to me.)
and now we're ready for the fun parts.
part three: assembly!
so we take that background we just made and we paste hood!jason back on it on a new layer. silly that we have to, but yknow. it's fine. he's in there. and now the goal is to find a way to successfully transition from hood!jason to robin!jason in a way that's satisfactory.
i follow a lot of standard gifmaking practices, i feel like? but i'm also self-taught, so i actually don't know how true that is. i create a timeline in photoshop and set it to have a delay of about 0.2 seconds to start with, just to see how the transitions go. i usually start with 10 frames, and then add or remove depending on what seems right.
(the variations here can be broad, by the way. i have a green arrow gif with 140 frames with no delay and a wonder woman gif with six frames on a one-second delay, for example, but those are for another time. starting with 0.2 seconds' delay across 10 frames is just a comfortable starting place for me, is my point.)
this is what the timeline looks like for this project:
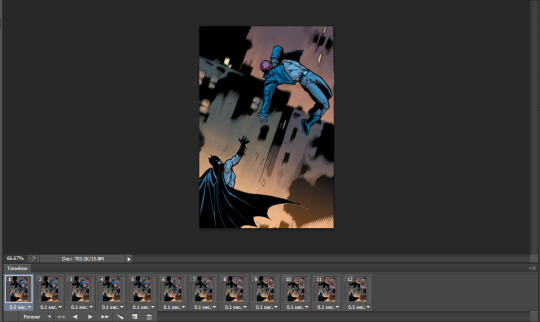
(it's that bar at the bottom. you can see the settings and all that as they appear in the final product: 0.1 second delay over 12 frames, so not too far off from my default. nice.)
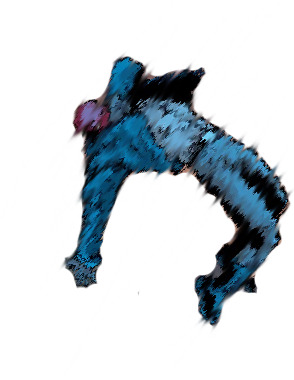
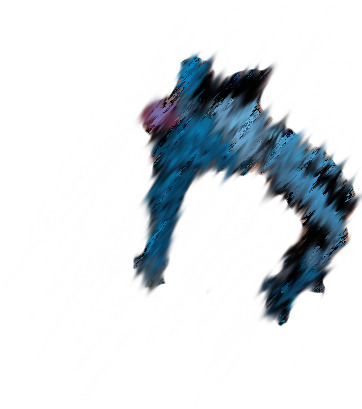
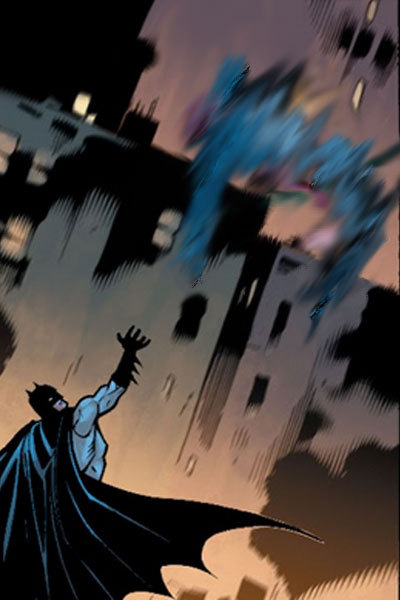
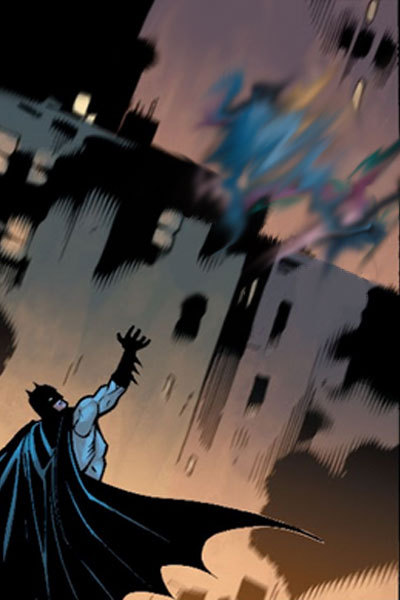
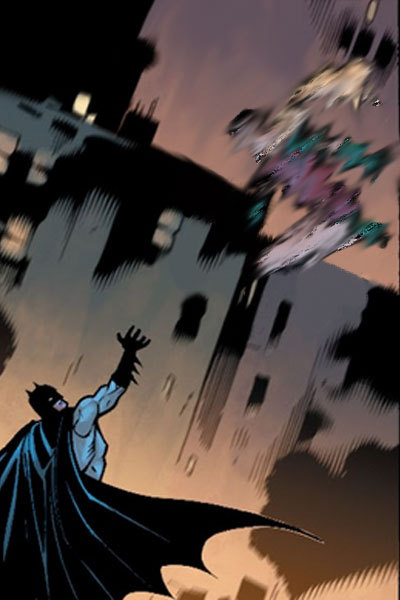
operating within that 10-12 frame range, i mess around with photo filters and the blur tool to both make hood!jason disappear and make robin!jason appear. this involved a heavy use of the "accented strokes" setting in the filter gallery and smudging and blurring until they looked how i wanted them to, which is to say, rather silly.
here's red hood vanishing:


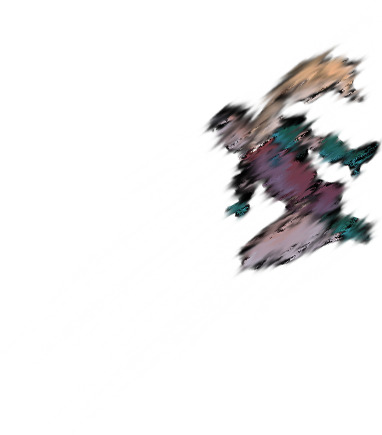
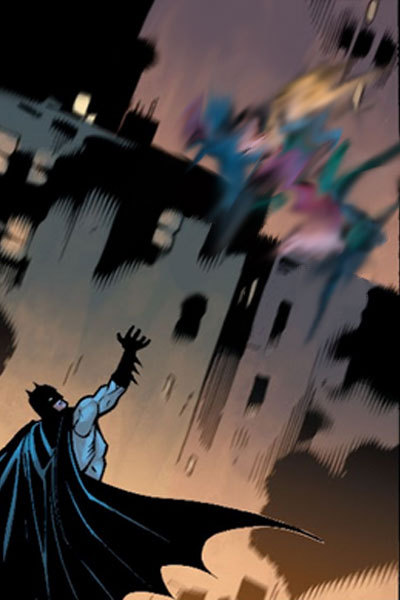
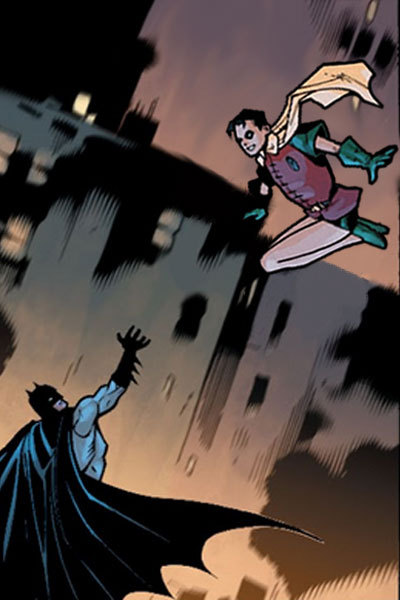
and here's robin appearing:


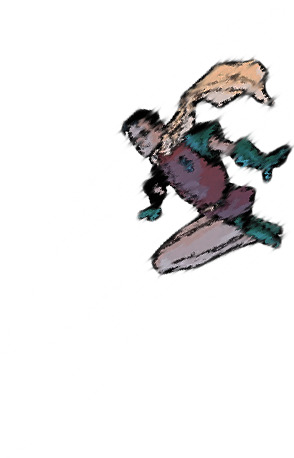
there are a few additional versions of these, but i think you get the idea. these are all the bits and bobs, and i just have to lay them out in the timeline in order to get the transition as i'd like it to be.
so i start with jason as hood, and then i move through the timeline and click and unclick the little eye to view them. this is also a heavy process; this gif has about twenty layers, and i'm revealing/hiding each one individually. that is actually not as bad as it could be; one of the poison ivy gifs i've published has about 600 layers that i did that with, and i have a green arrow gif with about 800 layers and 70 frames that i didn't even end up publishing because i wasn't happy with it. c'est la vie.
the end product should look something like this:

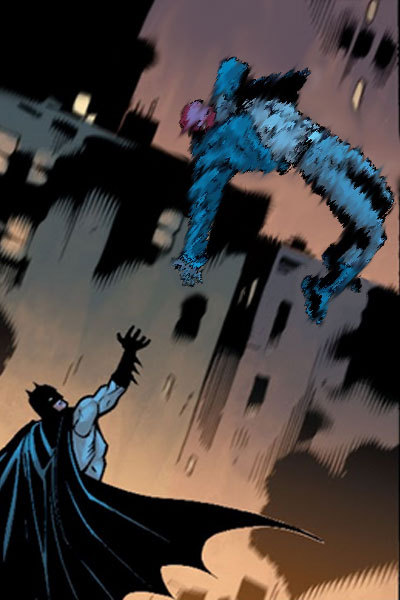


which, when played at 0.1 second delay and looped, looks like this:
part four: in conclusion...
i recognize this "guide" is messy and skips over quite a bit, but that's because every gif really is its own beast. i am very familiar with trial and error, and with trashing things that don't end up working out. each gifset takes me about 10-12 hours, depending on complexity, without even counting the time to track down panels or read the comics themselves.
if you want to start with something simple, i suggest animating text bubbles. all you have to do for those is erase them from the background and then drop them back in over the top for about 0.5 or 01 seconds apiece for readability. this gif of mia, for example, was just isolating her from her background, creating a new background from a different panel, and then flipping the text on and off. it's got five frames on a 0.5-second delay.
basically... fuck around and find out. a lot. once you know how the gif timeline works and how to hide/reveal layers, the world is your oyster, because that's all this is.
again, i know this is messy and all over the place, but i hope it helps! have a little fun with it, and don't be afraid to mess up. it's fun either way. <3
#tbanimations#how to#ask.tb#elioherondale#i am always down to talk about how these got made so if there's a more specific one you had in mind...#feel free to ask about it#i am an open book i like discussing the things i make
9 notes
·
View notes
Last Seen Blogs
ihkura
Rami Llami Ding Dong

lifesapoison
Cobain My Brains
nongiftedpoet
The Things Left Unsaid
liesandnights
⋆。゚☁︎。⋆。゚☾゚。⋆
ominouspuff
O m i n o u s P u f f