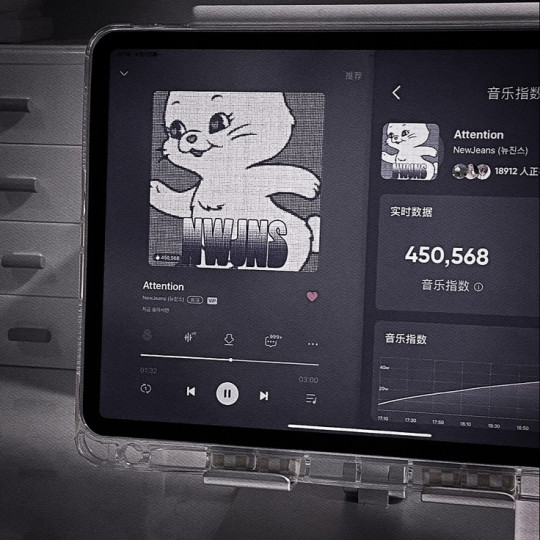
#polarr recipe
Text
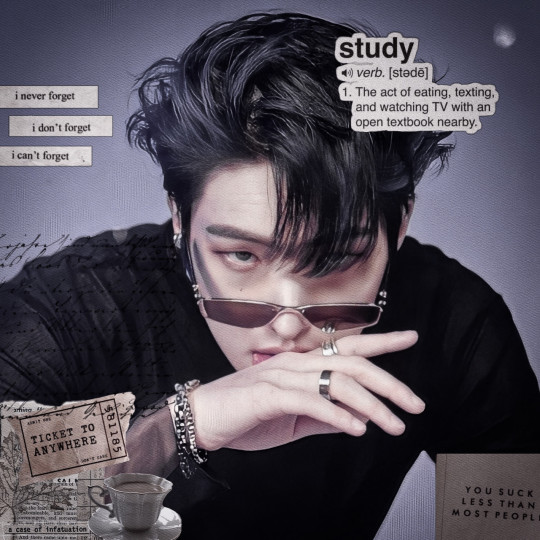

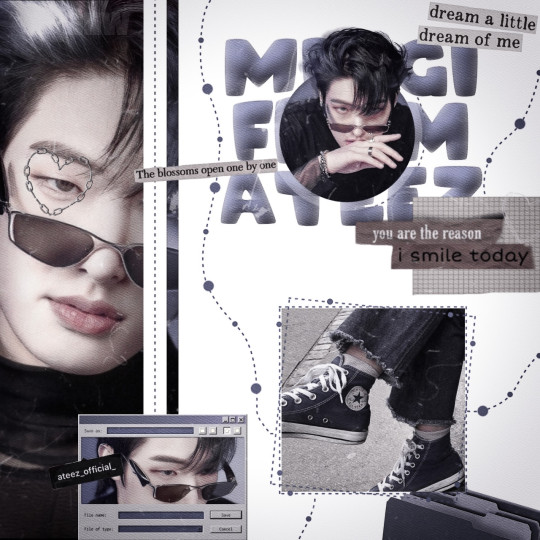
혼자 . 𝟵̲* . 𝐀𝐓𝐄𝐄𝐙 🕷️ 𝘀𝗼𝗻𝗴 𝗺𝗶𝗻𝗴𝗶 𝗳𝗿𝗼𝗺 𝗮𝘁𝗲𝗲𝘇 𝘁𝗼 𝗮𝘁𝗶𝗻𝘆


#song mingi#mingi#ateez#moodboard#blue moodboard#pack icons#polarr recipe#mingi moodboard#kpop moodboard#kpop icons#vsco recipe#soft recipe#hoongjoong#seonghwa#jongho#yeosang#yunho#san#wooyoung
296 notes
·
View notes
Text
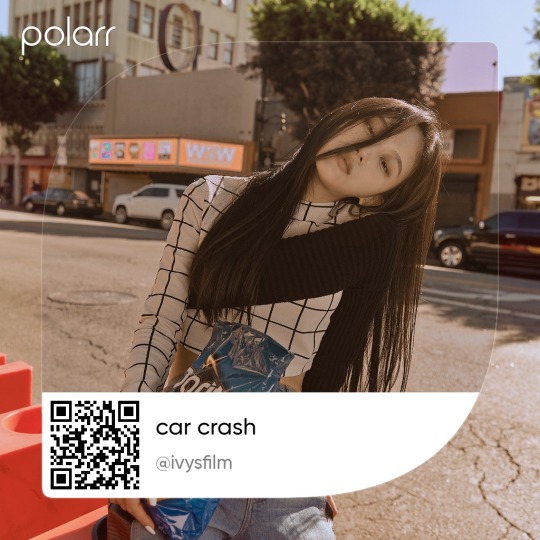
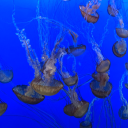
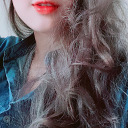
𝗜𝗧 𝗪𝗔𝗦 𝗔 𝗖𝗔𝗥 𝗖𝗥𝗔𝗦𝗛:
𝗏𝗂𝗇𝗍𝖺𝗀𝖾 𝖿𝗂𝗅𝗍𝖾𝗋, 𝗐𝗈𝗋𝗄𝗌 𝖻𝖾𝗌𝗍 𝗈𝗇 𝗈𝗋𝖺𝗇𝗀𝖾/𝗋𝖾𝖽 𝗉𝗁𝗈𝗍𝗈𝗌!


5 notes
·
View notes
Text
͟͟͞͞꒰ EDITING APPS RECOMMENDATION
!!! % multipurpose: 𖥻
☆ picsart
⠀
!!! % for text: 𖥻
☆ phonto
⠀
!!! % for drawing: 𖥻
☆ ibispaintx
⠀
!!! % to fix quality: 𖥻
☆ remini
⠀
!!! % for filters efectos + ediciones predeterminadas: 𖥻
☆ B612
☆ snow
☆ soda
☆ prequel
☆ snapchat
☆ glitch lab
☆ line camera
☆ vaporgram
☆ epik
☆ 日杂相机
⠀
!!! % for presets: 𖥻
☆ polarr
☆ pomelo
☆ foodie
☆ vsco
☆ koloro
☆ lightroom
⠀
!!! % to edit and make gifs: 𖥻
☆ gif maker, gif editor
☆ gif maker - gif editor
⠀
!!! % to remove background (to make pngs): 𖥻
☆ background eraser
(you can also use picsart for this)
⠀
!!! % to find pictures and resources like moodboards, unfiltered ulzzangs, editing needs, etc: 𖥻
☆ deviantart
☆ we heart it
☆ pinterest
☆ tumblr (if u do some research)
⠀
!!! % font keyboard: 𖥻
☆ fonts keyboard
☆ stylish text - font keyboard
⠀
!!! % for aesthetic symbols: 𖥻
☆ character pad - unicode
☆ unicode pad
⠀
!!! % for kaomojis: 𖥻
☆ kaomoji
⠀
!!! % for video editing: 𖥻
☆ alight motion
☆ kinemaster
☆ rarevison vhs camcorder (it's just for the vhs filter)
☆ capcut
☆ vn
☆ funimate
#editing needs#resources#aesthetic#symbols#soft#kpop#kaomojis#psd#download#polarr filter#polarr filters#polarr code#carrd#carrd icons#icons#bios#bio#twitter#layouts#vsco recipe#vsco recipes#messy bios#messy icons#messy layouts#others#nhy6ck
477 notes
·
View notes
Text
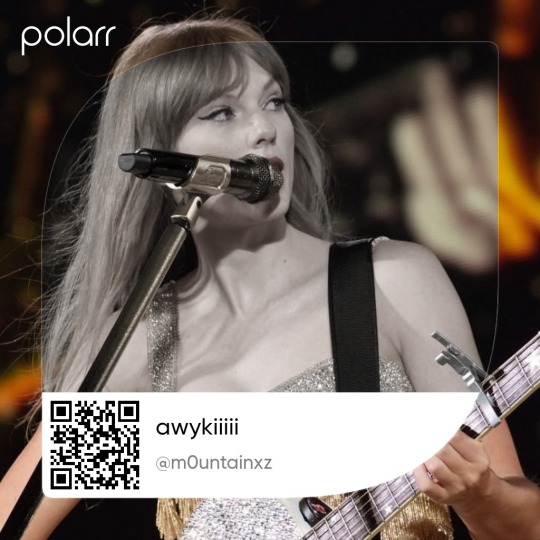

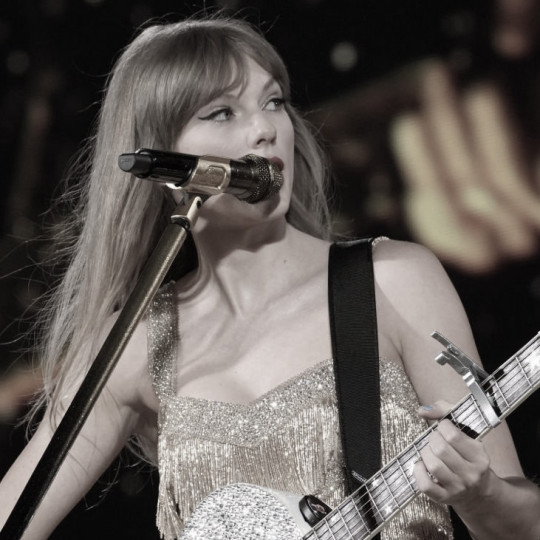
olá, vi que algumas pessoas pediram pra eu liberar a receita/efeito que eu uso na maioria dos meus moodboard's. Para quem não tem o celular compatível com o polarr, não se preocupe, pois tem como utilizar a receita pelo lightroom. ♡☺️

Hello, I saw that some people asked me to release the recipe/effect that I use in most of my moodboard's. For those who don't have a polarr-compatible cell phone, don't worry, you can use the recipe in lightroom. ♡☺️
#m0untainxz#kpop#moodboard amino#ddc#polarr code#icons with polarr#icons with lightroom#vsco effect#moodboard edgy#messy layout#messy icons#taylor swift#the eras tour#moodboard skz#moodboard coquette#moodboard couple#clean moodboard#moodboard messy#design amino#polarr filter#lightroom filter
131 notes
·
View notes
Text
𝚑𝚘𝚠 𝚒 𝚖𝚊𝚔𝚎 𝚖𝚢 𝚎𝚍𝚒𝚝𝚜

1. PICK


Pick the pictures you want to use and download them. I often pick a picture of a person and then a background that already fits or I'll edit to fit (change colours with polarr). I only use stickers from picsart or ones I downloaded from tumblr.
2. CUT
In picsart I tend to start with a blank canvas (scroll all the way down to see) and then add the bg after adding the pic of the idol. That way I can erase the background around the idol. For me, it always looks better that way. If you want to do it the other way around that's fine too!
After the background is added you can start adding your stickers. This edit is quite simple. I only added one sticker.
3. EFFECTS
If you've seen my previous post you might notice lots of effects recently. That's because I've started using prequel for almost every single one of my edits. For some people prequel might be a pain in the ass to work with since the app keeps crashing when you try to save your edit. That doesn't keep me from using it, though. You can even screenshot what you made instead of saving.
For this edit I used this one 'print' effect I discovered a while ago. It basically gives it this paper printed look. Sometimes it'll just make the pic look lq but i think it looks fun. I turn down the colour filter, switch off the text, get rid of the blur, etc. until only the print texture is left.
The I go into 'adjust' and add vibrance, skin colour, make the image colder and add abberation which gives it that 3D-ish look.
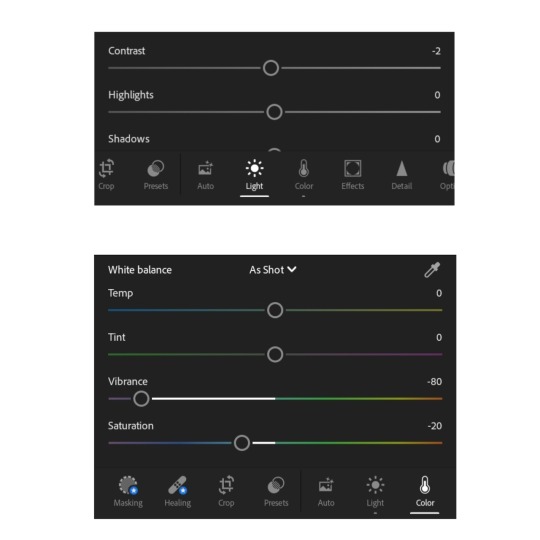
4. ADJUST

The last step! Here I just play with the brightness, saturation, colours, etc.
There's no real recipe for this one. Every picture will look different even if you follow the same steps.
For this pic i lowered the brightness and highlights and made the shadows and blacks brighter. I made the image even colder and gave it a green tint to cancel out yeseo looking literally red and purple. I made the purple hue more blue and the magenta hue more pink and added saturation and brightness for both of them. And that was it!
23 notes
·
View notes
Note
Hi I was wondering how do you edit your photos I love the filters. Ps I love your art.
hi! thank you so much.
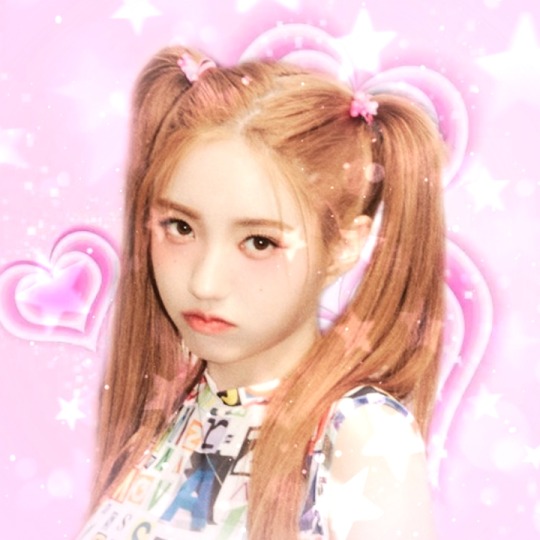
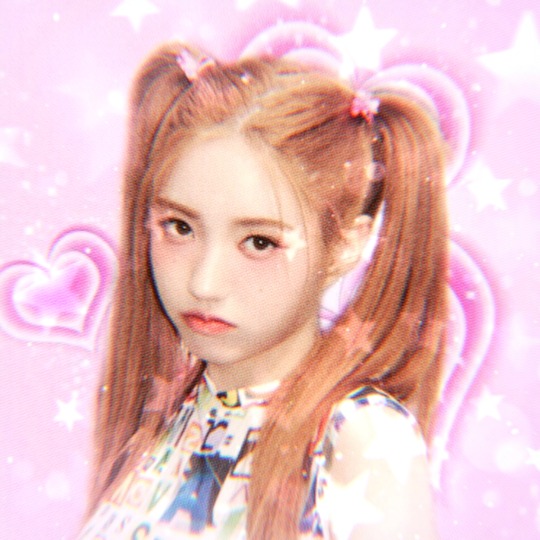
it’s the same basic recipe regardless of what program you use:
very low contrast
very high vibrance /saturation
shift the coolness to blue if applicable
shift the tint to purple if applicable
increase exposure / brightness to your liking
and then sometimes i’ll mess with a particular color like red or blue in isolation to make certain colors pop, but this is basically all i do!
i use an app called Polarr that allows you to copy and paste all the edit steps you’ve done from one photo to another, which can be very useful
17 notes
·
View notes
Text
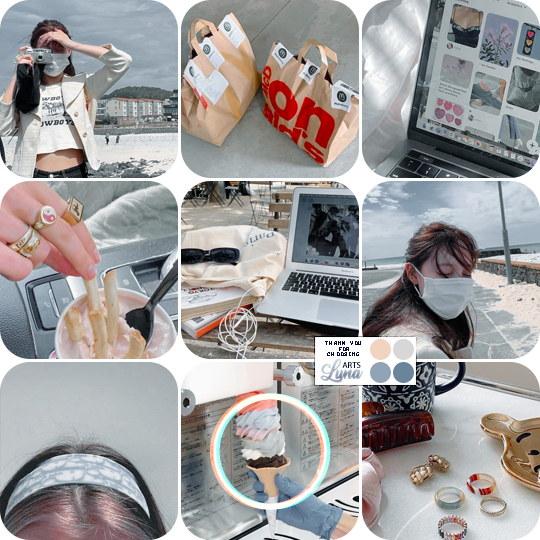
MODERN – polarr code #002 by artsluna.
• before/after
• plagiarism is a crime. think before you act.
• reposting is not allowed, nor editing for reposting, as well as putting our effects in packs.
• download: like or reblog this post + follow us + ask for the link. be gentle.
#polarr#polarr code#qr code#filters#polarr filters#filter polarr#polarr effect#polarr recipe#polarr filter#yeahps#itsphotoshop#dailyresources#completeresources#dailypsd#photoshop#wealphotoshop#allresources#hisources#dewinnie#blue#cyan
67 notes
·
View notes
Text


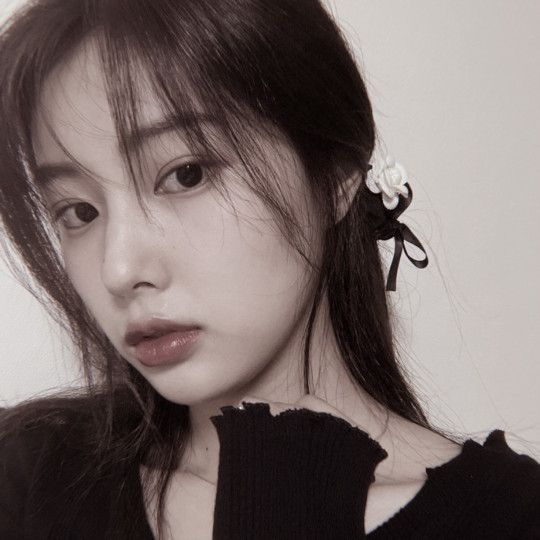
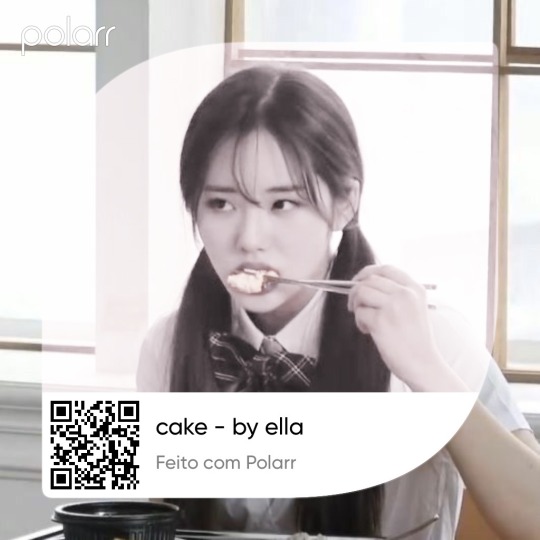
⊹ ✍🏻 ⌕ ɥⱺⱺn⍺ ıcⱺns (psıu! sⱺft ᧉr⍺ ıs b⍺ck 🤫)
#ogura yoona#yoona ogura#yoona#bugaboo yoona#yoona packs#yoona pics#yoona lq#yoona soft icons#soft packs#soft core#polarr#polarr recipe#polarr effect#girls icons#kpop icons#soft icons#yoona icons#bugaboo icons
99 notes
·
View notes
Text


⠀⠀⠀﹫ althea-web⠀➥⠀like or reblog.
⠀⠀⠀﹋﹋﹋﹋﹋﹋﹋﹋﹋﹋﹋﹋﹋﹋﹋﹋
⠀⠀⠀‘‘Oh, she could be up Oh, she could
⠀⠀ be down But I'm not around to see her’’
#vscofilter#vsco soft filter#vsco soft recipe#vsco soft icons#vsco soft moodboard#aesthetic#aesthetic filter#polarr#polarrsoftfilter#polarr soft icons#polarr recipe#Hyewon soft Moodboard#Hyewon soft icons#Hyewon soft packs#Hyewon izone#izone#ex izone#kpop#kpop girl#soft#soft icons
73 notes
·
View notes
Text

— ありがとうございました‼️🗯
• Meu Deus gente, muito obrigada! Estou
muito feliz por conseguir chegar a essa
marca de seguidores. Fiz duas receitinhas
no polarr para vocês! Se pegar, dê um
coração e um re-blog nesse post. Não é
preciso dar os créditos, porém, não fale
que foi você quem fez e não venda icons
com a minha receitinha. Mais uma vez,
muito obrigada, gente! 🥳💗 (avisando
que o primeiro filtro NÃO funciona com
pessoas reais. Só em moods, animes,
desenhos, entre outros).
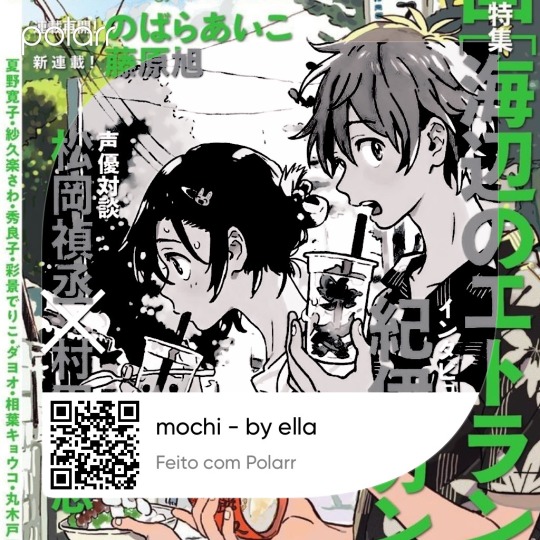
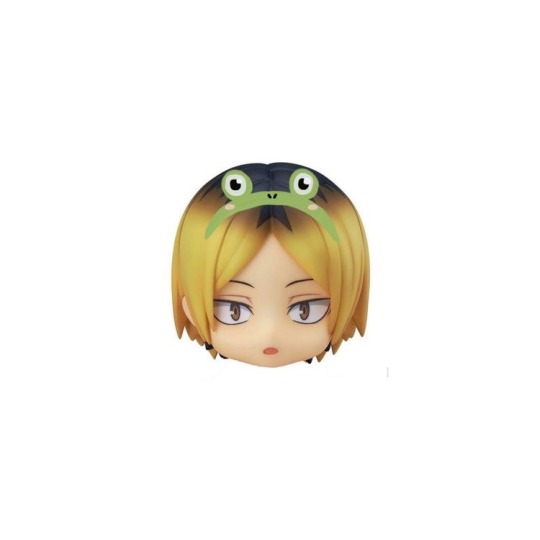
#receitinha livre#receitinha#receita livre#filtro livre#polarr filter#filtro do polarr livre#free filter#vsco icons#icons vsco#polarr recipe#polarr free recipe#vsco recipe#vsco soft icons#soft vsco#vsco effect#vsco filter#icons#vsco soft#vsco#anime filter#anime icons#kenma nendoroid#anime nendoroid#manga icons#anime messy icons#anime soft icons#anime dark icons#kpop icons#kpop lq icons#kpop dark icons
231 notes
·
View notes
Text


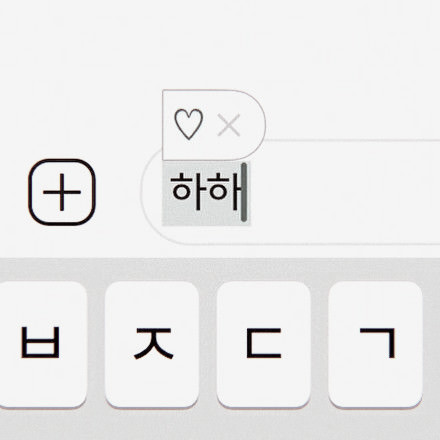
᭥ㅤ♡̷̸ ﹏ ﹙コラル﹚ :ㅤnә⃨w pα꯭ck!ㅤ𓂅̸ㅤ⓵᪶ㅤ﹌﹋
➣ㅤ᭝ㅤdα꯭rknә⃨ss ❜ㅤ🌂ꞈ ﹫felix moodboardㅤ،،何かㅤ⏲
▒̸᪶⃛▒ㅤᯭㅤ❥᪶ㅤlikә⃨ㅤ↻̤ㅤrә⃨blogㅤ☂️̈ㅤ© α⃨yuzu on eα.
ㅤ ︿︿︿ㅤㅤ︿︿︿ㅤㅤㅤ︿︿︿ㅤㅤ︿︿︿
#polarr#polarr recipe#polarr icons#polarr effect#polarr soft icons#vsco recipe#vsco soft icons#vsco effect#vsco#vsco icons#icons#kpop icons#kpop soft icons#skz#skz felix#felix#felix icons#felix soft icons#felix moodboard#felix soft moodboard#felix dark icons#felix dark moodboard
202 notes
·
View notes
Text


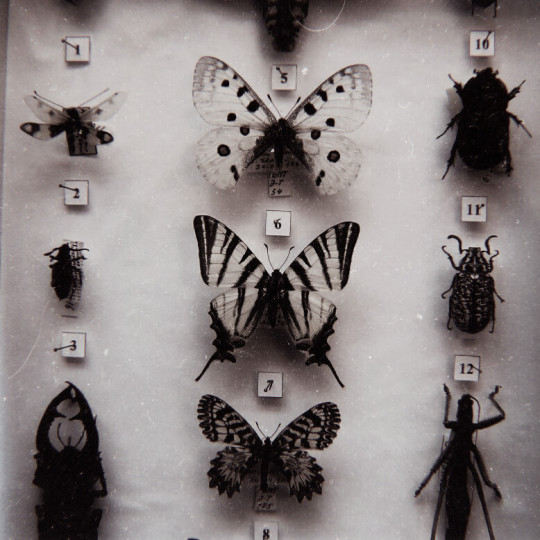
ㅤㅤㅤㅤㅤ•⠀.⠀۟⠀𖧷 。 ₍🧣₎ Qi Lin x Cang Shu ◞ .⠀۟⠀。⠀♡. ․⠀᳝
ㅤㅤㅤㅤㅤㅤㅤㅤㅤㅤ注意: don’t repost
#perfiles#polarr#polarr icons#aesthetic#she is still cute today#manhua#manhua icons#qiqi#polarr filter#polarr recipe#manga aesthetic#dark icons
149 notes
·
View notes
Text
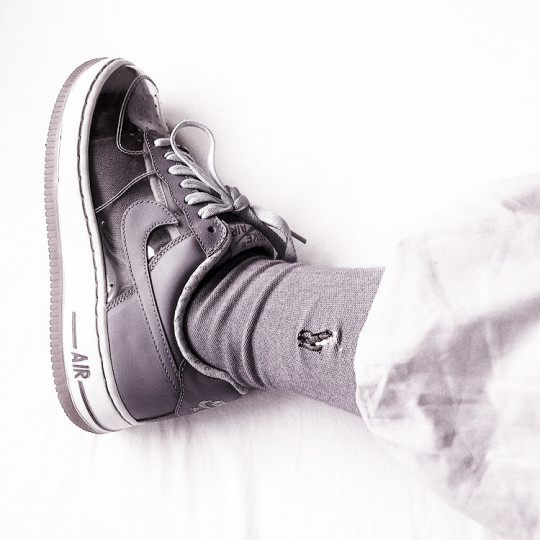
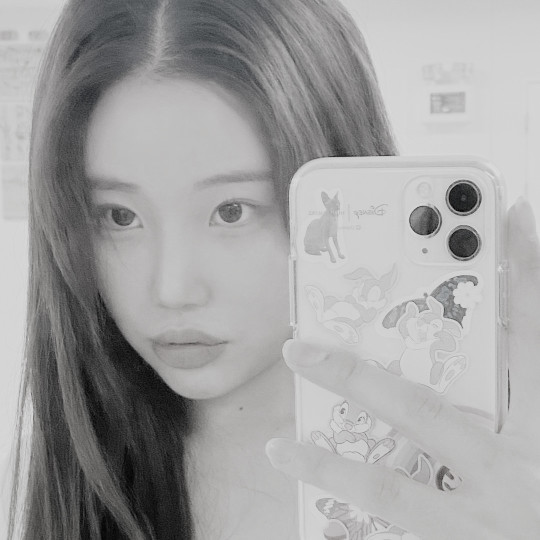
𝗜𝗦𝗡'𝗧 𝗜𝗧 𝗟𝗢𝗩𝗘𝗟𝗬:
𝗀𝗋𝖾𝗒 𝖺𝗇𝖽 𝗇𝗈𝗌𝗍𝖺𝗅𝗀𝗂𝖼!


32 notes
·
View notes
Text
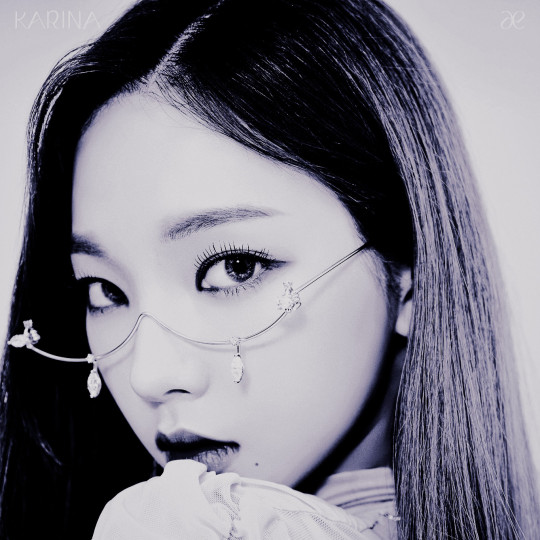


𖥨 🌷 𓂃 (mood)board karina ﹝평화﹞
🌱 ⨟ ˇ aespa ☓ member ⋆ 비라
𖥻 🐝 ˛ like or reblog ◞ 𓂃 🌼 ⊹
#aespa karina#aespa#aespa kpop#aespa black mamba#aespa debut#karina moodboard#karina icons#karina#karina icons dark#Karina dark moodboard#polarr#polarr recipe#polarr icons#polarr moodboard#polarr filter#karina dark icons#karina dark moodboard#karina dark packs
133 notes
·
View notes
Text


⠀⠀⠀⠀⠀⠀⠀⠀⠀⠀⠀⠀⠀⠀⠀
⠀➤⠀░⠀࡙⠀༄⠀💭 ࡙⠀ᥟᧉᥕ ꪱ᧙ᩁᥒ𑂘⠀♡ ࡙⠀༉ ░⠀ᬊ
#wendy#red velvet#icons#soft icons#icons soft#soft moodboard#wendy soft moodboard#wendy red velvet#wendy icons#wendy soft icons#irene soft icons#ulzzang soft icons#seulgi soft icons#joy soft icons#yeri soft icons#moodboard#polarr recipe#moodboard soft wendy#son seungwan#seungwan icons#wendy lq
36 notes
·
View notes
Text


!ુ↳ 𝐣𝐨𝐨𝐞 𝐦𝐨𝐨𝐝𝐛𝐨𝐚𝐫𝐝
﹋﹋﹋
⚘݄⿴݃*₊⇢ like or reblog if you save ᵕ̈
#momoland#momoland jooe#jooe icons#jooe moodboard#momoland icons#jooe soft icons#jooe soft moodboard#gg soft icons#gg icons#gg moodboard#kpop icons#moodboards#kpop moodboard#polarr#polarr recipe
50 notes
·
View notes
Last Seen Blogs

neopentane5
Neopentane5
apolocelot
Duck

yesmissnyx
"Yes, Miss Nyx!"

bellariarestaurant-blog
Italian Restaurant and Wine bar in Central London
luna-woods
☽ when april ran ☽