
Last Seen Blogs

foreveryachts-blog
An Adventure called Life

obsessed-hira-pics
Untitled

bi-badass-geek
Love Died March 3.2016 (¬_¬) | Love got discovered back by GAP

radcomputerstranger
My sanity is dwindling and it's the FIA's fault

vridha
Untitled
Text
I love this so much!! Thank you!!
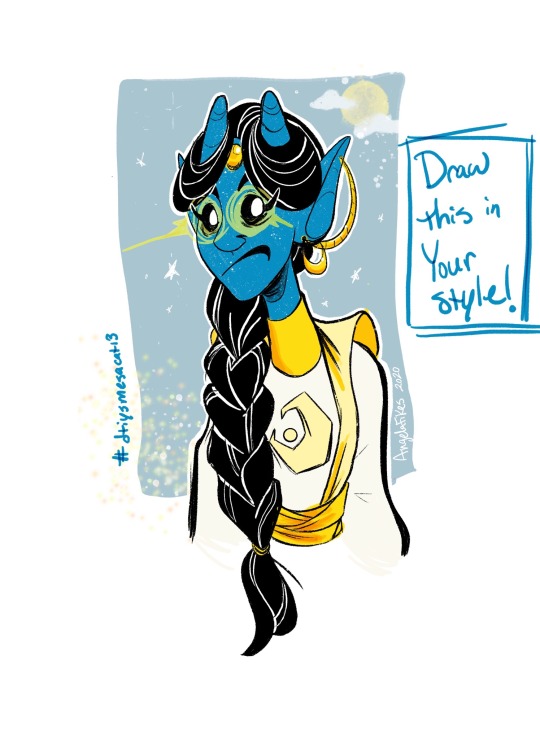
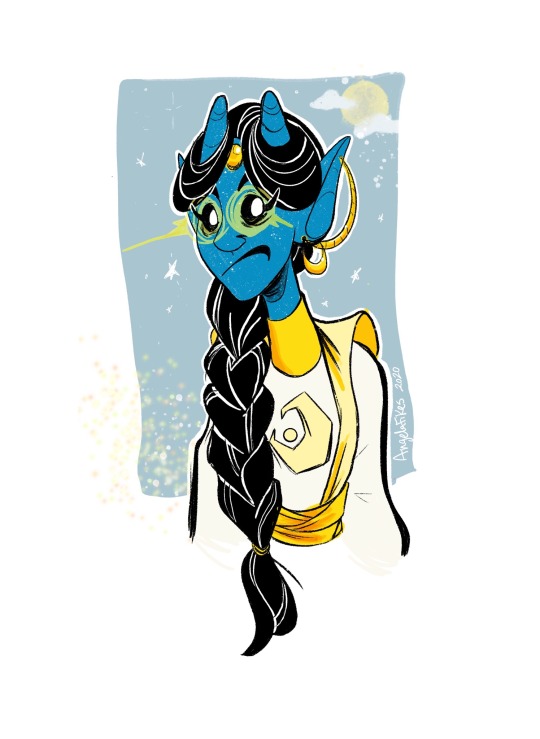
I’m doing a draw this in your style challenge! It’s my first one so I hope it goes well 😅
The deadline is April 13th, where I’ll randomly pick one to be the winner and the winner will get something draw by me!
You can go over to my Instagram and tag me
My Instagram is my same name: mesacat13
15 notes
·
View notes
Text
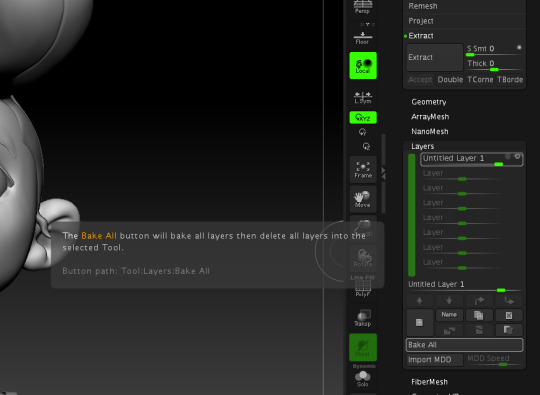
Zbrush Research
For my research post I choose prepping for 3D printing. I choose this because as soon as I knew this was an option I’ve wanted to try 3D printing some of my own sculptures. I’m excited about this topic and can’t wait to try it out; I’ve watch tutorials and read documents to find out the ways that you prep your model for 3D printing, so let’s begin!
The first thing one must do is to prepare your sculpture design for the printing by making sure the model is free of holes, the wall thickness is the right thickness for the material you’ll be printing with, and if you have any layers make sure they are baked by going to Layers- Bake All.
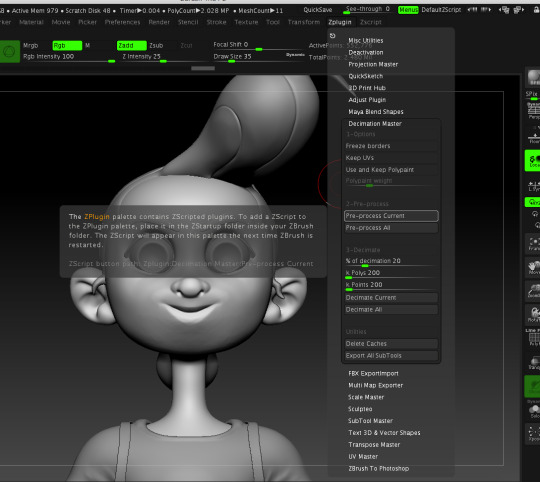
As well as making sure all your subtools are merged down into one mesh, then, use Dynamesh at a high resolution to make sure they are joined and one solid piece.
Next you will use the Decimation Master to lower the poly count before sending your model to the 3D printer. Decimation Master lowers the poly count without destroying the details of your sculpt.
You’ll go to Zplugin – Decimation Master- Pre-Process Current – then after that has had time to process you hit Decimate Current.
Finally you will be exporting your design as a 3D printable compatible file.
To do that go to Zplugin – 3d Print Exporter (though on 4R8 it’s called 3D Hub) and then you will what size you want the print to be and choose then file type .STL.
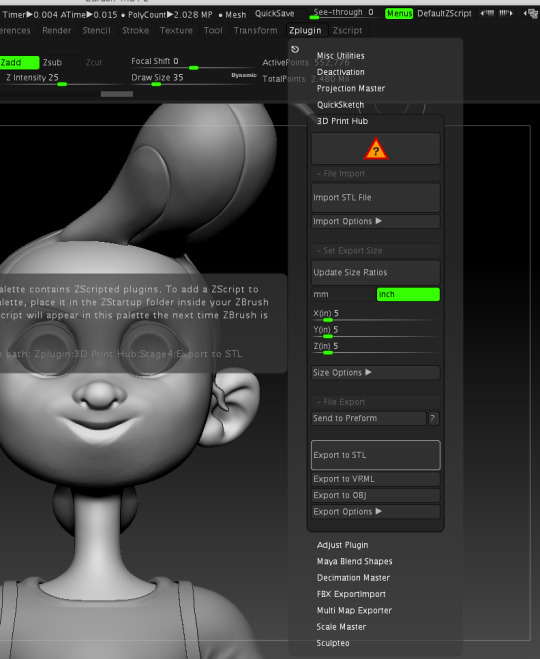
Now your model is ready to be 3D printed!
4 notes
·
View notes
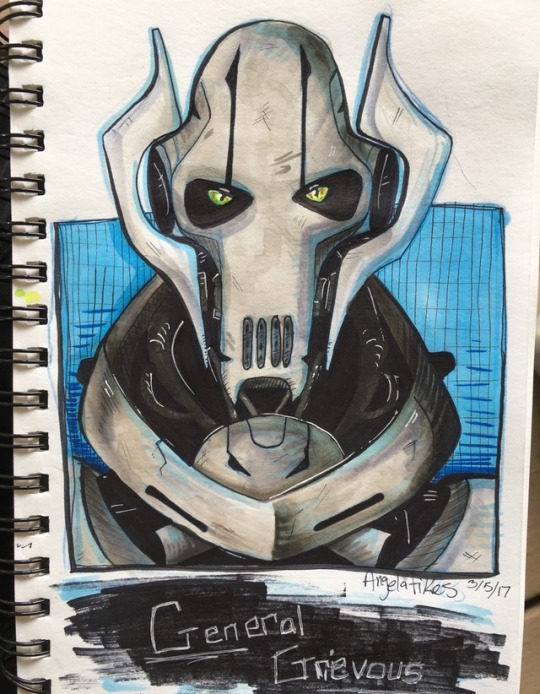
Photo
Tis la colored! Little rusty with the markers but it was good to get back to them after months
9 notes
·
View notes
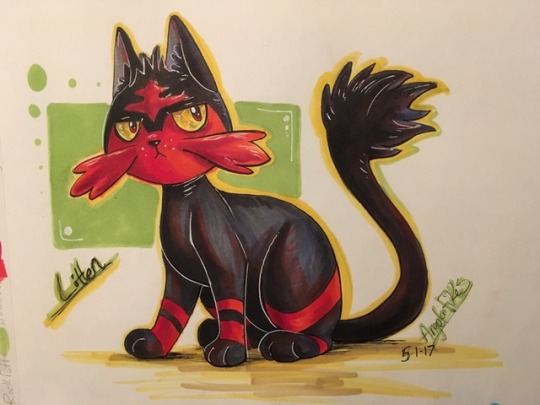
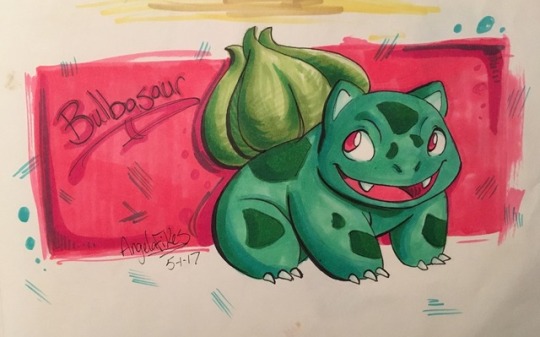
Photo
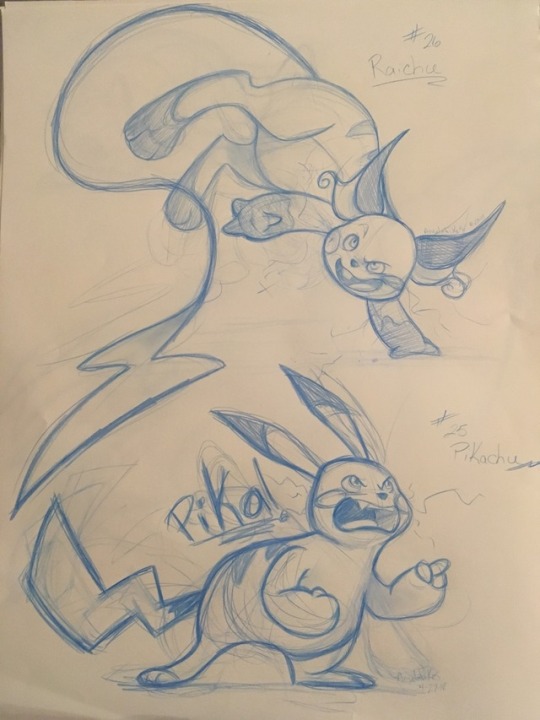
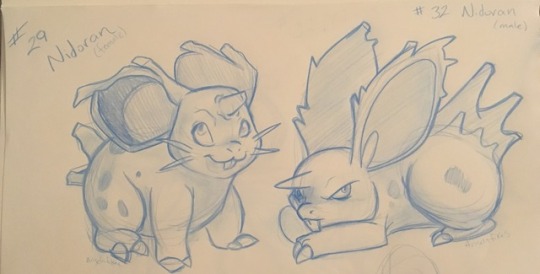
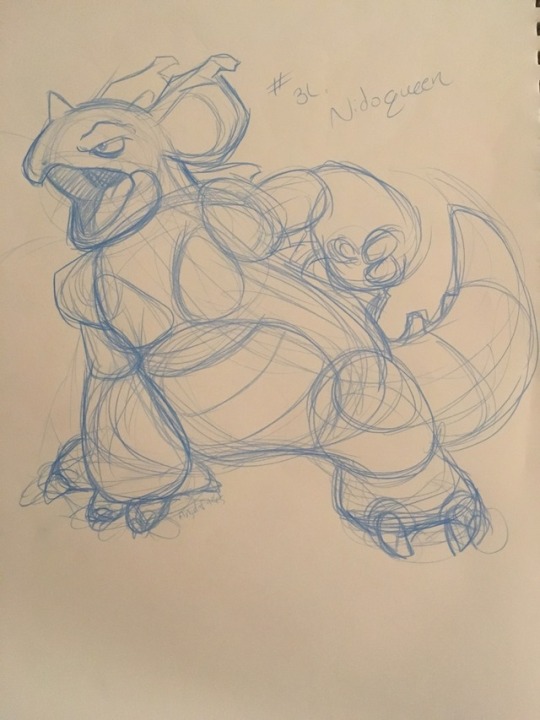

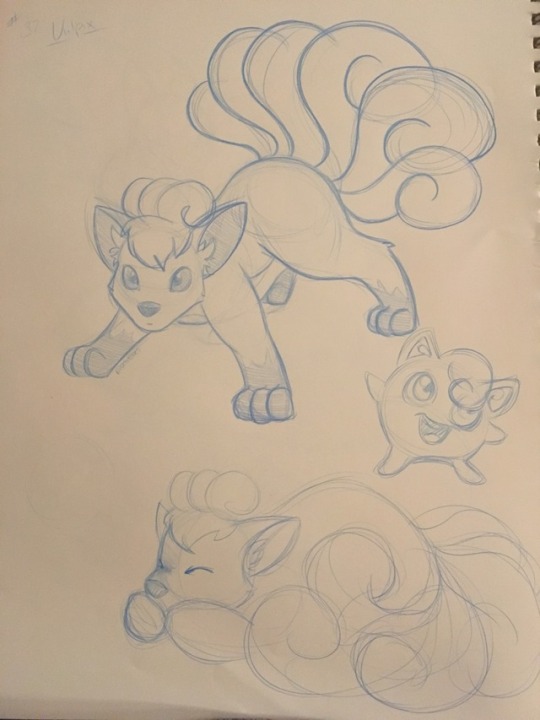
Hey guys, look I’m still alive! I finally got a free day and got to draw! So I drew some Pokemon! I plan on drawing all 151 originals but we’ll see how that goes! I also want to color these with my copics, I’ve missed using those!
What is your favorite Pokemon?
30 notes
·
View notes
Photo
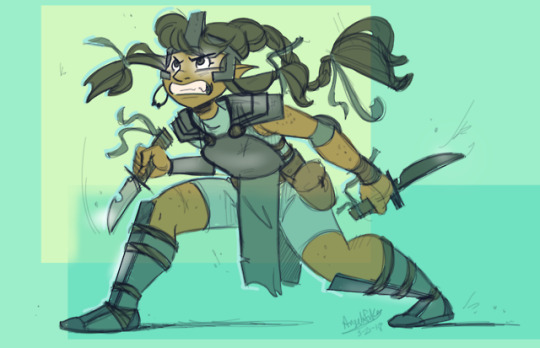
FINALLY I drew something (I liked), guys!!!
23 notes
·
View notes
Photo
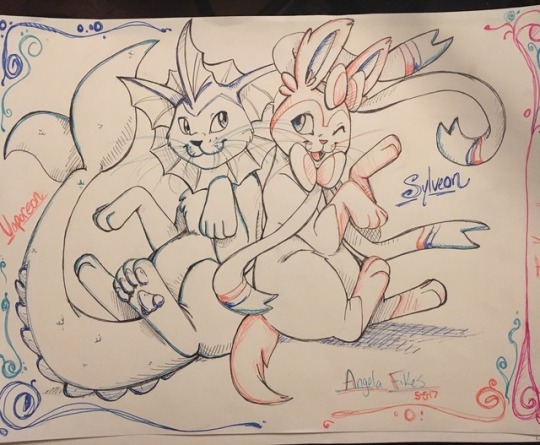
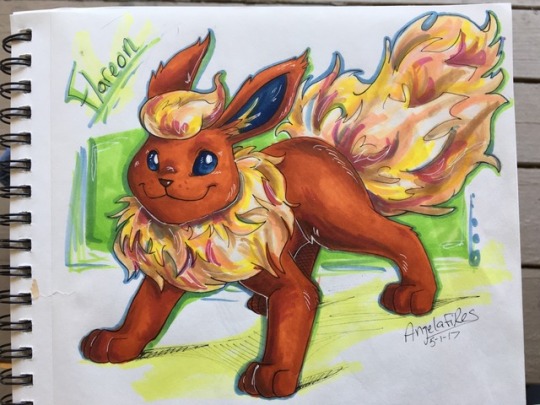
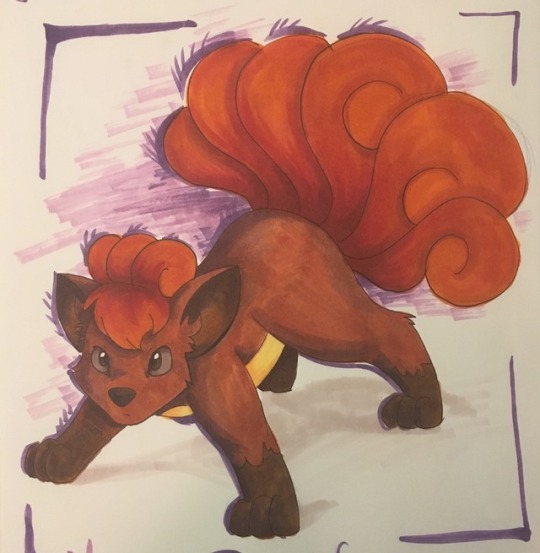
More Pokemon My personal favorite Vaporeon, then we have Sylveon, and Flareon
#more in the works#Pokemon are fun to draw#especially with friends#=]#Pokemon#my art#copics#Flareon#Vaporeon#Sylveon
10 notes
·
View notes
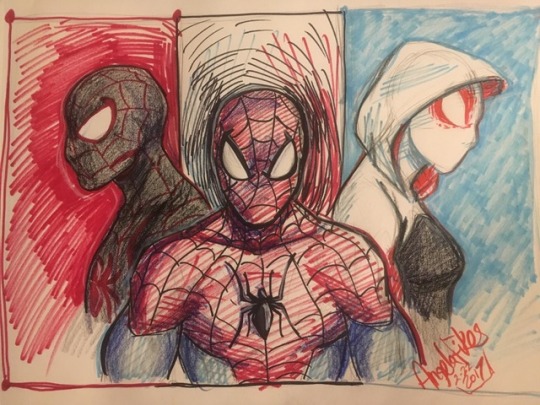
Photo
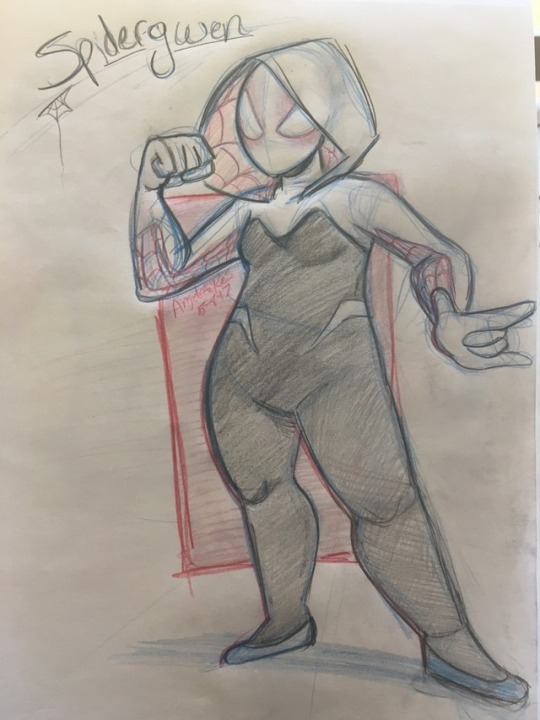
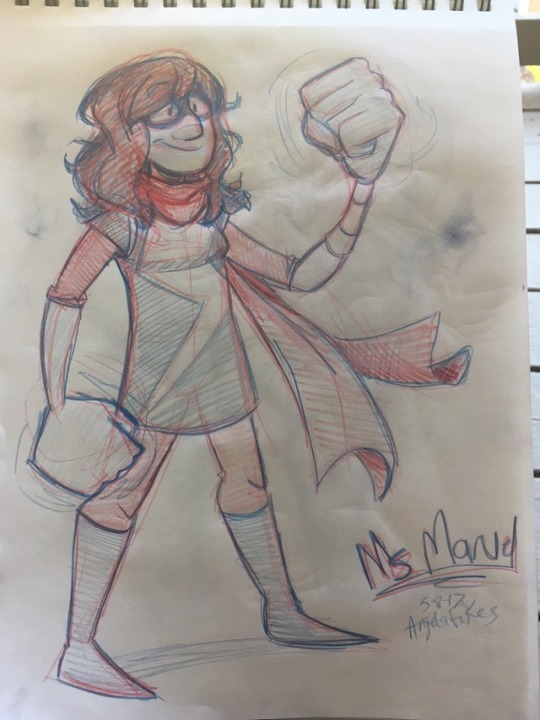
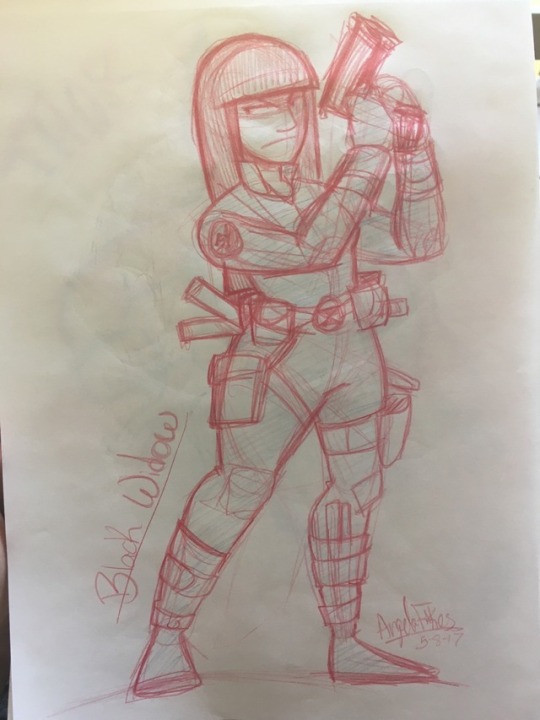
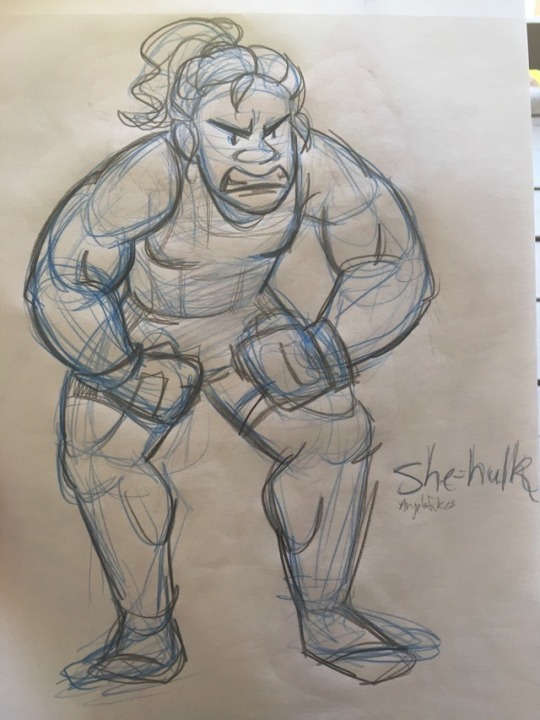
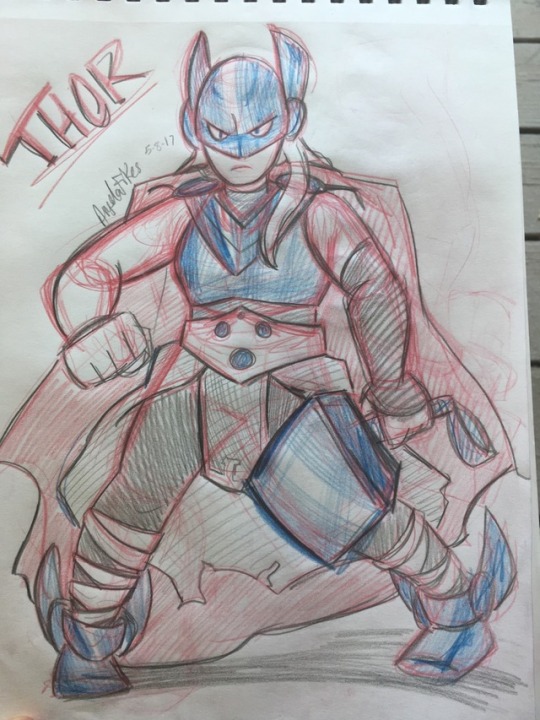
Quick sketches of some Marvel ladies Spider-Gwen, Ms Marvel, Black Widow, She-Hulk, Thor
9 notes
·
View notes
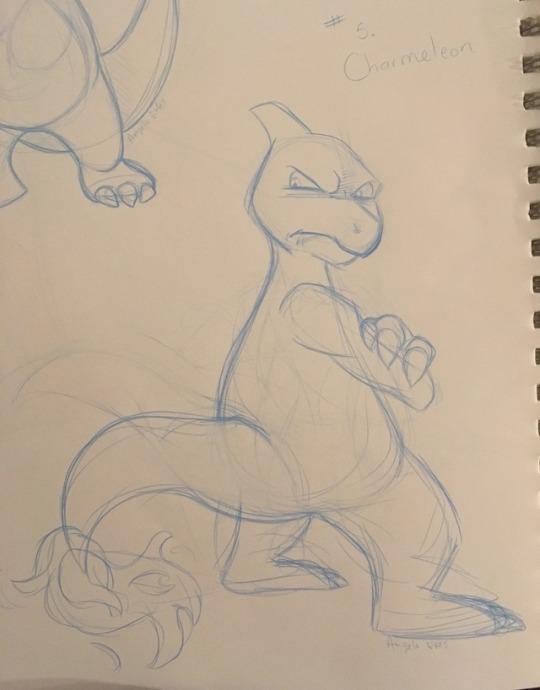
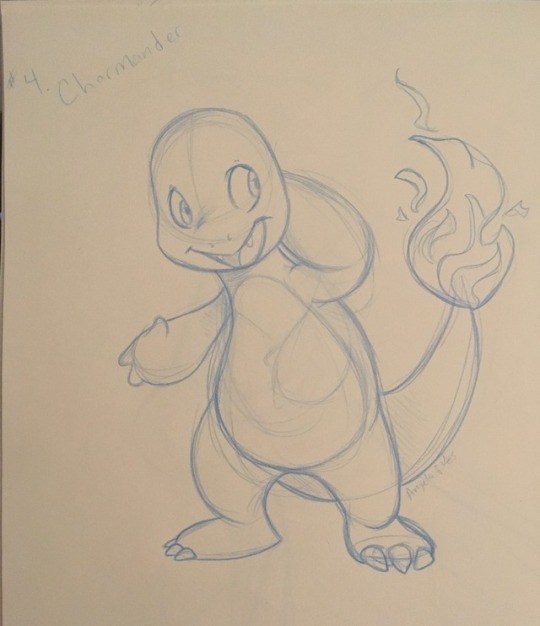
Photo
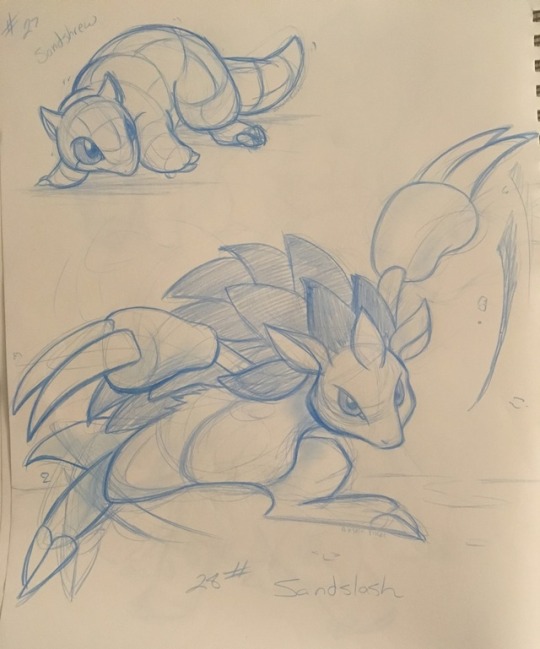
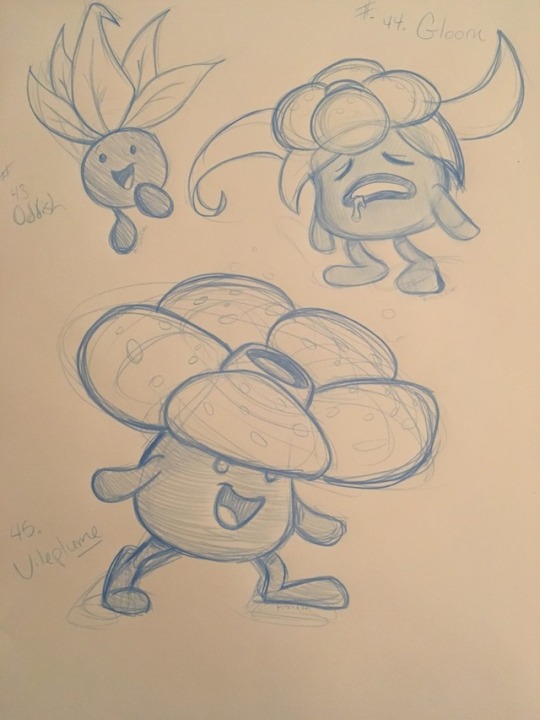
Finally had some time to draw, so Pokemon it is =]
43 notes
·
View notes
Video
Hahah, oh my gosh XD @undead-paradox
Getting Your Life Together 📝
36K notes
·
View notes
Photo
Random sketch before bed, tada
23 notes
·
View notes
Photo
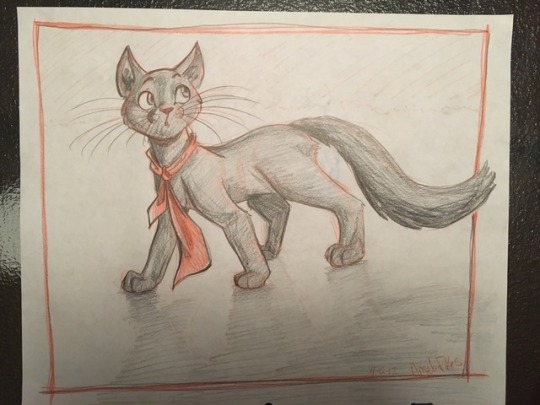
Drew this for my cousin
33 notes
·
View notes
Photo

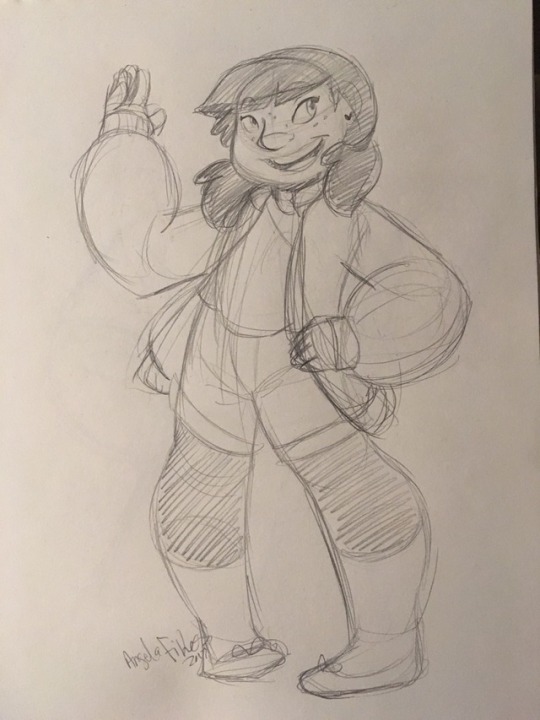
Some random sketches and my OCs
33 notes
·
View notes
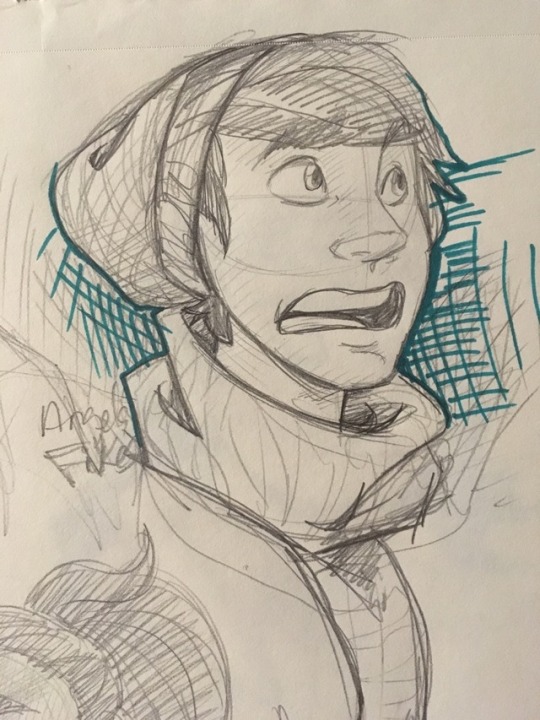
Photo
Quick thing in between homework assignments
70 notes
·
View notes
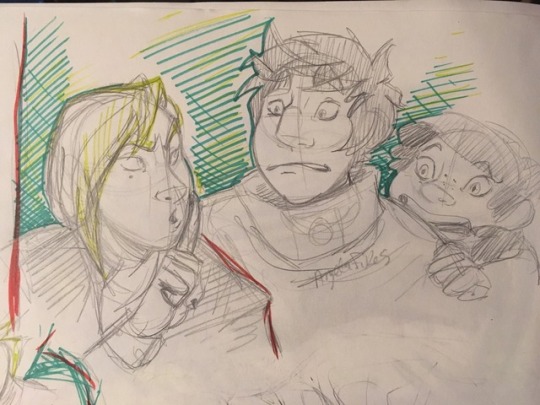
Photo
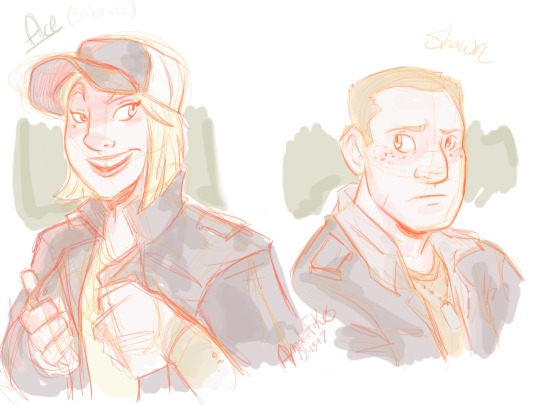
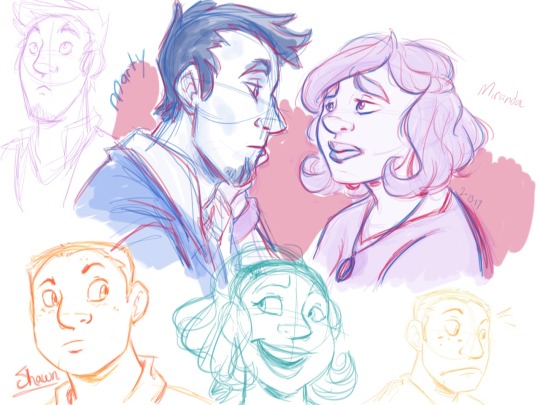
More late night sketchies of my Ocs. I haven't drawn them for awhile so just messing with their designs Ace, Shawn, Marty, and Miranda
24 notes
·
View notes
Photo
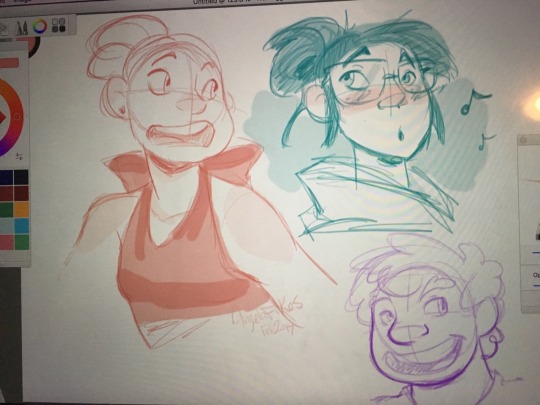
Some sketchies
28 notes
·
View notes
Photo
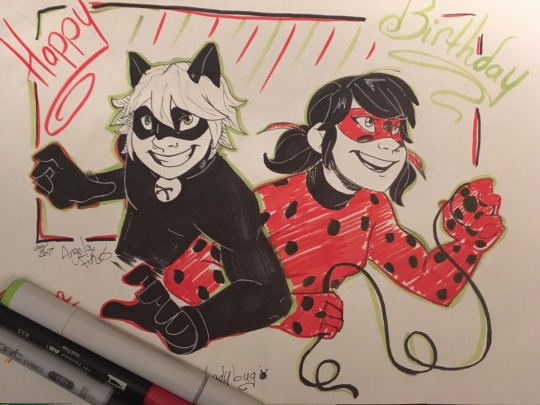
Something I drew for my cousin =]
#miraculous ladybug#chat noir#chat nior#not sure how you spell it XD#tales of ladybug and cat noir#cat noir and ladybug#nickelodeon#my art
108 notes
·
View notes