poweredbyflannel
Powered By Flannel
Anti-social internet magpie. This is where I stash the neat stuff I find.
2687 posts
Last active 60 minutes ago
Don't wanna be here? Send us removal request.
Last Seen Blogs

yoskri
:^)
7awadetshemoz
نضارة وقلم
ripper2508
Ripper2508
roughghosts
roughghosts
kandr98
Me, Myself, And Yah
Text

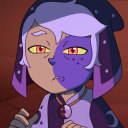
I got an ask from someone who felt timid about drawing curlier hair and wanted some advice! This is by NO means exhaustive and is mostly just my thought process for my own stylization. There are tons of resources for drawing more textured hair, so for this I just wanted to focus on curls. hope it helps!
8K notes
·
View notes
Audio
It’s a cool place, and they say it gets harder
You’re bundled up now, wait ‘til you get better
#music#neil cicierega#smash mouth#daft mouth#this actually fucks super hard#i love that it's basically been signed off by smash mouth
125K notes
·
View notes
Text
I regret to inform you that Discord's new Terms of Service includes an arbitration clause. You can find it here https://discord.com/terms/#16. This clause includes an opt-out, which I have transcribed here:
You can decline this agreement to arbitrate by emailing an opt-out notice to [email protected] within 30 days of April 15, 2024 or when you first register your Discord account, whichever is later; otherwise, you shall be bound to arbitrate disputes in accordance with the terms of these paragraphs. If you opt out of these arbitration provisions, Discord also will not be bound by them.
These clauses are underhanded ways that corporations seek to deprive you of your right to participate in class-action lawsuits and your right to a jury trial. (This does only apply to us users ,other people still spread the word though )
50K notes
·
View notes
Text
Had a few folks interested in how I made the patches I posted for Solarpunk Aesthetic Week, so I thought I'd give y'all my step-by-step process for making hand-embroidered patches!

First, choose your fabric and draw on your design. You can use basically any fabric for this - for this project I'm using some felt I've had lying around in my stash for ages.

Next, choose your embroidery floss. For my patches I split my embroidery floss into two threads with 3 strands each, as pictured. You can use as many strands in your thread as you prefer, but for the main body of my patches I prefer 3 strands.
Next you're going to start filling your design using a back stitch.

First, put in a single stitch where you want your row to start.

Poke your needle up through the fabric 1 stitch-length away from your first stitch.

Poke your needle back down the same hole your last stitch went into so they line up end-to-end.
Repeat until you have a row of your desired length (usually the length of that colour section from one end to the other). Once you have your first row, you're going to do your next row slightly offset from your first row so that your stitches lay together in a brick pattern like this:

Make sure your rows of stitches are tight together, or you'll get gaps where the fabric shows through.
Rinse and repeat with rows of back stitch to fill in your patch design.

When you're almost to the end of your thread, poke your needle through to the back of the fabric and pull the thread under the back part of the stitching to tuck in the end. Don't worry if it looks messy - no one's gonna see the back anyway.
This next step is fully optional, but I think it makes the patch design really pop. Once your patch is filled in, you can use black embroidery floss to outline your design (or whatever colour you want to outline with - it's your patch, do what you want). I use the full thread (6 strands, not split) of embroidery floss to make a thicker outline.

I use the same back stitch I used to fill the piece to make an outline that adds some separation and detail. You could use most any 'outlining' stitch for this, but I just use back stitch because it's just easier for me to do.
Once you're finished embroidering your patch, it's time to cut it out!

Make sure to leave a little border around the edge to use for sewing your patch on your jacket/bag/blanket/whatever, and be careful not to accidentally cut through the stitches on the back of the patch.
If you have a sturdy enough fabric that isn't going to fray, you can just leave it like this. If not, I recommend using a whip stitch/satin stitch to seal in the exposed edges (I find that splitting your embroidery floss into 3-strand threads works best for this).

And then you're done! At this point you can put on iron-on backing if you want, or just sew it on whatever you wanna put it on. Making patches this way does take a long time, but I feel that the results are worth it.
Thanks for reading this tutorial! I hope it was helpful. If anyone makes patches using this method, I'd love to see them! 😁
17K notes
·
View notes
Photo


Frilly, Maud Madsen
14K notes
·
View notes
Text
#videos#tiktok#iwwwano#art#woodworking#sculpture#snakes#this is soooo fucking cool#and the sneks are so cute
84K notes
·
View notes
Text
I gotta be honest, first time I scrolled past this I thought the gif was cause they gave this poor man a six pack

#like do you honestly think this man would starve and dehydrate himself#on purpose#for washboard abs#seriously#isn't a tentpole of his character about fucking eating#isn't a staple (hah) of this series about food#they pose this man#armed with kitchen tools#and visibly drooling#probably because they starved his ass for two days to get this shot#i'm sorry#i'm too angry about the abs to fully enjoy the cock#nice tho#anime#dungeon meshi#laois
23K notes
·
View notes
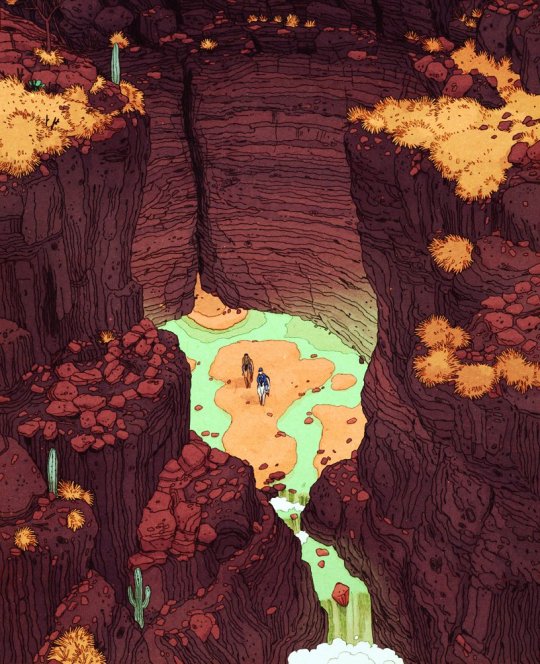
Text
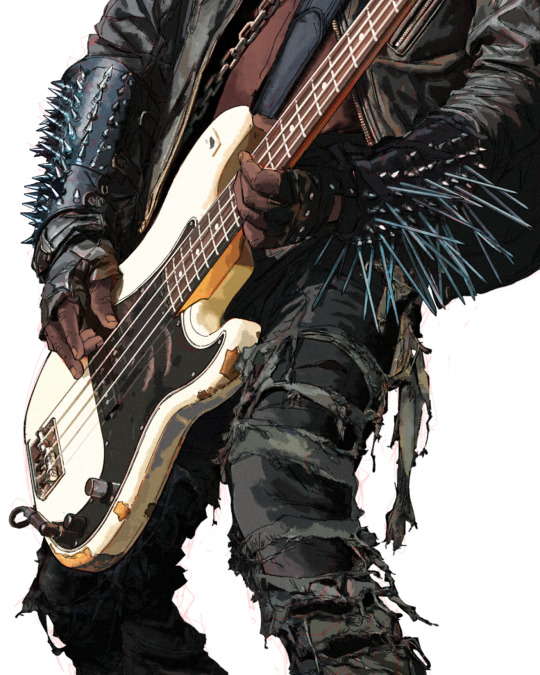
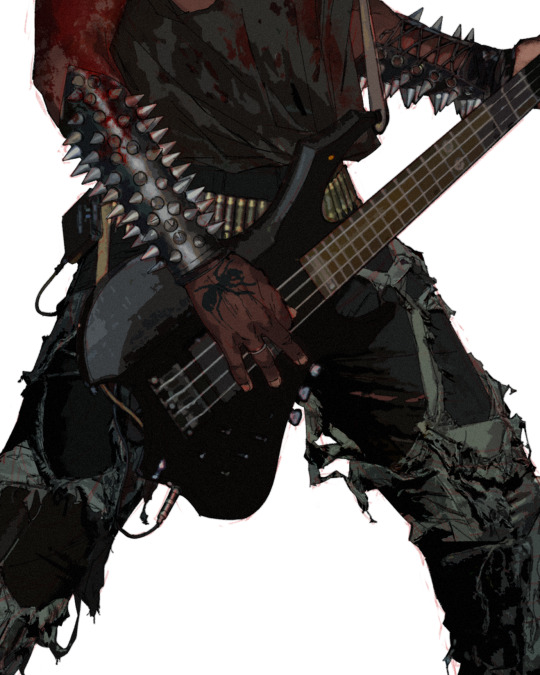
7K notes
·
View notes
Text

Morning Glow - Kenneth Pils , 2022.
Swedish , b. 1964 -
Acryliv on canvas , 80 x 110 cm
4K notes
·
View notes
Video
[video description: a man playing saxophone in front of a large pipe. everything he plays echoes back through the pipe, resulting in a call-and-response type song. the person behind the camera claps along to the beat. end description.]
247K notes
·
View notes
Text


Smol Scale
42K notes
·
View notes
Photo
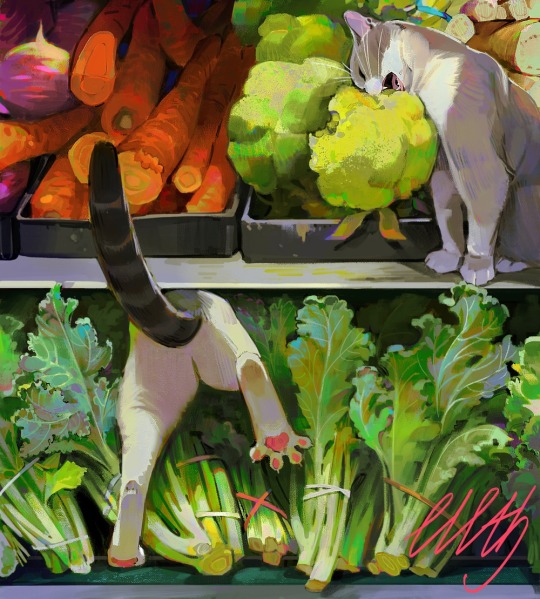
🥦 Grocery clerks 🥦
122K notes
·
View notes
Text
#videos#vanillavial#tiktok#queer#transfem#oh shit i think this is the chick from the spectacularly failed baptism tiktok#she is fucking hilarious and i love her#gender fuckery
69K notes
·
View notes
Photo
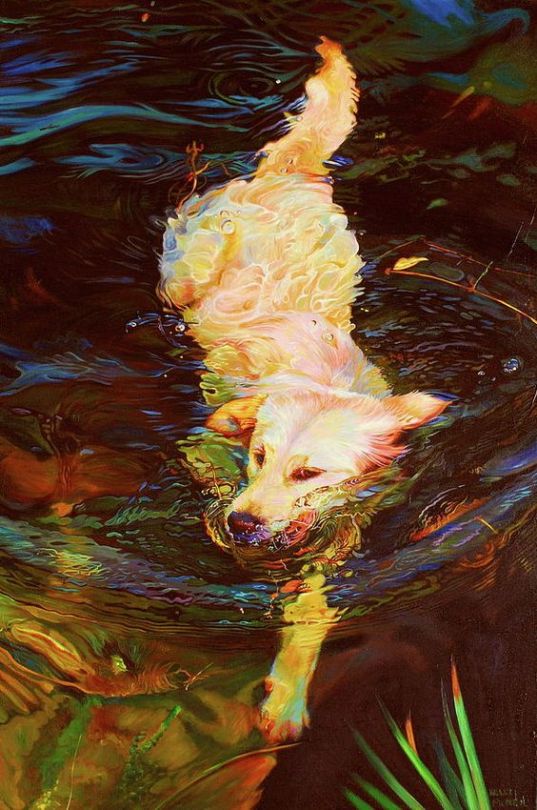
Waterdance Painting - Waterdance Fine Art Print
17K notes
·
View notes
Text

6K notes
·
View notes
Text
#videos#music#herigo#birds#piano#cockatiel#such talent#from all parties#seriously tho they're an excellent pianist#and that bird is an excellent bird
9K notes
·
View notes
Text


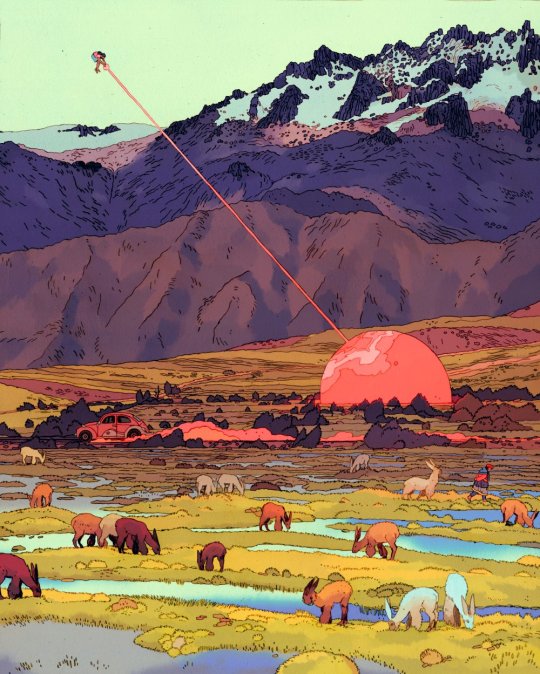
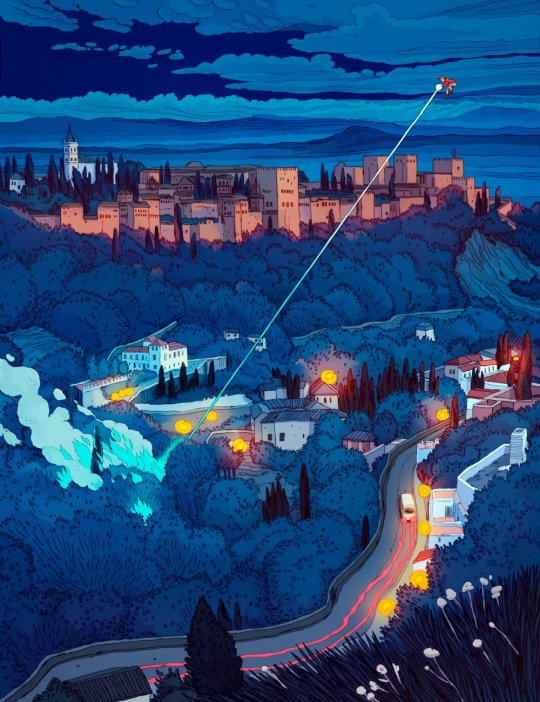
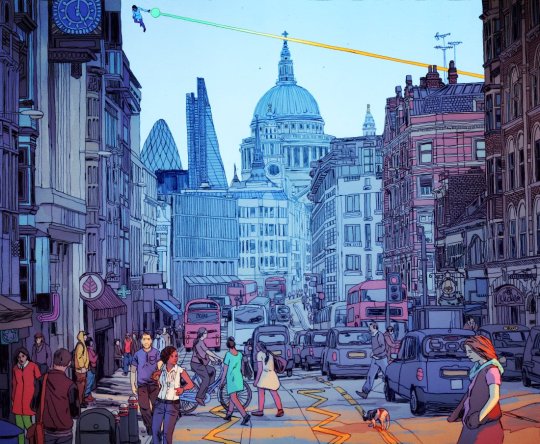


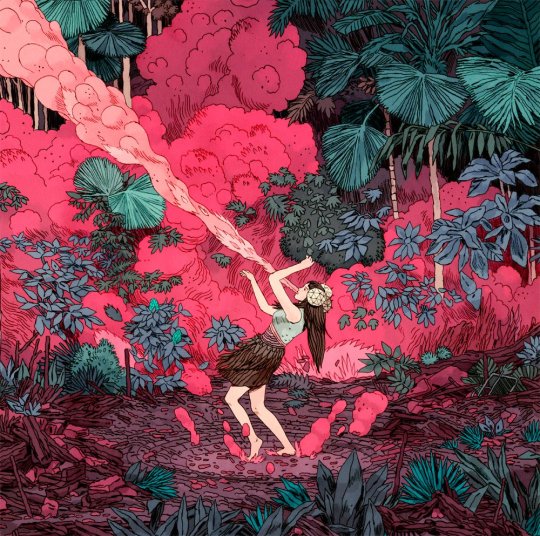

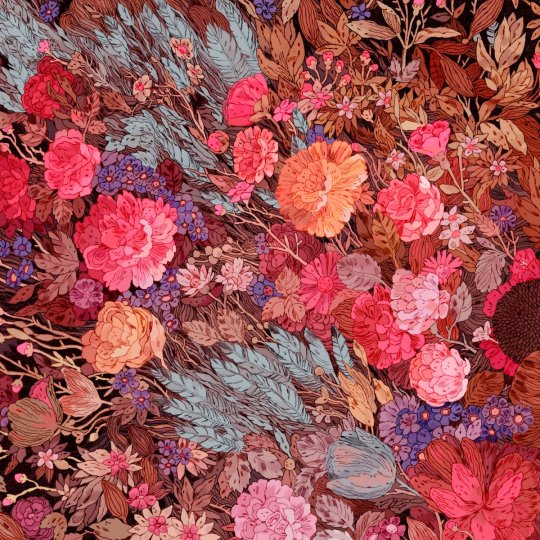


Prints for sale ⬇⬇⬇⬇⬇
lama.co/harriorrihar/
#art#harriorrihar#backgrounds#cool#beautiful#these are hypnotizing to look at#just the sheer amount of detail
3K notes
·
View notes