#Neutral Density Filters
Text
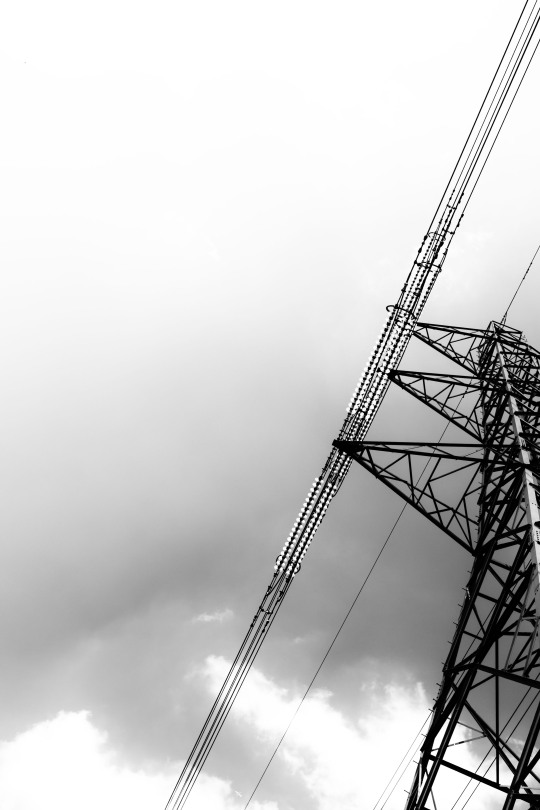
Photography Inspirations
Woke up early today to find out that It is 2 degrees celcius in London today and wondered whether I should just stay in bed or brave the cold and go take some pictures before work.
I haven’t been out lately because it’s been raining non stop since last week. Even tough I’ve felt a bit unproductive and a bit lazy of late I feel that it is important to keep myself inspired.
One thing I noticed is…
View On WordPress
#adobe lightroom#adobe photoshop#architectural photographer#architectural photography#architecture#architecture photography#art#Arts and Entertainment#benefits of photography projects#Black & White#black and white#black and white photography#choosing photography project#city of London#Fine Art#fine art photographer#fine art photography#formatt hitech#formatt hitech neutral density filters#landscape#Landscape photography#London#long ex#long exposure architectural photography#long exposure photography#making a great image#Michael Kenna#national history museum#Neutral density filters#Photograph
5 notes
·
View notes
Text


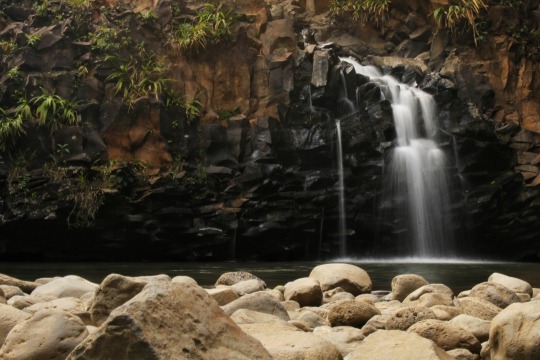
Trying my hand at some long exposure photography to get a silky effect on a waterfall. The first photo was taken at 1/2.5 sec, the second at 1/6 sec. I used the Neutral Density filter setting on my camera to reduce the intensity of the light and not affect the colours. Hogs Back Falls, Ottawa, Canada. June 7, 2023
#long exposure photography#neutral density filter#silky water#landscape photography#photographers on tumblr#original photographers#olympus photography#Ottawa Canada#waterfall
4 notes
·
View notes
Video
02052022-Ardent-37 by Krysto Bea
#1DX Mark II#Filtre ND#Filtre Nisi#Landscape#Long Exposure#ND filter#Nisi Filter#Paysage#appareil photo#canon#canon 1DX Mark II#canon 24-70 mm F2.8#filtre neutral density#landscape photography#nature#pose longue#river#riviere#flickr#autumn#fall
13 notes
·
View notes
Text
ND Filter Coatings - Accurate Optics
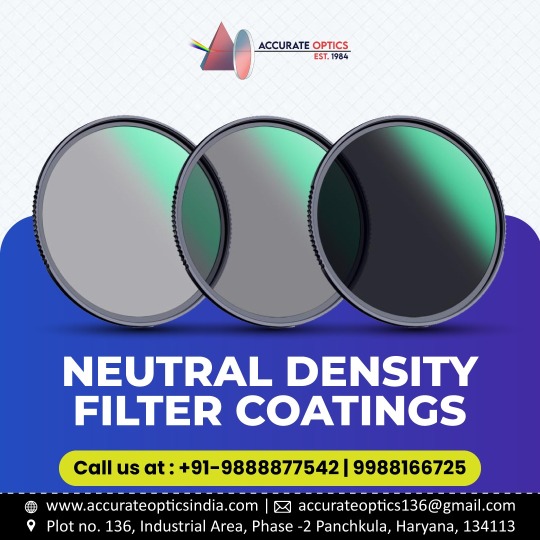
Neutral Density (ND) filter coatings are specialized coatings applied to camera lenses or filters to modify the intensity of light entering the lens without affecting its color. These coatings reduce the overall amount of light passing through the lens, allowing photographers to achieve certain creative effects or control exposure in different lighting conditions. To know more, call us at +91-9888877542 or visit our website.
0 notes
Text

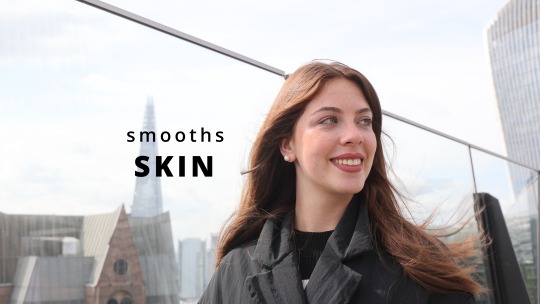
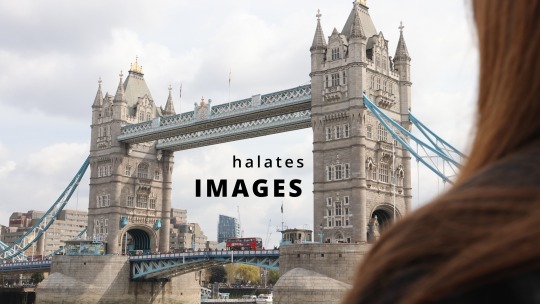
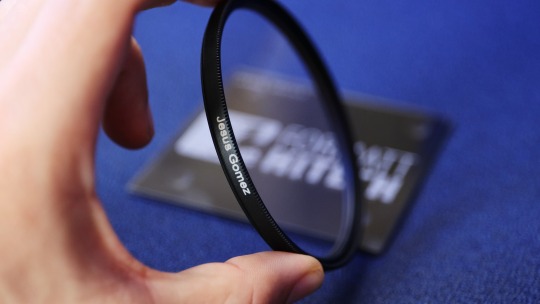
This Gold flecked filter has the strongest effect on the image of any of the Soft filters. It smooths skin, halates the images, and adds a subtle warm tone giving a vintage feel. The effect is subtle and complements skin tones even in cool colour temperature environments while retaining contrast.
Brand: formatt hitech
Model: Soft Gold Circular filter

VIDEO:
https://www.youtube.com/shorts/P_TVBDv-ZVo
photography,landscape,landscape photography,photo filters,filters,nd filter,polarizer,polariser,neutral density filter,photography tips,landscape photography tips,bysumex,bysumex photography,lens filters,camera lens filters,camera filters,parker walbeck,full time filmmaker,filmmaking,premiere pro,fulltime,fulltime filmmaker,video business,film business,filmschool,film academy,online film course,online film training,online film school,how to get into filmmaking,how to film,learn filmmaking,14 day filmmaker,sony,canon,blackmagic,all about lens filters,nd filters,polarizers,nisi optics,moment filters,polar pro,lens filter,best filter
Formatt Hitech by Jesus Gomez - bysumex
#FILTER#bysumex#formatthitech#camera#photography#landscape#landscape photography#photo filters#filters#nd filter#polarizer#polariser#neutral density filter#photography tips#landscape photography tips#bysumex photography#lens filters#camera lens filters#camera filters#parker walbeck#full time filmmaker#filmmaking#premiere pro#fulltime#fulltime filmmaker#video business#film business#filmschool#film academy#online film course
0 notes
Text
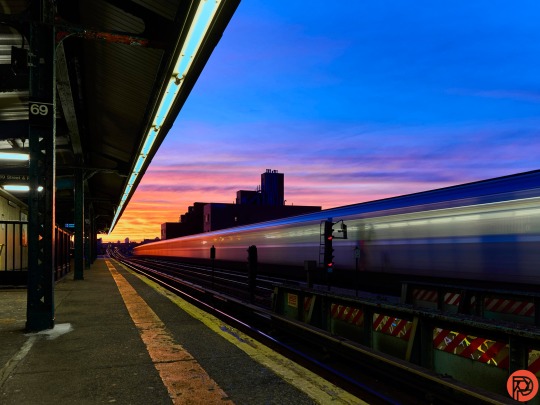
How to Use the OM SYSTEM Live ND Feature for Beautiful Photos
Make photos that your friends, followers, and family will fall in love with!
If you’re a landscape photographer who lugs around tons of ND filters, you’re probably already aware of how photographers rave about the OM SYSTEM series of cameras. OM SYSTEM has a feature that makes photographing the sunset even better. It’s called Live ND, and it helped me create one of the most beautiful photos I’ve made in recent times. Lots of folks loved it in my social media feed, and I’m…
View On WordPress
#camera#colors#feature#live nd#nd filter#neutral density filter#OM SYSTEM#OM SYSTEM OM-1#sunset#water
0 notes
Link
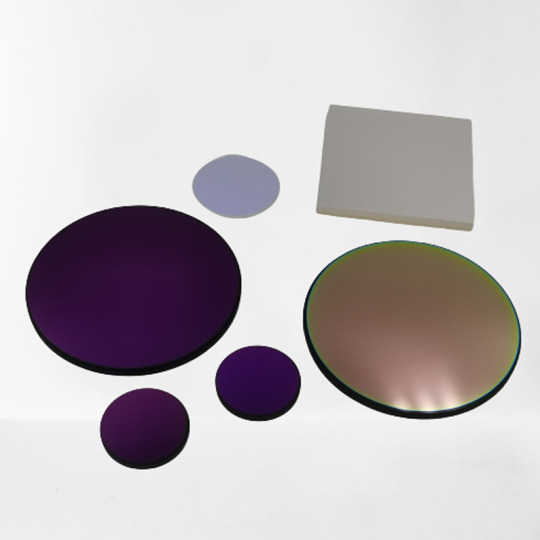
ND Filter for Sale
ND Filter allows all wavelengths to pass through equally. Neutral density(ND) filters are categorized by their optical density (D) which is defined as the logarithm to the base 10 of the reciprocal of the transmittance. And we provide many types of neutral density filters.
Specification of ND Filter
Material
Optical Neutral Density Glass
Diameter Tolerance
+0.0, -0.2 mm
Thickness Tolerance
±0.1 mm
Surface Quality
60-40 Scratch And Dig
Clear Aperture
>85%
Parallelism
< 3 arc Minute
Flatness
2λ Per 25 mm @632.8 nm
Optical Density Tolerance
±5% @400-700 nm
Protective Bevel
<0.25 mm x 45°
Neutral Density Glass Type Filter Standard Products:
Optical Density
Transmission (%)
Thickness (mm) Appr.
φ20.0
φ25.4
Part No.
Part No.
0.1
79.4
1.35
TNF101
TNF201
0.2
63.1
3.44
TNF102
TNF202
0.3
50.1
2.4
TNF103
TNF203
0.4
39.8
3.31
TNF104
TNF204
0.5
31.6
1.84
TNF105
TNF205
0.8
15.8
3.03
TNF106
TNF206
0 notes
Text
Edmund Scientific was a company that got its start in the 1940s selling surplus optics — lenses, and then microscopes and telescopes — and expanded into a big mail-order catalog that sold science educational stuff to the public. It also branched out into selling top-shelf scientific lens, camera, and laser systems to industry and research labs. Early in the 2000s, they decided they were just going to focus on the latter and flogged off the consumer end of the business.
But somehow I stayed on their mailing list, which is why I've gotten a glossy catalog full of aspherical lenses, optical stages, beamsplitters, neutral density filters, and helium-neon lasers delivered to me every couple of months for the past two decades.
5 notes
·
View notes
Text
I'm quite proud of this photo--it's my first experiment using a neutral density filter to get a long exposure. As a new photographer I'm finding it very fun to learn how to do those tricks to "make the waterfall look silky"!
#photography#lensblr#nature#landscape#landscape photography#nature photography#waterfall#hawaii#quara photography
91 notes
·
View notes
Text

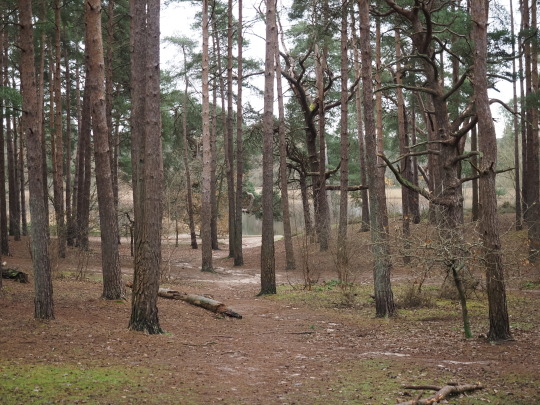

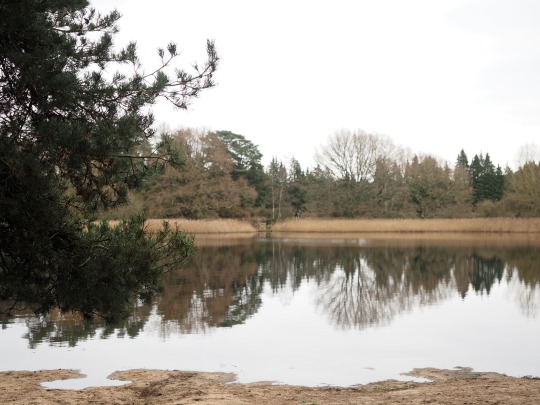
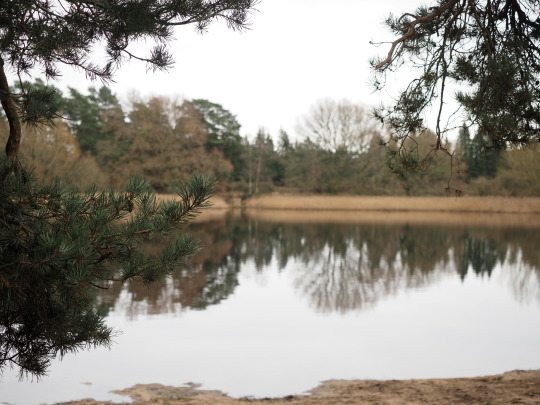
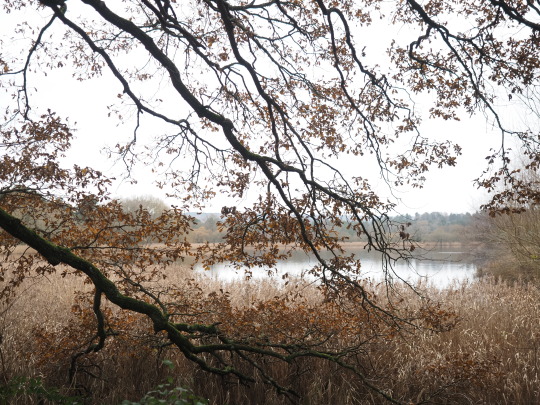


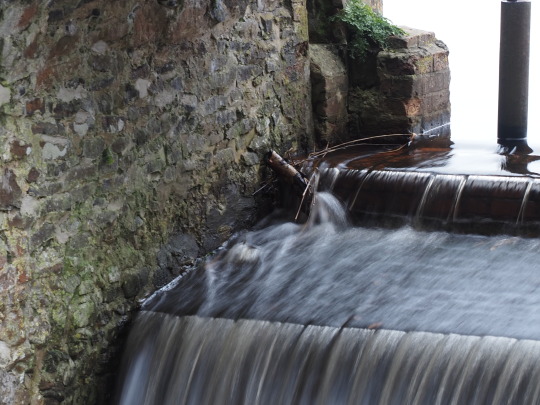
15.12.23
We went for a walk at Frensham Little Pond today.
Trying out my new raincoat, which is very warm!
I tried the Neutral-Density (ND) filter on the camera to capture the water pouring out of the dam.
5 notes
·
View notes
Note
How do you get your gifs to look like that? The quality is amazing. Do you have any tutorial video suggestions, maybe?
Thanks in advance
OH WOW i genuinely still struggle with making high quality gifs, so i’m so touched that you think they look good!! i learned everything from tumblr tutorials, so sadly, i don’t have any videos to share
but! i’ve always wanted to share my process, so here it is, if you’re interested (or if anyone is, really!)
i’m constantly changing up my sharpening settings and coloring process, but here are some processes/tutorials that i (mostly) stick to nowadays, with this gif as my example:

i chose a difficult gif to color because that’s how universal this process is for me (usually)!!
base gif
load video into frames, cropping, resizing
this is all standard, so i'll just share the tutorial i follow: lizzo @ tumblr (steps 1-7)

sharpen smart object
i forgot where i got this, but essentially i use the basic Sharpen command then lower the filter’s opacity (25-50%). here’s where you can adjust smart filter opacity btw:

it doesn’t look like it does much, but i usually use this to finely sharpen the gif (by changing opacity) since i try not to mess with the Smart Sharpens

smart sharpen x2
from buckysbarnes @ tumblr, here are my changes:
Smart Sharpen 1: 500%, 0.3 px, reduce noise 20
Smart Sharpen 2: 20%, 10 px, reduce noise 4
these settings look good for this show, but i sometimes change the opacity of these filters for different shows
if the gif is smaller (268px wide), i would reduce the opacity of these filters to 50%
noise
my favorite thing, i can’t live without it now!!! thank you to cuddlybitch @ tumblr for sharing this technique; i use option 2 with these settings:
intensity 10; contrast 50; grain type soft; opacity 25-50%
base coloring
yay it’s the fun part!!
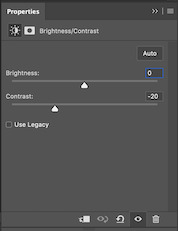
brightness/contrast
honestly, i just press Auto and let photoshop do its thing! i’ll adjust from there, and i rarely ever adjust this
photo filter
deep blue, preserve luminosity on, then i play with the density (maximum 50%)
in this gif, it’s at 32% because it’s very yellow
i sometimes add other filters depending on the mood i’m going for (usually yellow or cyan)

levels
this usually makes or breaks the gif! i start by pressing auto:

then i adjust:
move highlights (rightmost arrow) to start/rise of the histogram to its left
move shadows (leftmost arrow) to the start/rise of the histogram to its right
i adjust midtones (middle arrow) based on the general brightness i want for the gif

color balance
i generally like my highlights more blue, but this entirely depends on the gif! i just play around until it looks more neutral
in this gif, i added more cyan & blue to the highlights and more cyan & yellow to the midtones/shadows
vibrance x3
i follow this tutorial from s-k-y-w-a-l-k-e-r @ tumblr (just the part about vibrance/saturation)
in ths case, i removed the color burn/color dodge layers because it was a little too saturated
i just kept the vibrance +50 layer

hue/saturation
in this layer, i eliminate colors that don’t really add to the gif to reduce colors and increase the quality! i check where the colors are in the gif by increasing saturation to +100, then reducing it to -100 if it seems negligible. here’s what each color looks like

obviously, reds/yellows/magentas are important, but greens/cyans/blues could be removed
i also reduced reds and yellows -10 because it was a little too saturated there

selective color
first, i adjust the black level of each color to adjust the contrast of colors (not the cyan/magenta/yellow yet)

and when i feel like it, that’s when i add subtle changes to the colors
in this case, i only touched red, magenta, and white
vibrance +25
i usually add a little vibrance +25 at the end for fun haha

additional coloring
this is where i do all the gradients & text layers, but i think the base coloring is always more important!

once again, we started from this
to this
…… and that’s it!
there are probably ways to make it more efficient and use less layers, so i’m still constantly playing with these! this process also tries to preserve the original colors as much as possible, but i’m also able to wildly change colors with photo filters/color balance/selective color, if needed
hope this is helpful to you or to anyone!
#ask#hiswonderfulworks#tutorial#gif making#gif tutorial#forever grateful to everyone who's ever posted a tutorial online#so i swear i'll never gatekeep this stuff#y'all are great <3
40 notes
·
View notes
Note
hey!! i wanted to ask what coloring do you use in your gifs, it looks so pretty and you’re so talented… if you don’t want to share it’s ok too. hope you’re doing good <3
hey! thank you so much for asking, this is really sweet.
it took me a little while to figure out how to answer this because i don't typically save my psds (or use other people's). i'll try to give you an idea of the steps i use under the cut. you might need a basic understanding of ps for this to make sense but for the most part my process is relatively easy and beginner friendly :)
this is kinda gonna be what i’m going for:

so starting with this gif of dua that's almost completely untouched, all i've done is sharpen it.
curves layer
this is usually my first step in brightening the image to my liking. it also helps me neutralize the colour. i make it easy on myself by letting photoshop do the work for me.

i start by white balancing using the white eyedropper tool. you can do this by selecting the tool and then clicking on a white point on the image. for this gif you can use the whites of her eyes, her teeth, the lights in the background, the highlights on her nails, etc. it might look vastly different depending on what you pick, so it's really up to personal preference. i'll give you an example of a few:


(i went with the teeth option)

at this point i usually add second curves layer to essentially do the opposite. for the black point you can use her eyes (like the iris/pupil), her hair, her eyebrows, etc etc. select the darkest eyedropper tool and click your black point on the image. here are some examples:


(i went with the eyebrows option)
hue/saturation layer
as you can see, her skin looks really red. i’m going to tone it down a little bit. i usually use this layer to subdue any colours in the gif that i feel are overpowering. you can also use it to do the opposite, which i normally do towards the end.

photo filter layer
now that the gif is pretty well neutralized, i like to use photo filter to basically set the temperature of the image. here’s what a warming filter looked like at 65% density:
blue filter at 50% density:

magenta at 35% density:

green at 45% density:

violet at 40% density:

(i went with the violet option)
exposure layer
i added an exposure layer to brighten the gif up a little bit. these are my settings:

gradient map layer
i added a gradient map layer at this point. the change here is really subtle, so i don’t know if you’ll be able to see it. but these are essential if you want to add some depth to the image. here are my settings:
colour balance and selective colour
made some small adjustments with a colour balance layer and a selective colour layer. i usually focus on darkening up the shadows and lightening the highlights
i added a cyan photo filter at 40% density
i’ll add a brightness layer to reduce the contrast, here are my settings:

another hue/saturation layer:

i added one more gradient map at 40% opacity and this was the final product:

i never share/post my psds because every gif i make is coloured individually. this ended being a lot more long winded than i expected but i wanted to be as thorough as possible. lmk if you have any other questions 🥰
60 notes
·
View notes
Text
I’ve just done a major update on my free eBook (10-page PDF) titled Getting Started with Long Exposure Photography. 😀
All you need to know to get started with shooting beautiful long exposure photos are packed in it, explaining all the basics from camera settings to exact steps to follow.
It also covers topics like how to shoot a few minutes of long exposure by using an ND (neutral density) filter and long exposure calculator app.
You can get it free from here.
Getting Started with Long Exposure Photography (gumroad.com)
To get it free, TYPE 0 ($0) TO CHECK OUT. 😉
The truth is that shooting long exposure photography isn’t as difficult as you might be thinking. Hope this eBook helps you get started! 😀
10 notes
·
View notes
Text
What is the Alkaline Diet? A Complete Guide for Beginners
The Alkaline Diet: A Healthy Eating Plan for Optimal Wellness
The alkaline diet has become an increasingly popular way of eating that promotes overall health and wellness. This eating plan focuses on foods that help balance your body's pH levels to create an environment that supports healthy cells and tissues.
What is the Alkaline Diet?
The alkaline diet is based on the principle that the foods you eat can alter your body's pH balance and impact your health. The ultimate goal is to create an internal environment that has a pH ranging from 7.35 to 7.45, which is slightly alkaline.
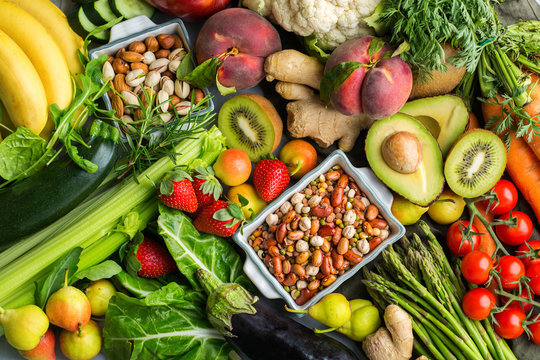
Foods are categorized as either acidic, alkaline, or neutral:
Alkaline foods - Fruits, nuts, legumes, and vegetables
Acidic foods - Meat, dairy, eggs, grains, alcohol, and processed foods
Neutral foods - Natural fats, starches, and sugars
By emphasizing alkaline foods and limiting acidic foods, proponents of this diet believe it can help neutralize chronic low-grade acidosis linked to inflammation, fatigue, and increased disease risk.
Benefits of an Alkaline Diet
Following an alkaline diet offers impressive benefits:
Promotes pH balance
Reduces inflammation
Boosts immunity
Increases energy
Aids weight loss efforts
Improves cardiovascular health
Strengthens bones
Detoxifies the body
The diet focuses on nutrient-dense whole foods that provide antioxidants, vitamins, minerals, fiber, and water to help neutralize acids and remove toxins from the body.
Balances pH Levels
One of the main goals of the alkaline diet is to balance the body's pH levels. Chronic low-grade acidosis happens when acidic wastes accumulate in the body faster than they can be neutralized. This causes the body's pH to drop into unhealthy ranges.
The alkaline diet counteracts this acidity and helps:
Regulate fluids and electrolytes
Filter out toxins and wastes
Transport nutrients into cells
Together this provides an ideal environment for cells and systems to function properly.
Reduces Inflammation
Acidosis creates an environment inside the body that promotes inflammation, a key factor in many chronic diseases.
The anti-inflammatory foods emphasized on the alkaline diet can help reduce acidity and calm this internal fire. Some examples include:
Fruits high in vitamin C
Green leafy vegetables
Nuts like almonds and walnuts
Plant-based proteins like lentils and beans
Lower levels of inflammation helps people feel better day-to-day. But even more importantly, it lowers the risk for disorders caused by chronic inflammation.
Other Key Benefits
Some other top reasons to follow the alkaline diet include:
Increased Energy Levels - A balanced pH provides cells with ideal conditions for producing energy.
Healthy Weight - The diet emphasizes low energy-density foods that support weight loss.
Strong Bones - The diet provides bone-building nutrients often lacking in modern diets.
Detoxification - Alkaline foods help remove acidic waste products and toxins.
Together this creates an internal terrain that discourages damaged cells and chronic diseases from taking root.
The Best Alkaline Foods to Eat
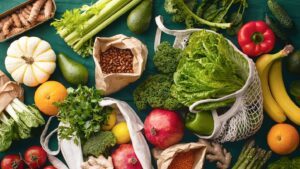
Focus your diet around these alkaline superfoods:
Fruits
Fruits are packed with alkaline-promoting nutrients. Choose fresh or frozen organic when possible. Top picks include:
Lemons
Watermelon
Apple
Grapefruit
Kiwi
Berries
Papaya
Pears
Vegetables
Aim for eating a variety of organic vegetables each day. Great options include:
Spinach
Kale
Cucumbers
Celery
Carrots
Sweet potatoes
Broccoli
Sea vegetables
Nuts and Seeds
Nuts and seeds are excellent sources of protein and healthy fats. Soak nuts before eating to boost nutrients. Try:
Almonds
Flaxseeds
Pumpkin seeds
Sunflower seeds
Chestnuts
Chia seeds
Herbs, Spices and Oils
Boost flavor and pH with these additions:
Lemongrass
Ginger
Turmeric
Cinnamon
Garlic
Cold-pressed olive oil
Coconut oil
Avocado oil
Foods to Avoid on the Diet

To balance your pH effectively, you’ll also want to avoid or limit these acidic foods:
Red meat
Poultry
Seafood
Eggs
Dairy products
Processed grains
Sugar
Packaged snacks
Soda
Alcohol
Coffee
Even whole grains and beans - two staples of healthy diets - should be eaten sparingly since they skew acidic.
Additional Tips for Success
Follow these suggestions to make the most of an alkaline diet:
Stay well hydrated with alkaline water
Enjoy herbal teas
Reduce stress through yoga, meditation, etc.
Exercise at least 30 minutes daily
Add more raw foods slowly
Focus on how you feel
As with any significant change to your diet, implement this eating pattern gradually. This gives your body time to adjust its complex systems. Pay attention to the signals your body is sending about the changes.
Over time, you should feel less internal "discomfort" and more vibrant energy. Chronic issues you learned to tolerate could show improvement or fade away completely.
The Bottom Line
The emerging research shows an alkaline diet may be an extremely healthy way to prevent damage from modern diets and lifestyles. While studies continue, adjusting your eating pattern to favor alkaline foods poses little risk and offers tremendous potential.
It provides a sustainable, nutrient-dense approach to eating that fights inflammation and encourages good health starting on the inside!
Doctor Sebi Cell Food Diet Explained: Components, Purported Benefits, Controversy & Safety Reviewed
Read the full article
6 notes
·
View notes
Text
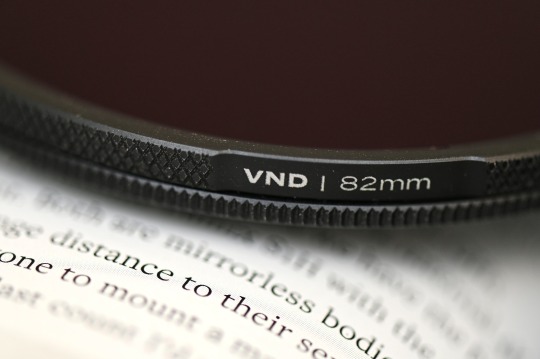
Near Perfect Results in a Quality Filter: Lee Elements VND 2-5 Review
You're going to like this one!
What’s easier to do: carry around a handful of ND filters of different strengths, or carry a 4-in-1 solution that offers the same quality in a smaller, more convenient package? If you’re worried that the latter might result in awful X-patterns or heavy vignetting, then Lee Filters has the solution for you. They’ve just launched their Elements series of Variable ND filters that come in 67mm, 72mm,…
View On WordPress
#filter kit#filters#Lee Elements#LEE Filter#Long Exposure Filter#long exposures#ND#ND variable#neutral density#screw on filter#Variable ND Filter#Variable Neutral Density#variable neutral density filter#VND filter
0 notes
Text
Black and White in Harsh Light
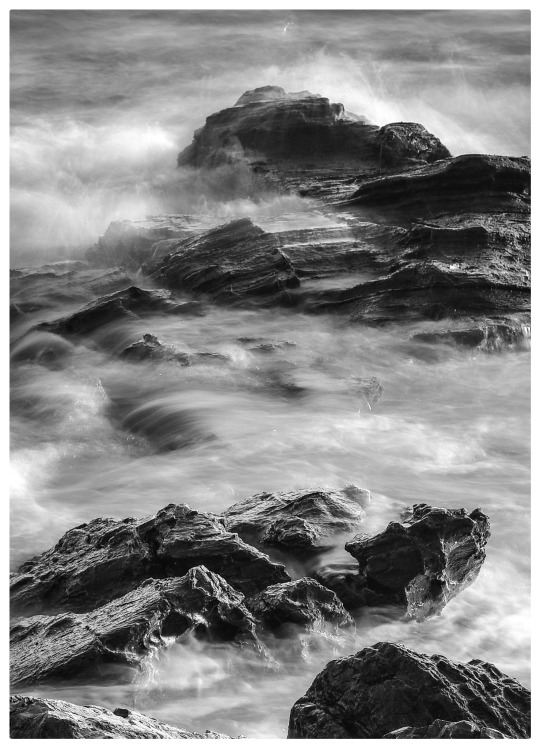
When I was out and about last week looking for some photographic fun, the light and cloud/sky interest were a little weak, so I decided to focus on some details in the environment and cut out the sky entirely from any shot I took. Additionally I wanted to convert to black and white to help the eye focus on the textures of the Rock and long exposure water.
This is shot on my favorite camera of all time, the Nikon D750, @ f/13 for maximum depth of field, and is around a 1 to 1/2 second long exposure. I took a few of each and frankly I can't be bothered to check right now just for the post.
I made this photo while using a Hoya CPL filter (circular polarizing fillter) to cut down on a little of the glare and shine on the wet rocks, and and this was stacked on top of a 6 stop ProMaster ND filter (neutral density filter) to allow for longer shutter speeds in bright light.
#long exposure#seascape#black and white#black and white photography#opt outside#nature#outdoors#no people#the hikers eye#landscape#go outside and play#landscape photography#nature photography#original photography#original photographer#nikon#hoya#benro#promaster
9 notes
·
View notes
Last Seen Blogs

gobofactory
Gobofactory

scarlett-bitch69
Pussy So Phat It Has A Double-Chin⋰˚˖࣪
theoldbrewery
The Old Brewery
matheclipse
sáva