#DaVinci Resolve Tutorial
Text
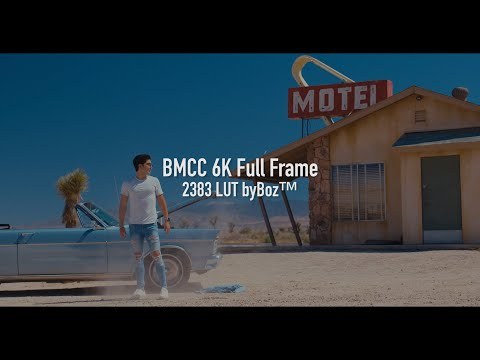
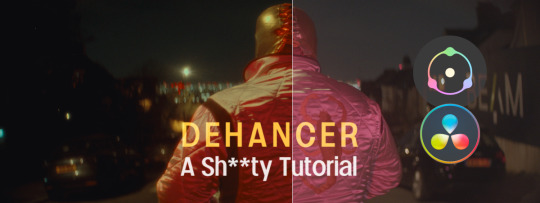
BMCC 6K Full Frame 2383 LUT byBoz™️ - DaVinci Resolve (Gen 5)
BMCC 6K Full Frame 2383 LUT byBoz™️ color grade in DaVinci Resolve. Also works with Adobe Premiere Pro, Final Cut Pro X and other .cube LUT software.
Get a special 10% discount at dehancer.com using the code: BOZ10
Available to Buy & Download Here: https://blackmagic-luts.yolasite.com/
Kodak 2383 Color grading LUT for ALL Blackmagic Cinema Camera Color Sciences.
Continue reading BMCC 6K Full…
View On WordPress
#blackmagic braw to rec709 luts#blackmagic cinema camera 6k full frame#blackmagic full frame#bmcc 6k full frame lut#color grade luts#Color Grading DaVinci Resolve#Color Grading Tutorial#DaVinci Resolve Tutorial#Dehancer Film Emulation#Dehancer Tutorial#Film Look Color Grading#film look on digital camera
0 notes
Note
Your work looks absolutely amazing! I was wondering if you'd ever make an animatic tutorial? The way you piece the frames together in DaVinci Resolve looks so mesmerizing and I haven't seen any other artists go in-depth on the editor side of animatics.
thank you <3
ive thought about making art help videos since people ask a lot but i feel like others can explain it a lot better than i can :") not that i dont want do,, its just im very bad at explaining and still trying to figure stuff out as i go lol
#asks#trust me i dont know that much about davinci resolve either#i watch general davinci resolve tutorials everytime i make an animatic#and i always learn something new lol
54 notes
·
View notes
Text


(x)
#you're important!#you're wanted!#xx#🦊.gif#2023#on their socials#(i used davinci resolve for the first time to edit the video... now i need to learn how to do colour grading ;)#i've found one tutorial on tumblr on using davinci resolve for giffing. gotta go and actually read it!)
15 notes
·
View notes
Text
I just found* premiere pro! and it's gonna help me so much with my animatic!! Mainly because whenever you look up how to do anything regarding video editing, the tutorials are always for premiere pro lol
*by found i mean bought. I totally gave my money to adobe, yes i did, in a completely legal manner, because i love capitalism and i love subscription based software... yup!
#my previous animatic i did with a free version (so incomplete) of davinci resolve#which was good. and i was planning to use that for this one as well#but it's hard to find tutorials that only use the free version dkjfhdfg#and i need the tutorials!#lol#angel's animatic journey#angel talks#personal
4 notes
·
View notes
Text
How to edit captions with your video track
Why: I like making edits of my favorite series, but I hate redo captioning. But I also know quality captions are vital to some viewers (I also use them). To me adding captions is the bare minimum for release, but also hearing all the words and timing them or even re-timing existing captions is very hard with my disabilities and this has been a barrier to me releasing edits. But no more!
DaVinci Resolve lets you add a SubRip (SRT) subtitle track to any video and then edit it at the same time as the video. It also counts as an edit for the Go To Previous/Next Edit button. Con: You can't use the button to jump to big cuts in the video. Pro: You can now easily jump to the an existing timing for someone starting to talk.
DaVinci Resolve:
DaVinci Resolve is a professional video editor with widespread industry use that also has a no-strings-attached perpetual free version. It's got a ton of features in the free version that will more than cover basic editing. It's relatively easy to use (basic tutorials help). If you need more advanced tools you can upgrade to a full license. They don't pester you about it in the free version unless you try to use the advanced tools. I would already recommend using this program to anyone looking to get into video editing.
SRT Subtitles
The SRT subtitle standard is a type of text file that includes subtitles with timings and no formatting. They can be stored separately from a video file or embedded into certain files like MP4s. This is what you'll get if you download captions from YouTube (some YouTube downloaders embed them in the video, some don't). DVD rippers usually have several options. You want an SRT file. And there are websites that host fan-made or fan ripped subtitles for less officially obtained material. You can also make your own SRT file with timings within DaVinci Resolve or with an SRT editor. You can also use this to improve on official captions while making your edit.
A pro feature of DaVinci is it can do machine captioning and then you clean it up. You can also do this for free using YouTube by privately uploading the video, letting it auto-caption, and then editing the captions. You MUST edit machine captions. They are not accurate enough on their own to be accessible. But they can be a step in helping you get it done.
Extracting Embedded SRTs
DaVinci needs an SRT file to import captions. It doesn't seem to extract embedded SRT files from MP4s. Fortunately, it's very easy to extract them.
Subtitle Edit is an open source subtitle editor. It's a great tool if you're making your subtitles from scratch or editing existing ones.
For our purposes, simply open the video with the embedded subtitle track. Click save. Save the SRT file with a useful name somewhere convenient. I recommend using the same name as video it goes with in the same folder.
Adding a Subtitle Track to DaVinci
Rev Tutorial with text and video
Open your project in DaVinci Resolve. Add your SRT file to the bin.
Under "File" select "Import" then "Subtitle."
Or click the Import Media button and add it as normal.
From the bin, select your video and subtitles. Right-click them and select "Create New Timeline Using Selected Clips".
You should now have a timeline where the video and captions are reunited and can be edited together.
Editing the Subtitles
You can now move around the subtitles like any text overlay, including making them longer or shorter. If you click a subtitle you can edit the text and exact timing using numbers. Or edit the timing visually using the timeline. The Go To Previous/Next Edit button can now help you skip to a timing someone else made for you which is usually good enough for a fan cut, making your job easier. From the Edit view you can see the audio track visualizer along with the captions for a perfect cut.
Putting Your Tracks Together
If you're making a compilations, where's where things start to suck. The subtitles are not brought along when you next your clips. They will play over the video, but they won't export to an SRT video or be embedded. You're going to have to manually copy them. But at least now they're the correct length and you have them synced up. I would highly recommend you start your subtitles right at the beginning of the clip or put a fake one in to delete later.
Add your Timelines to a new timeline as usual.
Go to the timeline of the first clip.
With the clip at the beginning, right click the seeker bar and click the select to right button on the circular menu.
Use CTRL + left click to deselect the video/audio tracks. Copy the subtitle track.
Go to the combined timeline. Go to the start of your clip.
Paste the subtitles. You may have to add a subtitle track.
Copy the subtitles from the next clip.
Go to the combined timeline and move to the start of the that clip. Paste the new set in.
Rename your subtitle tracks with the language they're in or type.
Export
Go to the deliver tab. Choose the file name and location. If you're posting to YouTube, render as a single clip, and export to MP4. Under the Subtitle Settings, select "Export Subtitle", Format "As a separate file", and Export As "SRT Without Formatting". Select the subtitle tracks you want to export with the video.
Add to Render Queue. Then render the clips over on the right.
Uploading to YouTube
Upload the video as normal. At the Video Elements step, add subtitles. Select upload file, then with timings. Your subtitles should show up on the timeline and you can check they're correct and fix anything last minute. Do this for each language you add. Continue uploading as normal.
Conclusion
That's my process for adding existing subtitles to my videos. I've wanted something like this for ages so I was super pleased to learn Davinci Resolve has it. I hope this encourages other clip makers with some access to pre-made captions to use them for their videos. It's easy, free, and can even help speed up the editing process. It makes your videos much more accessible and creates a transcript that's searchable and timestamped for easy navigation and quote copying. I really recommend working this into your process so more fans who need captions can share in your work.
2 notes
·
View notes
Text
TUTORIAL 1
Making Gifs With DaVinci Resolve and FFmpeg or Gifski
FULL TUTORIALS | RECOLORED GIFS
Want to skip the tedious traditional process of screencapping a scene frame by frame and coloring and captioning those frames in batches? Would you rather make high quality gifs in a video editor instead, with a huge toolkit of color adjustment options, applied shot by shot rather than frame by frame, all for the price of $0 per month??? This tutorial is for you!
EXAMPLE SETS
Operating systems: Mac, Windows, and Linux
Quality potential: High
Software needed: DaVinci Resolve and FFmpeg (or Gifski CLI)
Difficulty: Moderate to Advanced
Time: Example set took me 17 minutes
Competencies: Some general familiarity with video editors and using your computer's shell helps but isn't required to follow the tutorial. There is a workaround that allows you to avoid the command line entirely on Mac of Windows. Familiarity with recoloring tools is also great but not required.


LIMITATIONS: None, but do note that DaVinci Resolve has minimum hardware requirements.
See the full tutorial here!
#tutorial#ffmpeg and davinci resolve#good gifs with free tools challenge#cross platform#windows#linux#mac#ffmpeg#davinci resolve#moderate#advanced
7 notes
·
View notes
Text
i need to learn how to edit THIS SECOND i need to make an amv so bad i need to learn how to edit i need to learn how to EDITTTTTT
#I FEEL THIS IN MY BONES#MY BONES HAVE ATTAINED CONSCIOUS THOUGHT AND THEYRE THINKIN 'i need to make an amv'#rambles#genuinely anyone have any tutorials they recommend? for davinci resolve. or the art of editing in the first place.
5 notes
·
View notes
Text
The Friday Roundup - Sound Design & Free A.I. Music
New Post has been published on https://thedigitalinsider.com/the-friday-roundup-sound-design-free-a-i-music/
The Friday Roundup - Sound Design & Free A.I. Music

This website uses cookies so that we can provide you with the best user experience possible. Cookie information is stored in your browser and performs functions such as recognising you when you return to our website and helping our team to understand which sections of the website you find most interesting and useful.
#audio#browser#cookies#course#crash#DaVinci Resolve#Design#DIY Video Editor Blog#Music#sound#sound design#tutorial#user experience#Video
0 notes
Text
Fujifilm XH2s Anamorphic Short Film in Cinematic 4K/6K
Had a chance to film with the Fujifilm XH2s the other day.
Now I wouldn’t say there’s an “obsession” with the anamorphic look, more like a raging fascination with the aesthetics – Here’s the result of the combo:
Get a special 10% discount at dehancer.com using the code: BOZ10
Color grading using a combination of LUTs byBoz™️ and Dehancer OFX plugin in DaVinci Resolve. The flog 2 footage held…
View On WordPress
#anamorphic#blackmagic braw to rec709 luts#cinematic film look#color grade luts#Color Grading DaVinci Resolve#Color Grading Tutorial#DaVinci Resolve Tutorial#Dehancer Film Emulation#Dehancer Tutorial#Film Look Color Grading#film look on digital camera#fujifilm#Fujifilm XH2s#Short Film
0 notes
Text
DaVinci Resolve 18.6.5: Cinematic Drone Videos Made Easy
Did these DaVinci Resolve tips elevate your drone edits? Share your experiences below!
Transform your drone footage from shaky to spectacular with DaVinci Resolve 18.6.5’s latest editing magic. Get smoother shots, pro formats, and more!
IntroductionAI-Powered StabilizationGyro Stabilization (Blackmagic Focus)Professional File FormatsWorkflow BoostCall to Action: Explore Our Technology Section Articles on Newspatron
Introduction
Your drone captures breathtaking views from around…
View On WordPress
#cinematic drone footage#DaVinci Resolve 18.6.5#DaVinci Resolve tutorials#drone video editing#pro video editing#video stabilization
0 notes
Text
Obsessive Focus: Video Edits, Music Production, Frustration, Expression, and Relaxation,
Laidback Log
Video Production is something I’ve been doing for almost fifteen years now. I still remember one of the YouTube channels that got me into video creation. FreddieW, renamed to rocketjump, hosted all sorts of crazy fun videos. Aimbot is an amazing short video with a mix of humor, action, and great VFX work. There are some other classic gems on his channel that I highly recommend…

View On WordPress
#After Effects Tutorials#Anger in Creativity#Blog#Cinematic Videos#Collaboration in Filmmaking#content creation#Creative Process#Davinci Resolve Editing#Digital Content Strategy#Emotional Expression in Art#FreddieW Inspiration#Gorillaz Feel Good Inc#Instagram Strategy#Japan#laidback#laidback life#laidback lifestlyle#laidbacklife#laidbacklifestyle#laidbackmarco#Music Production Techniques#Music Remixing#my laidback life#OBS Streaming#Personal Growth#Punk Rock Music#Short Form Content#Streaming Tips#TikTok Engagement#Tutorial Paralysis
0 notes
Text
youtube
#davinci#davinci resolve#tiktok#reels#shorts#instagram reels#youtube shorts#tutorial#video editing#davinci resolve 18#davinciresolve#davinciresolve18#Youtube
0 notes
Text
Notice davinci resolve 16
#http://vk.cc/c7jKeU#nofollow#_blank#<p> </p><p> </p><center>NOTICE DAVINCI RESOLVE 16 >> <strong><u><a href= rel= target=>DOWN#<br> davinci resolve 16 gratuit#<br> télécharger davinci resolve 17 gratuit#<br> formation davinci resolve gratuite#<br> davinci resolve 16 français#<br> davinci resolve 18davinci resolve tutorial français pdf#<br> davinci resolve 16 manuel français pdf gratuit#<br>#<br> </p><p> </p><p> </p><p>DaVinci Resolve est la seule solution qui associe le montage#l'étalonnage#les effets visuels#les animations graphiques et la post-production audio dans#Pour télécharger#cette bibliothèque de sons et d'effets audios#rendez-vous sur la page Assistance. BLACKMAGIC PAGE ASSISTANCE · DAVINCI RESOLVE 16 GUIDE DUDécouvrez le montage multicaméra avec DaVinci R#les bus#l'automation et à préparer l'audio pour l'exportation. Timer. 1h 16m.#un lien vers DaVinci Resolve 16 – Training | Blackmagic Design C'est d'ailleurs pour cela que dans tous les domaines#les notices et modes d'emplois se#Manuels de DaVinci Resolve de %brand. Consultez gratuitement le manuel de DaVinci Resolve de Blackmagic Design ou posez votre question à d'#Ce guide de formation et de certification officiel Blackmagic Design enseigne aux monteurs#artistes et étudiants à utiliser DaVinci Resolve 16#PDF de formation sur la version 16.3 du DaVinci Resolve tout en français avec Rédigé le Jeudi 23 Juillet 2020 à 16:55 | Lu 6898 fois | 2 co#</p><br>https://wojusiwonivo.tumblr.com/post/694160011559059456/briquet-clipper-mode-demploi-lego#https://pefekohitosa.tumblr.com/post/694156911585738752/e-demploi-lettre-de-demande-demploi-gratuit#https://wojusiwonivo.tumblr.com/post/694159887094120448/taneo-tresco-mode-demploi-samsung-galaxy-s4#https://pefekohitosa.tumblr.com/post/694156321020428288/emploi-residence-soleil
0 notes
Note
@ mountain King edit Anon, try davinci resolve from black magic! They're a really good all in one editing software, have a free version (I think you need to "sign up" for their newsletter but you can just use fake names and whatnot for everything) there's lots of tutorials on yt but I find the layout pretty intuitive anyway. They're for editing what blender is for 3d, free but holding up to industry standards
Posting for information! Thank you :D
55 notes
·
View notes
Text


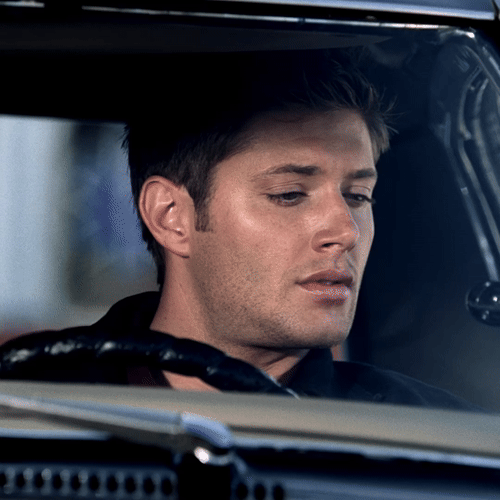
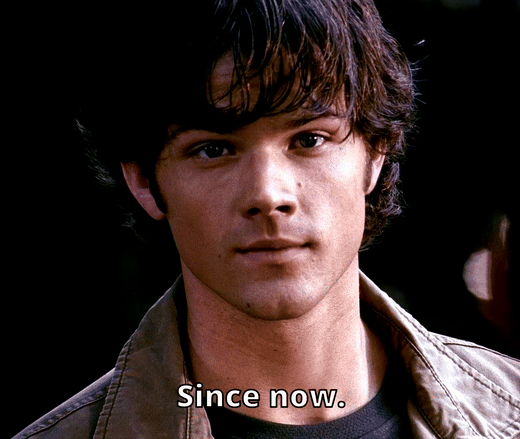
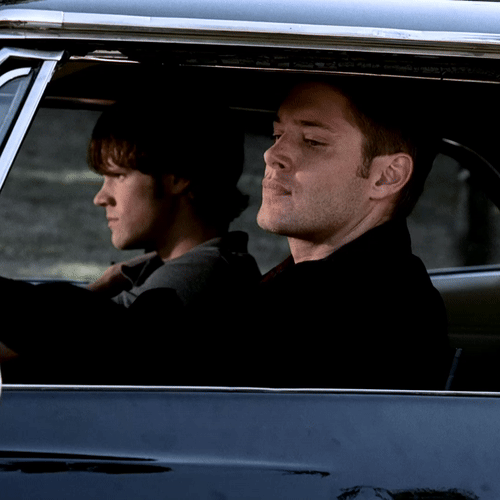
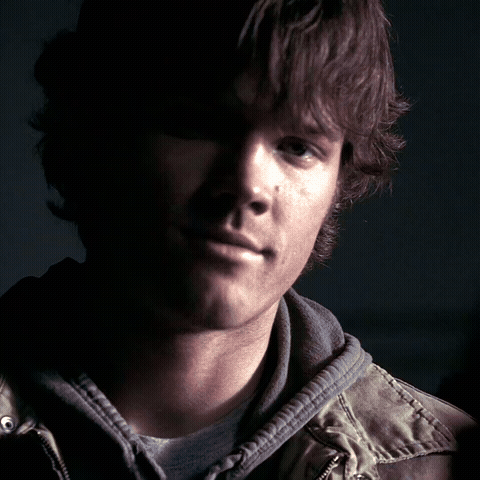
Gifset from Tutorial 1 with and without the basic recoloring steps in DaVinci Resolve.
0 notes
Last Seen Blogs

mxdamerouge
ELEANOR BISHOP

neneism
nene !

james-jensen23
Untitled

cmpumkin-arts
I do art...maybe

manoftheworldpart2
Man of the world part 2. Late 50's UK male. 18+.