#fic printing
Photo
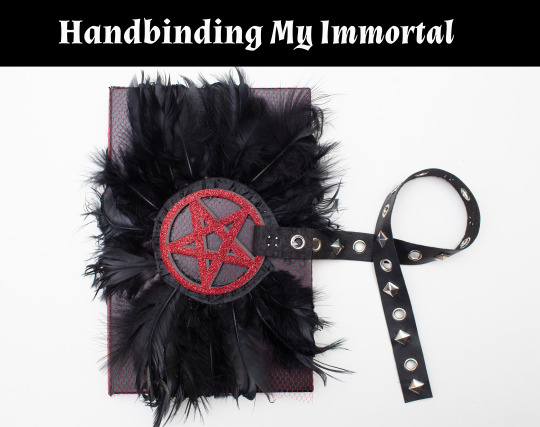


Handbinding Project: My Immortal by Tara Gilesbie
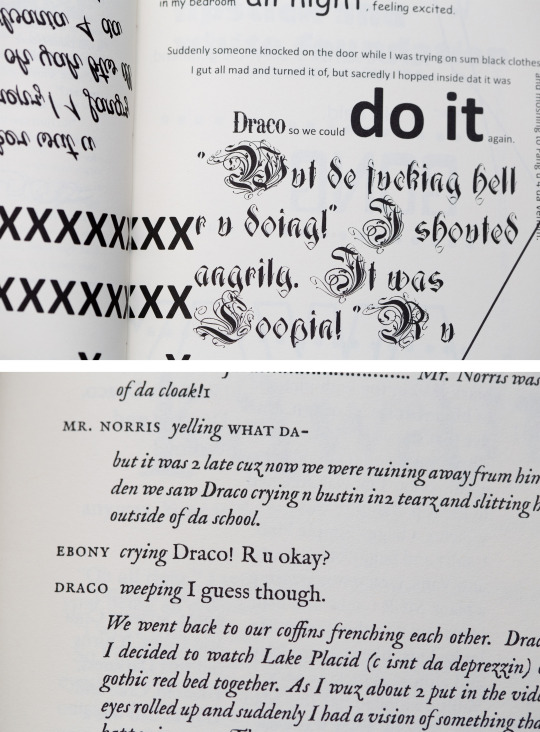
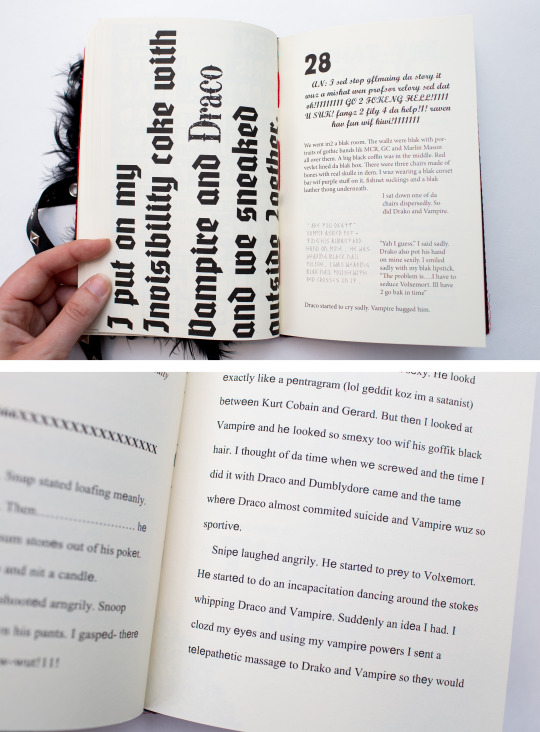
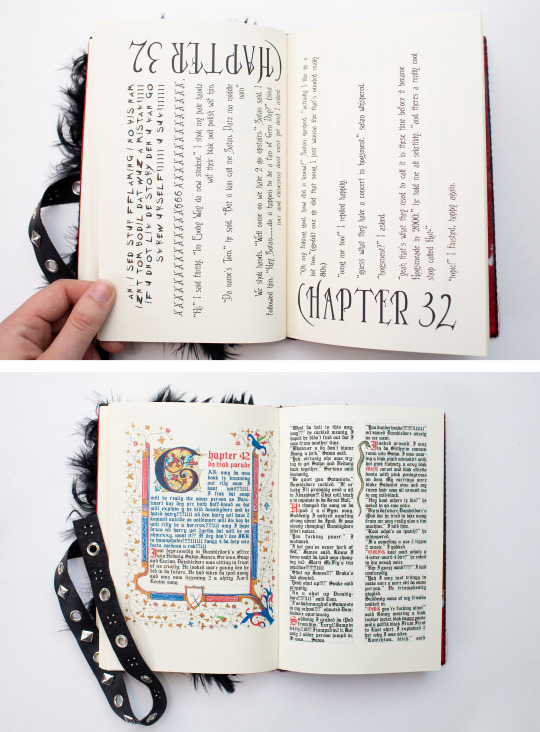
This really started over a year ago, with a project started in the Renegade Bindery server: people would format different chapters of My Immortal, without knowing what anyone else was doing, and we would put them together into one file. It was agreed upon that everybody would disregard both good design and good taste.
(If you click on each image, the caption lists who designed the page in question. I couldn’t include them all here, but every page is basically a work of art. Horrible, typographically hellish art.)
After raiding a Joann’s of materials I thought belonged in Hot Topic circa 2005 (before it just became Think Geek II: We Don’t Light Our Store,) I almost immediately tested positive for covid. So I made most of this over the last four days, and with varying levels of coherent thought and common sense. The process is documented in a thread here
#handbinding#fanbinding#my immortal#bookbinding#art#or something like that anyway#op#what am i supposed to do with my life now??#my job??#my bookbinding#fic printing
66K notes
·
View notes
Text
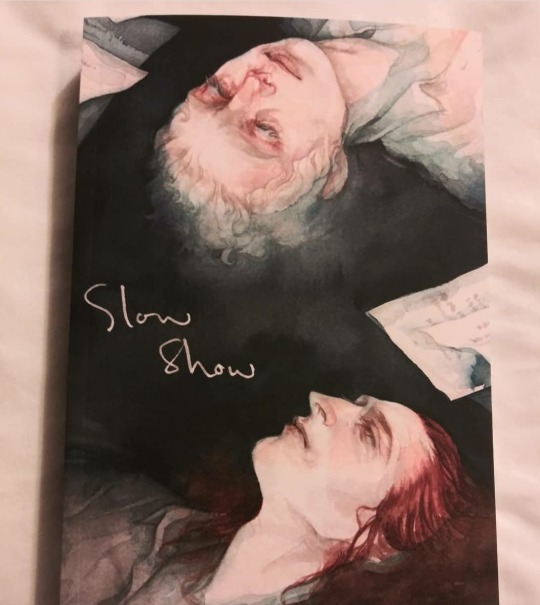
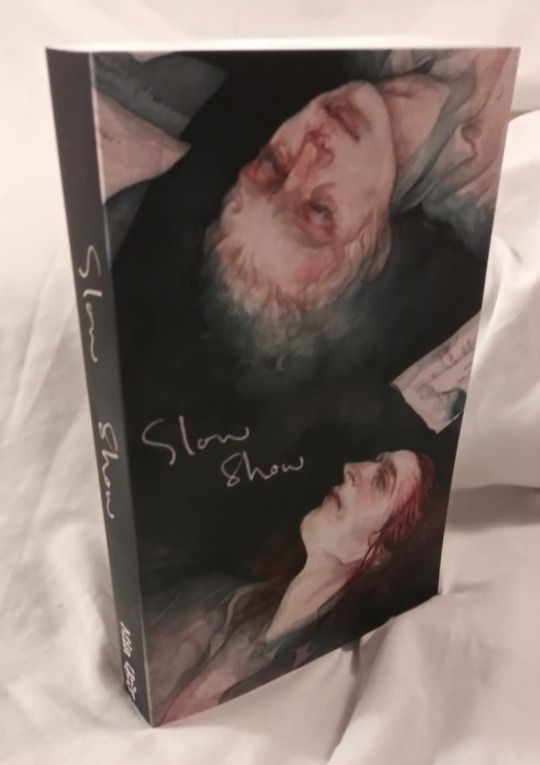
Slow Show Book Sale Round 2 (With new hardcover dust jacket version)
PURCHASE HERE
In honor of the second season Ineffable Editions is doing a second printing of Slow Show by @mia-ugly with the amazing original cover art by @dorywhynot
ineffableeditions.bigcartel.com
100% of the proceeds will go towards charity supporting Standup for Kids and their fight against youth homelessness 💕


#good omens#Slow Show Good omens#fic printing#slow show#slow show book#slow show printing#a slow dumb show for you
108 notes
·
View notes
Text
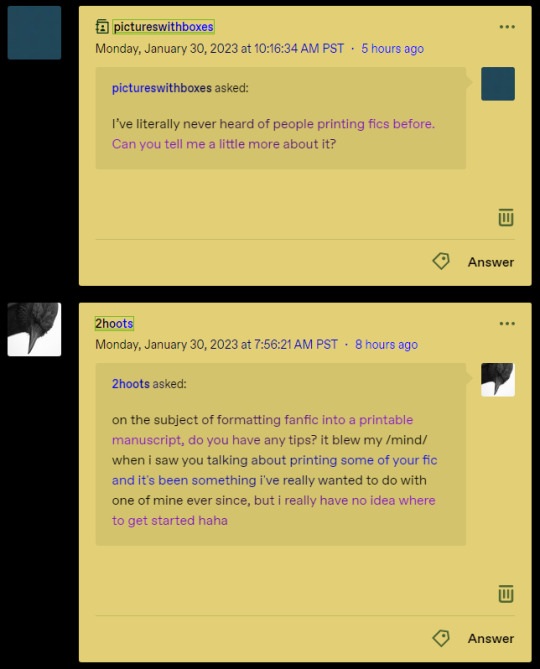
I’d LOVE to talk about it!!!! There is NOTHING like holding a physical copy of a fanfic you love in your hands, whether it is yours or someone else’s. Though I do recommend you get a physical copy of your own work first and foremost, it really cements the fact that you wrote a whole ass novel, or a collection of short stories. The first few fics I ordered were ones I wrote myself and I still go out into my living room to pull them off the bookshelf and just hold them, sometimes.
There are a lot of websites that exist where you can print books without publishing them. The website I use to print fic is Lulu. There are other websites but this one is my fave. Some people have probably written beautiful guides on book binding but I would rather just have a service do it for me. i thought it might be fun to make a whole ass tutorial on my process, if anyone is interested? Because I really think this should be something more people do, I am telling you it'll change your LIFE. Wanna re-read that old fave in your bookmarks? Cut down on screentime! go GRAB IT OFF YOUR SHELF and settle in all cozy :3
SO: HERE IS A WHOLE ASS TUTORIAL ON HOW TO ORDER PRINT BOOKS OF YOUR FAVE FICS.
I use google docs. There are probably ways to do this in other word processing software but google docs is my friend. So this is how I do it. Google is also your best friend when figuring out how to make these adjustments in other word processors fghdg.
So you kinda want to set up the skeleton of your physical fic first. You wanna make a blank document, go to file > page setup and change the paper size to A5. This’ll put it in peak book format! Hurray. You’ll notice things are a bit cramped here but don’t worry, the margins are supposed to be like that. I like single spacing with the typical indent (.50) so thats what I do. I know some people prefer double spacing, so if that’s your jam do it! Just keep in mind it’ll make your book a lot thicker, it really depends on how you want to condense things. Font size is also a factor here. Personally, I LOVE to condense–12 point times new roman font and single spacing is my jam, heres what that looks like:

But again, depending on how long of a story/collection you want to make, you can space things out too.
Make a nice title page! Mine are pretty simple, just the title and the username. Sometimes I’ll put the fandom name like ‘a [fandom] fanfiction’ but for the most part thats just for PDFs i share of my own fic. When it comes to my own fic I also like to put little dedications at the beginning for flair. Again, that’s just for me.
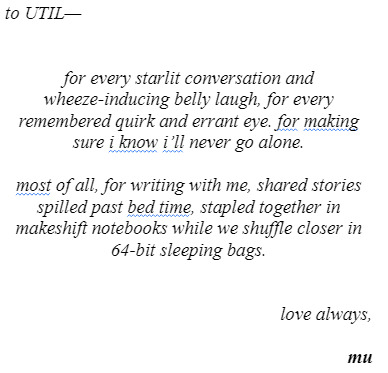
this is from my sicktember anthology, which is just all my sicktember fics in a neat little book. here's Down's:
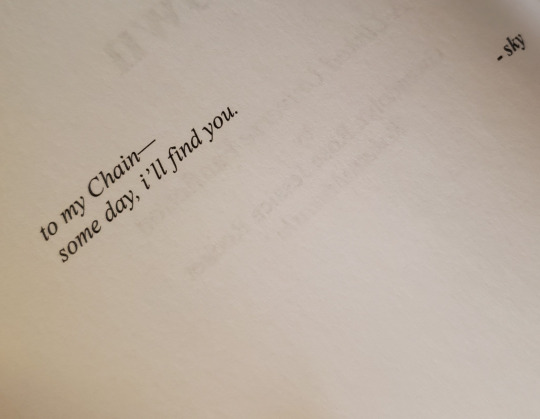
this is my favourite part of printing my own books. i like to get sappy with it.
Add page numbers! This is something you can do automatically in most word processors. You can put em anywhere, I always put mine as footers ‘cause I really just like my fic to feel like a real book. This is under 'insert' in gdocs.
If you’re doing an anthology collection or a lot of fics in one book, a table of contents is good to have! If you apply a heading effect to each story/chapter in google docs, you can automatically insert a table of contents. I usually have to play around with mine a little (and edit it after, pin in that for later) but it’s a good thing to have. But in order to make a table of contents you have to actually have the fic in the doc, so let me teach you how to do that.
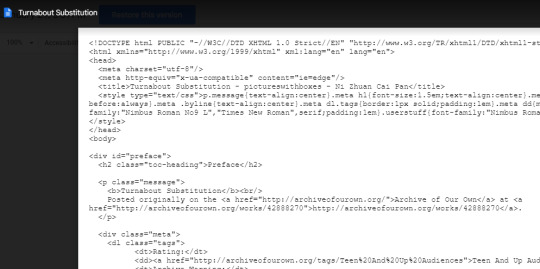
Congrats @pictureswithboxes, you are hereby my guinea pig. Because your fic is a good length and it’s the first one that isn’t my own that I’ve turned into a physical copy. Everyone please watch as I turn Turnabout Substitution into a book.
There are many ways and many formats you can download an AO3 fic in. Personally I prefer the HTML format–don’t ask me why, it’s just the best one I’ve seen for keeping things easy to edit and intact. If you work better in PDF or EPUB feel free to download those, but it’s my tutorial so you get HTML.


I drop the HTML file into docs. When you open it, you get this nonsense:
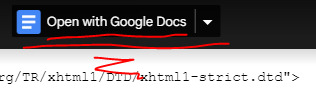
'cause that's a whole ass webpage, obviously. so open it AGAIN, this time using this button up top:
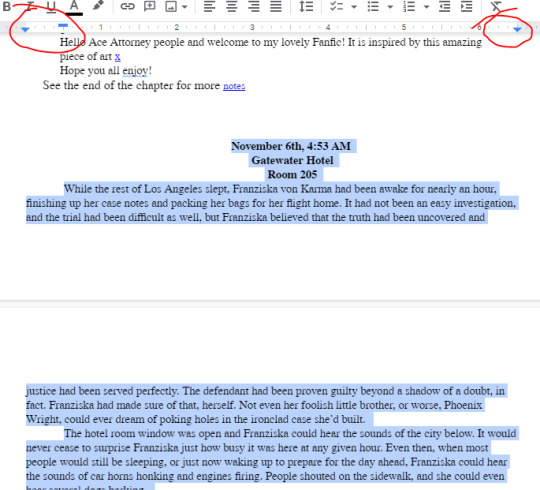
And that gives us… well, a lot more nonsense–it drops all the tags in, authors notes, whatever. You’re welcome to keep author’s notes if you like, personally I do without them (i love to read them digitally! I just keep them out of my physical copies) and everything is in 11 pt times font. The first thing I do is highlight the body of the fic and ONLY the body of the fic. I do this chapter by chapter.
Once I have chapter 1 highlighted, i change the font to my preferred size and typeface–in this case, 12 point times new roman. And then, with the body of the chapter still highlighted, i fix the margins/indent–left to 0, first line to .50, and right to 6.50. Then, with all of that highlighted, I paste it into my ‘book’ doc and all the indents/font choices carry over. Easy peasy.
I go ahead and make a chapter header. I think when doing a proper manuscript a chapter is supposed to start at the mid-point of the page, but i usually have the title at the top and the body text starting halfway down.
(my doc is in grey to avoid eye strain. if you do this, make sure it's white when you save it xD)
After a chapter–or any time you want to move onto the next section–use a page break! These are under the ‘insert’ tab. They will automatically jump you to the next page, and they will be necessary, for many reasons, but also because!!!
A new chapter should always start on the right page. In order to keep this correct, I take note of if my right pages are evens or odds in page number. Your first page will always be on the right. If you add a table of contents, it should also start on the right–so add a couple page breaks between the two to make a fully blank filler page. In my experience, because page 1 is always right, this usually means your right page will always be an odd number, but for some reason I'm having some weird mandela effect where i swear it wound up evens one time. huh. never hurts to double check! and triple check.
I ignore this all while I’m pasting the chapters in, but then at the end I go through all of them using google docs’ outline feature. Which is honestly NECESSARY for something like this, if you aren't already using it:
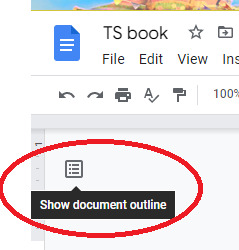
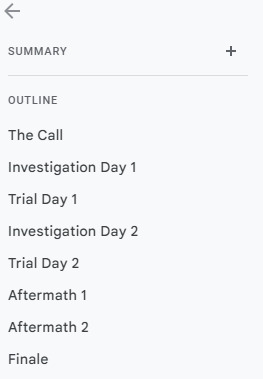
(anything marked as a heading will show up here! or you can highlight something, right click, and add it to outline manually. It's great!)
If my right page is odd-numbered, i check each of them one by one to make sure they all start on odd pages. I add an additional page break in the chapter before if they’re not, to make a filler page. it might feel weird to have all these blank pages in your doc but trust me you will appreciate them when you are actually holding the book.
As I am doing this, I also scroll up to the end of the previous chapters to look for orphans/widows. These are single lines that wind up on their own on the page and look kind of awkward and personally irritate me. Most word processors also have a feature to get rid of these, in google docs you just have to highlight the whole paragraph the line is in (or the paragraph before it, if it’s dialogue or a single line on its own) and apply a heading to it. You can highlight it and click ‘update heading to match’ to do this without changing the font. Good as new! It’ll show up on your outline on the side, but you can delete it by hitting the x beside the lines.
Another thing I do with the body text is i scroll through the whole doc and look for line breaks. AO3 has built-in ones you can insert, and you’re welcome to keep those if they are in a fic you like. Personally i prefer the look of a space to separate, though, so I actually edit them out and replace them with 3 line breaks. Literally just hit the enter key 3 times.
TS here is a case fic, told in the style of the ace attorney vn, which means each chapter has a few locations and timestamps displayed. I do 3 blank line breaks before these, and two after. Because it’s what looks nicest to me. You can play around with aesthetics and see what you like.

Once everything looks good, I scroll back up to update the table of contents if I have it. Google docs has a feature where you can ‘refresh’ it, but… I do not recommend this, because if you formatted your table (which you most likely did, it looks kinda terrible on its own) this will reset the formatting, and that will more than likely space out things or add unnecessary things (like those widows and orphans you marked before) which will add to your page count which means your TOC will be wrong ANYWAYS. So what’s the alternative?
Open your doc in two tabs. Same doc, two tabs. In one tab, stay on your TOC. In the other, click through your outline and input the new page numbers yourself. A little painstaking, but less prone to error. Easy peesy! Here's a bit of my finished TOC for my sicktember book:
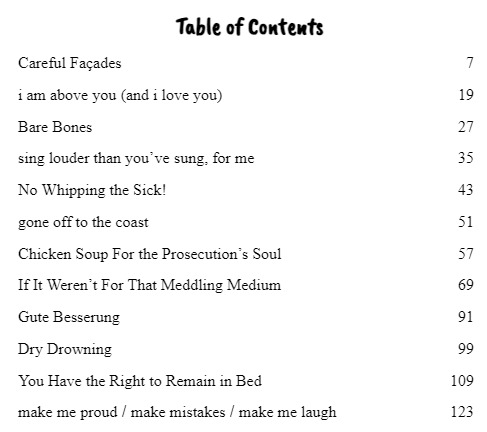
Like all things, you can play with fonts and margins.
Your book is READY TO GO. Save it as a PDF, you can do this by hitting the print button in docs and most other word processors. Then instead of choosing a printer hit ‘save as PDF.’ Scuttle on over to Lulu and make an account. Yes it is worth it. Fic!
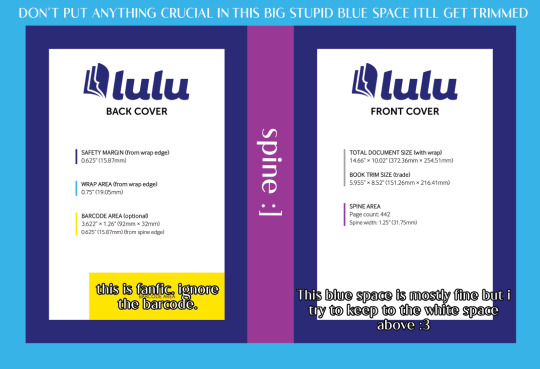
Lulu is awesome because it has lots of customization options. If you wanna get fancy with it, you could insert images into your PDF and get a colour book! But I just order print books, basic black and white. Once you name and upload your PDF, you can choose EVERYTHING. What kind of paper you want. If you want hardcover or paperback. The world is your oyster. Lulu will then give you a template for your cover, fitted to the dimensions of your fic book based on page number and what options you choose. They technically have a guide that lays this all out for you, but I find it incredibly confusing, so here is the streamlined wendy version:
There are a lot of options for how to make this cover. You can use an image editor, like photoshop, or you can draw fanart, or you can simply go into MSpaint and add some shitty little text to a solid colour if you don’t feel like anything fancy. A lot of people also use canva, which has tons of templates and assets you can throw together. I use canva so much i actually paid for a pro subscription lmao fsdghfgh but I also use photoshop a good deal. I made DTE’s covers in photoshop:

And Down’s cover in canva:
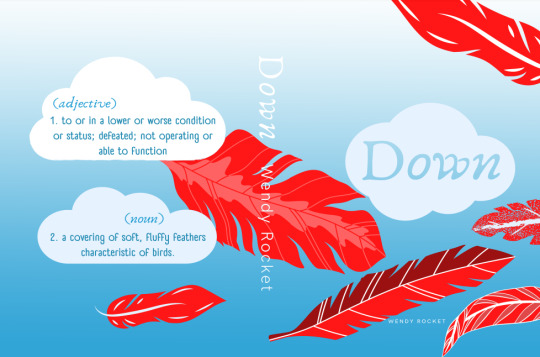
When I’m doing canva covers, I always just save the PDF, pop the template into photoshop, and then paste the images over it and rearrange them to my liking. I think Lulu also has an in-site canva editor but I don’t like learning new software. Photoshop is easy gfhfhg.
WHEN YOU ARE SAVING YOUR COVER. LISTEN TO ME. LISTEN THIS IS IMPORTANT ESP IF YOU NEVER TOOK GRAPHIC DESIGN OR HAVEN’T PROFESSIONALLY PRINTED ANYTHING. When you are saving your cover. SWITCH YOUR COLOUR PROFILE TO CMYK!!! Do not save it as RGB! RGB is good for digital graphics, but if you EVER print something you need to switch it to CMYK. I FORGOT TO DO THIS SOMEHOW when I printed my first two fic books, so their covers look a little washed out. When you do this in your photo editing software, they will look washed out there too–this is normal. They will print SO much better. Just trust me.
Make sure you save your cover as a PDF and pop it onto Lulu! It’ll show you a preview of your book and cover which you can go by page by page to look for mistakes or anything you may want to change. In this preview the cover will ALWAYS look like a shitty, jpeggy mess. IT DOES NOT LOOK LIKE THAT IRL. I was so concerned fghfg but they print fine the preview just sucks.
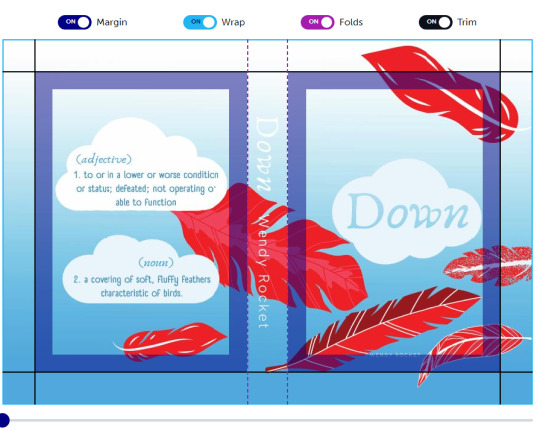
wow so cool. this is for Down's hardcover which has a lot of margin. the closest summation of what your book will be like is to turn everything here off but the folds:

so cool. thats my book.
And you’re good to go! Enjoy your fic!!! PHYSICAL FIC IN YOUR HANDS!!! I got to experience the most magical thing recently: my friend bought a copy of Down, and then SHIPPED IT TO MY HOUSE, and i got to SIGN IT. I got to SIGN a copy of a BOOK I WROTE. They loved it that much. And I had the PDFs. PDFs I need to update, because I didn’t know half the shit I just wrote here when I made them. BUT I GOT TO SIGN MY FIC!!! SOMEONE LIKED IT ENOUGH TO BUY IT, AND THEN SEND IT TO ME, TO SIGN!!!
All the money here goes to printing costs, if that wasn’t obv. Paperbacks on Lulu can be under ten bucks depending on how thick they are, and hardcovers are usually under 25. It’s insane to me how cheap it is to print fanfic, and once you try, you WILL be addicted.
I tried to make this tutorial easy to follow, i hope it was! If anyone has any questions about the process, I am always happy to answer. Or, um, if you just want me to do all this formatting FOR you… I might be open to doing it for free. Mutuals get first dibs but I genuinely LOVE formatting docs for printing. I can’t help you with covers (i flounder even making them for stories I love) but I’ll always format a fic or several fics for you. Just HMU ghfghgf
228 notes
·
View notes
Text
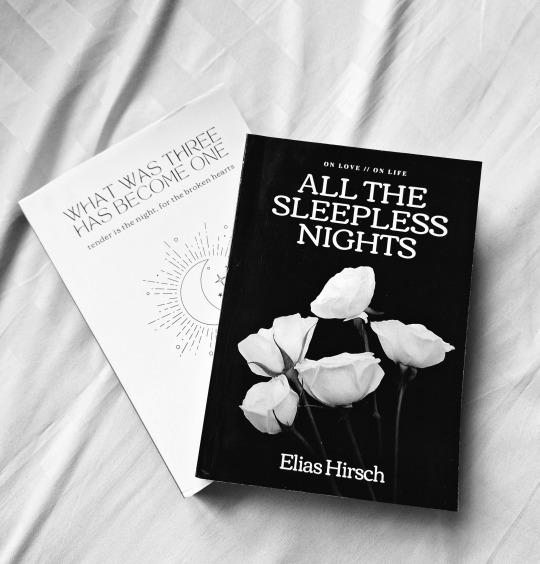
First time printed my fic and I'M. SO. HAPPY!!!
OMG, the feeling of holding these two in my hands is indescribable. It's so surreal to see my hard work literally in my hands!
(Also, I've successfully gotten out of a rut and wrote another Icemav/Hangster fic. Yup, I'm writing these assholes again. And it's sort of in the same universe as All The Sleepless Nights. So I'll be editing that for the time being. Watch out for that particular fic in the future!)
Read these two here! -> What Was Three Has Become One // All The Sleepless Nights
34 notes
·
View notes
Text
Fic Printing
Anthology time!
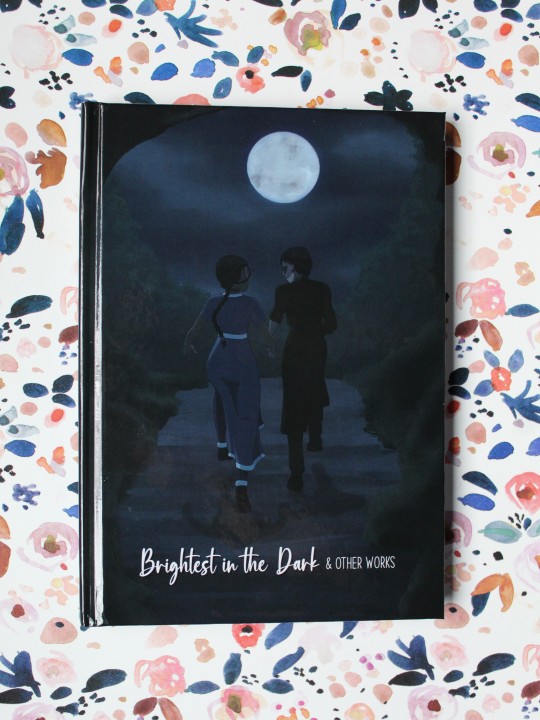
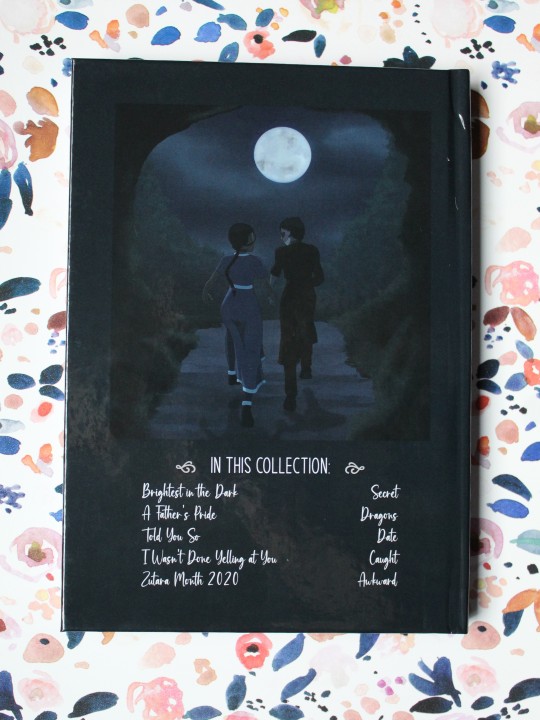
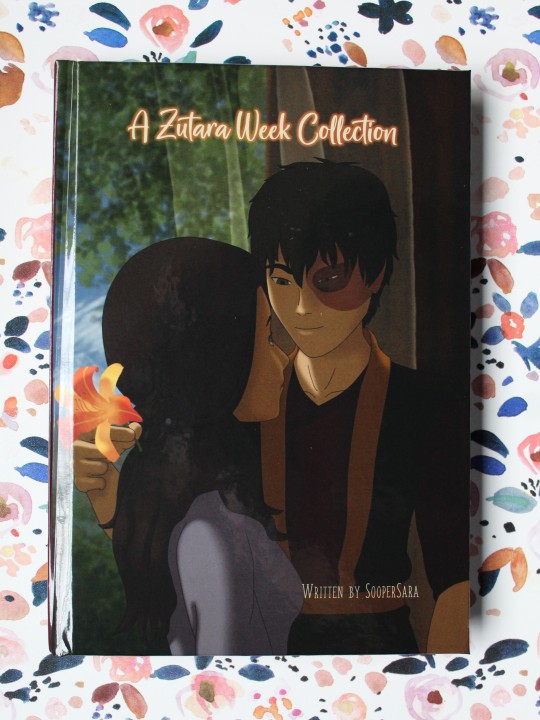
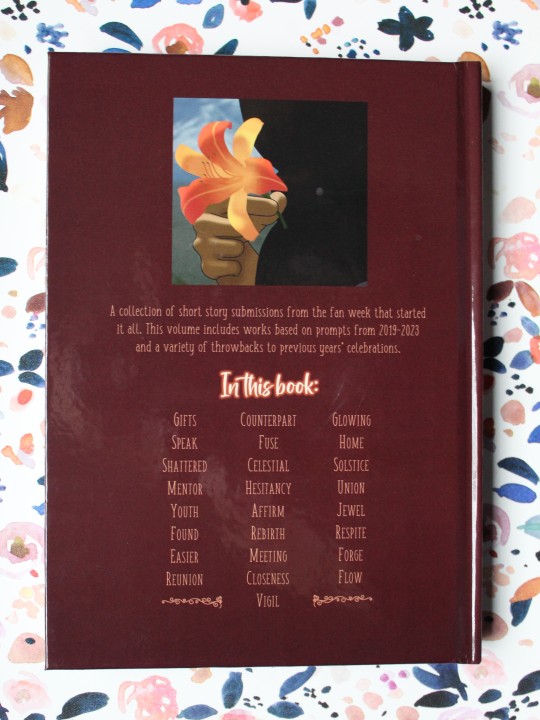
I'm gonna be honest, I've had the Brightest in the Dark collection sitting around for... a while now. Why didn't I post about it until I got a second anthology printed? I dunno. Probably laziness.
In any case, that's all of the drabbles and oneshots (plus a short multichapter) I've written so far printed up in 2 volumes. The printable PDFs will be linked in the reblog for anyone who may be interested!
Photos of my growing fanfic collection below the cut:
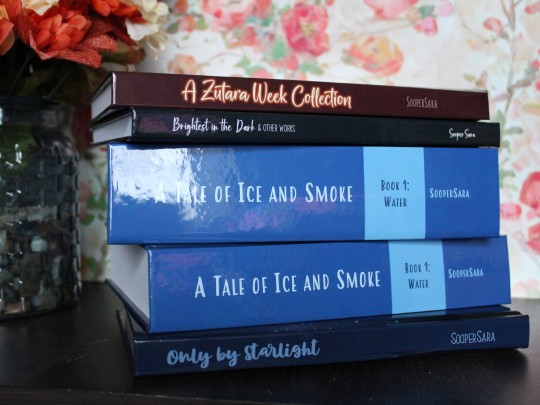
Now to stare longingly at my Ice & Smoke Book 2 cover art for however many months/years it takes to draft that sucker and find the best places to break between volumes.
#zutara#zutara fanfiction#fic printing#fic printing update#Brightest in the Dark#plus a bunch of oneshots/drabbles#soopersara's scribbles
31 notes
·
View notes
Note
Hey hi! I created a tumblr account just for this purpose lol. Actually my girlfriend is a huge fan of The Changeling (and the whole Armistice series as well, she keeps coming to your tumblr to check whether you've posted anything new :P). She has read it on AO3 at least 10-15 times and her favorite parts even more. It's her birthday coming up in a couple of months and I wanted to surprise her with a physical copy of the book. I wanted to ask for your permission for this, basically for printing and binding a copy of the book. I hope to god that you allow XD. Thanks in advance! Sorry if such a request has been made a thousand times lol.
PS: I have also read The Changeling and Armistice #1 and had loved both of them (planning to read Armistice #2 this September).
Hi! Thank you so much. I'm glad your girlfriend has enjoyed them! And I appreciate you reaching out.
You can absolutely print copies for personal use. And if it helps at all, I actually commissioned the lovely @runawaymarbles to create covers and format the fics for printing. You can get links to all the files and such here. I printed my own personal copies through lulu.
But if you want to make your own files/covers or whatever, feel free. And I love to see it if you do, if you get the chance!
23 notes
·
View notes
Note
so um... how would you feel if maybe i was thinking of printing and binding one of your fics as my first ficbinding project? nothing is settled on yet, i wanted to ask and test the waters first
it would be all homemade and no money or profit would be involved anywhere in the process
still absolutely fine if you'd rather i didn't! i can understand everyone has a special relationship with their works and id still love them as much (which means very much 💕) if you said no
hi thank you so much for the kind message and asking so nicely!! i'm more than happy for you to bind it yourself as a project and i'd love to see the finished product and what fic you're gonna bind !! :-)
just a disclaimer on here since this is the first time i've been asked: plz no one use a company to print my books it is #illegal but happy for anyone to print n bind them at home x
#fic printing#answered#also i think if one day u donate it to a charity shop or somethin and then some unsuspecting fellow comes across it. well that would be so#funny to me#but anyway this is incredibly sweet thanks for asking :-) xx#crazy that ppl like my work enough to do this!!!
5 notes
·
View notes
Text
Holy fuk i hate some people cus like one of my fave fics just go taken down cus of the hole shit with the printing and legal truble, so honestly fuk them how can they be so selfish that they end up taking so may wonderful works forcing their creators yo be nervous for their creativity. FUK THEM!
#Atlest i have it downloaded#But i cant even imagine how may other works will disappear and no one will know#I hate them#archive of our own#fic printing
0 notes
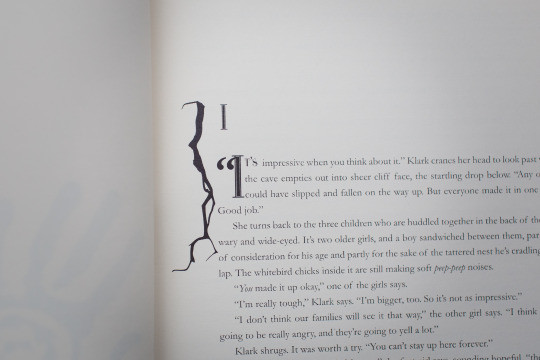
Text
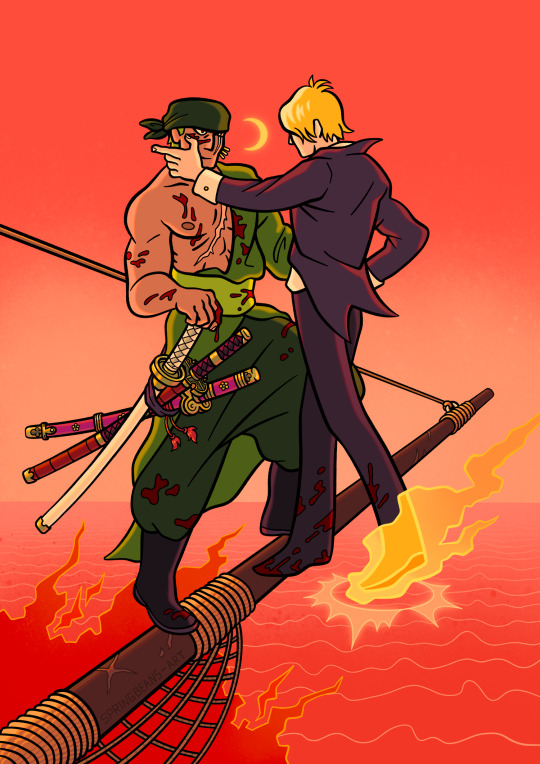
uff wish i had time to polish this more but I had to get it off my chest because it's inspired by @demonzoro 's absolutely stunning fic "and then the sun came out" and it literally rearranged my braincells!!!!!! The writing is impeccable and if you haven't read it yet do yourself the favor and go now!!!
#demonzoro#zosan#the imagery in this fic is so vivid and stunning and the callbacks it makes to earlier phrasing while shifting it under a new context....#SHOWSTOPPING!!!! i would like to print the whole thing out and then eat it#i've literally reread it five times already and it's a permanently open tab on my phone. thank you so much for your writing#roronoa zoro#roronoa sanji#one piece
1K notes
·
View notes
Text
711 notes
·
View notes
Text

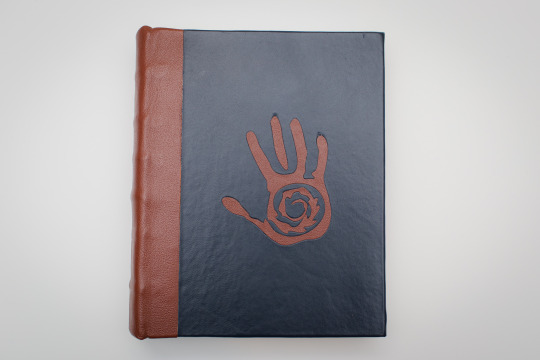
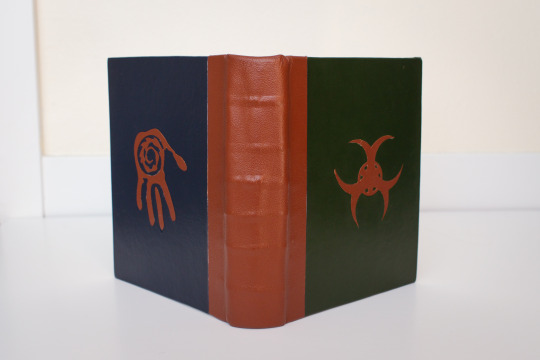


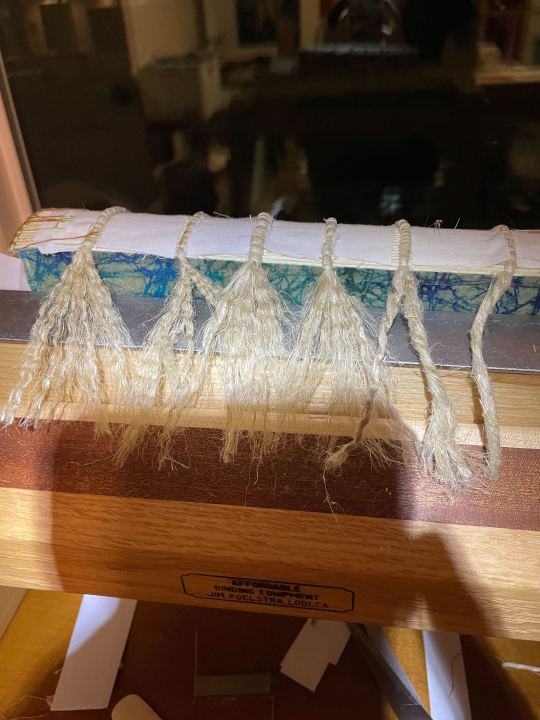
Handbinding project: The Lay of Looking Glass Land by @entirelytookeen
Again?? Yes. After two years I finally got around to making a personal copy.
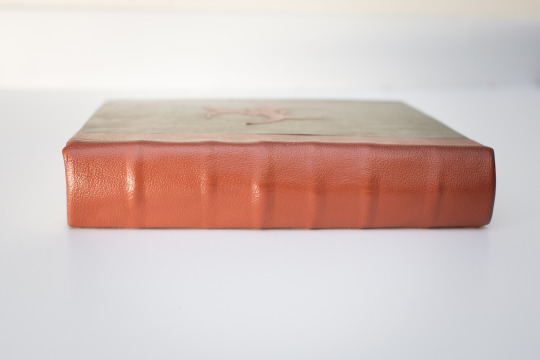
This was my first attempt at a flexible leather binding with raised cords. It went... okay. I spent most of the time thinking "this is stupid I'm never doing this again", and then when I finished I thought, "but now I know a bunch of things that could go better." And now I want to try it again. Probably after I forget how much I hate untwining leather.
This was also my first time using leather onlays as a book cover. I cut out the shapes with a cricut, pasted them to the cover leather, then flipped it over and shaved away at the back so that it would lie flat.
Progress pictures under the cut
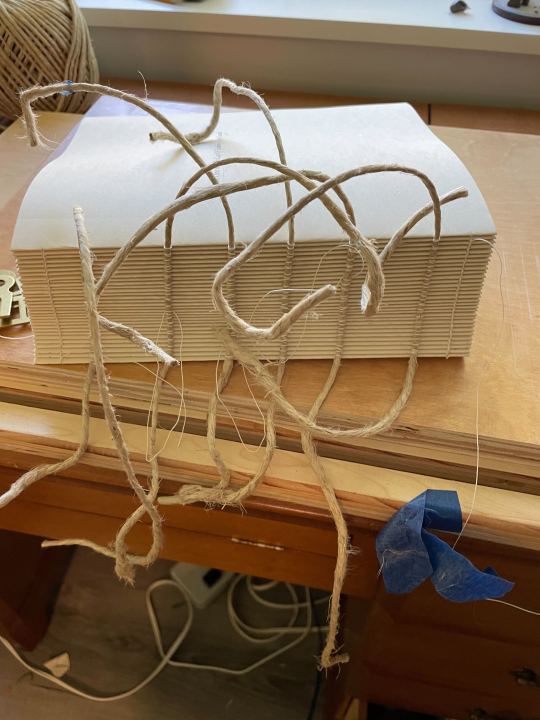
Release the kraken!!!!
Untwining the twine.
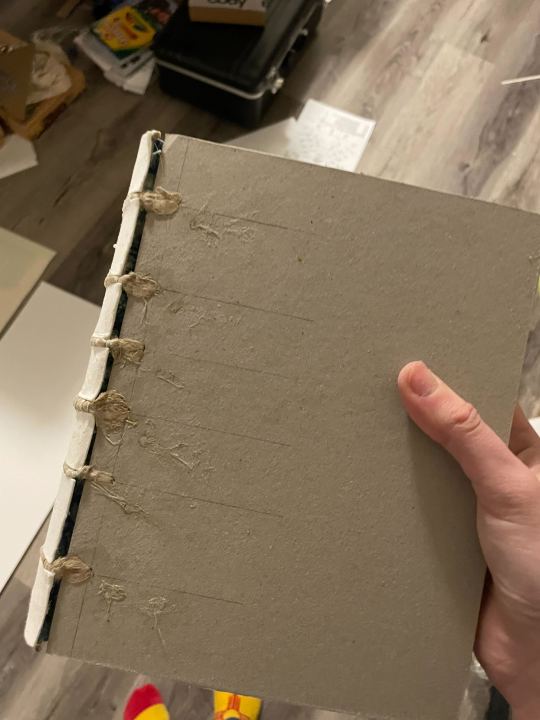
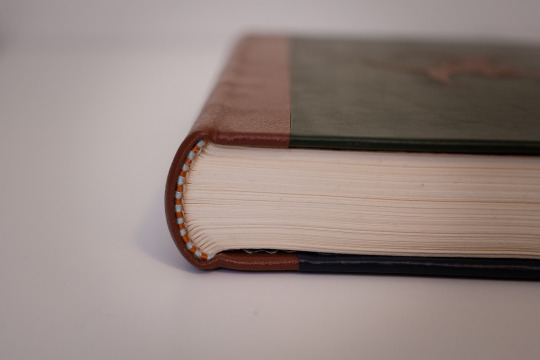
Boards laced on
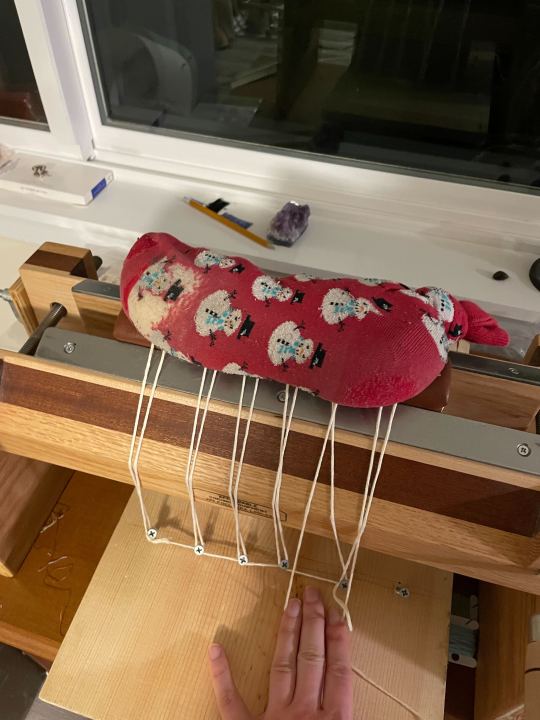
The spine leather under the Get-Along sock and with strings holding down the leather around the raised cords on my shitty improved tying-down board. I should have moved the screws much farther back to keep the string tight; as it was I had to assist it.
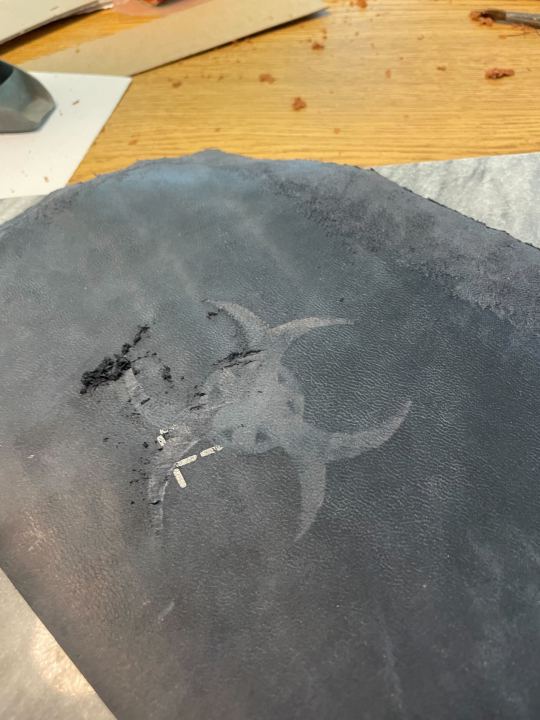
Scraping away the leather underneath the trikru symbol
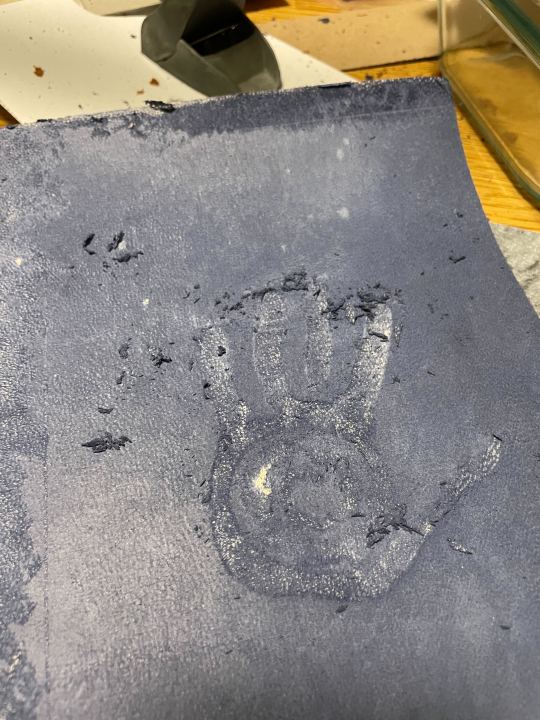
and the Azgeda handprint. This one was much trickier because of all the little pieces, and because this blue leather is a bitch to pare. Also, at the time I was on an incredibly silly discord call, and kept laughing, which blasted the leather shavings across the room.
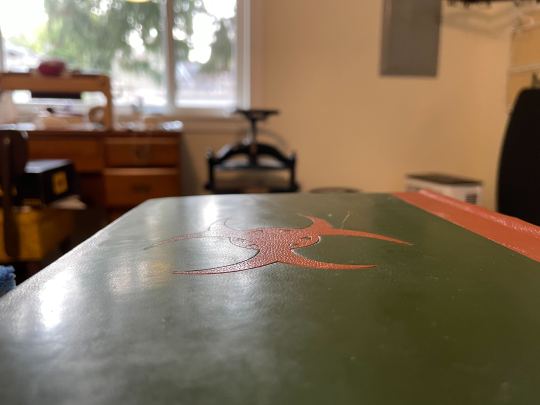
look at how fucking flat that cover is though. Look at it!! (this is before i got the dent from something stuck to the foam in the press, RIP.)
#fanbinding#handbinding#bookbinding#adventures in leather#clexa#the 100#fic printing#the lay of looking-glass land#kl_morgan#op
242 notes
·
View notes
Text

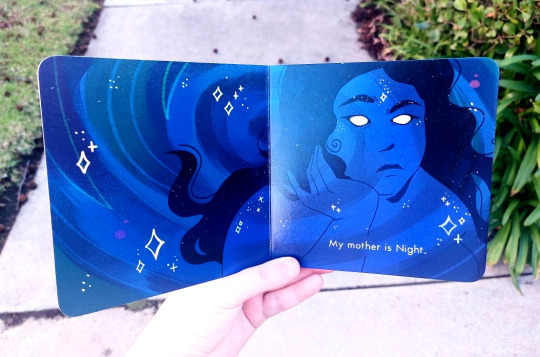
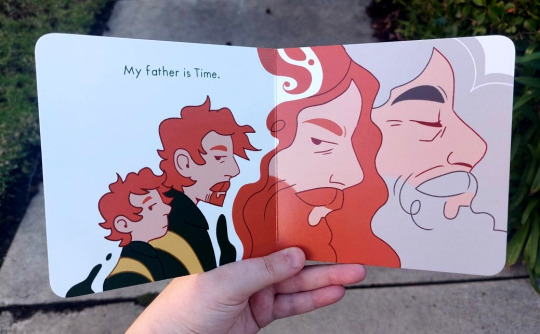
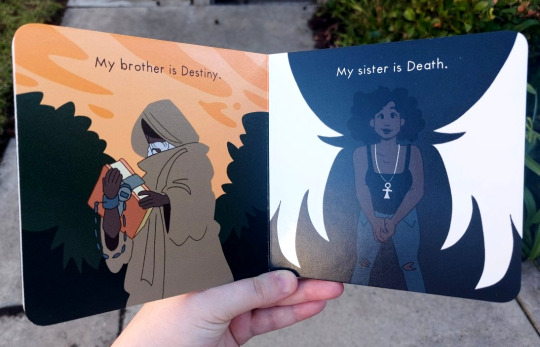
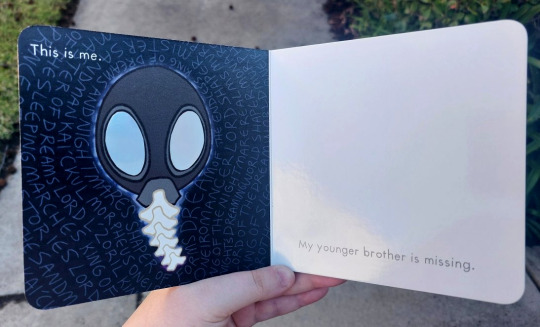
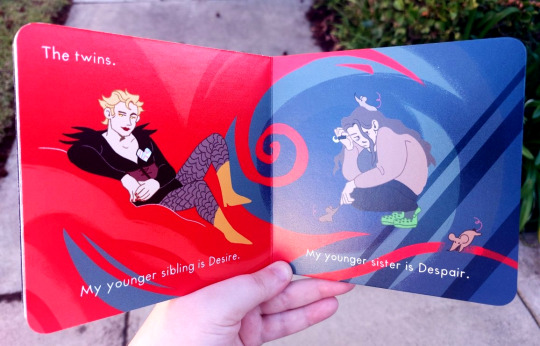
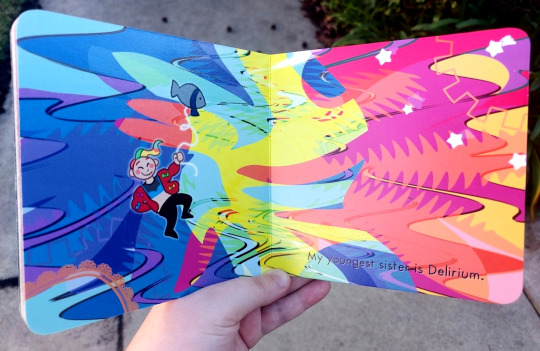

i'm excited to show dream's board book for To Be Brand New by @dsudis for @the-centennial-husbands-bigbang (dream's helm lenses are made with reflective paper! so irl you can look at yourself on the page)
link to the high rez illustrations
#my art#fishfingersandscarves#the sandman#the sandman netflix#big band#the centennial husbands big bang#dreamling#fic rec#illustration#book cover#printing#dream of the endless#dream (the sandman)#dsudis#desire of the endless#death of the endless#despair of the endless#delirium of the endless#destruction of the endless#night (the sandman)#time (the sandman)#destiny of the endless#destiny (the sandman)#death (the sandman)#delirium (the sandman)#desire (the sandman)#despair (the sandman)#destruction (the sandman)
523 notes
·
View notes
Text
I like to think that we all be at nursing homes still talking about fictional dick
323 notes
·
View notes
Text
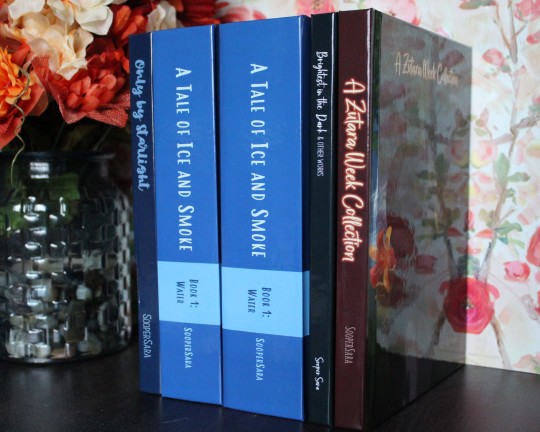
Fic Printing
Only by Starlight
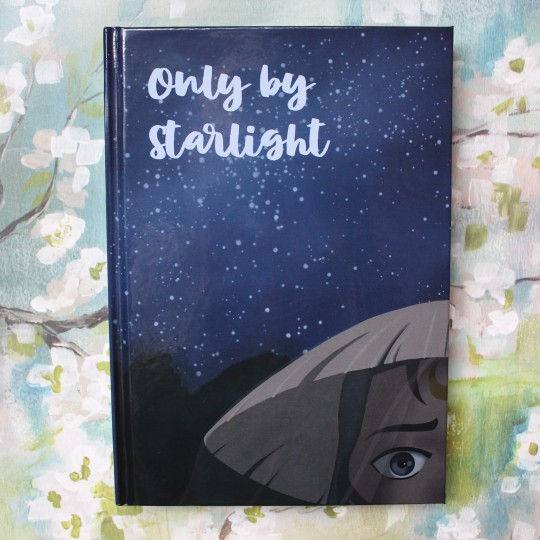
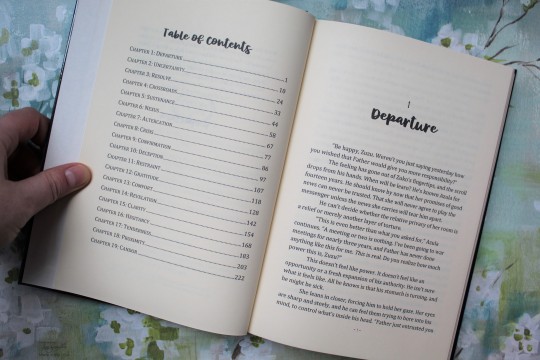
Y'all, I did the thing, and I am delighted with how it turned out! The thing I wrote exists in physical form!
Or... y'know, technically it exists in two physical forms because I had to print it twice to figure out some formatting glitches, but IT EXISTS! And as promised, I'll be sharing the print-ready files (and info on where to order a printed copy) for anyone who's interested in getting a fic in book form (in a reblog, because Tumblr and links don't always get along).
In the meantime, a sneak peek at the future fic printings that I'm planning to work on:


... okay, so some of these are nowhere near being ready to print because they're not... y'know, written yet, but I&S Book 1 Volume 1 is ordered and should be here in a few weeks, and when I get the last few chapters of Book 1 proofed, I'll put together Volume 2 and order that too. I'm just excited about this, and having stylistic consistency for the series is one of my favorite things.
And I fully intend to get all my other stuff printed too, I'm just trying to figure out which groups of short fics/oneshots work best as a collection. Once I get that all hammered out, I'll definitely have more printable files to share!
#zutara#zutara fanfiction#fic printing#fic printing update#Only by Starlight#soopersara's scribbles#this is so cool#being able to hold my own writing in a professional-looking hardcover book is INCREDIBLE!#check the notes for the reblog with the print files and info on ordering your own copy if you're interested
103 notes
·
View notes
Text

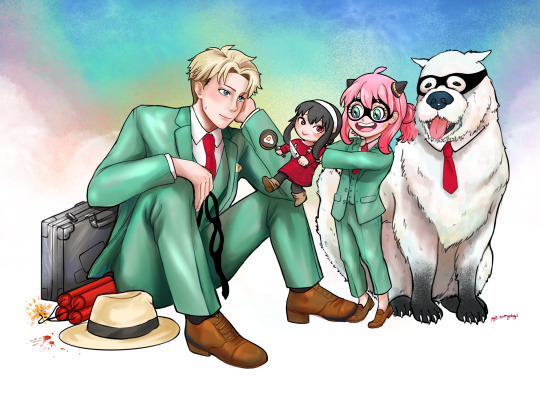
ehh, bring your kid to work day is a little–– 🤫✨
#lol i think this was the first spy x family thing i made#we also have prints of theeeese would anyone be interested? hehe#anyway it's crazy to see how much we've improved from here lol this was only a few months ago#spy x family#spy family#anya forger#loid forger#yor forger#yor briar#twiyor#twiyor month#yor x loid#loid x yor#twiyor art#twiyor fic#spy x family art#sxf#spy x family fic#pjseveryday#illustration#art#sketchbook#fanart#anime art#loidyor
381 notes
·
View notes
Text
Hobbies are supposed to be fun I mutter to myself as I fuck up the thing I've been working on for what feels like forever and have to fix it AGAIN
#i cannot format this fic properly so i can print it and bind the baby into a book. noodle sent me a good google doc of info but it doesnt#compute in my brain and like it says ill be able to make 140 pages of a6 paper and like HOW ????? HOW MANY IS THAY LIKE WHAT#on like 3 hours of sleep. and how is it almost 10pm????#microsoft word please try to be my friend
255 notes
·
View notes
Last Seen Blogs

thebookkeeper1
Untitled

dearherondale
sof

grim-grimmsnarl
オーロンゲ

smrookies-ecuador
SMROOKIES ECUADOR
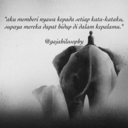
gajahilosophy
gajahilosophy