#photo comic
Text


When pornography meets Zen philosophy...
The Incredible Adventures of Annabel Smith - Annabel Enterprises, 1967.
67 notes
·
View notes
Text

Beh, Lui È Il Genio Dell'amore!
54 notes
·
View notes
Text

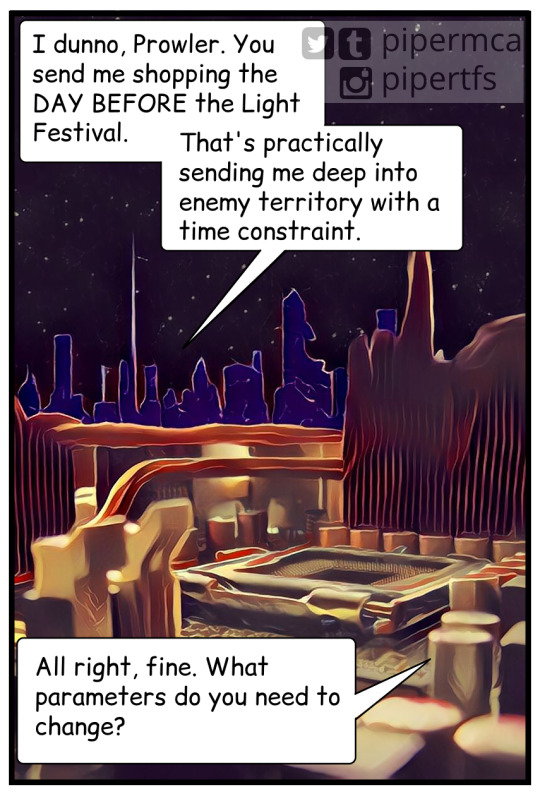

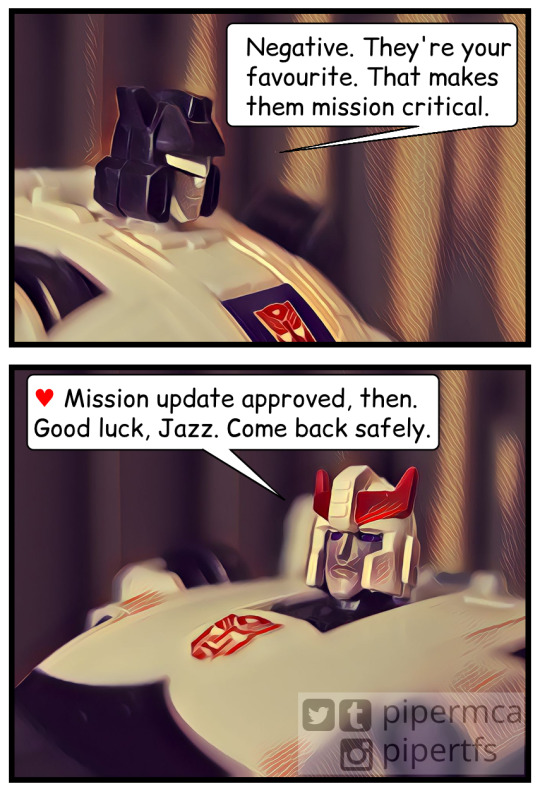
Title: Mission Creep
Happy Holidays, everyone. 🎄🌟
Toys used:
Iron Factory IF EX-29 Rush Beats
NewAge H2 Manero
Studio Series 86-01 Jazz
MP-17+ Masterpiece Prowl
Oh, and the cityscape is a manipulated photo of an old motherboard we had laying around the house. 😄
133 notes
·
View notes
Text
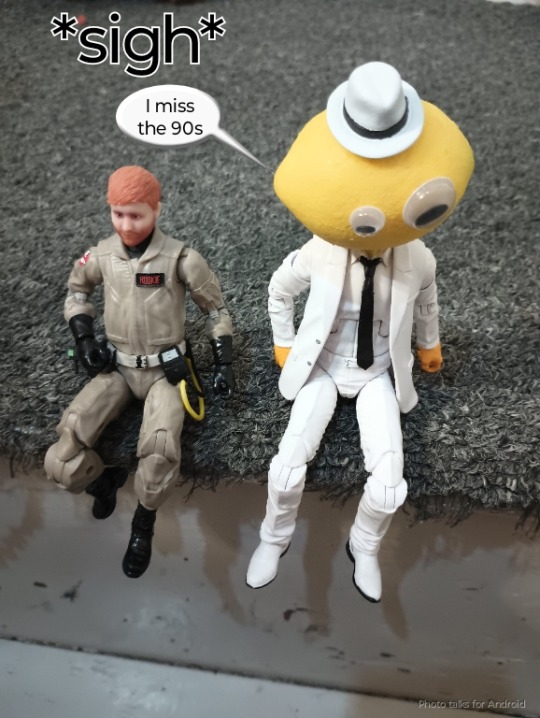
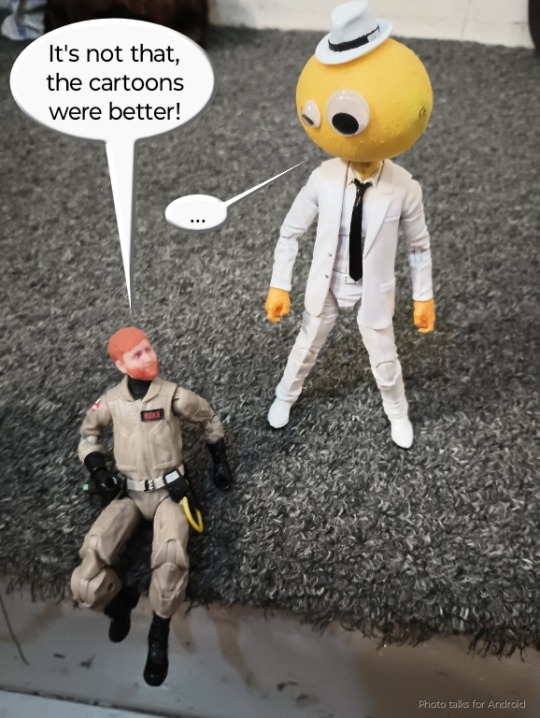

Name your favorite 90s cartoon
12 notes
·
View notes
Text
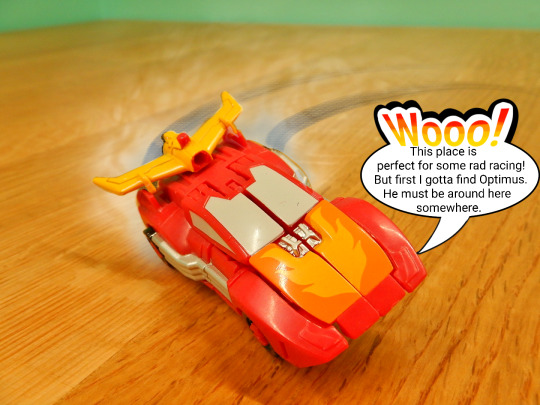
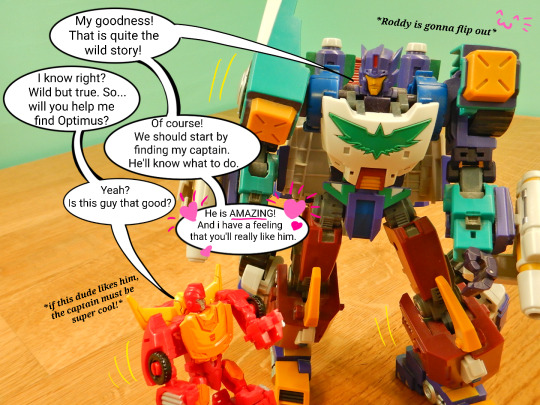
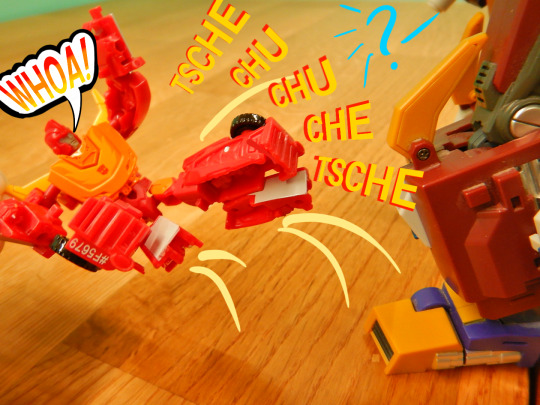
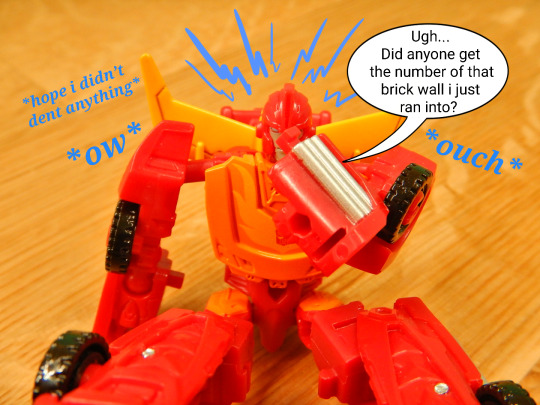

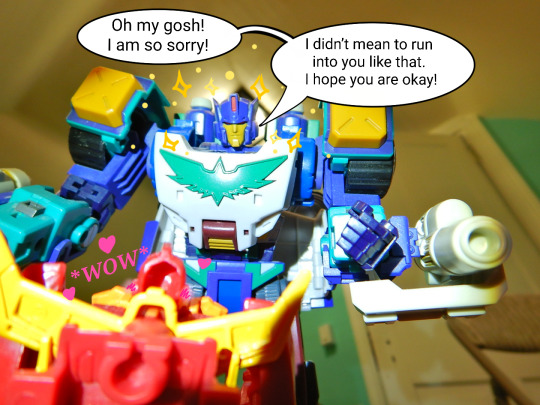

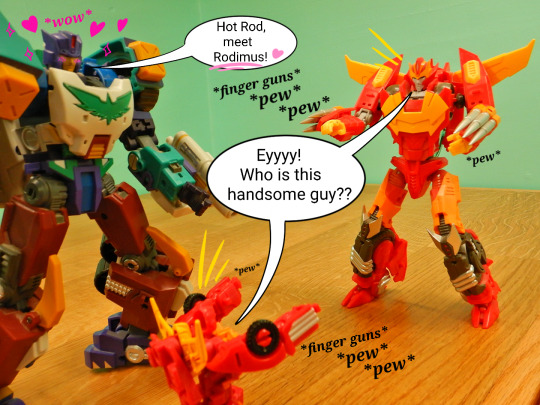
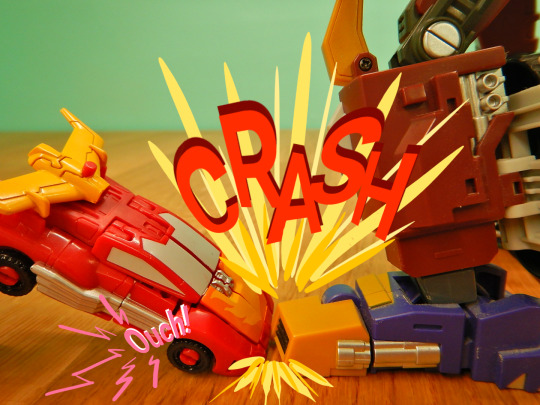
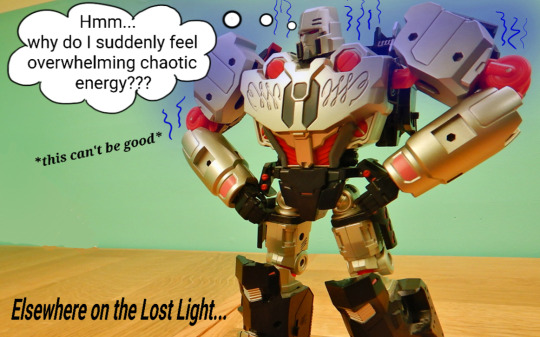
#maccadam#mtmte#lost light#g1 vs mtmte#rodimus#thunderclash#hot rod#photo comic#rodiclash#because i can't help myself#Megs feels a disturbance in the force!
213 notes
·
View notes
Text
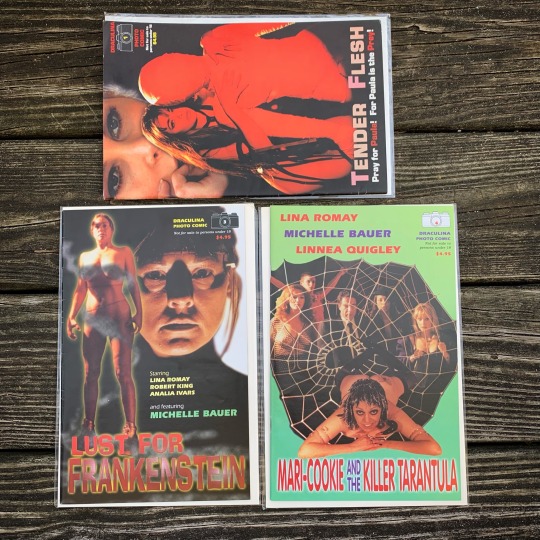
Jess Franco Friday!
34 notes
·
View notes
Text
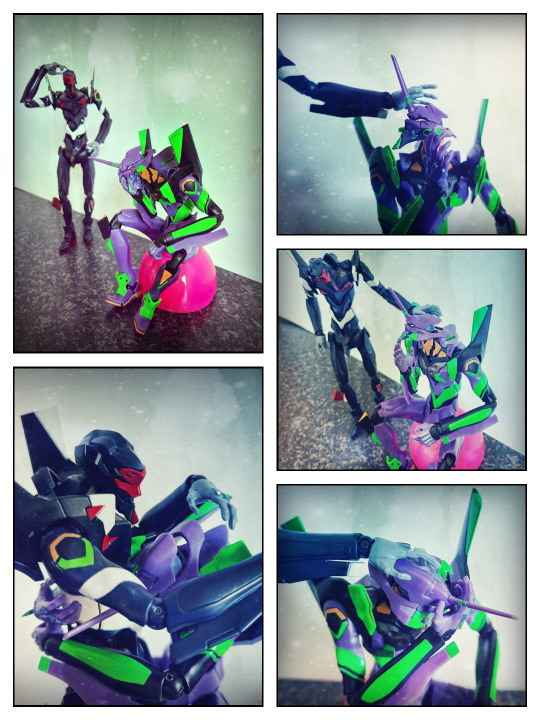
A photo comic i once made with my Eva figures, for a friend
#evangelion#neon genesis evangelion#eva unit 01#eva unit 03#action figures#photo comic#bandai robot spirits#tamashii nations#エヴァンゲリオン#for an online friend who needed support but sa#dly i feel the message never got through
3 notes
·
View notes
Photo
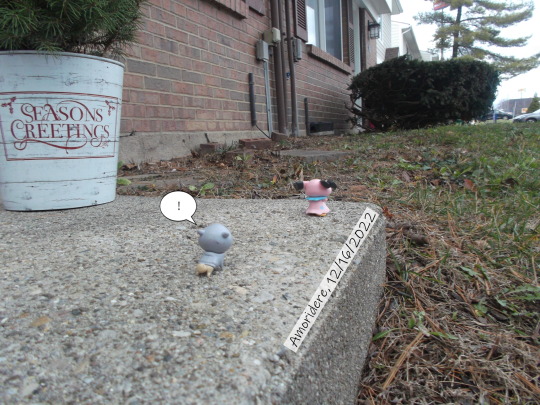
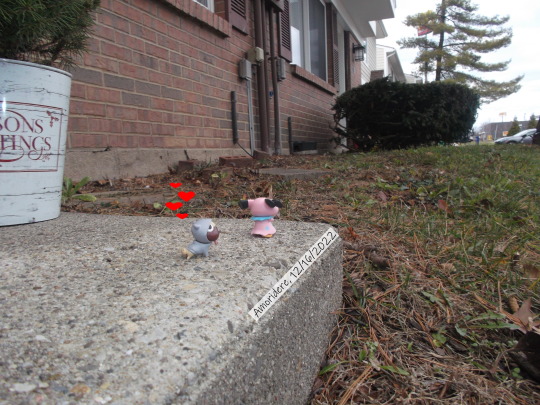
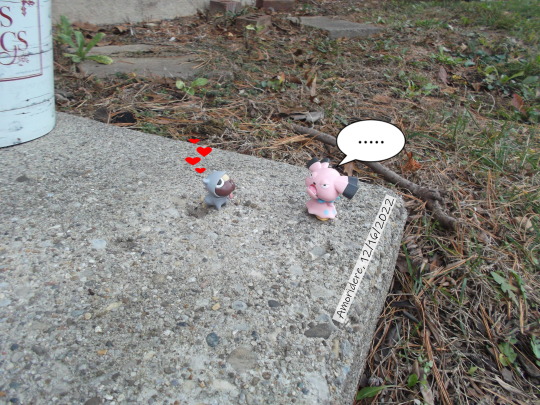
“Guts in Love”
We haven't seen Guts in awhile. He's fine, in case you're wondering, and he's smitten with this Snubbull. No, we don't know why.
#kill la kill#pokemon#snubbul#guts the pug#guts#photo comic#signatured pics#captioned pics#funny#digital photography#edited with paint.NET#comic#fujifilm finepix#FinePix JX520#fujifilm#taken w/ my fujifilm#crossover#idle photos#taken for the lols#suburban ohio#figure photography
3 notes
·
View notes
Text
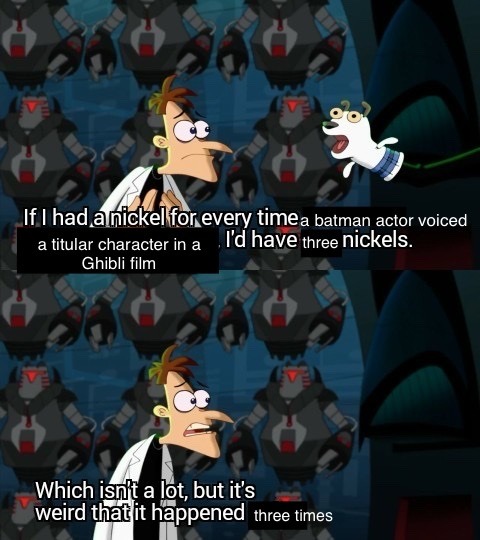
#photos#the boy and the heron#studio ghibli#hayao miyazaki#porco rosso#howls moving castle#batman#dc comics
16K notes
·
View notes
Text
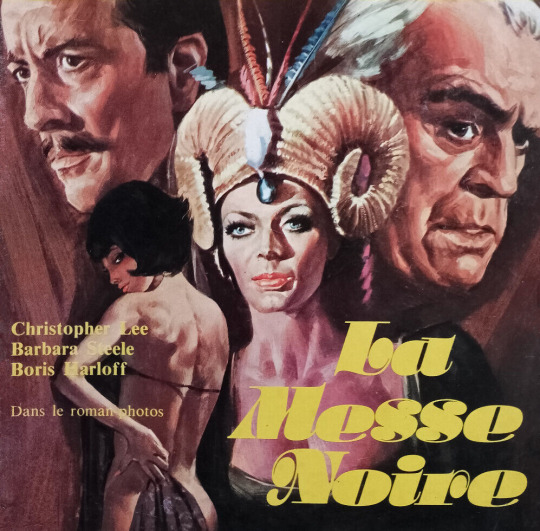
Curse of the Crimson Altar (1968)
cover art from the Film Horreur #3, France, 1975
#curse of the crimson altar#the crimson cult#boris karloff#christopher lee#barbara steele#1960s horror#1960s movies#1968#vernon sewell#horror#mystery#film horreur#photo comic#french comics
37 notes
·
View notes
Text
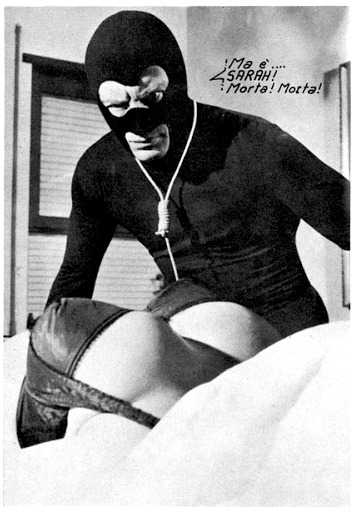
I Corpi Presentano Tracce Di Violenza Carnale!
85 notes
·
View notes
Text
Photocomic Workflow
I wanted to document the workflow I used to create my holiday photocomic, Mission Creep, so that I can repeat it when I work on the next one. I am not super familiar with the graphic design tools that artists use to create comics, so a lot of what I did was a combination of trying to make sense of tutorials (some of which weren't in English), and a lot of trial and error. I didn't want to have to reinvent the wheel next time, so I made note of what I did for each step.
The whole process is behind the cut if you're interested, from script to finished product. (And if any artists have an idea on how I could have done things easier with the tools I have available, I'm all ears!)
Script and Photos
Write the script.
Tool: Scrivener comic template
My usual MO is to write the basic story, sketch out the panels to make sure I don't have too much happening in one area, then finish the script.
Tip for next time: It's a good idea to very clearly sketch potential panels, so that the photos can be framed correctly. I ran into some problems with panels 1, 2, 5 and 6, since the edge of the photo extended past where the panel would be, and I had to do a lot of creative resizing of photos.
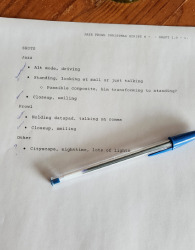
2. Separately, detail each shot that will be needed. Note specific framing and toys needed.
Tool: Pen and paper
For Mission Creep, I listed the shots out by toy/character. That way I could complete all of the photos needed with one toy, then set up for the next one.
Example:
3. Take photos and save to computer.
Tool: Camera or phone. I have several cameras and lighting setups to use, so I just selected which would handle a given image the best.
4. Edit the photos as needed. This includes adding backgrounds, manipulations such as "movement" lines, etc.
Tools: Gimp or Photopea
Tip for next time: Resize the images to make them easier to work with.
5. Save images in an "Originals" folder.
6. Transfer each photo to phone.
7. Run each photo through Prisma on the "Mononoke" filter.
Tool: Prisma
The Mononoke filter is my favourite for a good "comic" feel. There are a few others I might use, depending on the mood I'm going for.
8. Transfer each photo back to computer. Save images to a "WIPs" folder.
Panel Layout
9. Create comic page.
Tool: Medibang Paint Pro
After creating an A5 comic template page, add the panel material.
Layer > Add Panel Material > Line Width (selected 9)
10. Add images to the comic page.
Drag resized/modified images into the Layer box to create each image as a separate layer. Rename each layer with the Panel number.
Resize layer when added: Select > Transform, Apply.
Example:

11. Add Panel lines.
On the base layer, use Layer > Material > Divide. Can also use the cutting tool to divide panels more or in a custom manner. (Hold down shift for tilted lines.)
12. Clean up panels.
Move or resize images as needed.
On each panel, delete the portion of the image outside the panel lines. (Select tool > Select frame of panel > Invert select (Select > Inverse) > Delete)
Make tiny adjustments as needed (for example, In Mission Creep I flipped the frown on Jazz's toy to a smile).
Example:

13. Save working image as MDP file (Medibang Pro file), just in case you need to make tweaks. Save another version as a PNG (File > Export > PNG 24-bit).
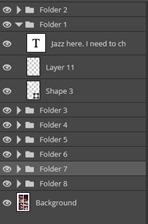
Word Bubbles
14. For each speech bubble, create a layer folder.
Tool: Photopea
It might be helpful to name the folders per the panel numbers, but I just used one folder per speech bubble.
Example:
15. Using the Type Tool, add text where it needs to go. Each text block goes in the bubble folder
Used font Comic Relief, in black.
16. Add a shape around each "bubble" of text. Shape goes in the bubble folder.
Used square shape tool > Corner Radius of 9, white background, stroke in Black w/ thickness of 2.6 (I could have made this a bit thicker, maybe 3.5?)
17. Add "speech" lines. Layer goes in the bubble folder.
Create layer. Use pen tool in white to create speech line.
Fill inside of speech line w/ white.
Use pen tool in black (same thickness as stroke on shape) to outline the speech line.
Use eraser to clean up spillage.
Use pen tool (in white) in white to clean up strokes from shapes on overlapping bubbles.
Example:

18. Clean up as needed.
19. Save file as PSD file (to make tweaks later if needed). Save another copy as a PNG.
Watermark
(I debated not watermarking the images, but since I was going to be posting them separately I figured I might as well... Mostly for the learning experience.)
20. Load the PNG back into Photopea.
21. Select each "page." Invert selection, delete, then trim.
22. Save each "page" as its own image, then repeat with remaining pages.
23. Add watermark. (I honestly don't remember how I created the watermark, but there are TONS of tutorials on that so I'm not fussed about not writing down how I did it.)
And that's it! It was a lot of work, but now that I have the workflow figured out I hope the next one will go more smoothly.
3 notes
·
View notes

Text

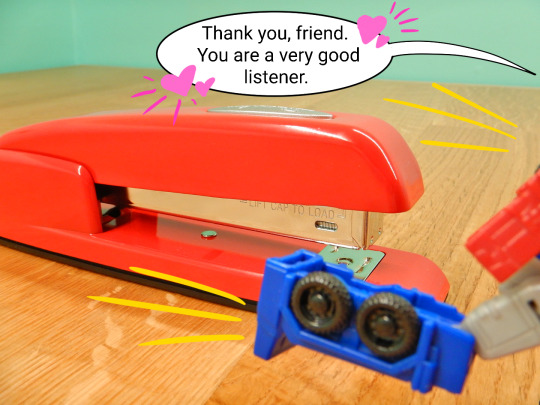
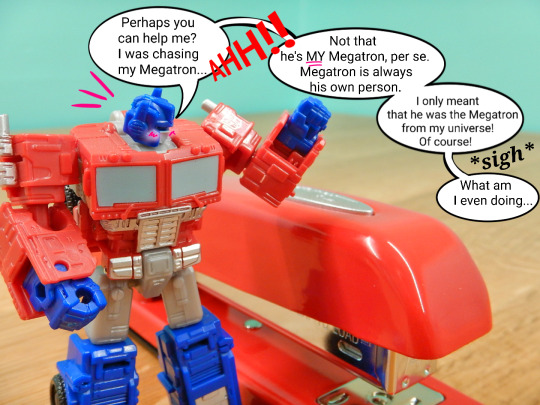
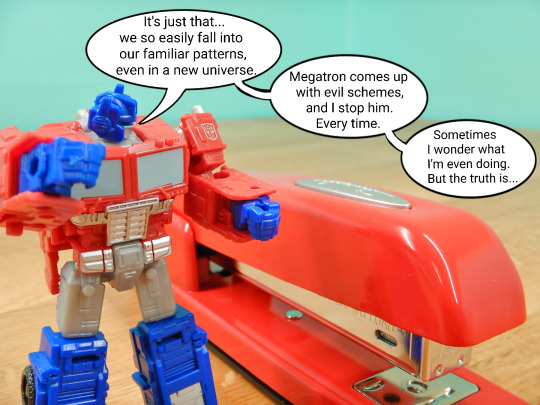

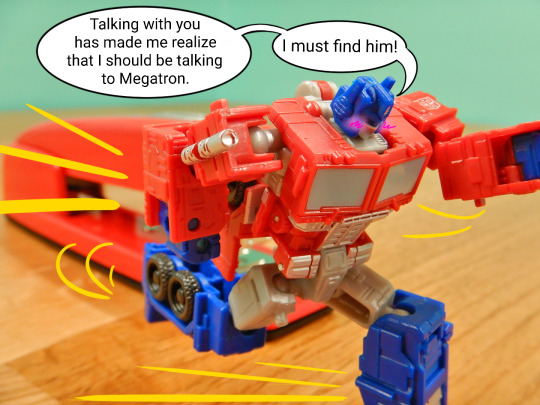
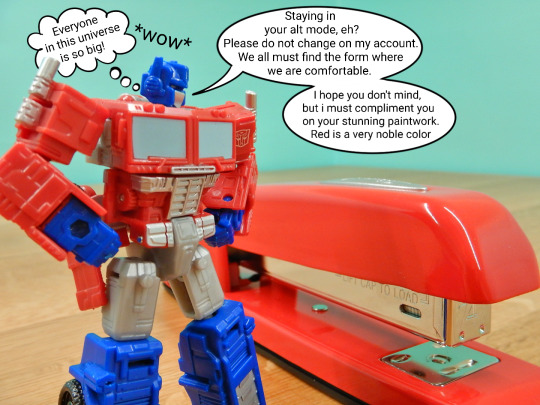
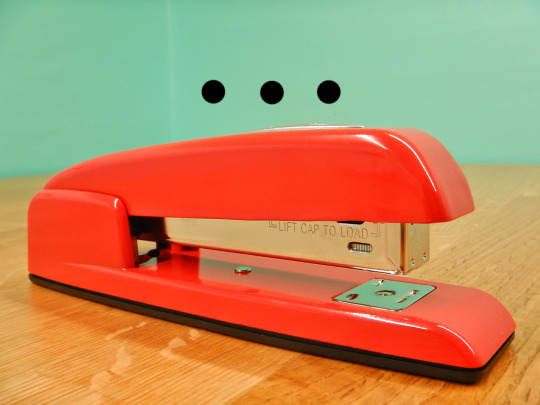
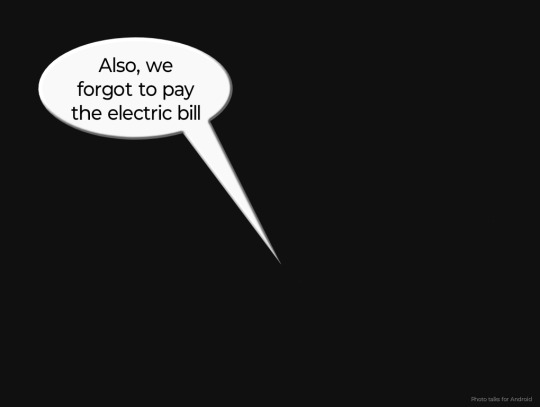
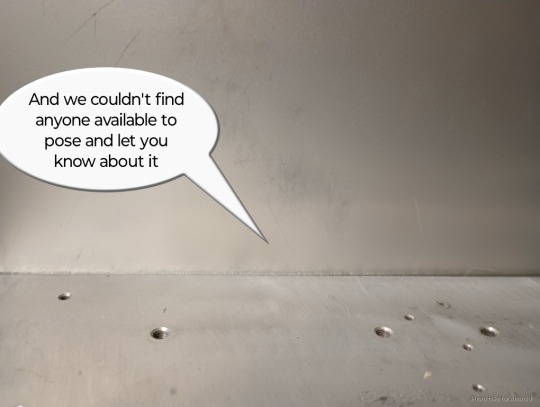
#maccadam#mtmte#lost light#g1 vs mtmte#photo comic#optimus prime#sometimes you work out your feelings talking to an inanimate object
149 notes
·
View notes
Text
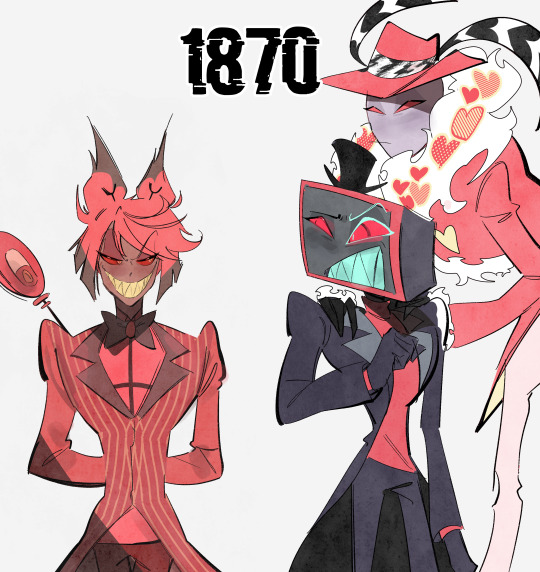
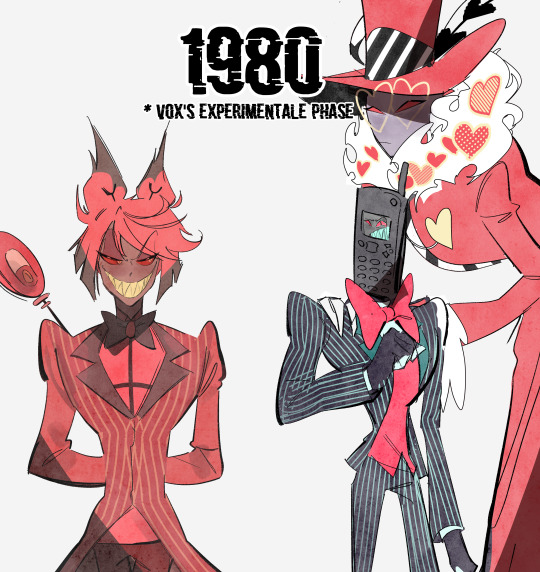


They have loud fashion opinions
#the 1870s clothes are based on the old photo in the show which shows Vox with a square old TV head and Valentino with those clothes#and the 1980 are the hazbeen hotel pilot's clothes#hazbin hotel#vox#valentino#velvette#the vees#vees#alastor#hazbin hotel alastor#hazbin hotel vox#hazbin hotel valentino#hazbin hotel velvette#comic#myart
10K notes
·
View notes
Last Seen Blogs
bottomofthebinsaesthetic
Colour Me Blue
fivesnow916
Fivesnow

a-wild-yuumi-appeared
"Can't forget Yuumi!"
calisto--yew-blog
Defense Attorney Calisto Yew
calissarowan
Calissa Rowan