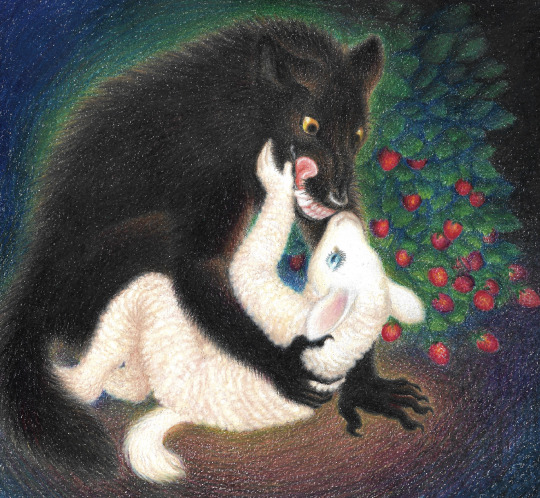
#image cut out
Text
Why is it Essential for a Photo Cutout Service to Exist Today?

We are living in a rapidly advancing world right now. Everything is happening at a moment's notice. Technology has come so far ahead that everyone is easily connected, and you can access information and services from any corner of the world with a click of a button. So where does a Photo Cutout Service comes in all this?
As the name suggests, a Photo Cutout Service is a service where experts use photo editing software like Photoshop to separate products from their backgrounds or surroundings. Experts in other industries, like Ecommerce Websites, Photo Studios, Clothing Businesses, Retailers, Freelancers, etc., use the isolated subjects for many different purposes.
What does a Photo Cutout Service provider offer?
Before we get into why this is an essential service Today, let us first look into the various services offered by a cutout service provider.
The best photo cutout service providers continue beyond subject isolation and background removal, even though that is the essence of every image cutout service. Isolating the subject from its surroundings is the basis for almost all post-processing tasks on the image cutout. So let us look into everything these specialist companies are capable of:
1. Photo Cutout

So, this is the service where a photo editing expert will use essential tools from Photoshop like the Pen Tool to meticulously create the outline of the product, including any holes or gaps that might be there in the product. For outstanding cutout images with sharp, precise edges, tools like Magic Wand Tool, Quick Selection Tool, or the Eraser Tool are not used for this service.
2. Photo Shadow

With this service, customers sometimes want the products to have a shadow after the image cutout process. This process gives the product a realistic feeling based on the lighting used for the background for displaying the product for their Ecommerce Business Site or their banners and posters in their Retail Business.
3. Photo Retouch
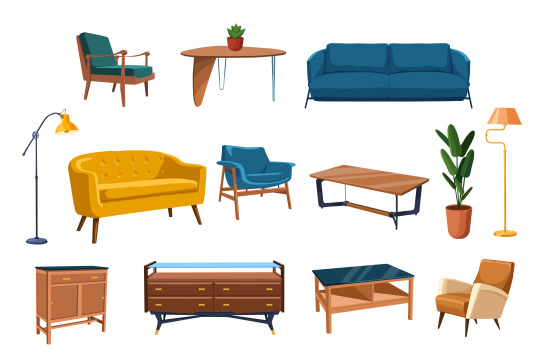
With this service, an expert uses a variety of Photoshop Tools to remove inconsistencies in the product and make it visually appealing and pleasing to the eyes. It could be as simple as eliminating scratches or wanted marks on the product while the photograph was taken to more complex tasks like restoring shine to dull crystals in jewelry product images.
4. Photo Masking

Photo Masking is a more advanced version of background removal and is used for images whether model separation is required or where there are very complex products with furry exteriors. This process is beneficial when other methods of product insolation fall short of the expectations from the outcome.
Conclusion - Why is it Essential for a Photo Cutout Service to Exist Today?
Now that we have covered some of the significant services that are part of the Photo Cutout Service industry, let us conclude by talking about why it is such an essential service in today's world. In this fast-moving digital age where almost all interactions are done through visual means, perfectly edited photos play a major role in every industry.
Furthermore, these image cutout service providers are essential because they serve customers who need to focus on many other aspects of their business. So, getting help from experts saves them a lot of time, and they will receive a far superior output when professionals handle the task.
1 note
·
View note
Text

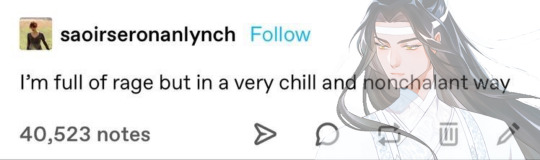
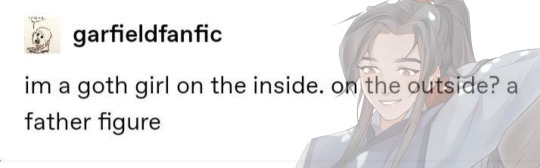

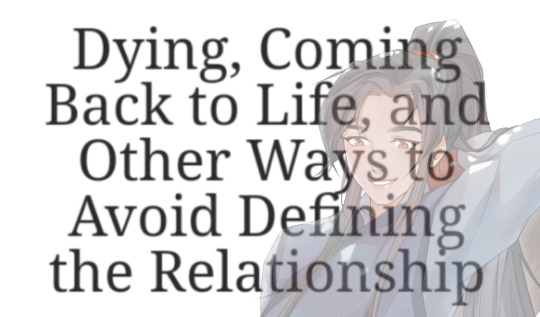
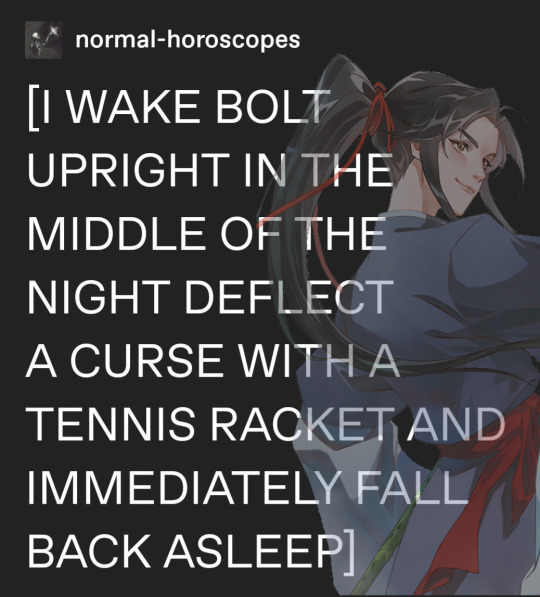
i started collecting text posts i thought were wangxian core bfore I even actually read mdzs and then came back and edited them onto some for fun after and. I think I’m very funny. so I’m sharing the wealth
#incorrect mdzs#mdzs#wei wuxuan#lan wangji#wangxian#the biting one i thought ab for a week bfore making it and then I was like ‘hey I could make more of these’ so I dredged the rest up too#i just edited them out of the book covers btw. i Only have transparent busts bcuz i didn’t bother to cut out more than that but#if anyone wants them tbh lmk and I’ll post those separately#…i Dont have the full transparent wwx i used for the curse one anymore tho. i only had it for the two seconds it took to make that image
1K notes
·
View notes
Text

DEEP CUT I LOVE YOU !!!
#splatoon#splatoon 3#deep cut#deep cut splatoon#shiver#shiver splatoon#frye#frye splatoon#big man#big man splatoon#this was A PAIN to post on twitter....#contant weird image effects/crunched quality/whatever#but i do have a version without the shawls on twt so go check that out !!!!#these guyses are very fun to draw#but shiver was the funnest#i <3 shiver so much im so in lesbian love with her#ok enough ramble#trying to draw out all of the idols to see how i want to shape them#off the hook YOURE NEXT#(probably)
1K notes
·
View notes
Text


hng. them <3
bonus!

#SORRY THE QUALITY IS A LITTLE STRANGE!#i took pics of my tablet screen w my phone#since otherwise these would be Fuzzy As Shit and the quality would be Low instead of Strange#i need to draw people more i need to draw people more i need to dra#scribble salad#welcome home#welcome home puppet show#ive been trying out some new tactics - not on the third image#which is why its under the cut#i dislike it but not enough Not to share...#but the top two! im trying things!#anyway i love the idea of human julie wearing Funky Headbands#headband with horns! headband with flowers! cat ears! glow in the dark shapes! who knows!#also i think ive found the groove with how i wanna draw hair..#or the start of it anyway!#the groove is Shallow but babey im pacing!
335 notes
·
View notes
Note
I love your artwork so much! Your colors are so vibrant and none of the white speckles in the paper ever shows, its so impressive and I really dig it! I was wondering if you use any sort of blending medium? Like baby oil or anything? Either way, I really enjoy looking at your artwork and I'm always excited to see whatever you'll make next
I use a colorless blender (prismacolor, which is wax-based so baby oil probably wouldnt work) but my scanner is also rly bad about picking up white specks in a way photographing the art with my phone isnt, so I usually have to do some digital editing to get rid of them as well.

I do this by duplicating the layer, setting the one on top to "darken," and using the mixer brush to blend out the white spots + just use the eyedropper tool to select the color of that area (needs to be a slightly lighter shade of it) and color over the white spots with the brush tool
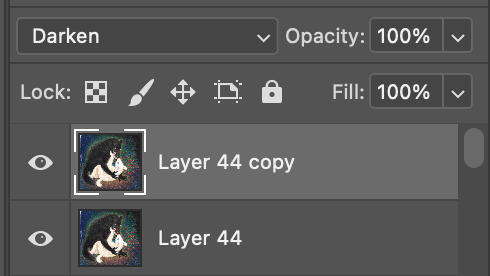
i edited a small bit of the original scan to show what i mean
original:
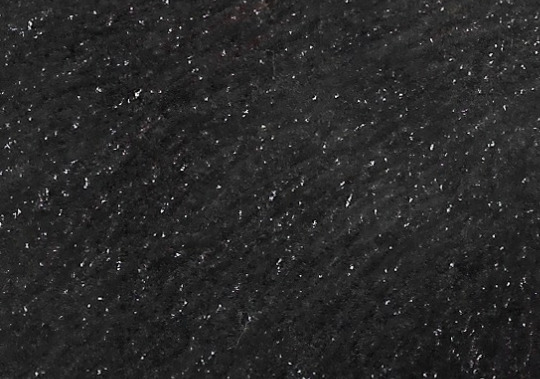
with the edited layer:
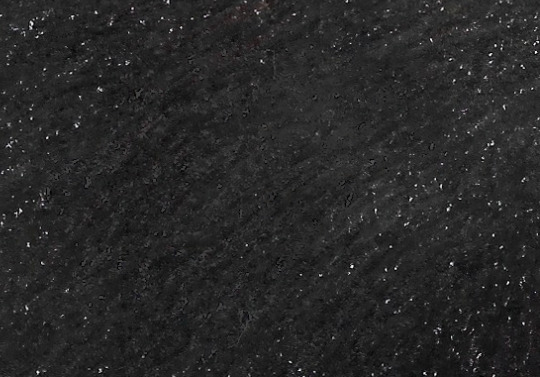
heres how it looks set to normal instead of darken, I used both the mixing brush and regular brush just to demo it

#explanation is under the cut. post got a bit too long#u prob have to click the image for full resolution to rly see what i mean about the white specks showing up#i think its bc the scanner is meant to scan documents. so it picks up the white specks of paper very brightly#how much editing is done varies from piece to piece#ive thought abt listing 'digital art' as one of the mediums in tags for the more heavily edited art#where it looks significantly different than the physical drawing in front of me#but i feel like that might be confusing#art where i set out to do some mix of traditional and digital is tagged this way but im not rly sure where to draw the line tbh#the hunger wasnt edited in a way where it looks significantly different from the original (just a bit darker)#the scan is just dull and light bc my scanner is like that lol#so with editing that one i was mostly just trying to make it look like the physical drawing in front of me#u can tell by the 'layer 44' in the screenshot these take a lot of editing lmao#art help
276 notes
·
View notes
Note
What would a Klapollo swap to match DefenseWorth and ProsecutorWright look like?

I accidentally turned them into Howl and The Scout 😨
#doctorsiren#ace attorney#ace attorney au#apollo justice#klavier gavin#ace attorney fanart#swap au#I’ll tag the other AUs since it’s semi related#defenseworth au#prosecutor wright au#digital art#my art#procreate#Apollo’s that one thing where it’s like ‘sunglasses are great bc nobody can tell where you’re looking’#and then cut to a shot of his face very close to Klavier#I think that after Kristoph’s downfall: 1) Klavier would need definite healing time and also self-discovery now that he’s free#from his brother’s manipulation#2) he would dress in more flashy prosecutor-y clothes because he just likes that style#3) battle of the bands#I don’t know what I meant by that but yeah#Apollo’s actually constantly freaking out but he hides it with his persona#he probably tries to get an image as a cool rockstar but the internet probably sees him the way they see Tom Holland#yes he’s a celebrity and most everyone loves him BUT it’s just not the vibe he was tryna go for
204 notes
·
View notes
Text

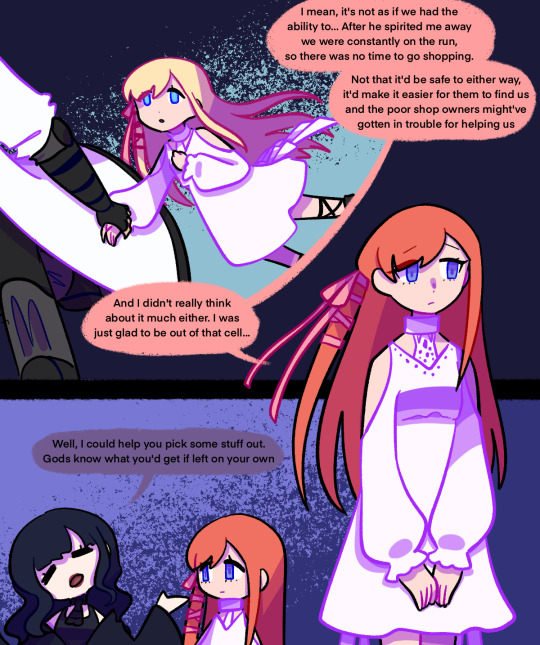


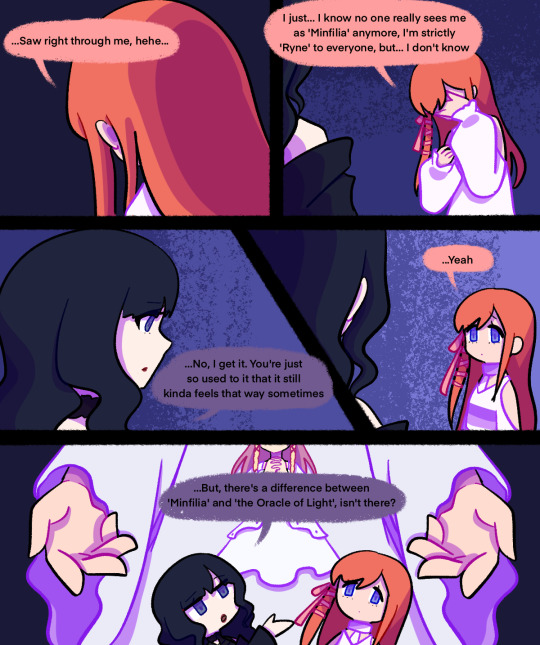
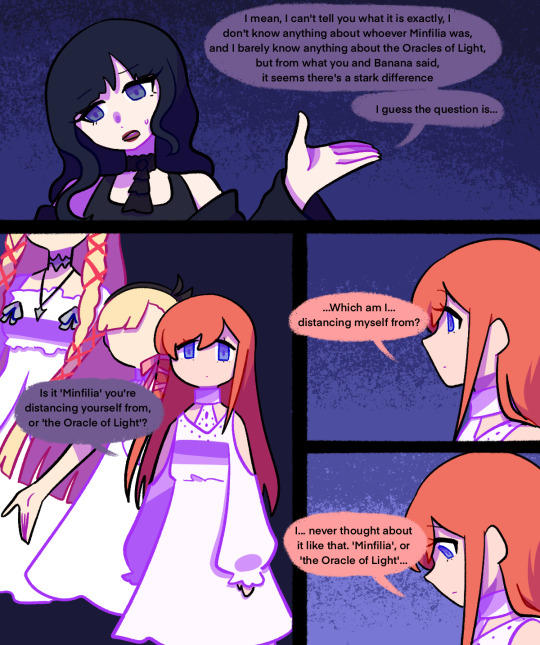
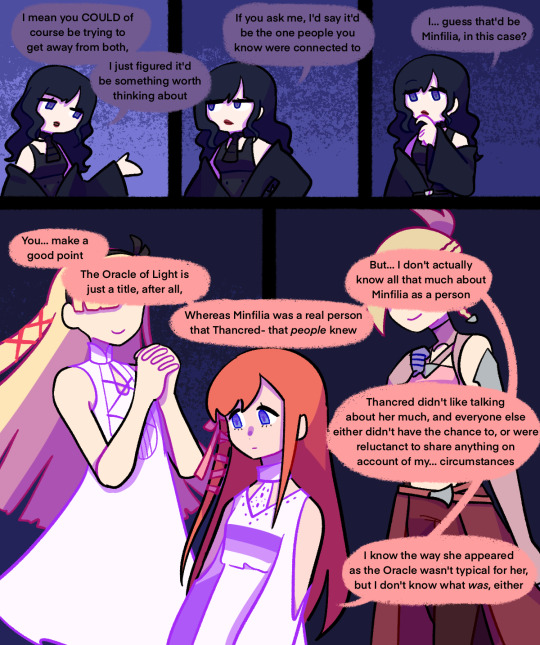
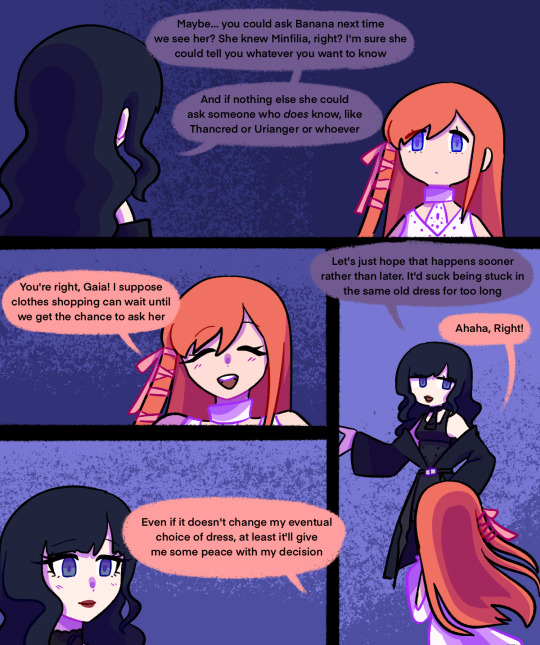
Started this months ago but procrastinated hard bc I didn't want to draw backgrounds </3
#there was another page to this but i had to cut it out bc of image limit </3#anyway. finding out how to express urself through clothes is a part of every teenagers life and i imagine itd be particularly hard for ryne#given the Identity Issues shes had for so long#gaias gonna help tho. shes good at this stuff. ryne just isnt sure what she wants yet#also ik ryne has accepted the oracle of light title#when theyre discussing the oracle of light stuff here its more like. the duty thats been associated with it for so long#and the memories of the minfilias in-between ryne & the OG minfilia#like its not 'the oracle of light ryne' now its 'ryne the oracle of light' yk#like her identity as the oracle is secondary to her own personal identity#her role as the oracke is not what defines her. it is a part of her but its not what she IS yk. does that make sense#anyway. enough rambling ill never stop if i continue#ryne waters#gaia#rynegaia#gaiaryne#not necessarily but I SAY SO SO IT IS#final fantasy#final fantasy 14#final fantasy xiv#ff14#ffxiv#art#my art#xanders art#digital art#fan art#xander being insane about ryne#as always
207 notes
·
View notes
Text

some tools of the trade and a few spoils of war
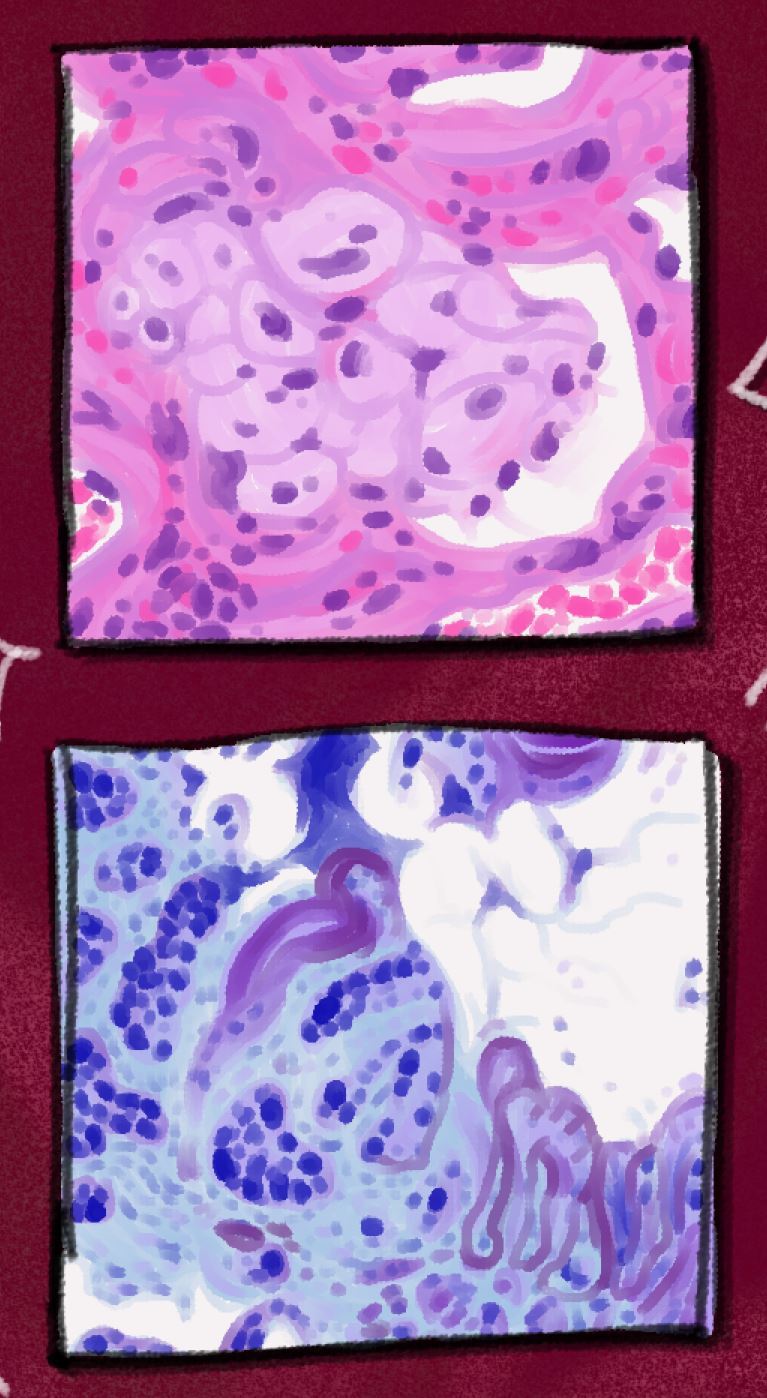
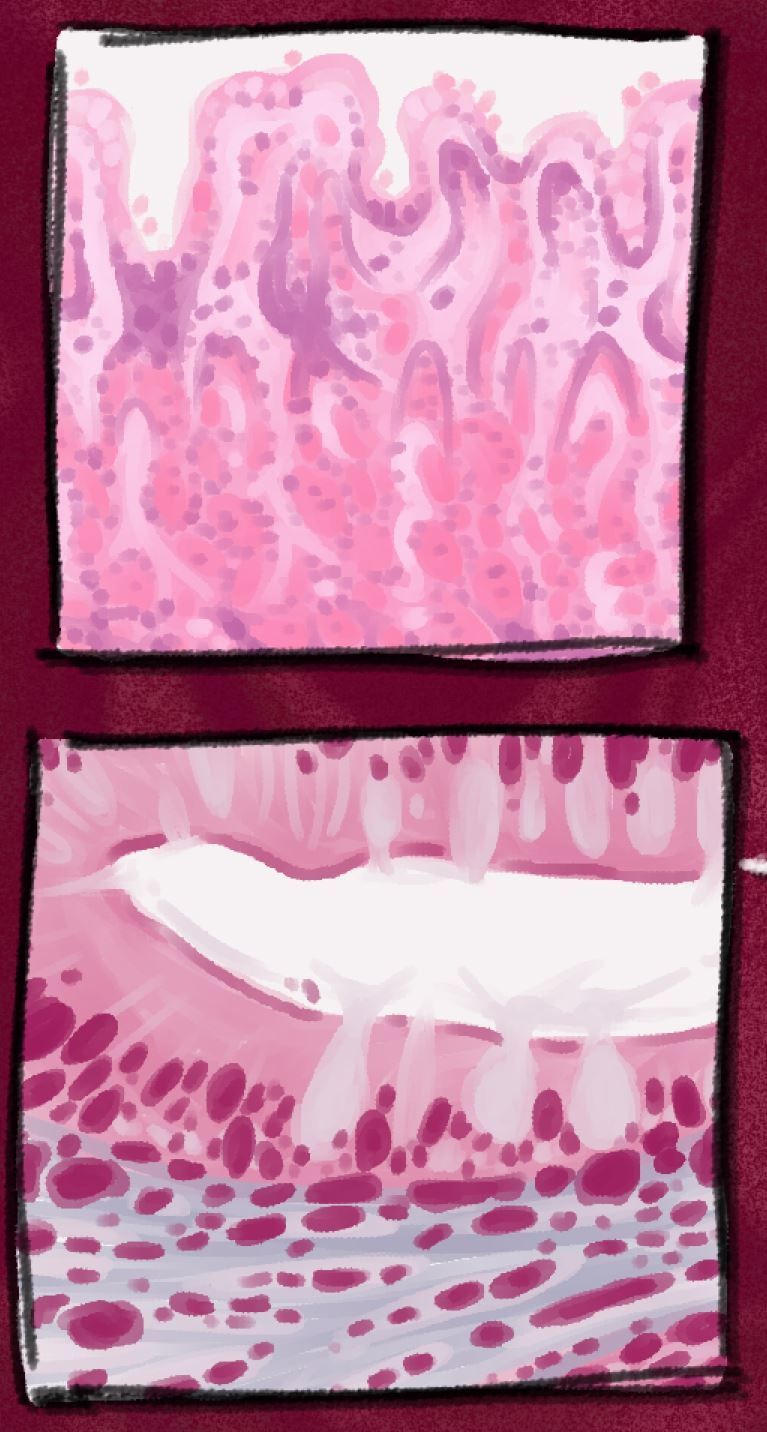


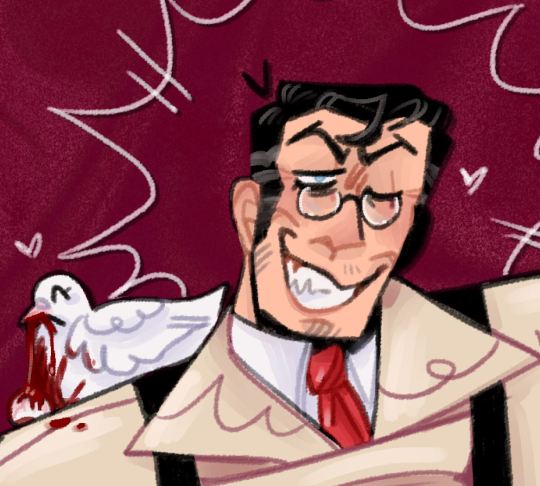
#some closeups under the cut :]!!#i like how this turned out i think#fuck you tumblr for eating the image quality and die forever#doodles#tf2#tf2 medic#tf2 archimedes#lost in the absolute beauty of those microscope slides......#tw blood#gore#?
290 notes
·
View notes
Text
fine dining attire
#ffxiv#ff14#aymeric de borel#wol#eris naydra#this one goes out to all the ppl (me) who managed to forget MSQ gives you nice clothes to wear for your nice dinner with aymeric :'''(#i accept it as in-character for eris tho. like that meme image of someone cutting their food with a greatsword
312 notes
·
View notes
Text

the tallman dogboy with biting tendencies / halfling tsundere chew toy are on my mind... don't even worry about it.
(nudity/nsfw under the cut)
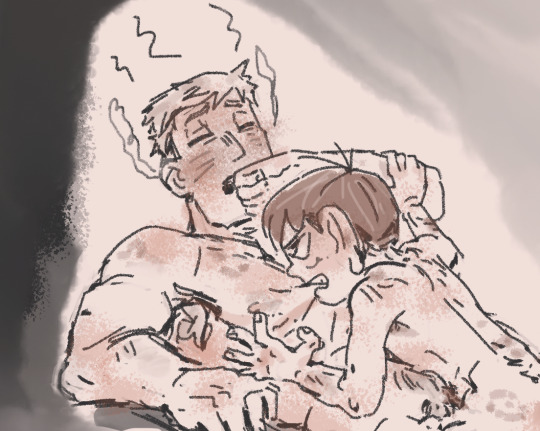
chil eventually gets back at laios for all the hickeys he left on him btw
#cut a bit of the last image so hopefully it will fly.. might post the full version on ao3 eventually but we'll see#posting for the 4-5 chilaios freaks out there#😳 adult dinner tag#chilaios#just cooking my stew (art tag)
163 notes
·
View notes
Text
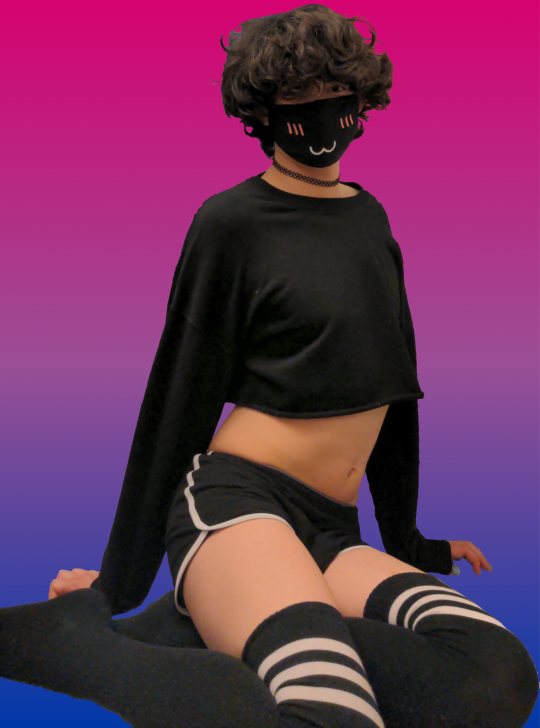

am I cute? (,,・ω・,,)
#yippee its#femboy friday#:3#the first image took so long to cut out i had to do most of it manually bc my hair is a mess >﹏<#also it took a nonnegligible amount of time and effort to get something non-nsfw#these shorts are not made for dick and balls 😔#bottomposting#196#r/196#rule#blahaj
191 notes
·
View notes
Text

these freaks again…..
#oso art#rtgo#repo! the genetic opera#pavi largo#luigi largo#amber sweet#bill moseley#paris hilton#nivek ogre#GUYS I CANT HELP IT#THE REF IMAGE I USED I CUT OUT ROTTI SRORRY I DO NOT FEEL LIKE DRAWING HIM AT ALL#im playing around wit more colors n stuff HAHA
319 notes
·
View notes
Text

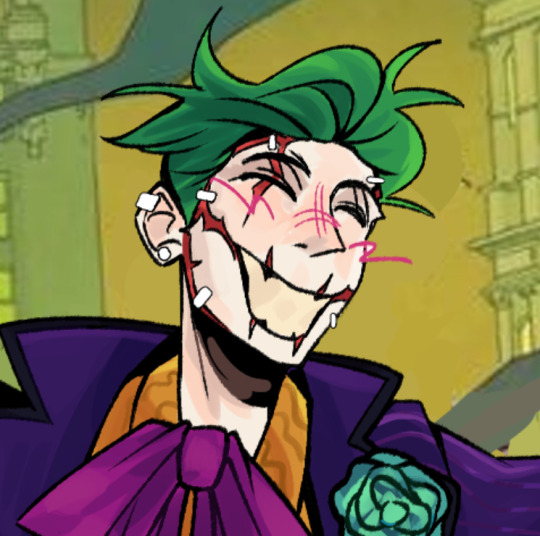

batjokes collab with my friend @jasonsmillions !!
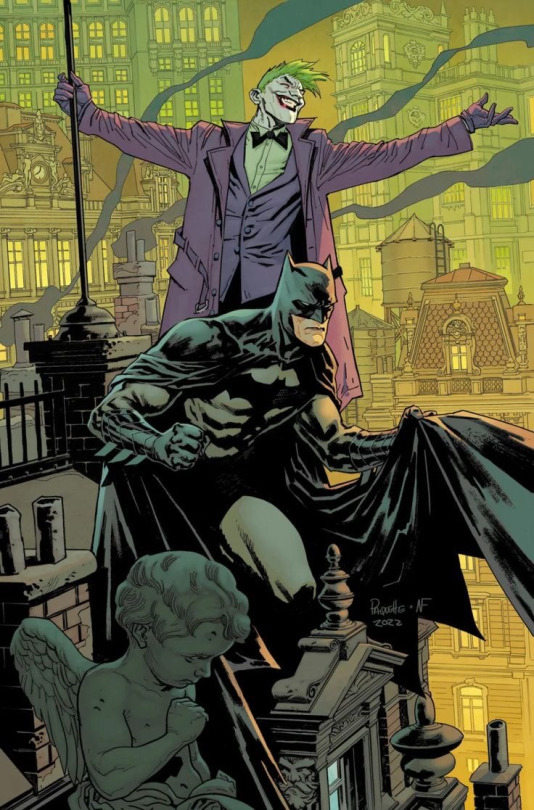
original image ^^
#original image under cut#batjokes#batman#joker#the joker#redraw#panel redraw#bepoucorp#jasonsmillions#PLEASE CHECK HIM OUT#LOVE HIM FR#bepouverse
244 notes
·
View notes
Note
THE MOON'S HAUNTED
Damn that sucks for the moon someone should call Jack Fenton about it
#ask#cue danny clicking on the news#only to see#BREAKING NEWS: MAN PORTALS TO THE MOON?#and it cuts to an image of Jack who somehow built a functioning portal and went to the moon to ‘get that ghost’#except it wasn’t a ghost#it was just a rock formation that looked like a ghost#jack fights it anyway#and regales the story at dinner#meanwhile danny is still just trying to figure out how in the everloving fuck his dad built a functioning portal to the moon#bonus: he DOES ask his dad this who just waves him off saying ‘simple quantum mechanics!’#and then goes back to talking about ghosts
247 notes
·
View notes
Text
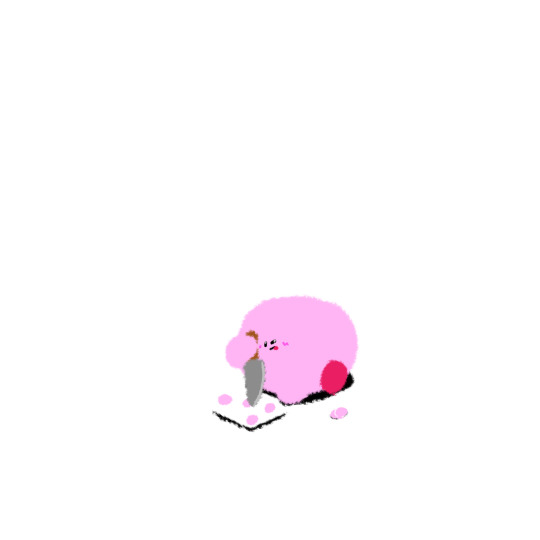
#kirby#knife kirby#knives#kirby makes stuff#cursed image#daily kirby#my art#digital#hal laboratory#nintendo#y'all I was well enough to cut out the rest of the extra stickers that have been sitting on my desk since january.#I'll probably be listing the leftover stickers and prints from kirb2k on kofi tomorrow <3#I'd only meant to do it 3 entire months ago :v#like I cannot fully convey just how incredibly ill I've been.#(I have a lot of extra stickers cuz I ordered 2 sheets of 14 individuals and they sent me 5 sheets for some reason I think)#also his eyes are weird cuz I just got a new bootleg kirby in the mail and he was even more jank than the product photos promised :D#(everything else I ordered has been as pictured so far so best possible outcomes all around lol)#honestly kinda mad that improving my condition was This Friggin Easy tbh#although thank god it has finally improved.#like the med we raised is available otc and I absolutely could've raised the dose myself if I wasn't too sick to think.#(we are still adding another med once the pharmacy fills the new prescription but even this is. night and day.)
73 notes
·
View notes
Photo

your friend the angel :)
#art#collage#photo collage#surrealism#the collage is made up of images from journals physically cut up and glued together but the fear not is photoshop lol#it originally had the name of a watch company (the halo is the outer edges of a watch)#the cut out gemstones look so pretty i think im gonna use them in some more art#the collages scan so well why cant my drawings scan like this 😩
2K notes
·
View notes
Last Seen Blogs
charifasayed
C.

ya-know-nothing-yet
I Cry in the Bathroom Too.

inipkvgames-blog
Untitled

fulisha-of-light
Sunshine Studios
readiajin
A Good Book Is A Friend For Life