#garment films
Text
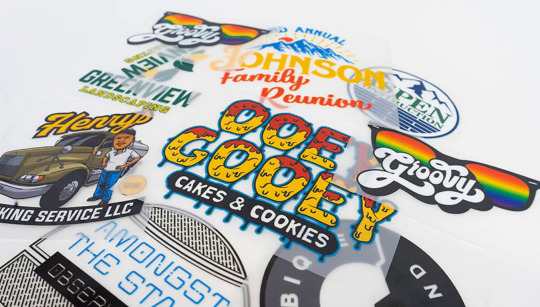
Spice Up your Clothes with Garment Films
If you’re like me and you don’t like to follow the trends (especially when it comes to clothing) then you will LOVE garment films! These films are so easy to use and can transform a bog standard t-shirt into something funky, with an actual design that you want. There have been so many times when I have walked into a shop or browsed online and found a top I have loved however, there is always one downfall – the printed design on top! I don’t know what it is these days, but I find that all fashion brands copy each other with the same cringey text/phrases and images printed on their clothing. Over time I have looked for numerous solutions to resolve the problem I have with clothing, and I have found the perfect answer, which is both inexpensive and fun to do, and that is garment films.
Numerous companies sell all kinds of garment films, from glitters and vibrant colours, even to carbon fibre effect, you can find many films on the market! Click here. Most garment films are made from transfer paper, using heat to transfer designs onto clothing. It’s that simple!
In this blog post, I have listed some ways in which you can use garment films. So, let’s get started…
1. Personalised gifts
Garment films come in very handy when you’re wanting to make that perfect gift idea a little more personal. Whether you have got a baby shower or wedding anniversary coming up, you can use transfer films to create a gift that no one else will have. Even if you want to gift a funny t-shirt with an inside joke to your best mate, garment films can be printed with any design.

2. Matching party T-shirts
Next, we have matching party t-shirts. Now, you may be thinking what are these? But have you ever witnessed a stag or hen do? That’s exactly what I mean, or if you have watched the inbetweeners movie, those are an example of matching party t-shirts (although I don’t expect yours to be as rude). Multiple designs can be printed onto any clothing item with garment films, so you are not limited with choices. You may even want to draw your own design!
3. Holiday occasions
The Christmas holidays are a perfect example of when you might want a piece of clothing more personalised. Whether you need to prepare for a Christmas work do or have a Secret Santa to prepare for, garment films can set you out from the crowd. No one wants to see the same Christmas jumper making an appearance every single year! If you are interested in adding a bit of sparkle, there is no better time than now to try out glitter garment films. Even if you’re not preparing for Christmas, there are still so many other holiday dates to choose from including Easter, Halloween, Guy Fawkes, and Valentine’s day!

4. Starting up a business
Setting up a business is probably one of the most common uses of garment films, using your own imaginative designs to sell to others. Garment films are a cheaper alternative to other printing methods such as screen printing, and for this reason, are popular with small businesses. If you are looking to start a clothing brand or want a new side hustle, these are a perfect starting point.
5. You are not limited to clothing!
Although garment films are predominantly used on clothing items such as t-shirts, sweatshirts, and hoodies, they can also be printed on other items made out of the same fabric. One example I can think of is customised tote bags or canvas bags, which have grown in popularity this past year or so. You don’t even need to think of a new design, simply print what you have on your t-shirt onto a bag, and you’ll have a full collection of unique designs, personalised to you.

And those are my top 5 ways in which you can use garment films! Now it’s time for you to get your creative juices flowing, and let your artistic side come through. Even if you can’t draw, type something up in a word document and print that out, overall it’s just a bit of fun!
If you have enjoyed this blog post, make sure to check out my others😊
https://www.apptape.co.uk/
1 note
·
View note
Text

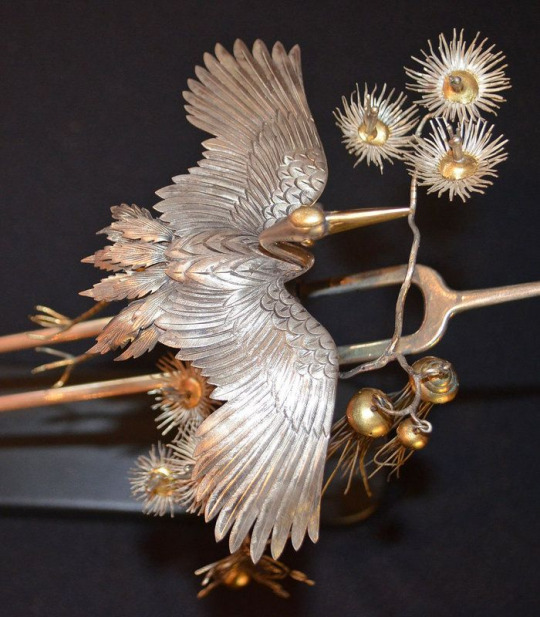
Luvt’s handmade crystal top.
#outfit#fashion#body jewelry#jewelry#handmade#runway#model#branding#luvt#garment#film#luxury#luxuries#business#love#inspiration#inspo#portrait#photography#top
69 notes
·
View notes
Text


Gael García Bernal in No (2012, dir. Pablo Larraín)
(these gifs also feature at least some parts of Luis Gnecco, Antonia Zegers, and Pascal Montero)
[other gael filmography gifsets]
#gael garcía bernal#ggb filmography gifs#no 2012#gael garcia bernal#every garment he wears in this is the most 80s thing ever#and it's glorious#costume designer francisca román take a bow#it's also just a really great film#and i love it unreservedly
41 notes
·
View notes
Text
headcanon that has nothing to do with anything, but i think maleficent, as someone who lives very much in the highlands in late 14th century, speaks scottish gaelic, and so did stefan growing up, but as he became the king involved in political relations he started learning and speaking early scots (referred to as 'english' at the time), and by the time they meet again sixteen years later they speak different languages
#john of fordoun said in his chronicles that the people of the mountains and islands were hostile to the english language so there's that#maleficent#maleficent films#maleficent movies#idk if i mentioned that anywhere but i headcanon the films to be set in late 14th c. bc of the fashion#maleficent's christening garment looks like a late 14-early 15th c. houppelande#(there's a youtube video by nicole rudolph who makes it historically accurately it's a delight)#oh and I KNOW that multiligualism was probably widespread i just wanted to be sad
12 notes
·
View notes
Text
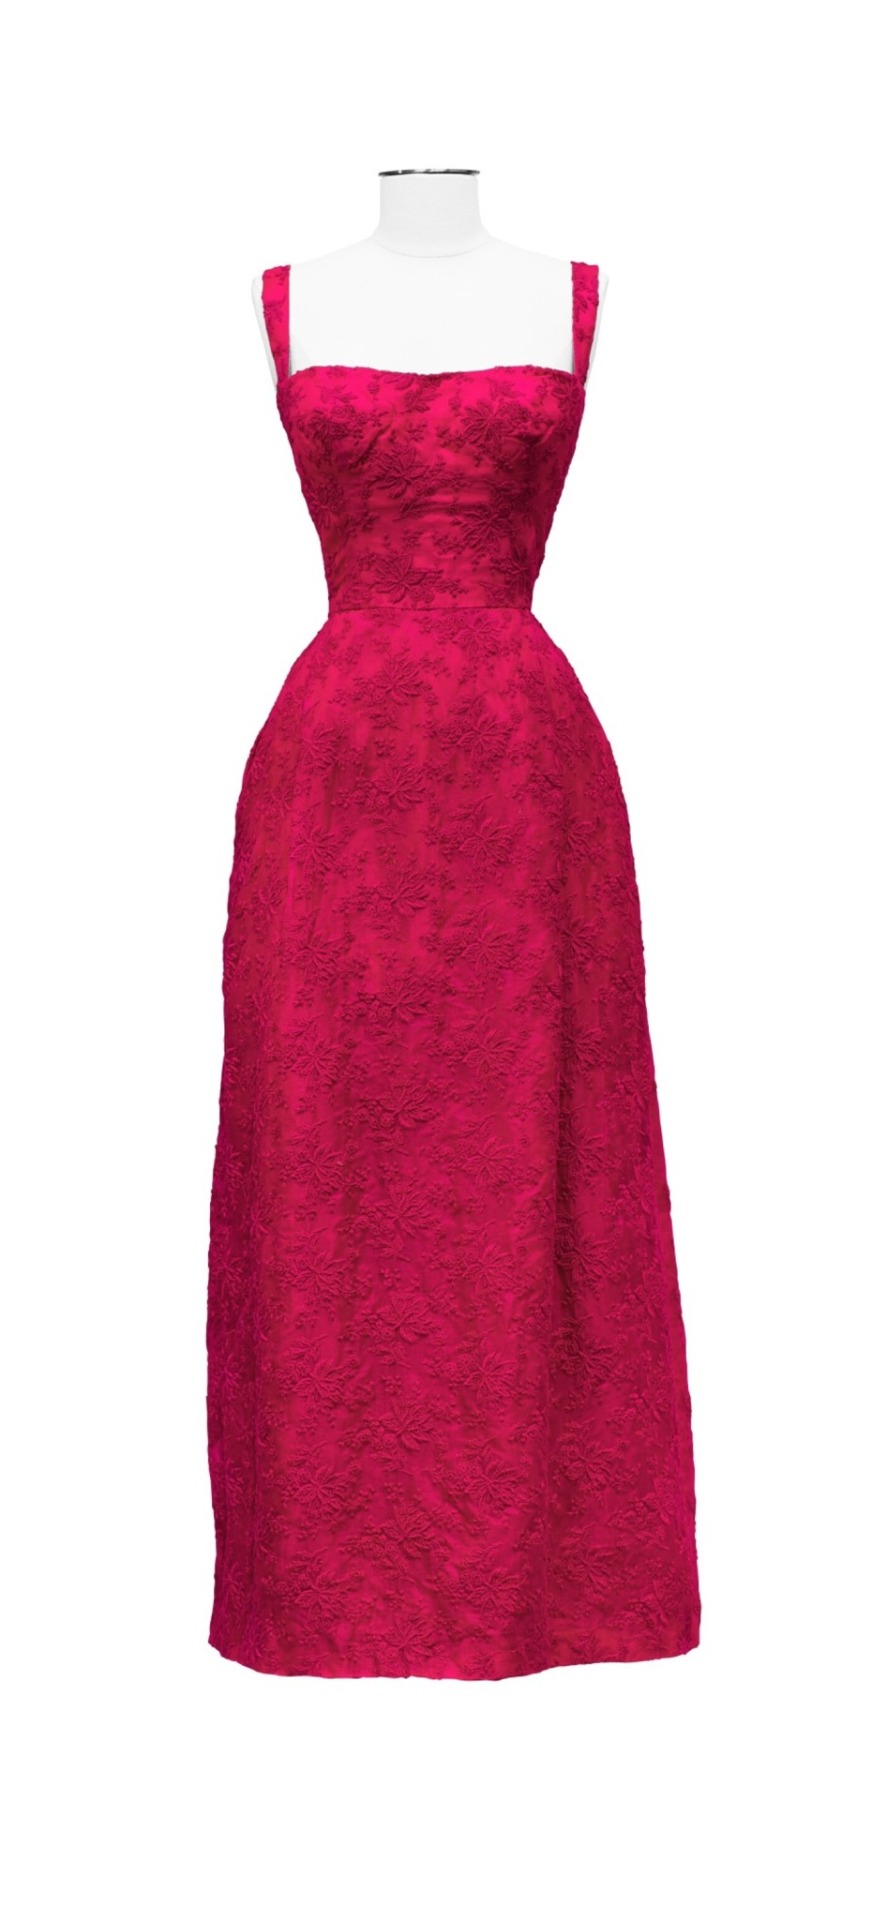
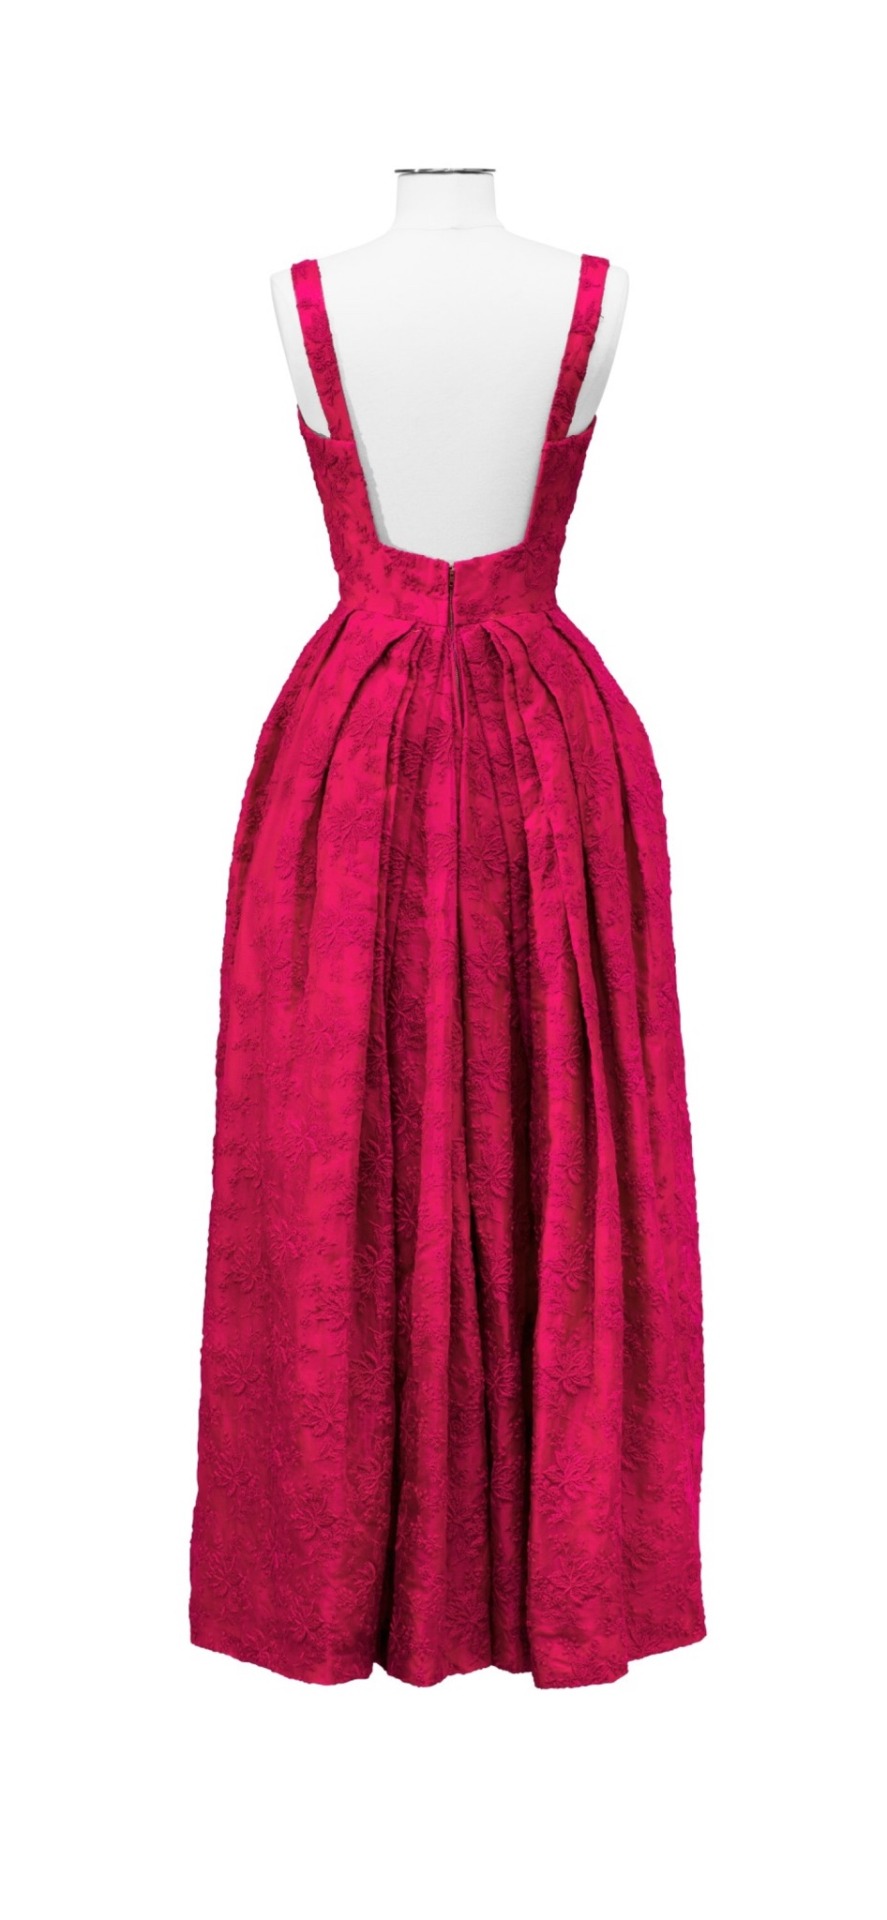
Fuchsia Pink Organza Dress, 1961, Italian.
By Livia.
Worn by Claudia Cardinale at Cannes Film Festival.
Sotheby’s.
https://www.sothebys.com/en/buy/auction/2019/collection-claudia-cardinale-dressing-a-star/livia-haute-couture-1961-dark-pink-organza-dress
#Sotheby’s#pink#organza#dress#claudia cardinale#1961#1960s#1960s dress#1960s Italy#Italian#Italy#womenswear#extant garments#silk#livia#cannes film festival#1960s extant garment
44 notes
·
View notes
Text
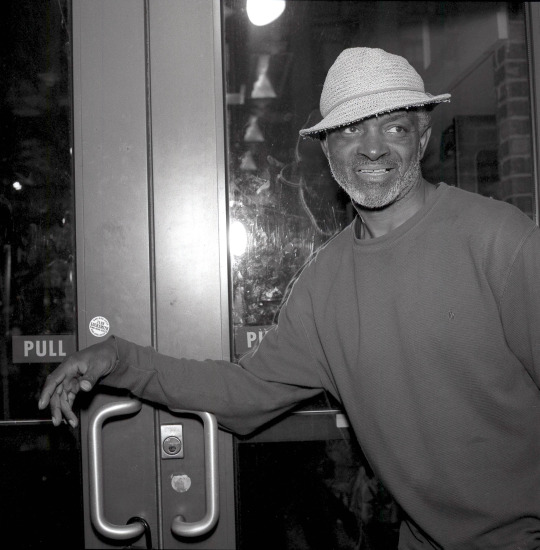
#garment district#manhattan#new york city#120 film#medium format#film photography#photographers on tumblr#original photography#buyamericancheese
8 notes
·
View notes
Note
I’m sorry to do this to you but I can’t be the only one who suffers through this quote unquote “informative article”, look up the “ The Real Reason Why Victorian Women Wore Crotch-less Panties” article on Medium, it’s awful
Oh god
just going on record with the answer "so they could use the toilet while fully dressed, though before about the 1820s, most western women simply didn't wear any sort of bifurcated lower body undergarment" before I read this, but here we go
(brief reading interlude, punctuated by "what the everloving fuck?" and fortifying sips of tea latte)
okay, so the writer seems to think of this as like...a feminist thing somehow? the article is very "they were SOOOOO oppressed by their clothes, but their vajayjays [yes, she actually says "vajayjay," and hear me when I respond: I honestly would rather people call it a cunt than that. no joke] were Out! SLAY QUEEN!"
instead of like
you have to pee sometime. you're wearing layers of skirts. it is hard to pull drawers down when they're under a well-fitted corset. nothing inherently Feminist or Un-Feminist about it- it's just an adaptation people made
oh, sorry. a "bone-crushing corset,' according to the writer. must have been a typo there
I could go on and on about the details of this nightmare article: from the proud assertion that, nowadays, women in our Thoroughly Democratized society all wear leggings and fast fashion (back then they all wore bodices, petticoats, skirts, corsets, etc.- and today, people make actual videos about "how to look rich," so how's that cut and dried progression from More to Less Democratized Fashion working out for you?) to the continued hammering-home of the idea that Victorian clothing was always uncomfortable, all the time, period, to the assertion that most Victorian women free-bled into their clothes while menstruating (?!)
but like. Bernadette Banner just made a really gorgeous house robe, and I've been wanting a better robe/housedress for a while now, and I have so much lovely fabric in my stash, and it kind of feels like a sign, and I'm working on a Halloween oneshot fic on top of that, so...
I think I'm going to go Have A Pleasant Day instead, this time. that certainly was a satisfying bit of righteous fury, though!
#ask#anon#history#dress history#fashion history#I love my Lucille robe but it really is a garment obviously designed more for aesthetics than practicality#which is fine!#Doylist reason: it's a film costume. Watsonian reason (in my opinion): it's her Sexy Lingerie#I don't think she ever leaves the attic any less than fully dressed#but I like changing into loungewear after work or for a day at home so. yeah.#menstruation mention
90 notes
·
View notes
Text
This post is going to be relevant to a negative number of people but I gotta get this off my chest after watching the pro-union 1957 movie, The Garment Jungle for the first time:
I am now shipping my very first throuple:
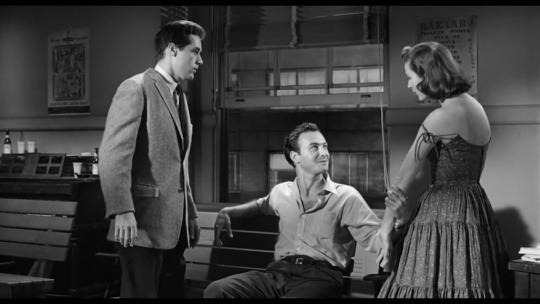
First of all, union-organizer Tulio and his wife Theresa are clearly Fucking

And the boss’s son, Alan is immediately attracted to both of them

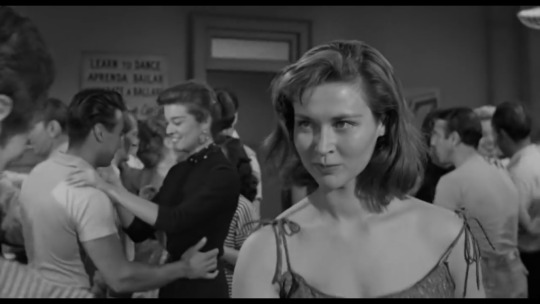
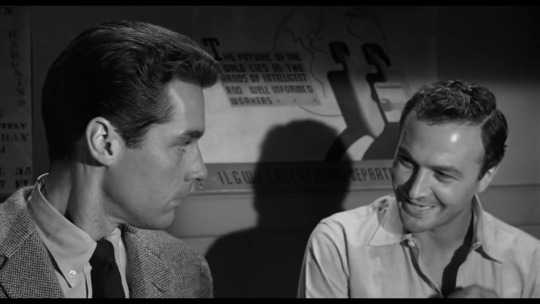
Tulio has to die nobly, of course, killed by mobsters hired by the boss, while trying to bring his workers into the union. But before that the two people who are in love with him try to keep him from being heroic
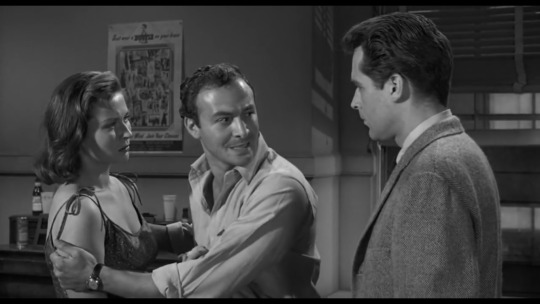

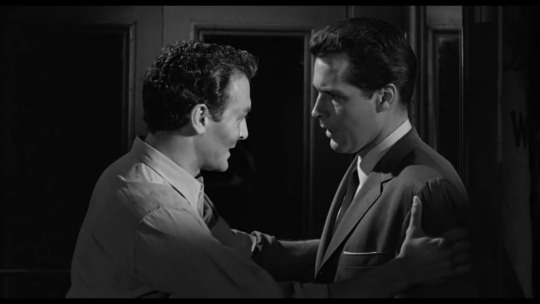

And Alan and Theresa go off and sit in a bar together and wait for news of Tulio, having to sit in separate booths because Theresa has to breastfeed her baby. But not having to look each other in the eye only heightens their immediate intimacy
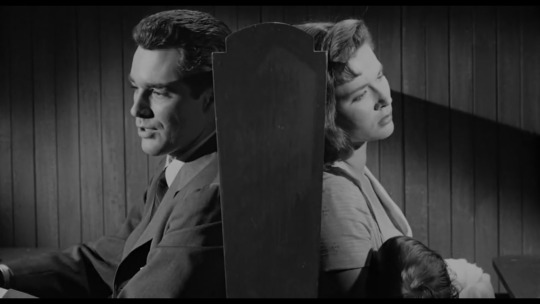
And it’s not like Tulio feels disposable to the narrative, like he has to die to make way for The Real Couple of Alan and Theresa. The two of them are pretty good together, but it’s when a scene contains all three of them that the chemistry is off the charts.
8 notes
·
View notes
Text
s.amantha shannon said s.eiiki is inspired by edo period japan, which means we get this sort of stuff
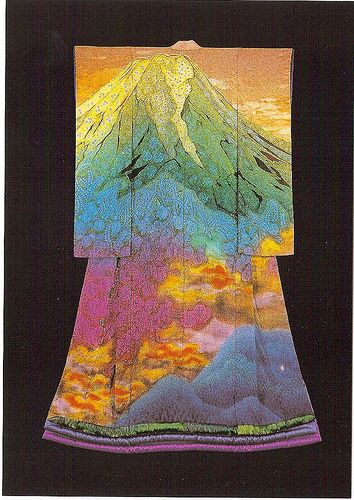
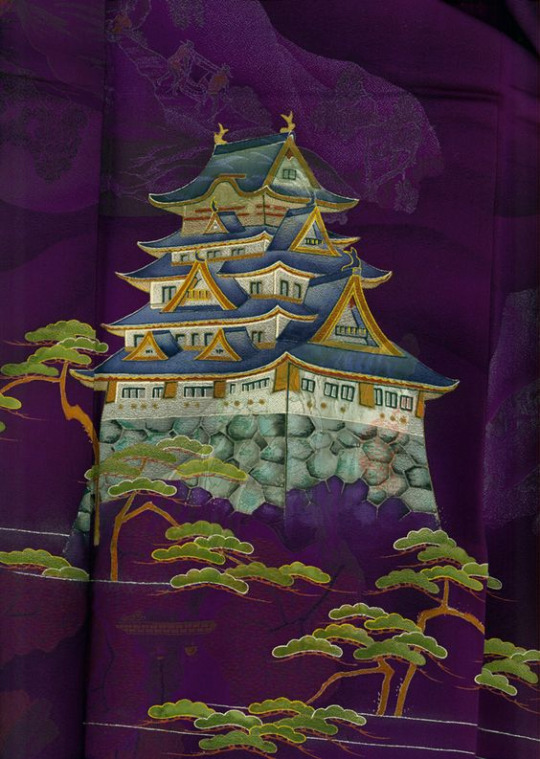
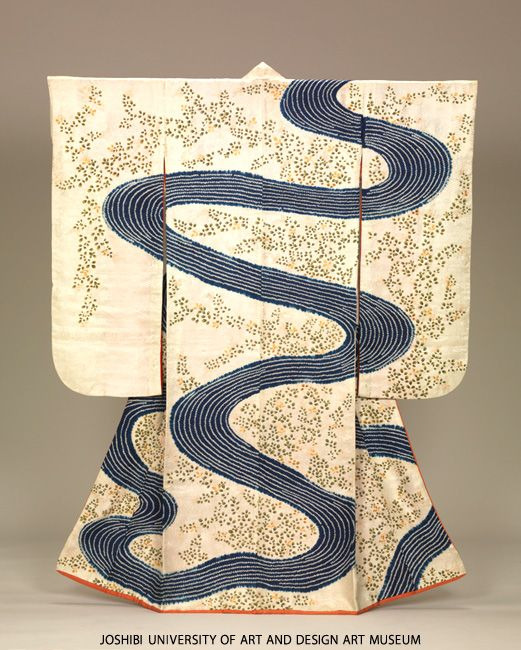
#brrrrr........ ive been looking at textiles and accessories for hours perhaps i need to rest my eyes#rip to dumai but im all about the fancy garments and shiny things. SORRY GIRL WE'RE DIFFERENT#THE RIVER PRINT???? THE RAINBOW KIMONO. lichrally just cast me as a wardrobe person on the film is all im saying.
1 note
·
View note
Photo
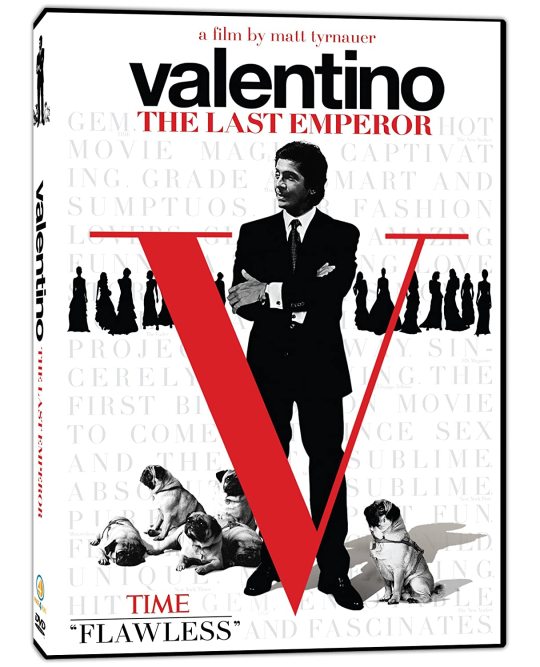
Valentino: The Last Emperor
This documentary from 2008 by Matt Tyrnauer is both fascinating and maddening for a dressmaker. Fascinating because it shows elements of the process of design and making of two beautiful evening dresses, one brown and one ivory, both of chiffon with beaded elements. We watch some of the draping of the dresses, learn that all the sewing is done by hand, none by machine, watch snippets of the women in whose hands all that sewing skill lies, and get to see the final result. We also learn of the decades-long partnership of Giancarlo Giammetti and Valentino Garavani that created this couture house. Valentino saw success in the early 1960s and continued until his retirement in 2008.
Every minute spent on close looks at the garments in construction or when finished made me want to see even more and to see even more closely. So it was maddening for me when the camera swiveled to show this or that actress or celebrity watching the runway shows or gushing after the show. More dresses! I thought, More dresses! But then this is my usual lament watching documentaries on fashion designers, and I have to remind myself that not everyone is as interested in watching someone drape a bow or sew a hemline by hand.
You can stream it online, or buy the DVD here: https://www.barnesandnoble.com/w/dvd-valentino-the-last-emperor-valentino-garavani/15920848;jsessionid=C4B77E1D258A55054A48F0FE9DF0E074.prodny_store02-atgap06?ean=0625828493003
#valentino#valentino garavani#giancarlo giammetti#matt tyrnauer#haute couture#20th century fashion#21st century fashion#fashion on film#fashion documentary#valentino the last emperor#sewing#couture sewing#dressmaking#couture dressmaking#dress design#garment design
6 notes
·
View notes
Text
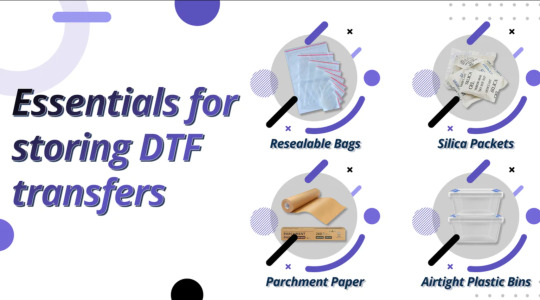
A Guide on How to Store DTF Transfers Safely
In the dynamic world of textile printing, Direct to Fabric (DTF) transfers have emerged as a revolutionary technique. However, to fully reap the benefits of DTF Transfers, proper storage is crucial. In this guide, we'll delve into the essentials of storing DTF transfers to ensure they maintain their quality and longevity.
1. Understanding DTF Transfers
Before we dive into storage tips, let's briefly understand what DTF transfers are. DTF is a printing method that involves transferring ink directly onto fabric, offering vibrant colors, fine details, and excellent durability.
2. The Importance of Proper Storage
Effective storage is vital to preserving the quality of your DTF transfers. Factors like temperature, humidity, and exposure to light can impact the longevity and vibrancy of the prints.
3. Storage Environment
3.1 Temperature Control
Maintain a consistent and moderate temperature in your storage area. Fluctuations in temperature can lead to condensation, potentially damaging the transfers. Aim for a temperature range of 20-25°C (68-77°F).
3.2 Humidity Management
High humidity can cause the transfer paper to absorb moisture, leading to ink smudging and reduced print quality. Keep the humidity levels between 40-60% to prevent these issues.
4. Light Exposure
Limit exposure to natural and artificial light, as prolonged exposure can cause colors to fade over time. Store DTF transfers in a dark or opaque container to shield them from light.
5. Storage Containers
Choose appropriate containers for storing DTF transfers. Use acid-free and archival-quality materials to prevent any chemical reactions that may harm the prints. Additionally, ensure that the containers are airtight to protect against dust and contaminants.
6. Handling and Positioning
When placing DTF transfers in storage, handle them with care to avoid scratches or creases. Store them flat or rolled, depending on the size and your available space. If stacking, use protective sheets between prints to prevent friction.
7. Regular Inspection
Periodically inspect your stored DTF transfers to ensure they remain in optimal condition. Address any issues promptly to prevent further deterioration.
Conclusion
Proper storage is a key aspect of maintaining the quality and longevity of DTF transfers. By implementing these tips, you can ensure that your prints retain their vibrancy and detail, contributing to the overall success of your textile printing endeavors.
Unlock the full potential of DTF transfers by investing in their proper storage – a small effort that goes a long way in preserving the beauty and durability of your prints.
0 notes
Text
garment inspired by blood
1 note
·
View note
Text
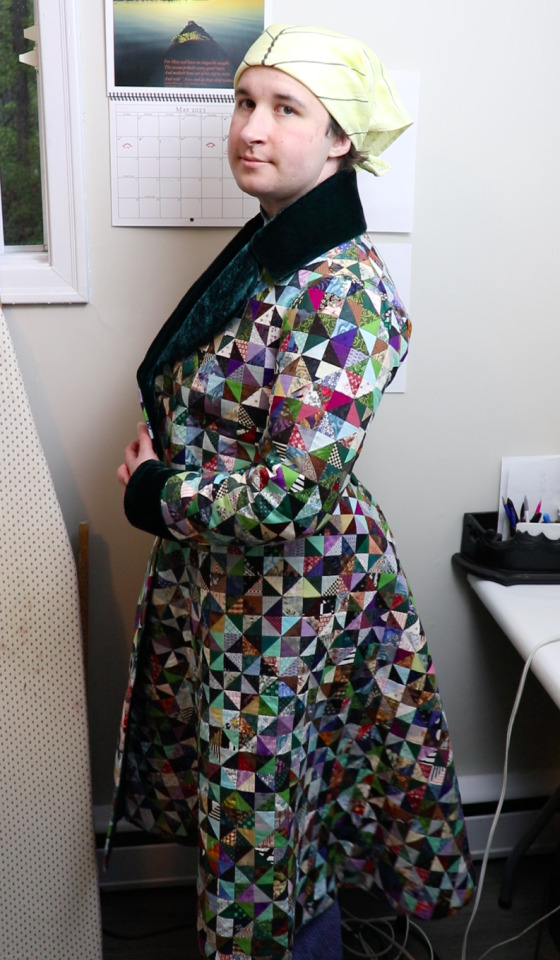
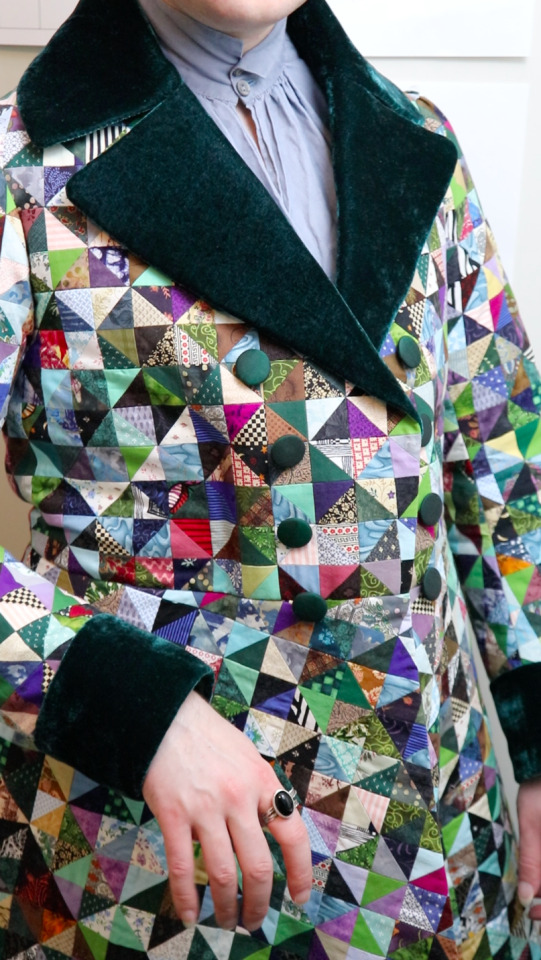
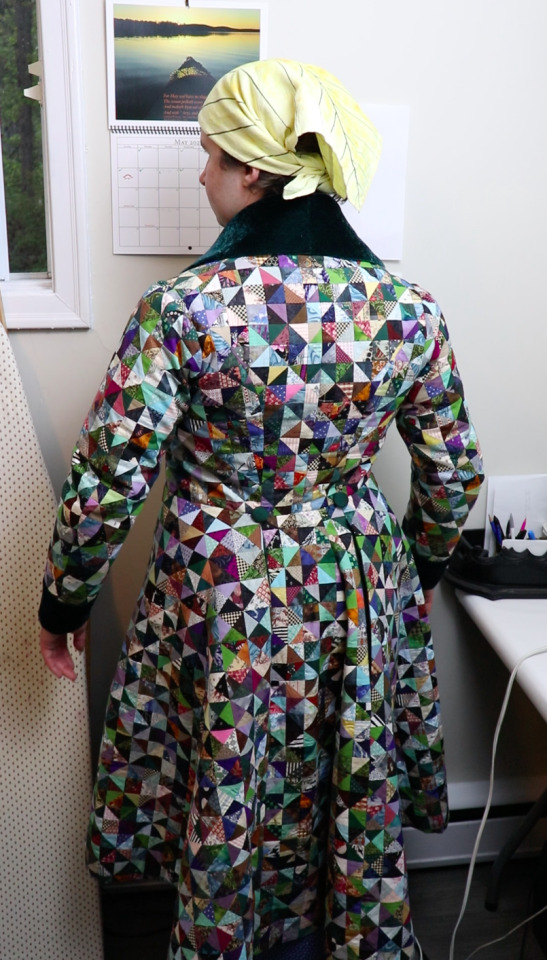


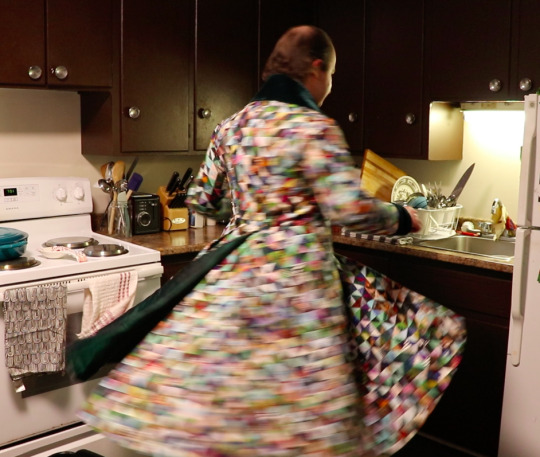
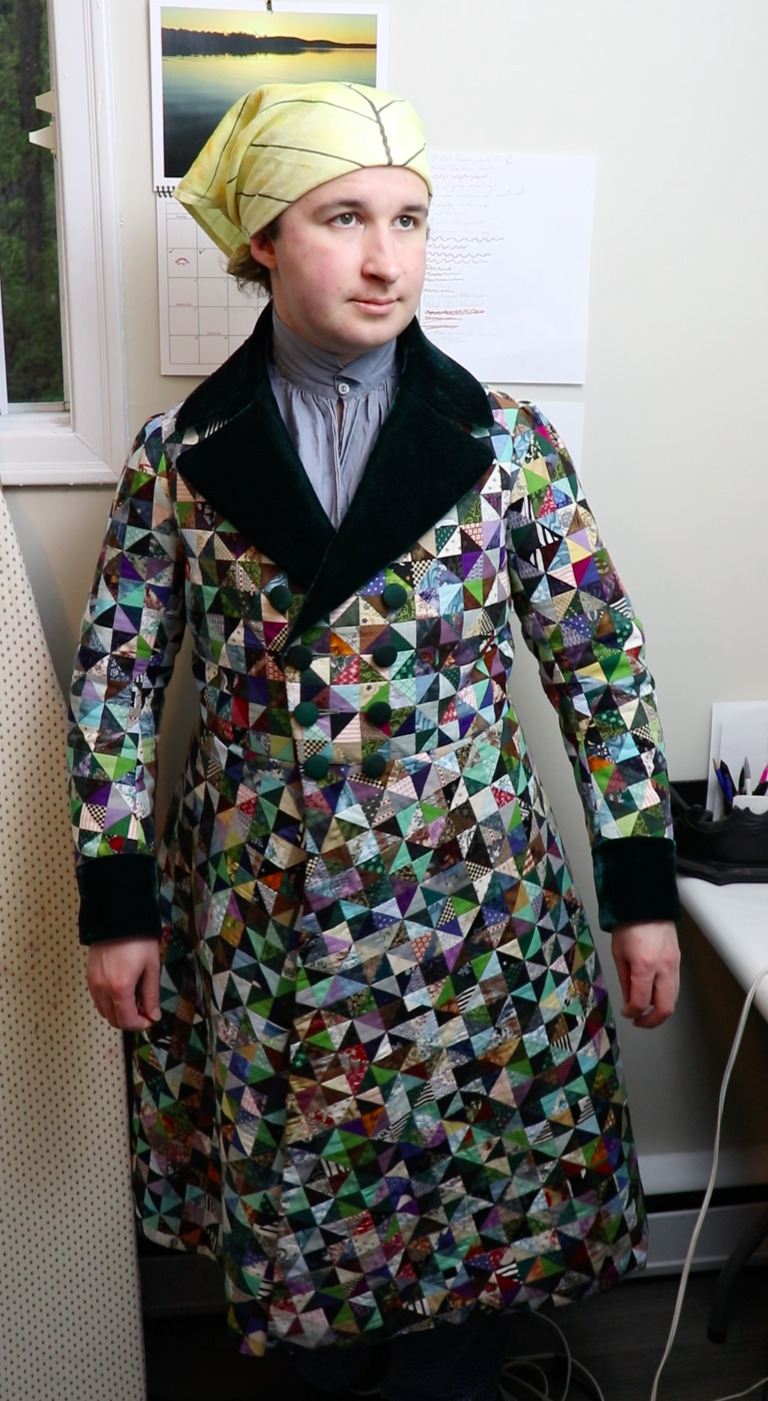

Here are some (not very good) photos of me wearing it! I'll have to get some better ones at my parents house later, because there is absolutely no good space to take photos in my apartment.
I don't have any other 1830's things to go with it, and don't currently have plans to make any. I just wanted this dressing gown specifically.
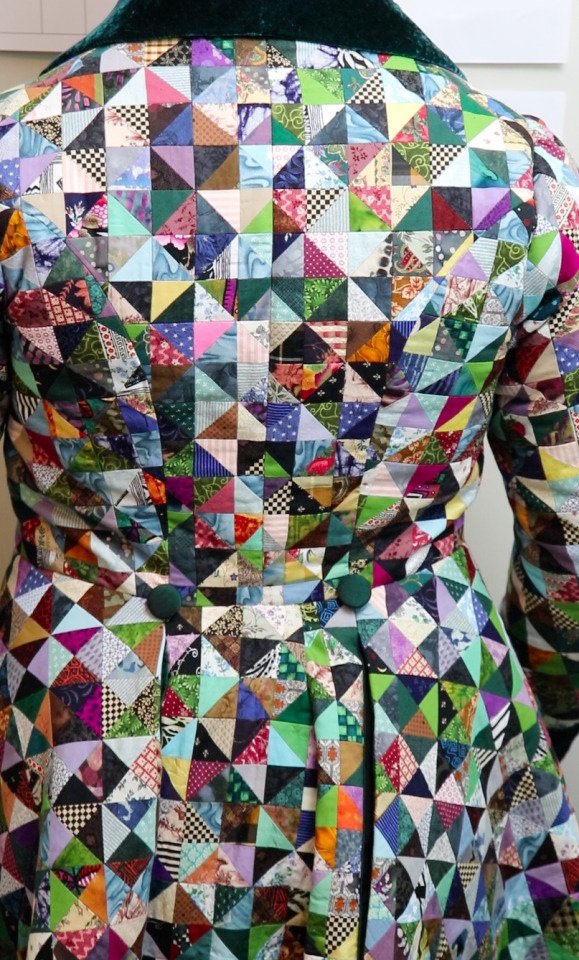
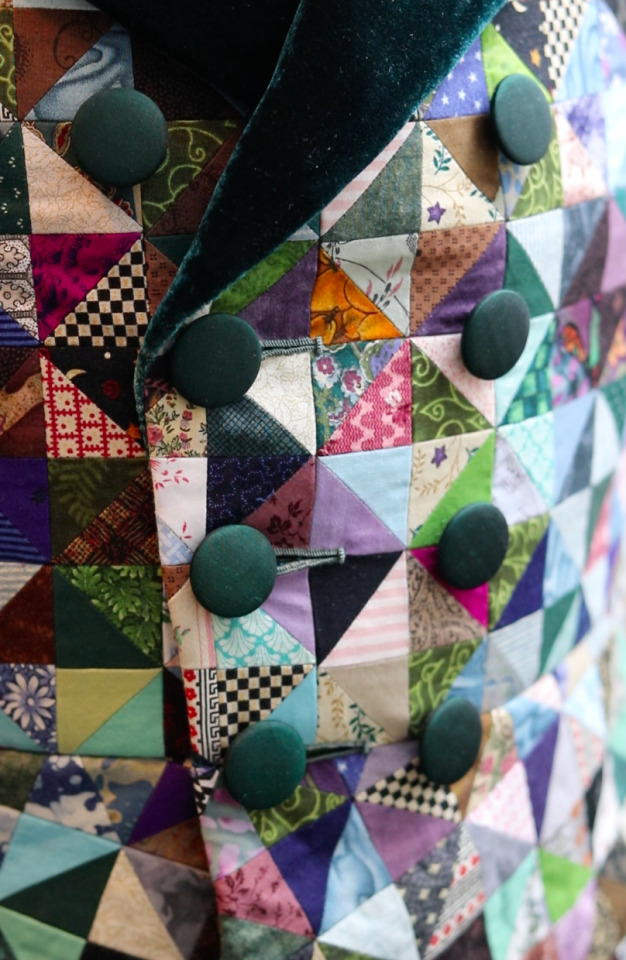
Anyways! There are 6,957 triangles, all sewn together by machine, but most of the actual garment construction is by hand. The unevenness from all the patchwork seam allowances made it very fussy, and the tailoring took at least twice as long as it would have in a normal fabric. The velvet was also a challenge, being the soft drapey wobbly kind, but I managed.
I accidentally made my triangles a bit smaller than the ones on the original (C. 1835, Powerhouse Museum collection.) which means there are more triangles than there had to be, but that's ok. I really enjoyed doing the patchwork, it's the most wonderfully soothing brainless task ever and I will definitely make more patchwork things.
I'm very happy with how it turned out! It's comfortable and fits pretty well, and is warm but not excessively so.
I kept timesheets for everything, and I haven't added them up yet, but once I do I'll know exactly how long all of this took.
I also filmed it, but the youtube video won't be out for quite a while, because I still have to write and record some more stuff and then edit a very very very very large amount of clips.
9K notes
·
View notes
Text
#bag, Biodegradable Apparel, Clothes Packaging, Multi Function Bags, Environmental Friendly, 100% Compostable
#water soluble film#slider bags#eco bags#eco firendly bag#food storage bags#freezer bag#freezer bags#garment bags#gift bags#grip seal bags#ibc bag#ibc bags#food bags#kraft bag#laundry bag#laundry bags#kraft bags#plastic bag#plastic bag sealers#poly bag#microwave a ziploc bag#poly bags#pouch bags
0 notes
Text

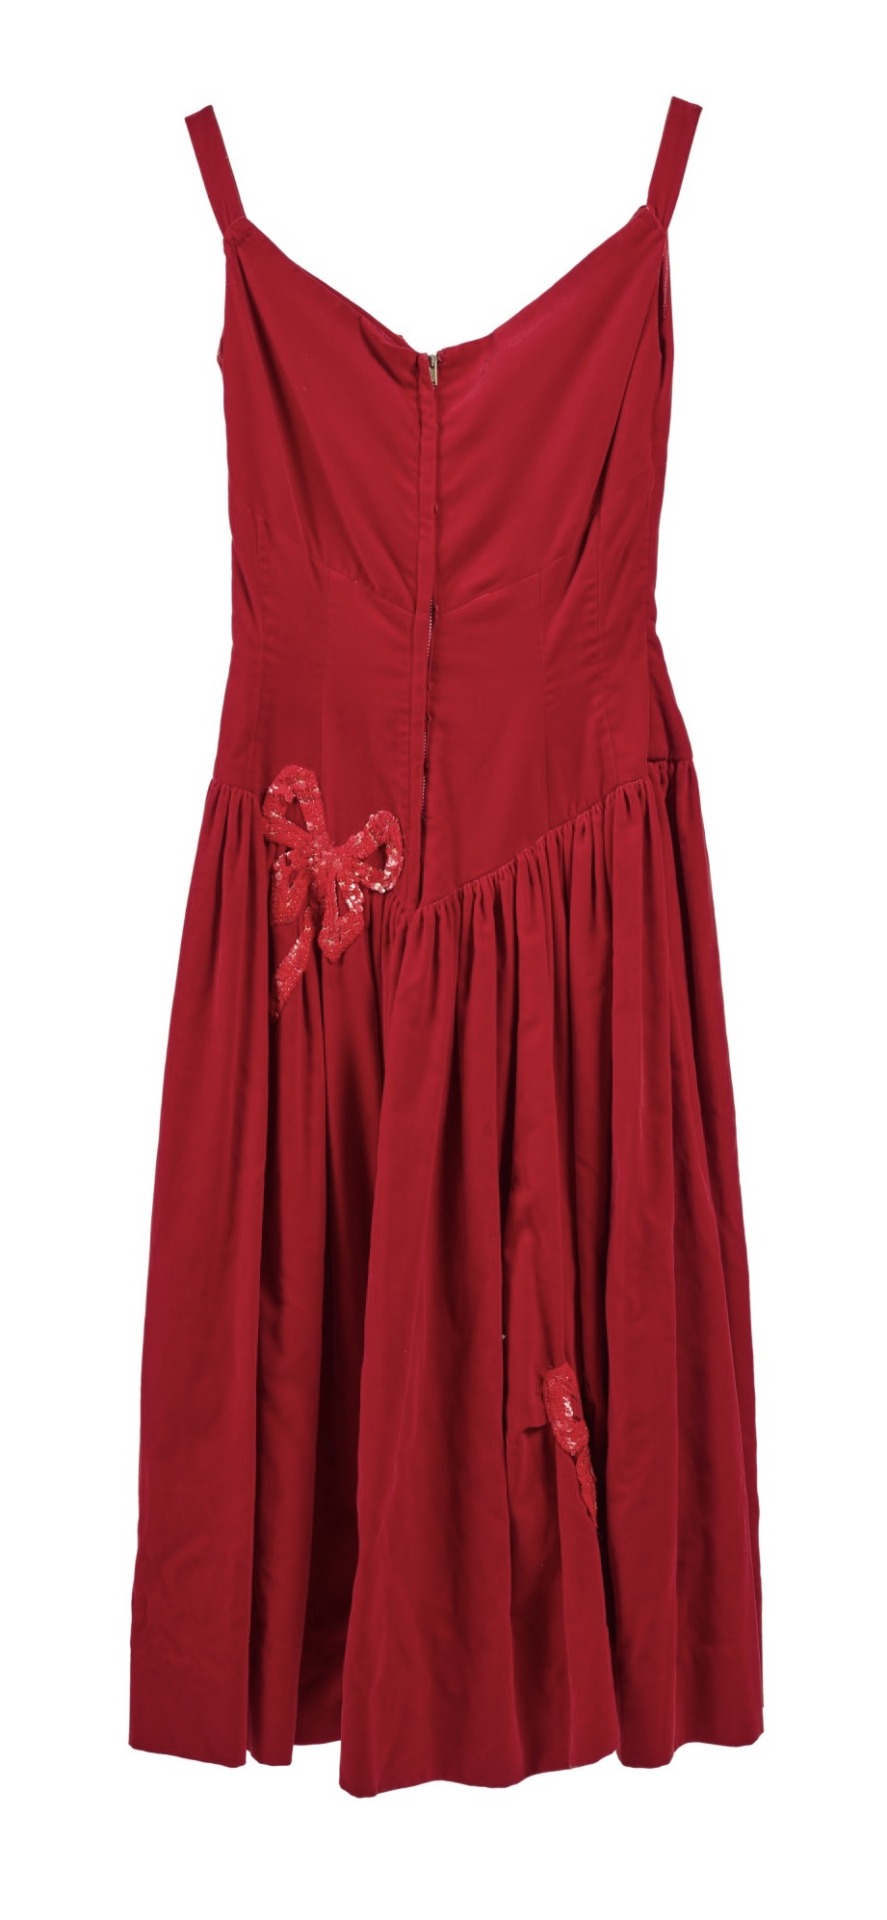
Red Velvet Dress, 1957, American.
Worn by Joanne Woodward in The Three Faces of Eve.
Sotheby’s.
https://www.sothebys.com/en/buy/auction/2023/a-life-legacy-the-joanne-woodward-paul-newman-collection/the-three-faces-of-eve-velvet-dress-worn-by-joanne?locale=en
#sotheby’s#red#velvet#womenswear#dress#American#usa#1957#1950s#film costume#1950s usa#1950s dress#the three faces of eve#joanne woodward#Hollywood#1950s film#costume#1950s extant garment
13 notes
·
View notes
Note
Any tips on learning to make buttonholes? I've been putting it off for.... *checks notes* like three years.... but better late than never and all that. I don't have any fancy machines so I gotta do it by hand but that seems right up your alley.
Thanks!
It IS up my alley, yes, I do most of my buttonholes by hand!
I'm actually part way through filming an 18th century buttonhole tutorial, but I expect it'll be a few more weeks before I finish that and put it on the youtubes, so in the meantime here's the very very short version. (The long version is looking like it'll probably be about 40 minutes maybe, judging by how much script I've written compared to my last video?)
Mark your line, a bit longer than your button is wide. I usually use a graphite mechanical pencil on light fabrics, and a light coloured pencil crayon on dark ones. (I have fabric pencils too, but they're much softer and leave a thicker line.)
You may want to baste the layers together around all the marked buttonholes if you're working on something big and the layers are shifty and slippery. I'm not basting here because this is just a pants placket.

Do a little running stitch (or perhaps a running backstitch) in fine thread around the line at the width you want the finished buttonhole to be. This holds the layers of fabric together and acts as a nice little guide for when you do the buttonhole stitches.

Cut along the marked line using a buttonhole cutter, or a woodworking chisel. Glossy magazines are the best surface to put underneath your work as you push down, and you can give it a little tap with a rubber mallet if it's not going through all the way.

I'm aware that there are some people who cut their buttonholes open using seam rippers, and if any of them are reading this please know that that is abhorrent behaviour and I need you to stop it immediately. Stop it.
Go get a buttonhole cutter for 10 bucks and your life will be better for it. Or go to the nearest hardware store and get a little woodworking chisel. This includes machine buttonholes, use the buttonhole cutter on them too. If you continue to cut open buttonholes with a seam ripper after reading this you are personally responsible for at least 3 of the grey hairs on my head.
Do a whipstitch around the cut edges, to help prevent fraying while you work and to keep all those threads out of the way. (For my everyday shirts I usually do a machine buttonhole instead of this step, and then just hand stitch over it, because it's a bit faster and a lot sturdier on the thin fabrics.)

I like to mark out my button locations at this point, because I can mark them through the holes without the buttonhole stitches getting in the way.
For the actual buttonhole stitches it's really nice if you have silk buttonhole twist, but I usually use those little balls of DMC cotton pearl/perle because it's cheap and a good weight. NOT stranded embroidery floss, no separate strands! It's got to be one smooth twisted thing!
Here's a comparison pic between silk buttonhole twist (left) and cotton pearl (right). Both can make nice looking buttonholes, but the silk is a bit nicer to work with and the knots line up more smoothly.

I've actually only used the silk for one garment ever, but am going to try to do it more often on my nicer things. I find the cotton holds up well enough to daily wear though, despite being not ideal. The buttonholes are never the first part of my garments to wear out.
I cut a piece of about one arm's length more or less, depending on the size of buttonhole. For any hole longer than about 4cm I use 2 threads, one to do each side, because the end gets very frayed and scruffy by the time you've put it through the fabric that many times.
I wax about 2cm of the tip (Not the entire thread. I wax the outlining/overcasting thread but not the buttonhole thread itself.) to make it stick in the fabric better when I start off the thread.
I don't tend to tie it, I just do a couple of stabstitches or backstitches and it holds well. (I'm generally very thorough with tying off my threads when it comes to hand sewing, but a buttonhole is basically a long row of knots, so it's pretty sturdy.)

Put the needle through underneath, with the tip coming up right along that little outline you sewed earlier. And I personally like to take the ends that are already in my hand and wrap them around the tip of the needle like so, but a lot of people loop the other end up around the other way, so here's a link to a buttonhole video with that method. Try both and see which one you prefer, the resulting knot is the same either way.


Sometimes I can pull the thread from the end near the needle and have the stitch look nice, but often I grab it closer to the base and give it a little wiggle to nestle it into place. This is more necessary with the cotton than it is with the silk.
The knot should be on top of the cut edge of the fabric, not in front of it.

You can put your stitches further apart than I do if you want, they'll still work if they've got little gaps in between them.
Keep going up that edge and when you get to the end you can either flip immediately to the other side and start back down again, or you can do a bar tack. (You can also fan out the stitches around the end if you want, but I don't like to anymore because I think the rectangular ends look nicer.)
Here's a bar tack vs. no bar tack sample. They just make it look more sharp, and they reinforce the ends.

For a bar tack do a few long stitches across the entire end.

And then do buttonhole stitches on top of those long stitches. I also like to snag a tiny bit of the fabric underneath.

Then stick the needle down into the fabric right where you ended that last stitch on the corner of the bar tack, so you don't pull that corner out of shape, and then just go back to making buttonhole stitches down the other side.
Then do the second bar tack once you get back to the end.

To finish off my thread I make it sticky with a bit more beeswax, waxing it as close to the fabric as I can get, and then bring it through to the back and pull it underneath the stitches down one side and trim it off.


In my experience it stays put perfectly well this way without tying it off.
Voila! An beautiful buttonholes!


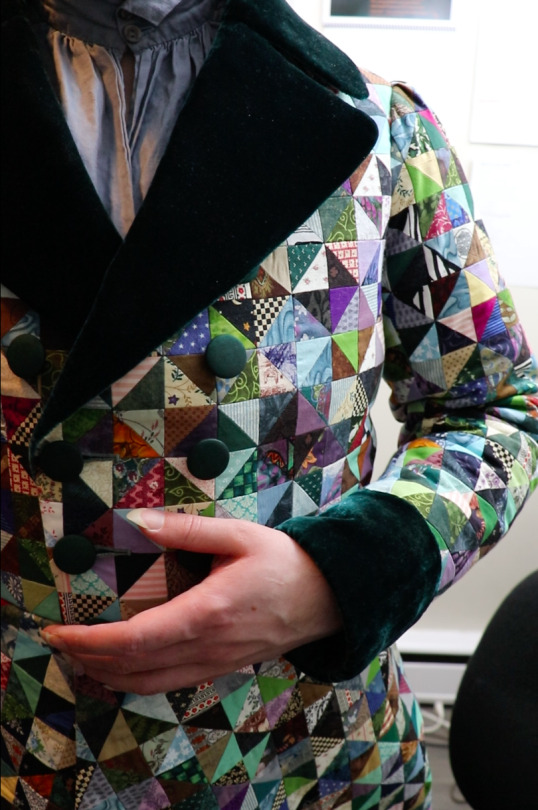
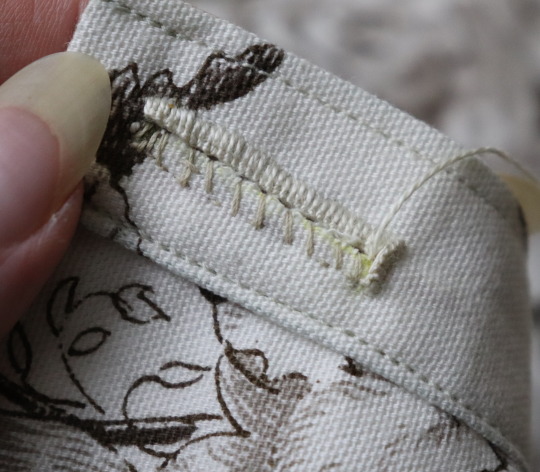
If you want keyhole ones you can clip or punch a little rounded bit at one end of the cut and fan your stitches out around that and only do the bar tack at one end, like I did on my 1830's dressing gown.

(I won't do that style in my video though, because they're not 18th century.)
Do samples before doing them on a garment! Do as many practice ones as you need to, it takes a while for them to get good! Mine did not look this nice 10 years ago.
Your first one will probably look pretty bad, but your hundredth will be much better!
Edit: Video finished!
youtube
And here's the blog post, which is mostly a slightly longer version of this post.
#ask#buttonholes#sewing#hand sewing#sewing tutorial#I've been procrastinating on the video this week#I want it done! I don't want to work on it I want new projects! I want to cut out more gloves!#currently forcing myself to do the last few buttonholes on these pants and then maybe I can cut out new gloves? as a treat?#but I hope I get some filming done tomorrow too
3K notes
·
View notes
Last Seen Blogs

yesteresarsears
Yesteresarsears

ghoulish-glam
Dressed to be killed

camrythomas1
Camry Thomas
ghoulish-glam
Dressed to be killed

chelseais92yrsold-blog
Gif(t) test kitchen