#painting guide
Text
How I paint things - Part 1
I often get asked what my painting process is, so I thought, why not use the fact that on Tumblr I’m not limited to a mere hundred character to try and explain as thoroughly as possible the way I do things ? That way, you might glean a few useful tips and tricks along the way.
But before I get started, a word of warning. What I will explain is a process that work for me, it might not fit your habits, or your enjoyment of the hobby, and that’s ok. My method isn’t better or worse than others, it’s just the one that served me the best up until now. That’s why, for each step and choices of said process, I will try and explain my reasoning, that way you will be able to assess if it’s a good fit for you or not, or if you can incorporate some elements of it into your process.
With all that out of the way…
Let’s get prepping !
I won’t go into details on the assembly process itself, or how to fill gaps and other build shenanigans, I mainly suck at it. Follow the assembly guide, don’t forget any mold lines, don’t forget any mold lines and you should be fine. Instead, my focus here will be on how I go about prepping subassemblies.
For those who don’t know, painting in subassemblies consist of painting your minis in separated parts before gluing them all back together at the very end. The main advantage is that it make painting most parts of the mini far easier, especially the one partially hidden by others. The main disadvantage is that it requires more prepping than normal and the "gluing back together" step can be a bit nerve wracking at time, with the constant fear of F-ing up your whole finished paint job.
But all in all, with practice, the advantages far outweigh the disadvantages. In the long run, it will help you increase your paint job quality, so it’s well worth considering giving it a shot.
But how one go about it ?
Generally, if the model allows it, I break my model like this :
Head
Arms (if the mini is holding a gun with both hands, I glue the gun to one of the arms, but still keep both arms separated because if you assemble both arm to the gun, you run the risk of them being misaligned to the torso once you glue them to it. When separated, you can still adjust things easily)
Body with the legs attached
Backpack
Cape, but only if I can subassemble it in a single piece, otherwise you run the risk of not shading or highlighting it consistently and that would be glaringly obvious once reassembled.
Base
That can change with vehicles, or if the mini is some weird tentacle monsters with 8 arms, but you get the idea.
Don’t go overboard with it though, if you paint every single part separated, you will have a hard time reassembling everything. The trick is to keep things balanced, that’s why I advise you to take the time to think a bit about the best way to subassemble your mini before jumping in and gluing stuff together, you will save time in the end.
Now, how to hold all this separate parts in a way that will allow you to paint them without having to put your greasy little fingers all over them ?
Here are the methods I use depending on the parts :
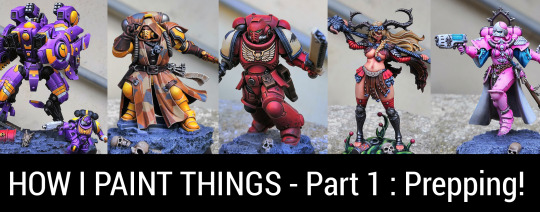
Method 1 - Small drill + Toothpick
Basically, I drill a small all in a part that will be hidden from view once reassembled, and I stick one pointy end of a toothpick in it. If the hole is long enough, the conic head of the toothpick will get stuck in it. If you can’t drill far enough due to the limited size of a part, you can also slightly cut the tip of the toothpick to help make it fit.
Advantage : No glue involved, meaning you limit massively any risks of f-ing things up.
Disadvantage : It can only work on part with enough plastic to be drilled without drilling to the other side.
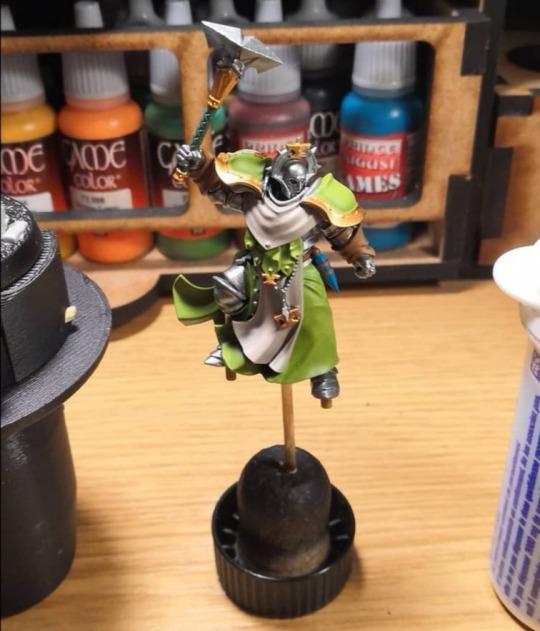
Method 2 - Toothpick + superglue
When the part is too small to drill, just put a tiny bit of superglue at the end of a toothpick and glue the part to it. Try to choose an angle that will be hidden from view once reassemble (can sometime be harder than you think). Once finished, if you haven’t put too much superglue, you can pull the toothpick away. If some glue is left behind, you can scratch carefully with the side of an exacto knife.
Advantage : Work with any part of any size
Disadvantage : The superglue let some material on the plastic you will probably need to scratch away with an exacto knife, which can be dangerous for your paint job.

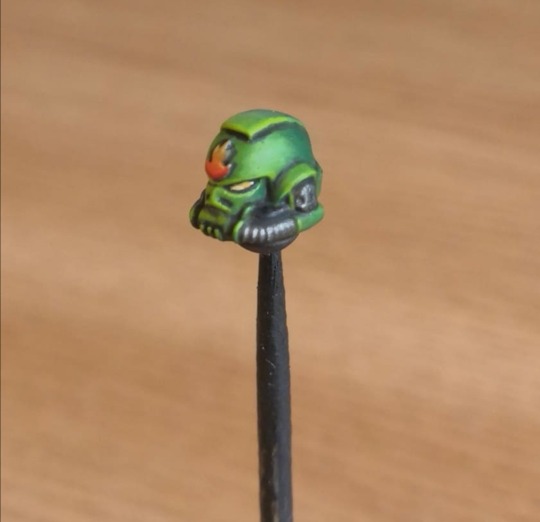
Method 3 - Spare base + superglue
That one work mostly for the body to allow painting the real base separately. You just add some glue under one of the feet (not the two if you can avoid it) and stick it on a spare base. Ideally a smaller base than the final one, letting you more easily work around the mini. Once finished, you just have to slightly push on the mini to break the superglue bond (putting the mini into the fridge can help if you have difficulty removing the part, the cold makes the superglue much more brittle).
Advantage : Make working on the final base much easier
Disadvantage : None I can think of, works like a charm every time, but can only be used for the main body. Arms, heads and the like can’t really stick on a base.
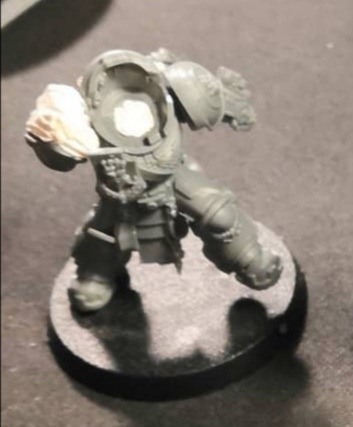
Method 4 – DIY handle + double-sided tape or blue tack
For all the parts that won’t work with the methods above, you have the nuclear option, consisting of using some kind of piece of wood (you can build a DIY handle by screwing two pieces of wood together in a T shape) and adding double-sided tape or some blue tack on it. Push the part you want to hold on it, and voilà. Can work well for big and flat parts, just be careful when you will have to paint the other side to stick it somewhere where you will have an easy time correcting any damage on the paint job.
Advantage : nuclear option that works with almost everything
Disadvantage : The tape / blue tack can damage the paint job depending on where you stick your part to it.
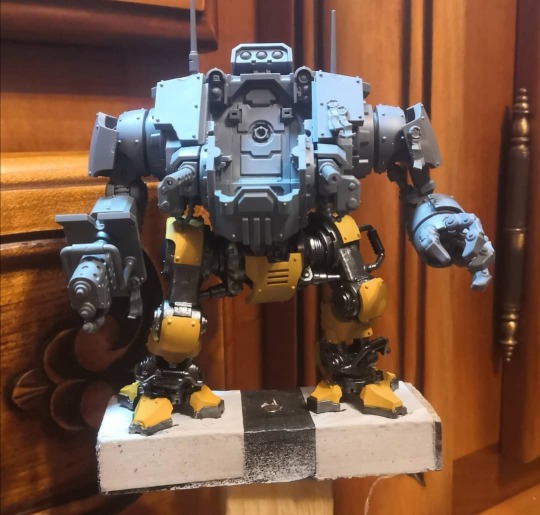
Examples with a big boy that couldn’t fit in my at the time too small handle :
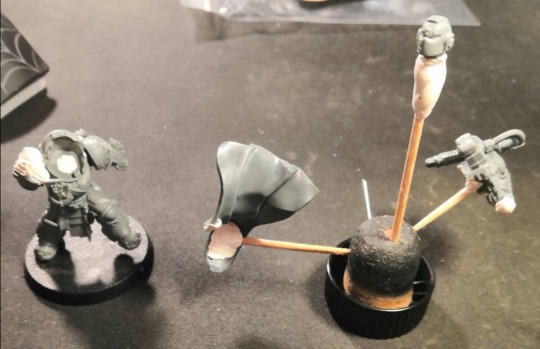
And with a flag that can lay flat :

Once all your subassemblies are finished, one crucial final step remains : with some blue tack, you will mask the zones where you will glue your mini back together at the end of the painting process. That way, once your model has been primed, you will just have to remove the blue tack to show the bare plastic under.
Why bother with that step ? Because the plastic glue work badly over a primer. It doesn’t nullify entirely it’s effect, but it sure slows it, which can be a problem for some parts.
And in the cases where you forgot to add blue tack to some joints, a tip I use is to simply scratch a bit of the primer with an exacto knife to show the bare plastic underneath. Don’t overdo it though.
Once finished, stick all the toothpick into some cork, and you are good to go.
Behold the Grey Plastic Christmas Tree of Doom !!!
Next, it’s priming time !
#miniature painting#warhammer 40k#warhammercommunity#tutorial#painting miniatures#Miniature painting tutorial#Painting guide#kingdom death#How to#tips and tricks
94 notes
·
View notes
Text
Art Tip #4 - Painting Techniques
Understanding some basic painting techniques will help you experiment with various styles and create your own unique artistic voice if you're wanting to improve your painting capabilities.
If you're interested in learning more about how to interpret art, check out our videos on where to start for tips on where to look for inferences. ✨
PART 1: Palette Knife
youtube
You might mistakenly believe that a palette knife is just useful for blending paint on the palette; however, this tool can also be utilized to add some distinctive effects to your work that a brush would find challenging to achieve. Just load a small bit of paint onto the edge of the palette knife, and dab the edge of the knife onto the canvas. Simply make sure the paint is applied evenly on the knife's edge. You must also constantly reload your palette knife between strokes because you typically only gets one line every stroke.
PART 2: Pouring Technique
youtube
Pouring is a basic but effective technique that works best with acrylic paint. This method includes pouring paint directly onto a surface and tilting the canvas at various angles to activate the paint and move it around. Acrylic paint must be rendered liquid and pourable with the addition of a Pouring Medium and other components as necessary in order to do the acrylic pouring. With the use of this technique, the colors can naturally meld together to produce colorful, one-of-a-kind artwork that reflects the interactions between colors.
PART 3: Dabbing Technique
youtube
Dabbing Technique involves dabbing paint onto a surface using a stiff bristle brush, paper towel or sponge. Applying the paint fast and gently is recommended. A piece gains movement and texture via dabbing. For example, you may construct treetops that seem to be moving in the wind using the dabbing technique. For inspiration, take a look at some examples of Claude Monet’s work.
PART 4: Sgraffito Technique
youtube
Sgraffito painting technique allows artists to add more colors to underpainting layers once it is completely dried. In order to reveal what is beneath a layer of paint, this includes scratching. Artists can successfully scratch off the superficial layer to reveal distinctive patterns or shapes by covering a previous surface with another layer. It is possible to use any object that will allow you to scratch a line into the paint.
That would be our stop! There's a lot more techniques, so explore more!
~ Now pack your art supplies and start creating! Safe travels🚍🎨
-Post by Bacarro
#Art#traditional art#Painting#Painting Techniques#YouTube#palette knife technique tutorial#dabbing painting technique#How to paint in sgraffito method#How to paint in pouring technique#Traditional Art method#art terminal ph#art tips#art tutorial#art guide#art reference#illustration#art#Painting tutorial#painting guide#painting tips#How to Paint in splattering technique
3 notes
·
View notes
Photo
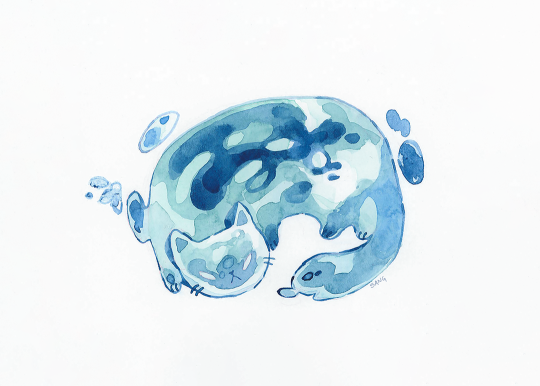
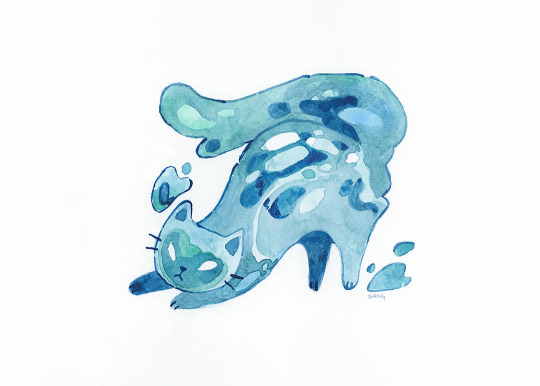
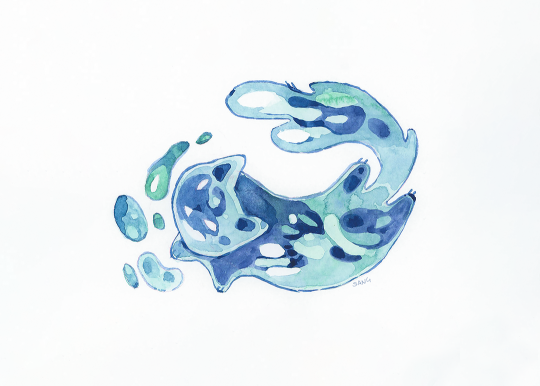
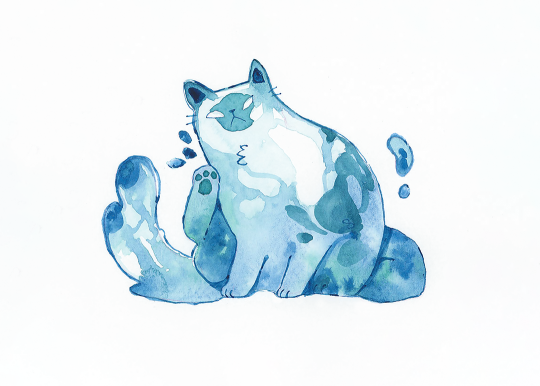
water droplets
#watercolor#illustration#traditional painting#cat#been practicing how to stylize water#it's hard but really fun#a friend gave me a copy of jan hart's watercolor guide too#which has been extremely helpful
12K notes
·
View notes
Text

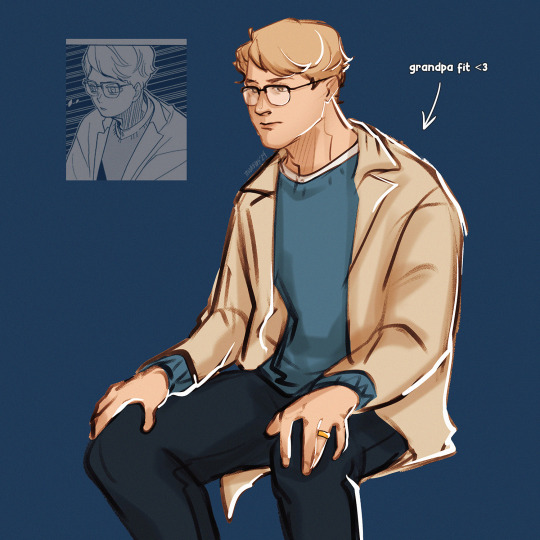
my darling tsukki!
#i still can't believe he works at a museum in post-timeskip like?? that's so fitting???#my dinosaur loving dinosaur living his dream as a curator/tour guide?? good for him#i can imagine tsukki stoically explaining sculptures and paintings but his eyes are all lit up when they reach the dinosaur section LMAO#i'd give tsukki all the strawberry shortcakes in the world!!!!!!! ILOVEHIMSOMUCH!!#my art#2024#haikyuu#haikyuu!!#hq#hq!!#tsukishima kei#tsukishima#haikyuu tsukishima#haikyuu tsukki#tsukki#kei tsukishima#art#fanart#digital art#digital drawing#anime#manga#sketch#doodle
2K notes
·
View notes
Text
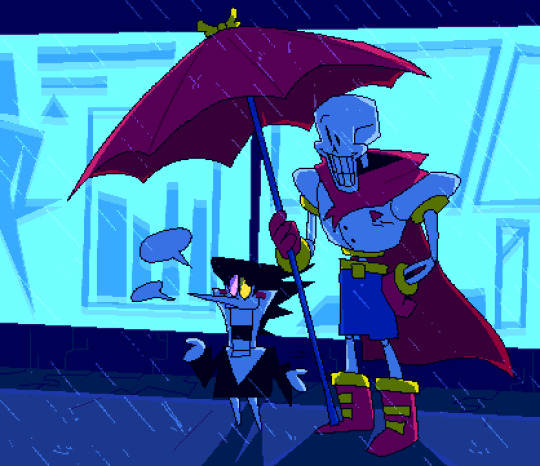
these two !
#my art#clip studio paint#papyrus undertale#spamton g spamton#deltarune#undertale#these two have never interacted and yet i drew them together because i wanted to#would they be friends or enemies? business partners?#lost skeleton and tour guide??
5K notes
·
View notes
Text
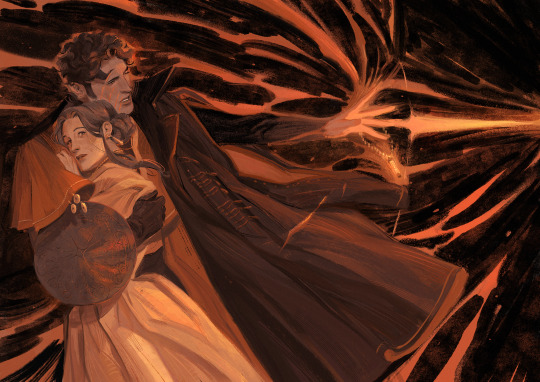
Guiding Bolt 🏹
painting practice with Lydia & Kasper
#illustration#artists on tumblr#art#dnd art#dnd 5e#curse of strahd#curse of strahd art#digital painting#lydia petrovna#kasper dunant#cleric#guiding bolt
3K notes
·
View notes
Text


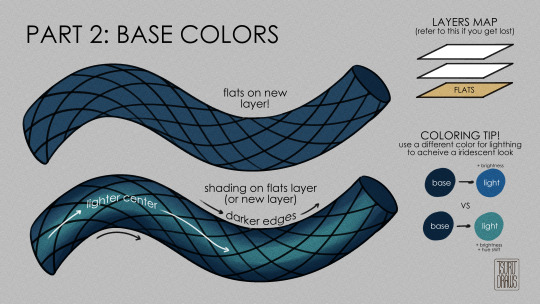
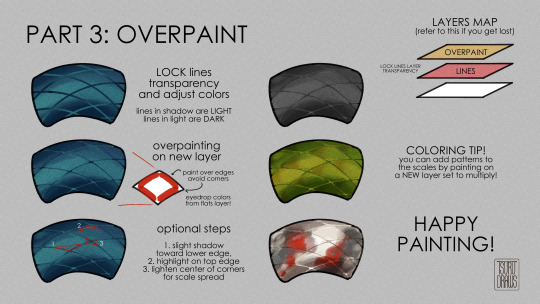
getting back into painting my dragon bois more so a lil tutorial for how i paint scales!
#art tutorial#art tips#snakeskin#art guide#how to draw#how to paint#scales#scale#snakes#dragons#no but have fun this is just how my brain does it#digital art#clip studio paint#tutorial#art resource#tsurudrawsart#tsurutips
11K notes
·
View notes
Text

ms paint. you know her. u used her age 8 to make loads of rainbow ovals all over the canvas and then scramble it with selection tool. now u will know her true powers with my handyrandy tips under the readmore. some will be pretty basic and others are very special.
this post has 8 cool trix to learn for you. enjoy and i may do another in the future if i remember/learn more stuff
some of it might be common knowledge. but its got some deep cuts. all tips have gifs to show process easily.
🙂 enjoy and i hope this encourages you to fuck around in mspaint more
soundtrack for this post (loop it while you learn for advanced learning experience)
TIP 1) the right click trick
left and right mouse click correspond to col1 and col2 respectively, which u can see in the top bar. this applies to all brushes and the fill tool like above. when using shapes col2 will be the fill colour (if you have solid fill selected). right clicking with shape maker will reverse the colours use on the shape.
TIP 2) right click eraser
this one is extremely helpful for lineart or add shading. the eraser always uses col2. so your eraser can technically be any colour. but here's where you get powers: right clicking with eraser will only erase onto col1, with col2.
TIP 3) transparent selection change a guy destination
the beloved transparent selection tool works based on what is selected as col2. so long as you have the correct colour as col2 you can make any image transparent and put it on top of anything else. and yes this works with photo bg as you can see.
TIP 4) the gradience
this one is a little more complex. you want to start off with any canvas size, and make as many diagonal coloured bands as you want. (protip: holding down shift makes a perfectly diagonal line with line tool)
then you need to resize the canvas to a width of 1px (make sure you resize by pixels, and do not maintain aspect ratio). then resize again back to its original width (or a different width i cant stop you). you will have your lovely gradience.
TIP 5) superimposter

so. you got a cool gradient and wanna put a guy on it. heres what i do:
i open a 2nd mspaint with same canvas size and draw whatever i want on there. i then pick a completely unrelated colour to my entire piece, and set that as the bg. you could use white, pink, geen, whatever you want as long as it doesnt appear somewhere else in ur drawing. copy the guy.
go back to your gradient tab. ensure that col2 is set as that bg colour you picked (lilac for me). have "transparent selection" enabled. paste your guy in. cue fanfare
TIP 6) advanced superimposter
the great thing about this method is u can put multiple gradients in multiple areas of the image. this is where it gets all japanese printmaking type of shit. ukiyo-esque
all you need to do is make another canvas with a new gradient, ensure col2 is set as the colour you want to replace, then paste your original piece onto the new gradient. now my guy has a soft fade. you can do this as much as you want. (you could even make a canvas with a texture or photo and paste your drawing onto there)
TIP 7) "sketch layer"
so as you now know, col2 is what is removed when you click "transparent selection". which means you can also remove any instance of a colour from ur drawing. which means you can have a unique colour for sketch layer and remove it from the drawing later. i admittedly dont do this but it is a great trick to have.
now combine this with lowering your dpi for smoother lines. may seem obvious but it helps. its like a free stabiliser whenever u want.
TIP 8) rainbow art
now this is where you can get dizzee rascal "bonkers". check out my small and shitty rainbow trick. you can select anything and hold down shift, then drag with left mouse, to turn that selection into its own brush. i even did it with a guy. and you can of course do this with a photo as well.
🙂well that it for now. hope you liked it thanks for reading now back to your regularly scheduled tgcg programming
2K notes
·
View notes
Text

#NEW EPISODE TODAY LET'S GOOOOOOOOOOOOOOO#what we do in the shadows#wwdits#guillermo de la cruz#laszlo cravensworth#nandor the relentless#nadja of antipaxos#colin robinson#the guide#brought to you by ms paint#sparkle on it's gay vamp day!!!
2K notes
·
View notes
Text
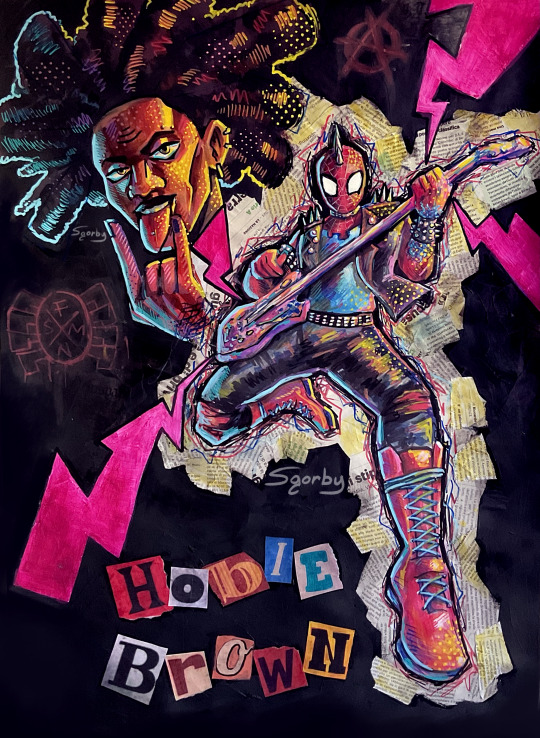
when you really want a Spider-punk poster and realized you are an artist and can just make one
#across the spiderverse#spider punk#hobie brown#my art#spiderman#fanart#atsv#spider punk fanart#traditional art#yes this is painted traditionally#yes this means I made all those dots one by one by hand without a guide to follow#yes I lost my sanity for that
482 notes
·
View notes
Text


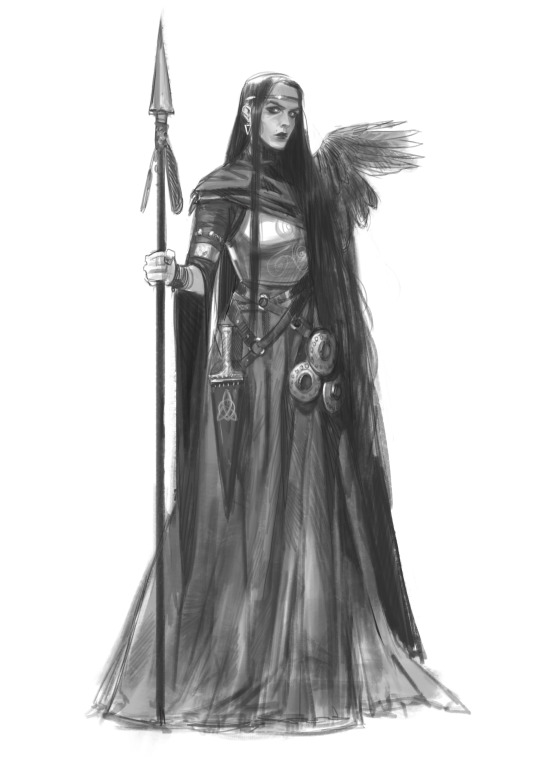
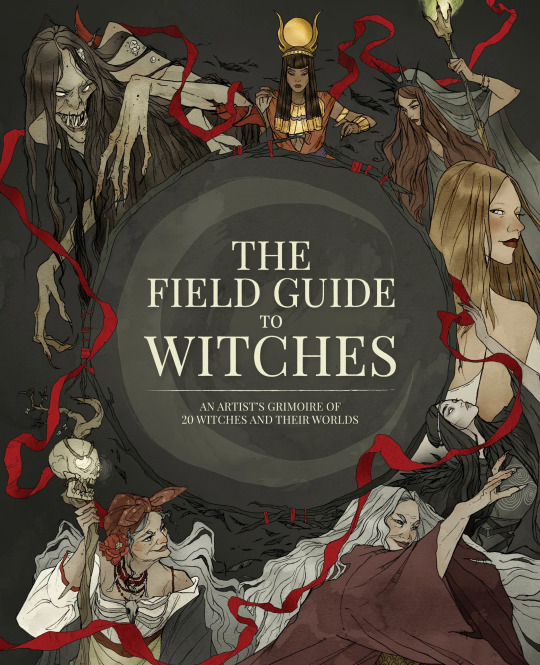
Delighted to share this sneaky preview of 'The Morrigan' I made for @3dtotal 's Artist Grimoire 'The field guide to witches' - Available to order here now!
Cover Illustration by Abigail Larson.
2K notes
·
View notes
Text
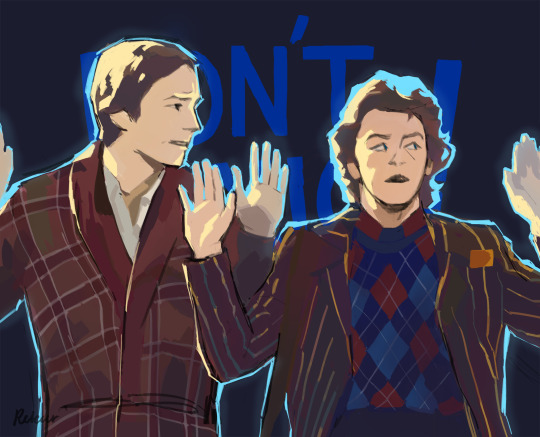
Whatever you do, don’t panic!
#my art#I don’t know if you can tell but this took me WEEKS#nothing ever takes me weeks#but I liked the book so much I actually followed through#also why is bbc’s adaptation so full of heart and neons#h2g2#the hitchhiker's guide to the galaxy#thhgttg#arthur dent#ford prefect#digital art#digital painting#artist on tumblr#art
165 notes
·
View notes
Text

Denis Beauvais - Van Richten’s Guide to Vampires, 1991
346 notes
·
View notes
Text

took a swing at @kikosuu's latex tutorial for this month's study 🫡
#i think these are more helpful as a how-do-i-paint guide than anything else so Im doing these monthly!#my art
839 notes
·
View notes
Text
mend ur clothes paint ur clothes rip em up and sew em together customise ur clothes how u want it'll feel infinitely better than buying fast fashion crap and u will cherish those items foreva
#if u can. obviously#not everyone can but for those who can feel my words infect ur brain#this isnt to shame ppl who buy from fast fashion brands for financial reasons#but if ur fast fashion clothes are showing signs of wear and tear fix em!!#u COULD replace them.... or u could patch them up and embroider cute flowers or a cool ass dragon on them#and then boom ur fast fashion item is longer lasting and ur own creation that u can wear proudly#u can sew a rip together#and darn over a threadbare section#if u have gained/lost weight u can try to adjust them bc theres lots of guides out there#u can embroider over a stain or just purposefully add more so it looks deliberate#eg. bleach painting#also if u were just gonna throw it out buy a replacement anyway why not give mending a go!!#or cut it up to make patches for future mends
327 notes
·
View notes
Text
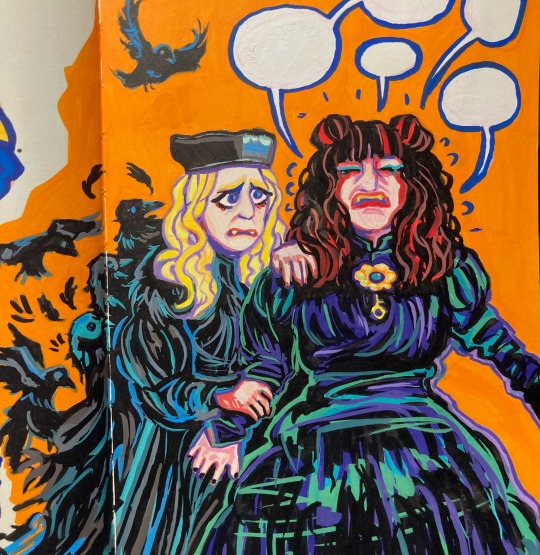
i blacked out while drawing this and woke up covered in blood
#what we do in the shadows#wwdtis#the guide#nadja of antipaxos#my art#wwdits art#wwdits fanart#traditional art#i got the arrtx paint markers and i love them
273 notes
·
View notes
Last Seen Blogs


passionatestarmine
girl's code

happybdayjared
[happy bday, jared leto!]
passionatestarmine
girl's code
passionatestarmine
girl's code