#patches and embroidery
Text

Unveiling Style: The Black and White Letterman Jacket
#black and white letterman jacket#letterman jacket#varsity jacket#monochrome fashion#fashion history#fashion evolution#craftsmanship#material spotlight#leather vs. wool#patches and embroidery#wardrobe versatility#style tips#fashion guide#personalized symbolism#FAQs#fashion trends
0 notes
Text
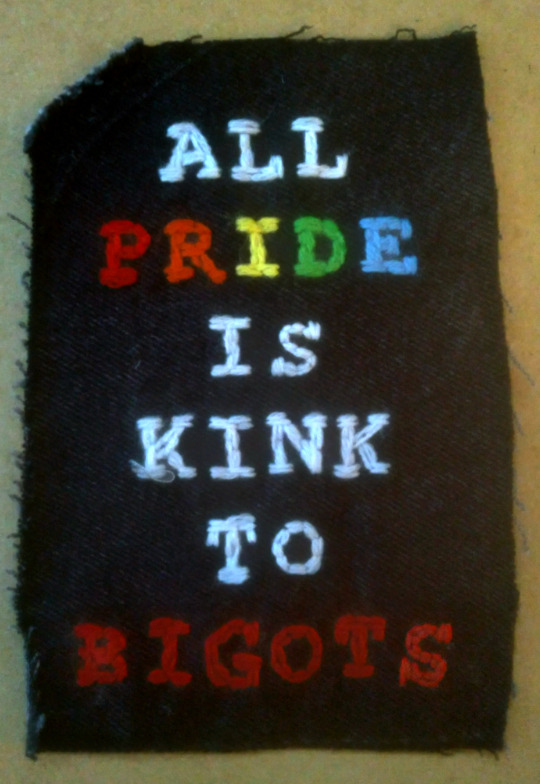
Pride month vest project, a patch a day #14: All Pride is Kink to Bigots
#all pride is kink to bigots#pride#gay#lgbtq#queer#pride patch vest#embroidery#battle jacket#diy punk
38K notes
·
View notes
Text
Had a few folks interested in how I made the patches I posted for Solarpunk Aesthetic Week, so I thought I'd give y'all my step-by-step process for making hand-embroidered patches!

First, choose your fabric and draw on your design. You can use basically any fabric for this - for this project I'm using some felt I've had lying around in my stash for ages.

Next, choose your embroidery floss. For my patches I split my embroidery floss into two threads with 3 strands each, as pictured. You can use as many strands in your thread as you prefer, but for the main body of my patches I prefer 3 strands.
Next you're going to start filling your design using a back stitch.

First, put in a single stitch where you want your row to start.

Poke your needle up through the fabric 1 stitch-length away from your first stitch.

Poke your needle back down the same hole your last stitch went into so they line up end-to-end.
Repeat until you have a row of your desired length (usually the length of that colour section from one end to the other). Once you have your first row, you're going to do your next row slightly offset from your first row so that your stitches lay together in a brick pattern like this:

Make sure your rows of stitches are tight together, or you'll get gaps where the fabric shows through.
Rinse and repeat with rows of back stitch to fill in your patch design.

When you're almost to the end of your thread, poke your needle through to the back of the fabric and pull the thread under the back part of the stitching to tuck in the end. Don't worry if it looks messy - no one's gonna see the back anyway.
This next step is fully optional, but I think it makes the patch design really pop. Once your patch is filled in, you can use black embroidery floss to outline your design (or whatever colour you want to outline with - it's your patch, do what you want). I use the full thread (6 strands, not split) of embroidery floss to make a thicker outline.

I use the same back stitch I used to fill the piece to make an outline that adds some separation and detail. You could use most any 'outlining' stitch for this, but I just use back stitch because it's just easier for me to do.
Once you're finished embroidering your patch, it's time to cut it out!

Make sure to leave a little border around the edge to use for sewing your patch on your jacket/bag/blanket/whatever, and be careful not to accidentally cut through the stitches on the back of the patch.
If you have a sturdy enough fabric that isn't going to fray, you can just leave it like this. If not, I recommend using a whip stitch/satin stitch to seal in the exposed edges (I find that splitting your embroidery floss into 3-strand threads works best for this).

And then you're done! At this point you can put on iron-on backing if you want, or just sew it on whatever you wanna put it on. Making patches this way does take a long time, but I feel that the results are worth it.
Thanks for reading this tutorial! I hope it was helpful. If anyone makes patches using this method, I'd love to see them! 😁
#solarpunk aesthetic week#sewing#tutorial#sew on patch#punk diy#diy punk#punk aesthetic#handmade#solarpunk#handcrafted#embroidery#embroidered patch#how to#how to make a patch
17K notes
·
View notes
Text

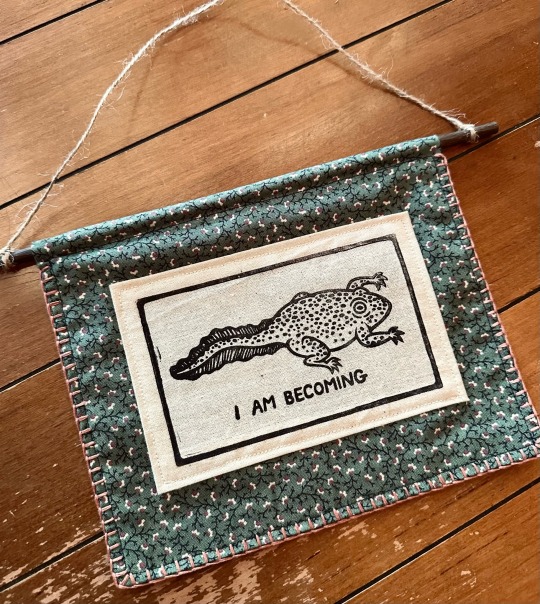
“becoming” banner by jasper alexander
linocut print on fabric, home sewn utilizing recycled textiles
#I am prepping for markets and my body is a constant state of motion#fingers always stitching or carving or packing or typing#linoprint#printmaker#block printing#printmaking#relief print#salted snail studio#block print#reliefprint#blanket stitch#embroidery#mixed media#relief printed fabric#relief printing#fabric printing#creativereuse#recycled textiles#linocut#linocut patch
7K notes
·
View notes
Text
symbiosis

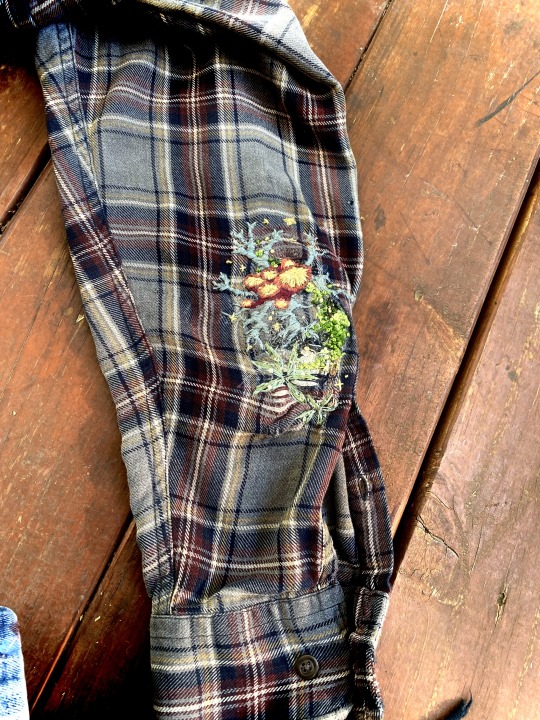
some visible mending I did on an old flannel recently! this was fun but took me so long to convince myself to do, Im very happy with how its come out though. The lichens are oak moss, bloodstain lichen, a third thats very common in texas but i forgot the name of, and then some lovely little algae (i love algae in theory but hate it in eutrophication ;v;)
#lichen#art#traditional art#artists on tumblr#embroidery#visible mending#sustainable fashion#slow fashion#patch#biology art#fiber arts#moss#algae#symbiosis
8K notes
·
View notes
Text

My Pixels for Palestine iron-on patches are now available in my ko-fi shop! all proceeds will be donated to Care for Gaza for delivering fresh food to Gazans.
#my art#artists on tumblr#embroidery artwork#free palestine#from the river to the sea palestine will be free#care for gaza#humanitarian aid#charity#patches#sunbird#palestine#gaza
3K notes
·
View notes
Text
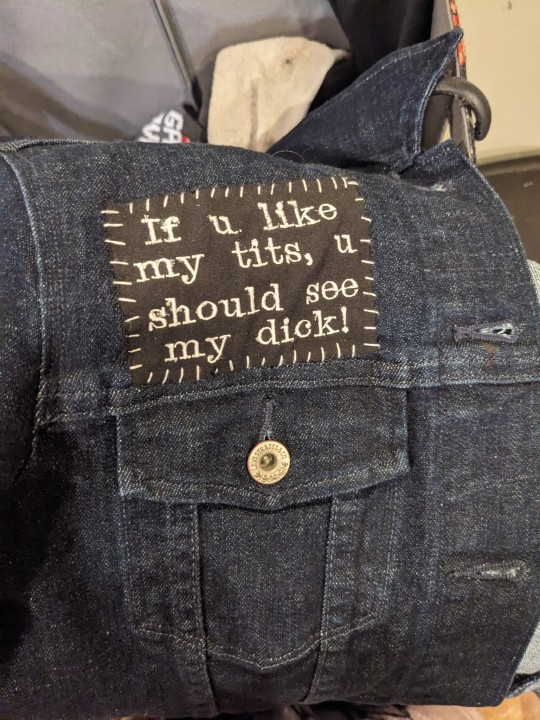
Posting this as its own post bc I'm so proud of myself for making this
#trans#patch jacket#punk#feels wrong to call machine embroidery punk but. the patches ppl buy of big bands are machine embroidery#word art#I'm gonna start on a new battle jacket but it does need to be roughed up#but that comes naturally w time. this is already thrifted#desc in alt text
5K notes
·
View notes
Text

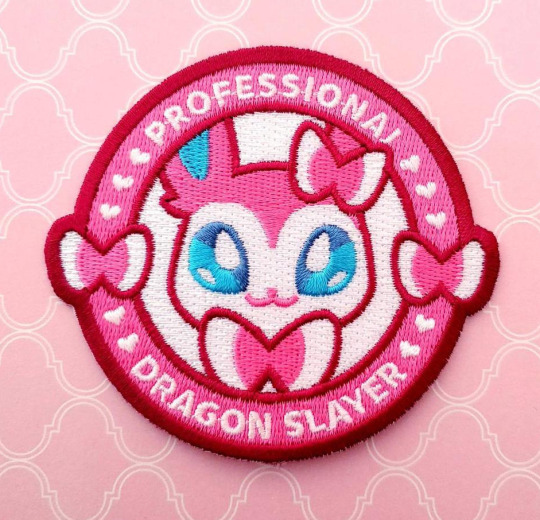


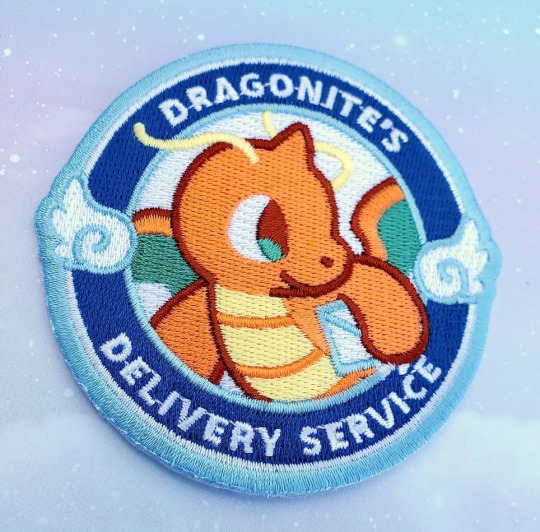

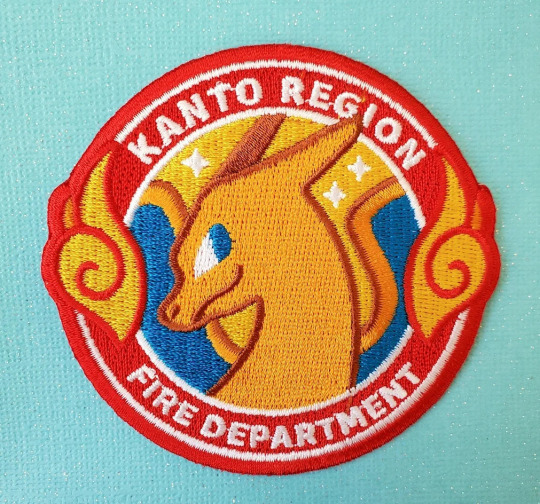


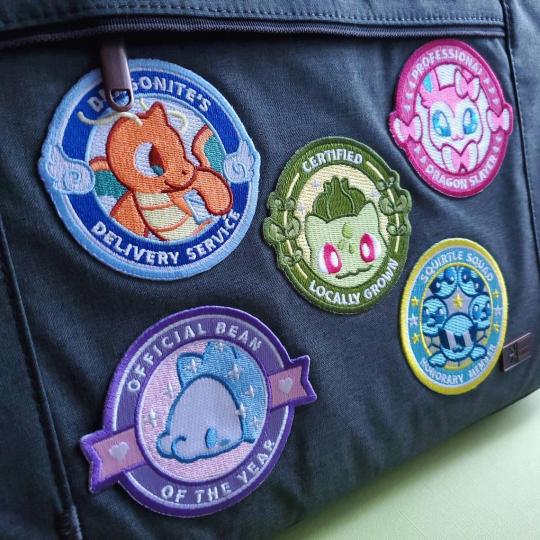
Pokemon Patches made by Adorablush
#pokemon#art#nintendo#gaming#anime#bulbasaur#cute#kawaii#embroidery#fashion#patch#kanto#90s#retro#video games#charizard#pikachu#snom#pokemon swsh#pokemon scarvi#switch#nintendo switch#pokemon go#pokemon let's go#gifts#merch#etsy#sewing#patches#gift ideas
3K notes
·
View notes
Text
It's Done!

Three months of work from start to finish! All so I could finally present to the world:
Pocket, Minecraft Edition:
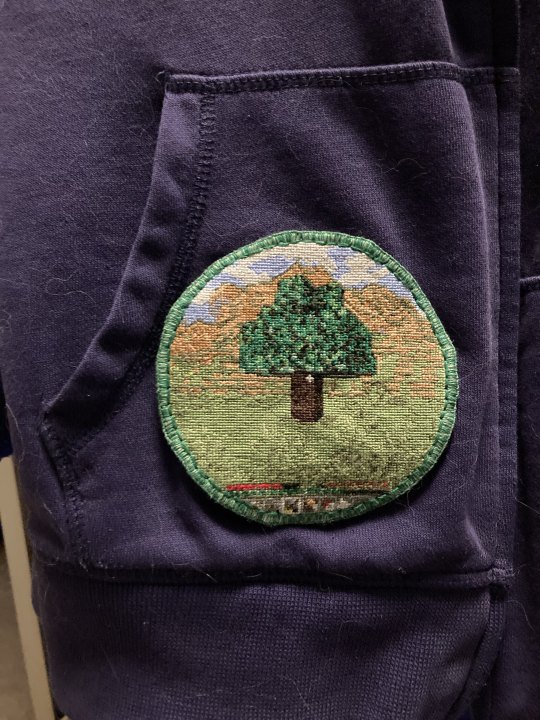
Some standard rambles and fun progress images under the cut :)
So, I started this project in early August, mostly as something I could do during downtime of a then upcoming trip.
I had seen some absolutely amazing art pieces by @royalnaym which kinda gave me the idea that minecraft rendered in pixel art has a pretty interesting while still very recognizable look. At the same time I came across @groupcritpowerdynamics 's speedrun pastel pieces and those really inspired me to try depicting my favourite game in one of my favourite mediums!
In the middle of August 6th, while in the middle of packing for my trip to the UK, I decided I wanted to do this and I wanted to have it to work on during the trip, so I loaded up minecraft and went looking for a screenshot worthy of immortalization. Unfortunately I couldn't find exactly what I was looking for so I made a brand new world and started looking around for the right vibes.
I knew I wanted a lone tree, and that if I ended up including the hot bar I wanted some hearts and food missing, so after running around for a few minutes I decided I would just do it myself and planted a sapling to serve as my centrepiece.
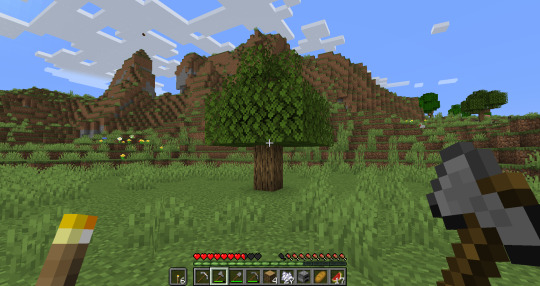
I gotta say I think the resemblance is striking!
And now as promised, the progress gif: mind the slight flashing, I did take these in all manner of different places including but not limited to: a plane, a handful of buses, and a small inn on the shores of England (not in that order).
It's pretty neat to me that you can see how different tones of lighting affect the perceived colour of the thread, I definitely noticed it more on this piece verses other larger stitch projects.
#orange peels#I am so extremely happy with this patch#life has been hectic these past few weeks and getting to finish a project of this scale is so rewarding#minecraft#embroidery#I do wish I had more photos of the buttonhole stitching going on but I am the one true hater of the buttonhole stitch#so I was more just in a rush to get it over with#1k
4K notes
·
View notes
Text

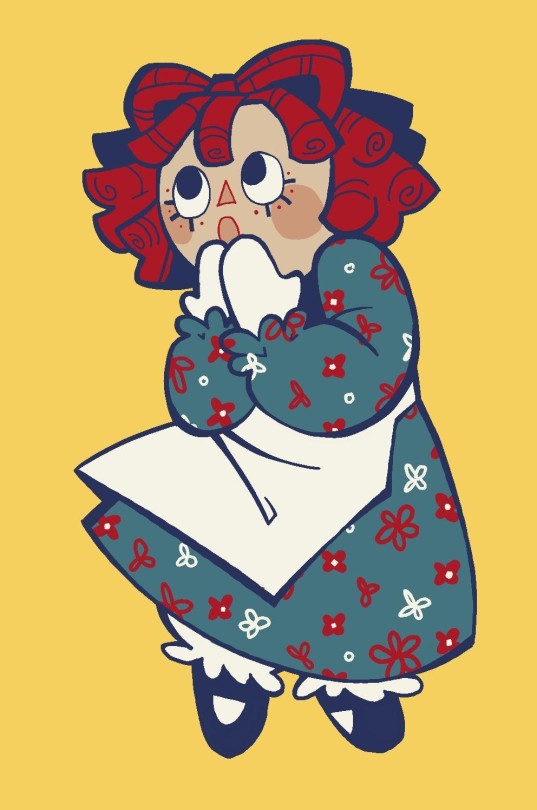
AND SHES DONE!
i was able to find a little bit of the leftover fabric from my raggedy ann doll so they match :)
i think she came out appropriately cute and i plan to make a matching andy once i find some good plaid fabric
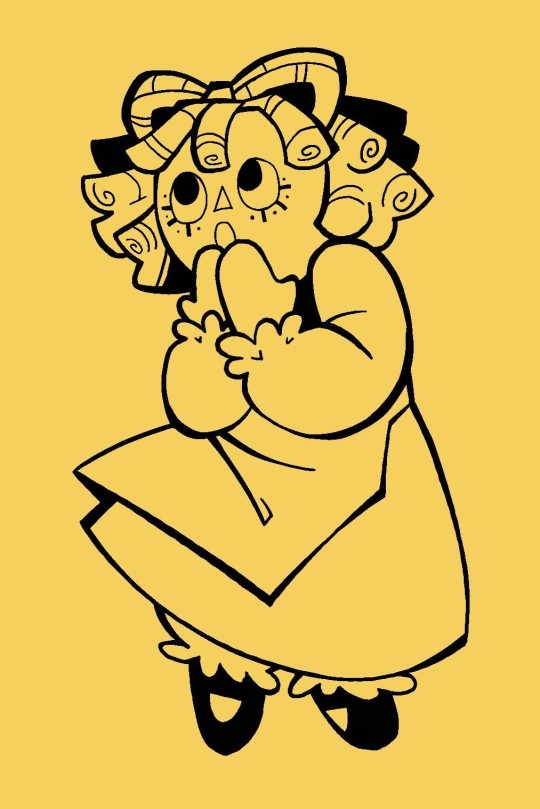
#patches#embroidered patch#embroidery#raggedy ann#raggedy ann and andy#rag dolly#pretty sure im losing my fingerprints again :/#the suffering of artists#my art
614 notes
·
View notes
Photo

So excited to share these with you!
A great collab with Vincent Briggs, the artist behind @pterribledinosaurdrawings, has begun! The first three designs are up in my Etsy shop.
And there's more to come! Vince is planning some new designs exclusively for patches!
Check out the Pterrible Dinosaurs section!
#pterrible dinosaur drawings#shitty dinosaur drawings#patches#machine embroidery#listing#etsy#handmade#lgbtq+ artists#collab
2K notes
·
View notes
Text

🌊 Just added a whimsical touch to my Etsy shop with this adorable Ponyo and Sousuke inspired patch! 🌟
#patch jacket#embroidery#patches#embroideredpatches#ponyo fanart#ponyo (2008)#ponyo anime#studio ghibli
2K notes
·
View notes
Text

Pride month vest project, a patch a day #16: We Stay Silly :3
4K notes
·
View notes
Photo

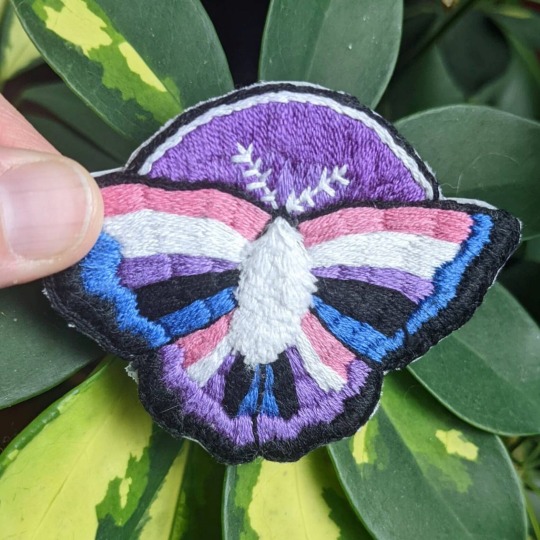

Pride Moth Patches // Raven And Fox Art
2K notes
·
View notes
Text
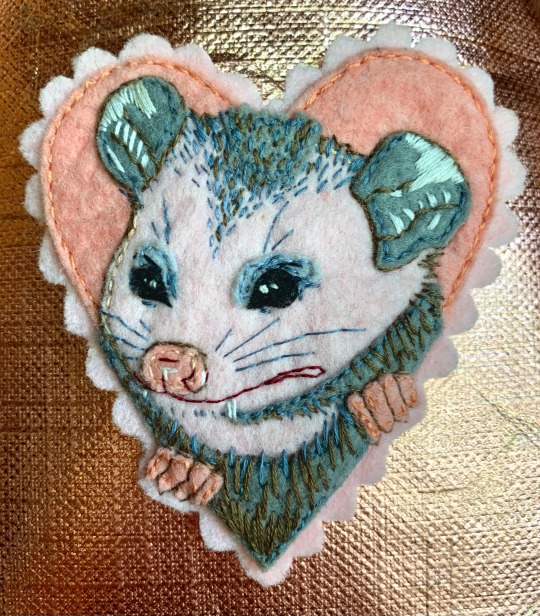
hand stitched possum patch i made last year ❤️
this lil guy has sold but i’m taking preorders for embroidered possum earrings based off this design!
etsy // ig // patreon
#mine#my art#art#embroidery#textile art#hand embroidery#fiber art#needlework#possum#opossum#possums#traditional art#heart shaped#pink#patch#patches#textiles#artists on tumblr#contemporary embroidery#sewing#cute possum
633 notes
·
View notes
Text
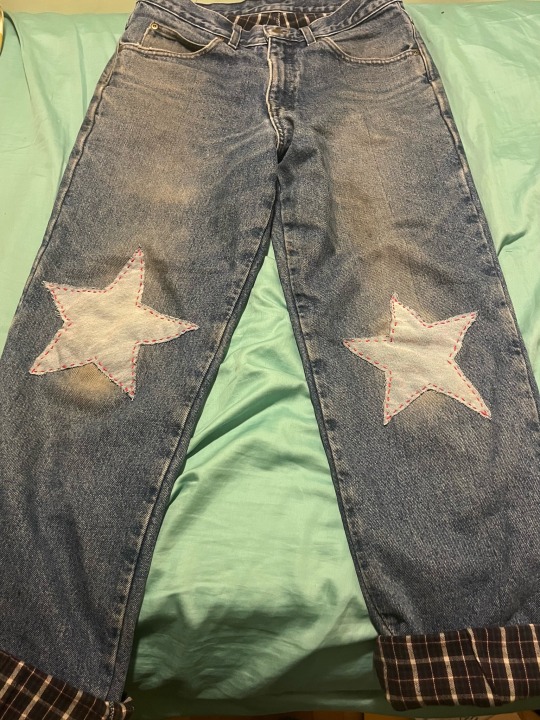
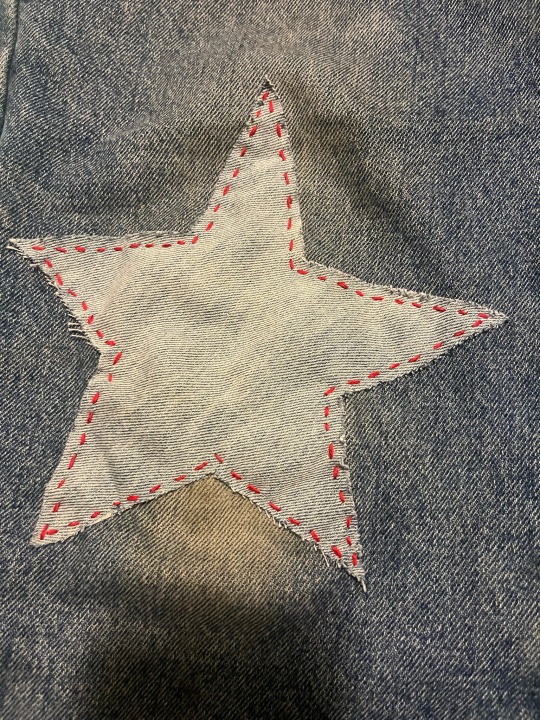
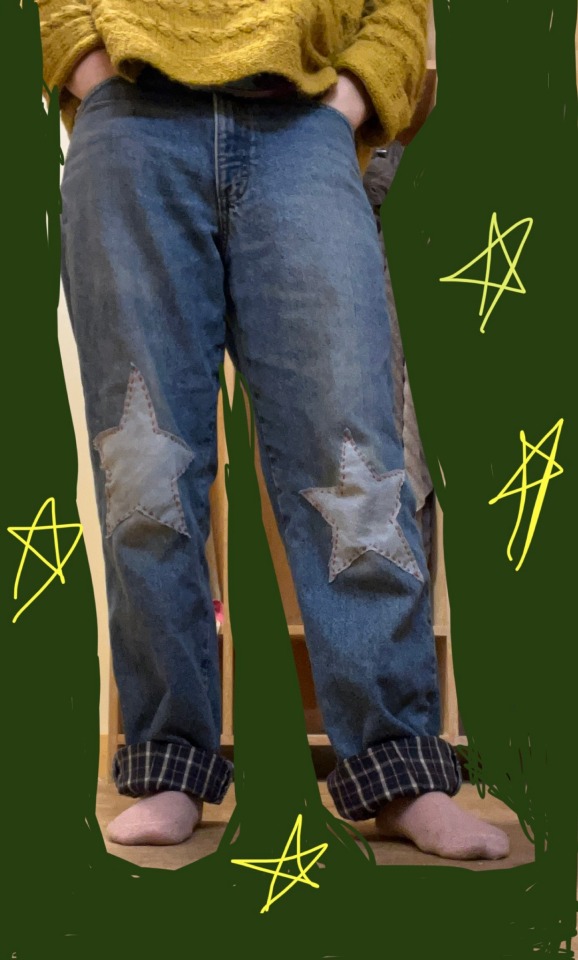
Latest visible mending! Might make a post explaining how I made these, breaking down costs and materials etc.
#solarpunk#diy fashion#patches#diy punk#punk fashion#sustainable fashion#sustainability#solarpunk fashion#visible mending#mending#thrifting#sewing#embroidery#artists on tumblr#slow fashion
369 notes
·
View notes
Last Seen Blogs

aksharifalqad
شمس المعارف (الجن والشعوذة) في مخطو
teokkusan
Sin título

brightacademy
GLOBAL BRIGHT ACADEMY PALA

realchemistry
realchemistry.

flukenatoucharchv
fluke natouch