#photo cards
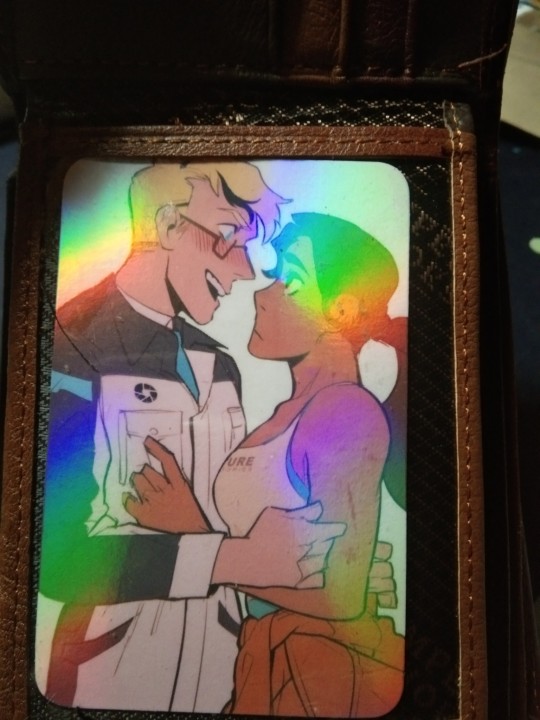
Text
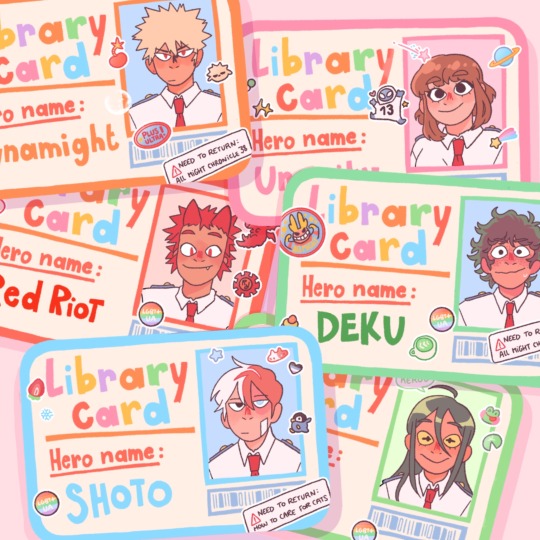
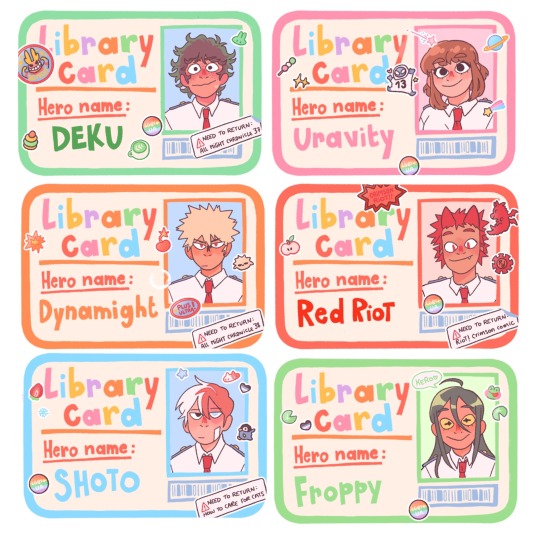
(Will also soon be available in my store)
#myart#my art#bnha#my hero academia#mha#bakugou katsuki#kirishima eijirou#tsuyu asui#midoriya izuku#ochaco uraraka#shoto todoroki#tcg#photo cards
2K notes
·
View notes
Text


via crispalline on instagram
36 notes
·
View notes
Text
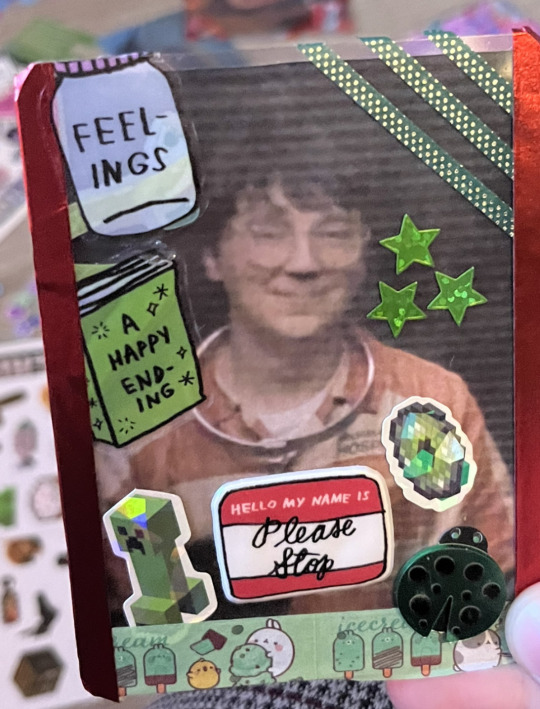
Bro look at what I got😭❤❤

#portal#chell portal#portal 2#wheatley#wheatly portal 2#human wheatley#glados#😭❤️#photo cards#chelley
133 notes
·
View notes
Text

obsessed with these photocards my friend made me
#mcr#my chem#my chemical romance#mcr fanart#fanart#photocard#photo cards#photocards#photo card#frankie#frank iero#ls dunes#gee#gerard way#i wanted to post this to twitter but im boycotting it until it sorts itself out so only tumblr gets to see it for now#mine
7 notes
·
View notes
Text

I FINALLY PULLED CHEOL!!!!!!!!!!!!! I HAVE SO MANY VERSIONS OF THIS ALBUM BC I WAS TRYING TO PULL HIM AND NO ONE EVER WANTS TO TRADE BUT I HAVE HIM IM INVINCIBLE!!!!!!!!
#mahvish yells#screaming crying throwing up as we speak!!!!!!#i am so happy#seungcheol#cheol#svt#seventeen#photo cards#personal
8 notes
·
View notes
Text
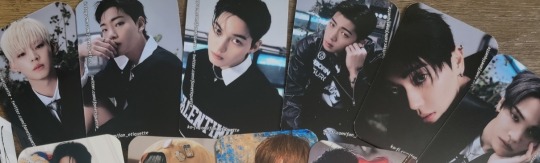
See you at ONF's concert on Friday! We have PCs for you!
#fan etiquette#fanetiquette project#fanetiquette#imgs#onf#onf concert#canada#toronto canada#photo cards#photocards#photocard#freebie#freebies#toronto
2 notes
·
View notes
Text
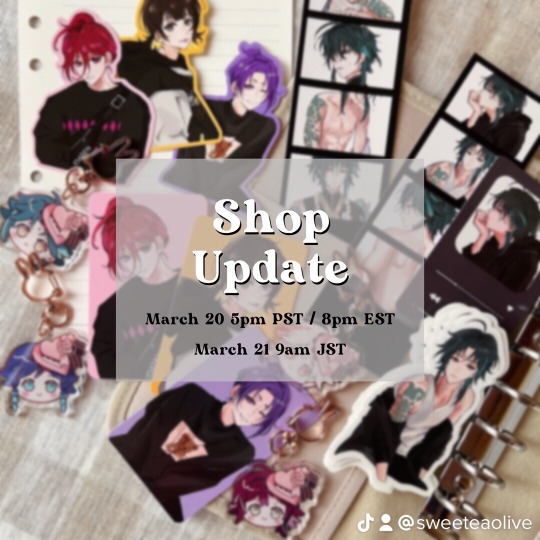
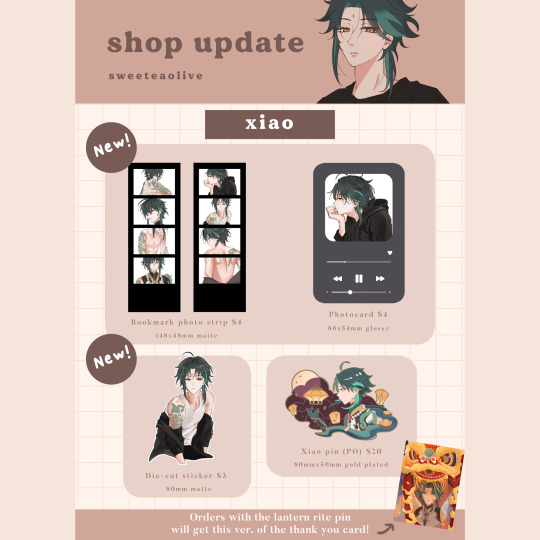


here’s my catalogue for upcoming shop update!
you can already check them out here too ^_^ new items will go live March 21 JST; restock items are available for purchase already
#sweeteaolive shop#genshin impact#xiao#xiao genshin impact#blue lock#chigiri hyoma#bachira meguru#mikage reo#photo cards
11 notes
·
View notes
Text
Photo Cards tutorial
aka PA shots, pashacolle/pashacore/pashakore, bromides, etc. EnStars format, suggest other versions if you're interested!
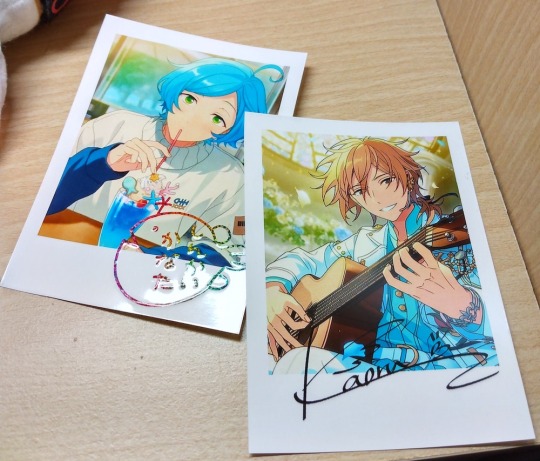
TLDR: Create an image with as many frames as will fit using the measurements below. Add card images and either signature images (both on the wiki) or name text in Futura 10.5pt with text spacing upped to 1. Get it printed on photo paper (at your local print shop, or buy photo paper for your printer) -
At CVS, the most cost-effective size was 12in x 8in, 9 cards for $5 ($0.55 per card) and that's what I used here
UPDATE: If you have your own printer and can use photo paper, that'll be cheaper per unit (try partially used packs on ebay too if you won't use the whole pack), more like $0.10 per card. 4x6 template coming soon since that's the cheapest kind

Long version:
Collect your resources. My .mdp template for 12in x 8in is here, I used FireAlpaca but other apps work. Go to the character's page on the wiki, download their signature from the summary sidebar, and get any card images from Gallery (submenu In-Game has bigger images, you could get transparents from Renders and edit them onto other backgrounds/cards). Make sure you click "See full image" when you're in the image preview so you get the highest quality image. You can search "webp to png converter" if you need one.
Put it all together. Collect pictures up in the "images" folder, and make sure to delete extra that's outside of the frame so you don't have lines of color in between your cards (or overlap with other cards). Duplicate the example in the "names" folder to type names, or insert the signatures depending on the style you want. Put some signatures in the bottom section under the frames to test on later, if you like.
Center text. On the "name boxes" layer in "tools", make a grey rectangle snugly covering the name text. Make the text itself invisible, and align the rectangle with the red lines, then move the text back under the rectangle.
Print & cut. When you're ready, make the "tools" folder invisible but make sure the alignment arrows are still visible. Once you get your print, score the center of each arrow by either cutting it or tracing it in pencil on the back of the print using a lightboard or window. Use a ruler to connect these scores to replicate the "picture alignment" lines on the back of your print, then cut them - I used a rotary cutter and a (metal-edged, plastic wasn't straight) ruler for precision but any variety of tools work.
Accessorize! This is the most fun part. Use the signatures you printed on that test strip and try paints, glitter and glue, embossing, any other color/texture work you can think of before applying it to your actual cards. I liked the look of embossing signatures (trace signature onto the back, lay it facedown on felt and "write" the backwards signature with any small-tipped hard thing - embossing tool, crochet needle, dead ballpoint, etc) and it looked best on thicker handwriting like Niki's or Kanata's. You can also try making paper frames, getting toploaders/cardsavers/penny sleeves (65mm x 90mm) and decorating those with paint, stickers, etc. If you want holos, get some self-adhesive holographic overlay (vynil should be the clear kind).
#enstars#ensemble stars#enstars merch#photo cards#diy merch#bromides#idek what people call these things theres so many words lol
60 notes
·
View notes
Text
I’ve decided that hockey cards are just photo cards so I decorated a top loader for Nate to celebrate the beginning of hockey season 🥹💖

#nathan mackinnon#colorado avalanche#nate mackinnon#photo cards#toploader#plz don’t come for me it’s my first try at top loader deco
3 notes
·
View notes
Text
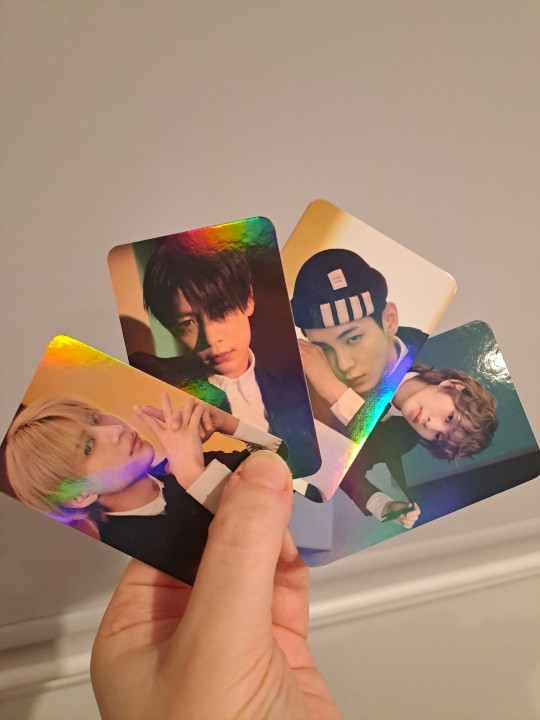
The lastest addition to my collection (I know im late)

4 notes
·
View notes
Text
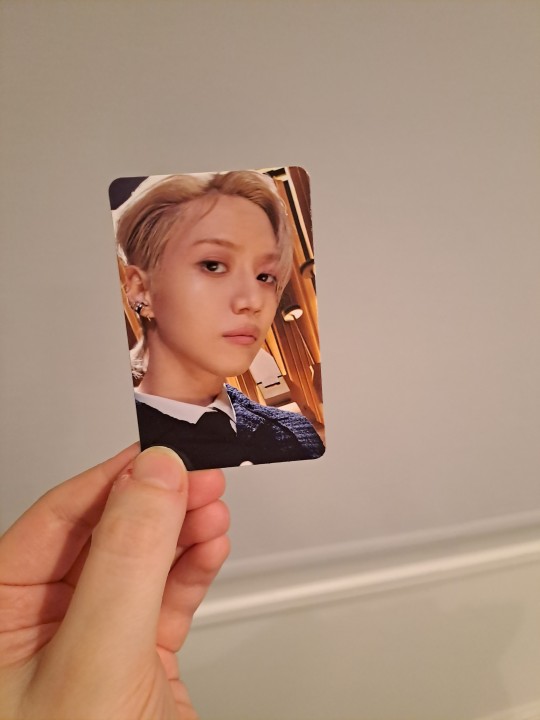
He’s so meow meow
7 notes
·
View notes
Text
help me pick:


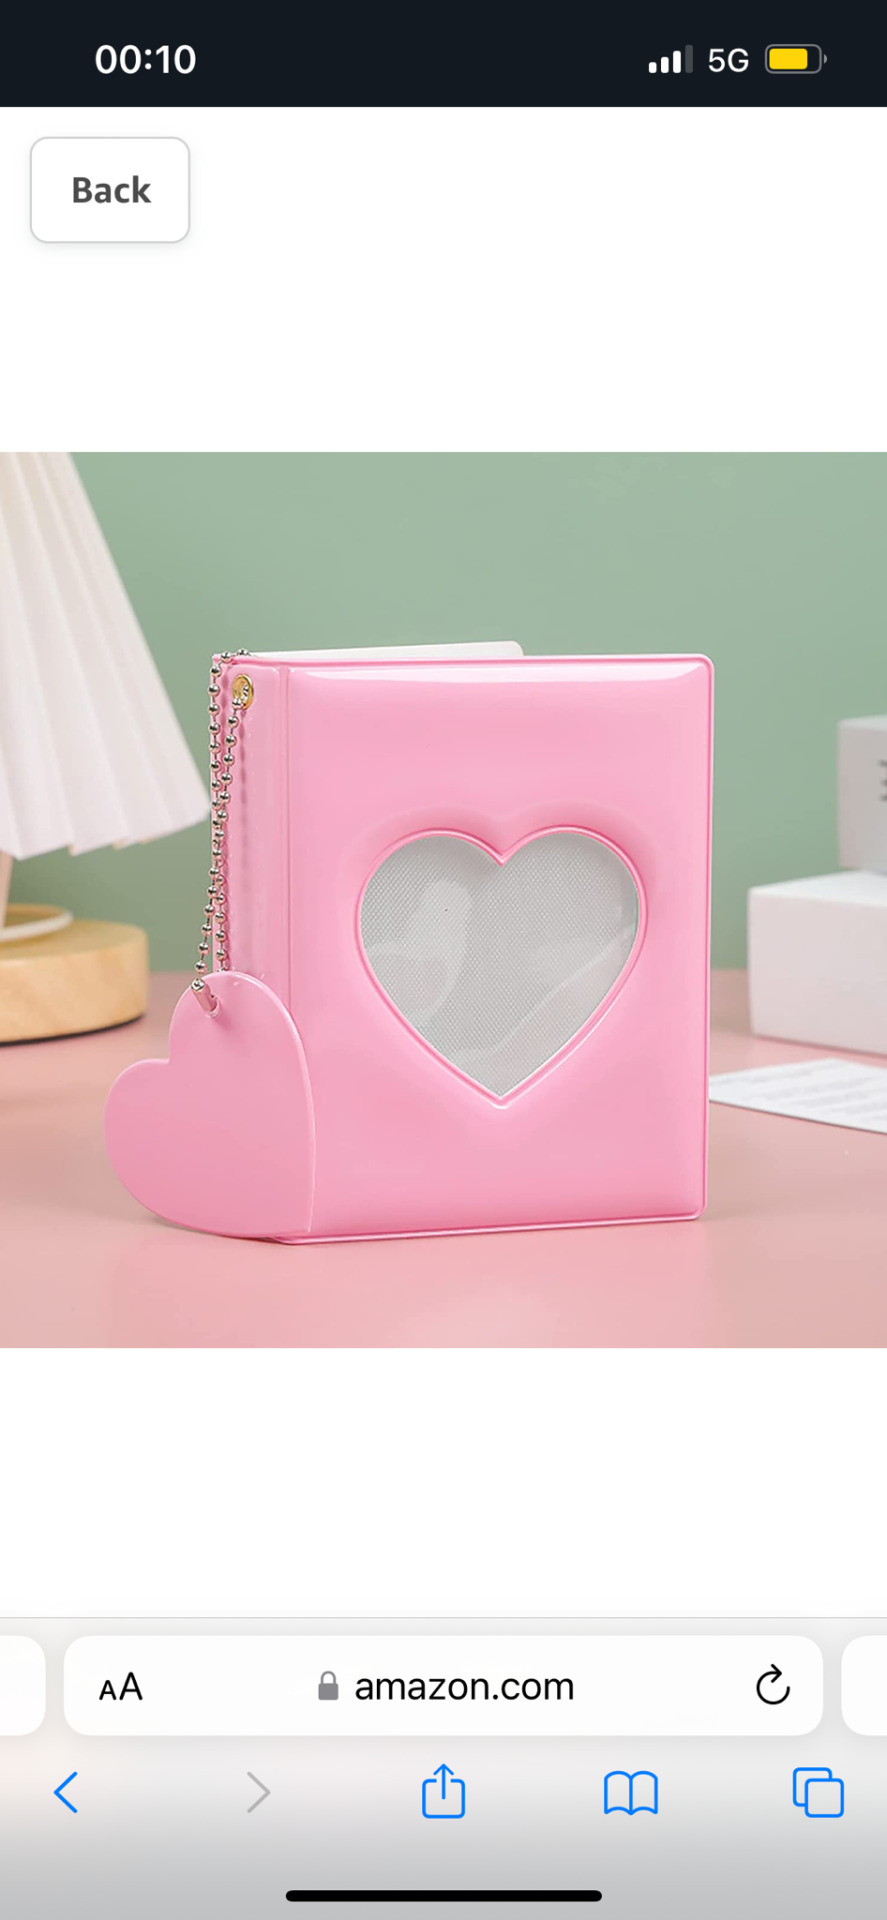


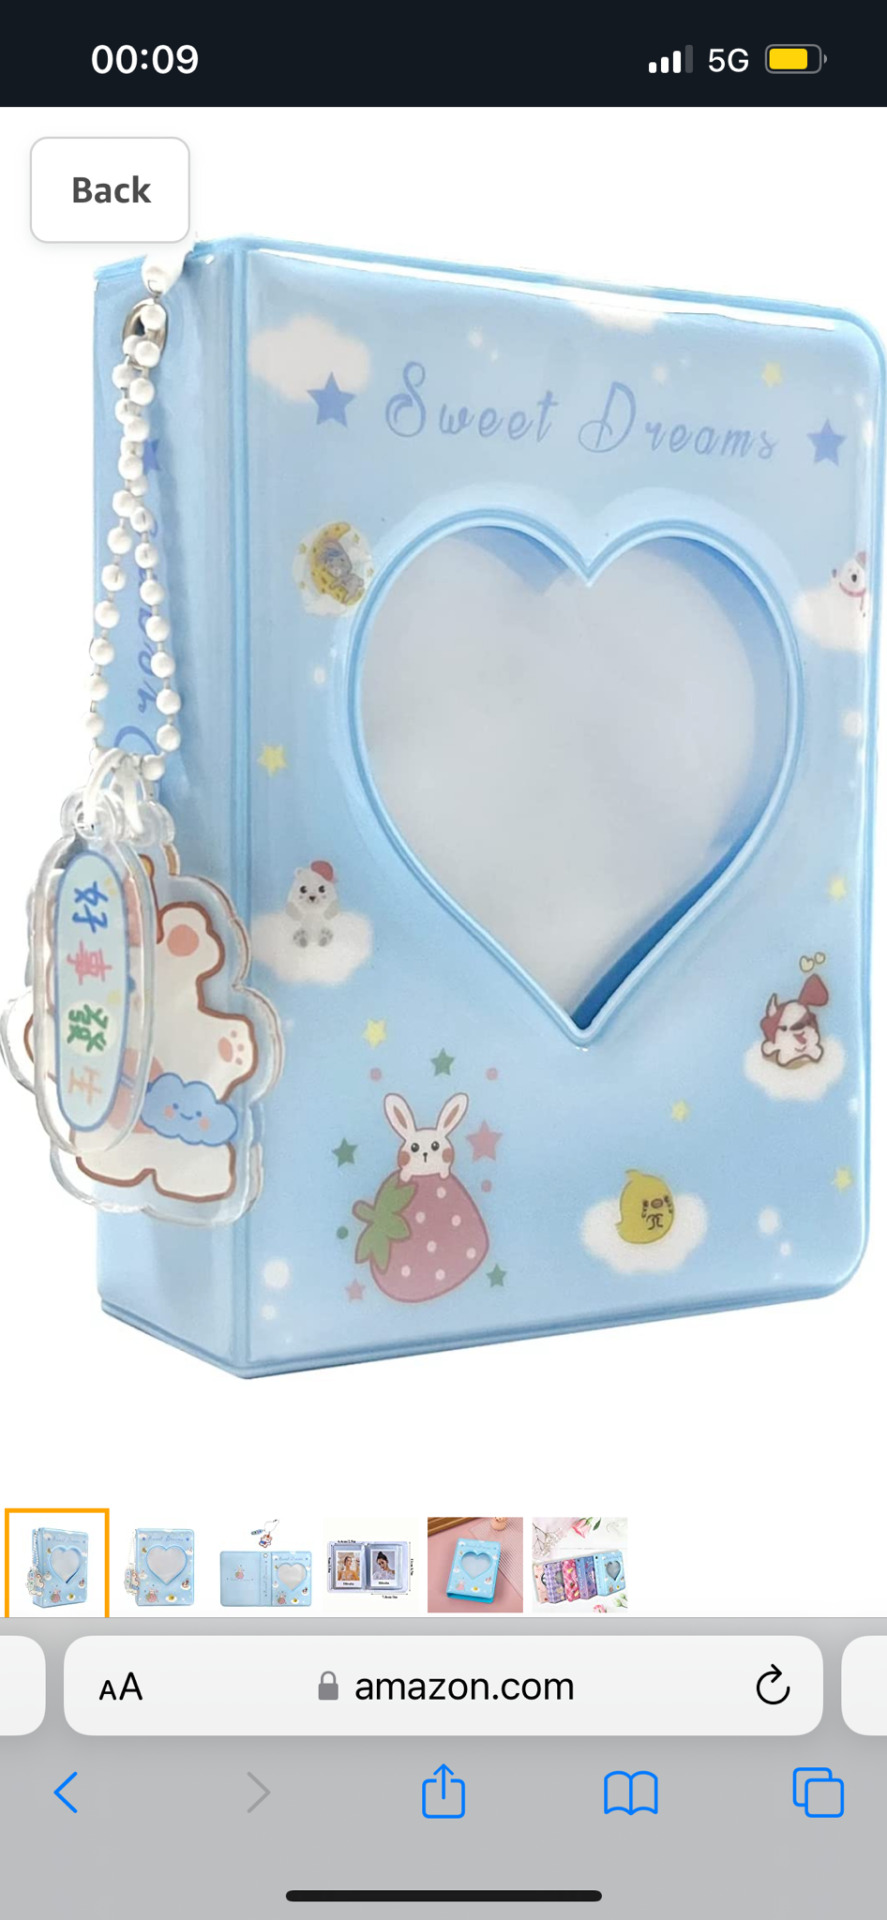

i like all and i appreciate any opinions from anyone lol
#kpop#k-pop#photocards#photo cards#pc#pcs#photocard culture#help me pick#please#if you also like them and want links lmk i’ll dm you
18 notes
·
View notes
Text
If Markipilier sold photocards, I'd unironically buy them
5 notes
·
View notes
Text


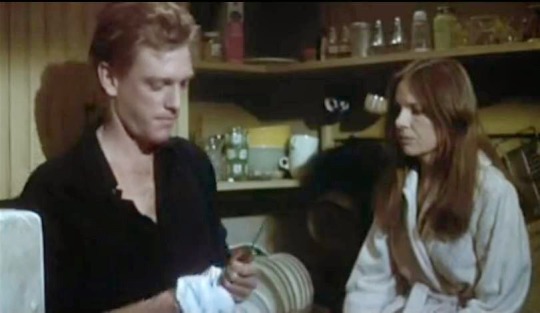

William Atherton as James in Looking for Mr. Goodbar.
c. 1977
(various sources)
#william atherton#looking for mr. goodbar#1970s#promotional stills#movie posters#photo cards#fuck yeah william atherton
16 notes
·
View notes
Text
I got a package in the mail today! I wonder what it could be?
Oh! I remember now! There was a Black Friday sale with free shipping at LightUpK last week, so I decided to show some love for my fave k-band Xdinary Heroes and bought both their mini-albums. Here they are:
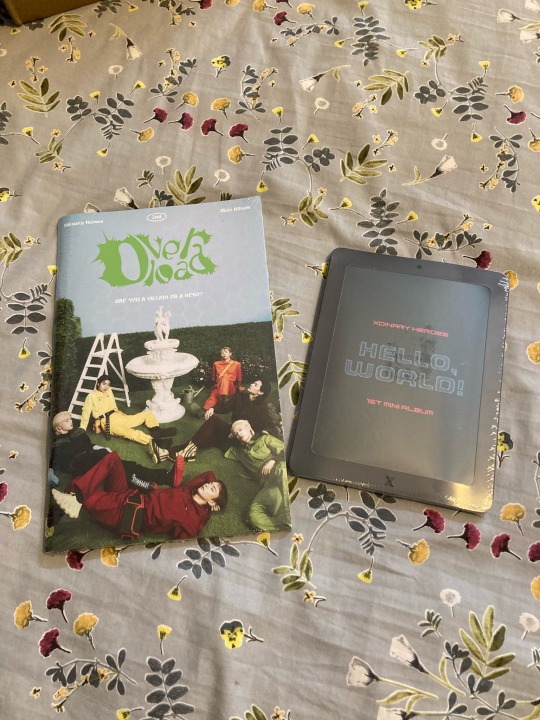
Seriously they should call the new album OverSIZE if you ask me, that thing is enormous. But let’s take a look at Hello, World first…


JYP really committed to the No Plastic Case agenda this year. The HW booklet slides out of a mock iPad case made of cardboard, very clever.
Opening it up, the inclusions are cool too — love the pop-up card with all the band members, and the stickers are very shiny. I pulled Jungsu for the photocard, which I’m not complaining about, and O.de for the foldout (if any O.de biased Villains want a trade, let’s talk). Now let’s see what came inside Overload…
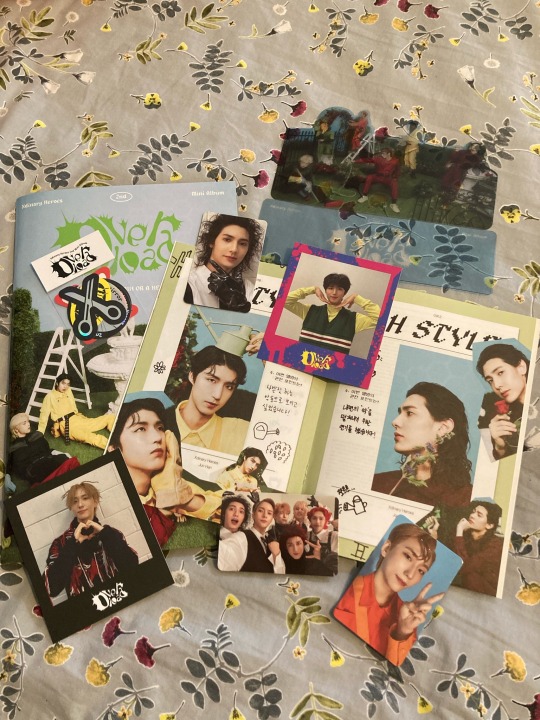
Now we’re talking. Both members in my bias line (Gun-il and Jooyeon) and my bias wrecker (Jun Han). I don’t collect or display photo cards, but I still feel pleased when I pull my biases. And the stickers and translucent standee that came with this album are so cool! I almost feel bad not to display them.
Thank you for attending my completely unsolicited album unboxing, have a good evening!
5 notes
·
View notes
Photo

We're so excited to see OnlyOneOf in Toronto tomorrow, and we've prepared some goodies! :)
#온리원오브#kpop#onlyoneof#only one of#korean#korean music#toronto#canada#concert#music#goodies#photo cards#photocards#photocard#photo card#freebies#freebie#gift#fanetiquette#fairnessforfans#fairness for fans#fan etiquette#fan project#fan#project
9 notes
·
View notes
Last Seen Blogs

smess19
Smess19

wattswhitfield7
The Love of Hamann 507

horniguy-69
horniii

wernik-sims
WerkSims

scribbl-y
meowmeowmeow